Give your friends £10 off their first order!
Refer a FRIEND








 The Friday Final CutTomorrow 10am
 Community ShowcaseMon 23 Nov 10am
 Deal HuntersTue 24 Nov 1pm
Prices change straight away. Every language is our own translation, not Google.
A project from our live show Halloween Party - with Stamps By Me - Broadcast 29TH August 2025 · 29/08/2025 · watch it from 37:15
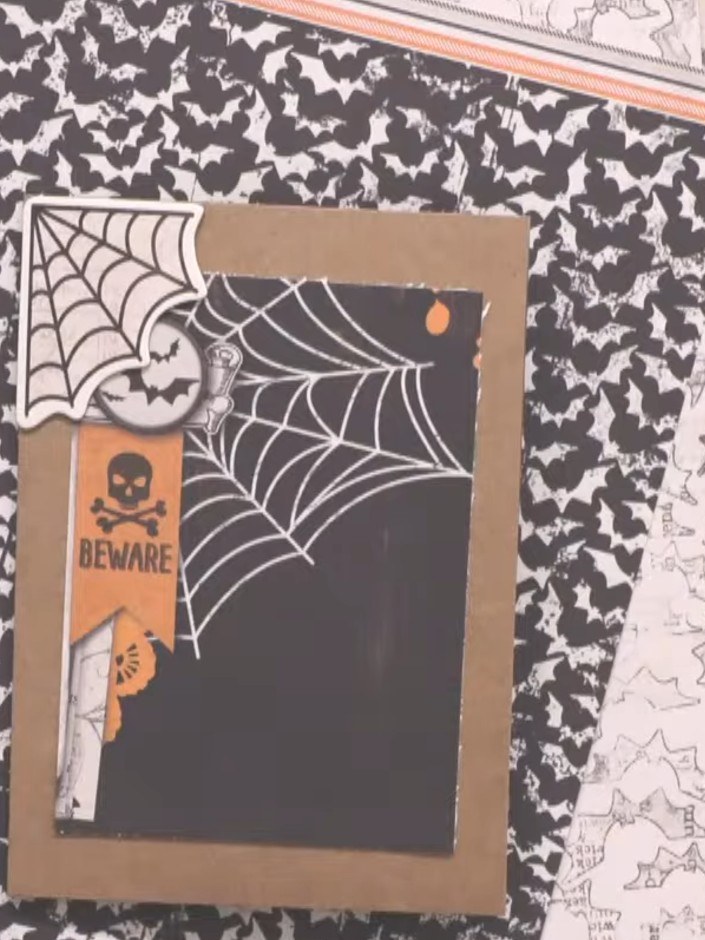
Create a charming Halloween card featuring a fairy character set against a spiderweb background with layered kraft and black paper elements. The design incorporates vintage-style Halloween imagery including a 'Beware' sign, pumpkin embellishments, and decorative stickers in classic orange and black colours. This project uses simple layering techniques and dimensional elements to create a festive, party-themed greeting card.
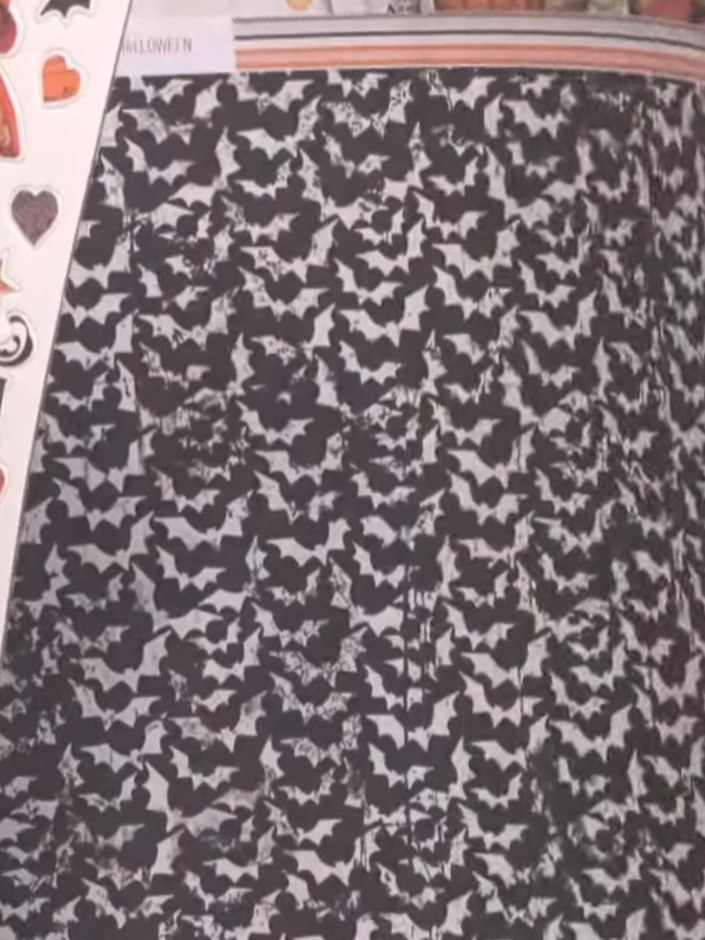
Cut a rectangle from the fairy background paper featuring the black bat pattern using a guillotine cutter.
▶ watch this step (38:30)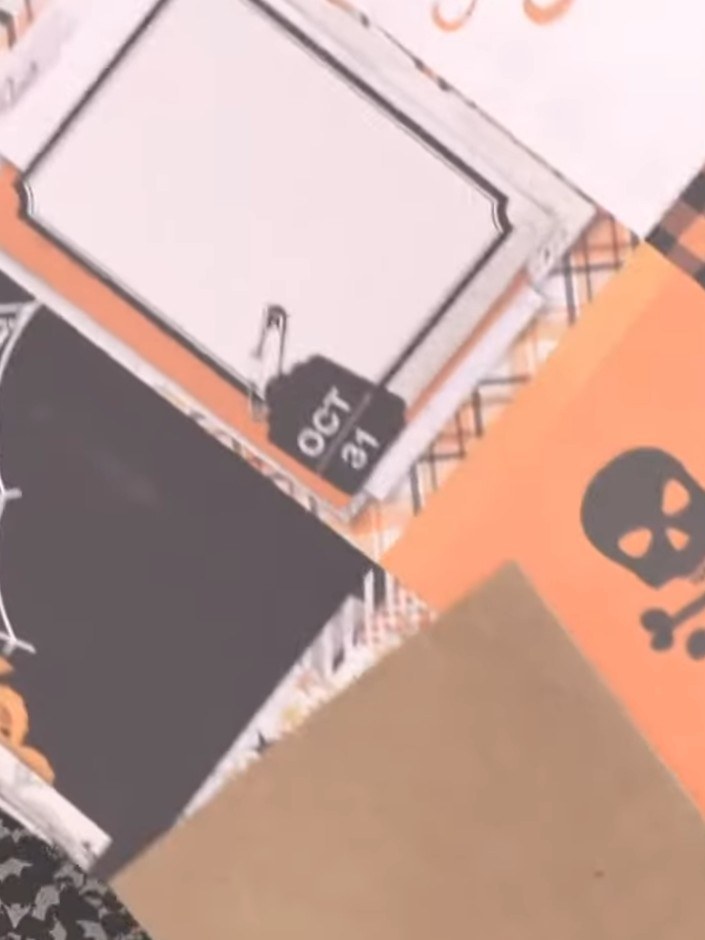
Adhere the bat-patterned rectangle to your kraft card blank using adhesive. This creates the base layer for your Halloween card. Select a fairy character sticker from the Halloween sticker sheet. Position the fairy sticker in the lower portion of the card, placing it on the black cat patterned paper. Apply foam pads to the back of the fairy sticker. Position the raised fairy onto your card to add dimension and lift it from the surface.
▶ watch this step (39:00)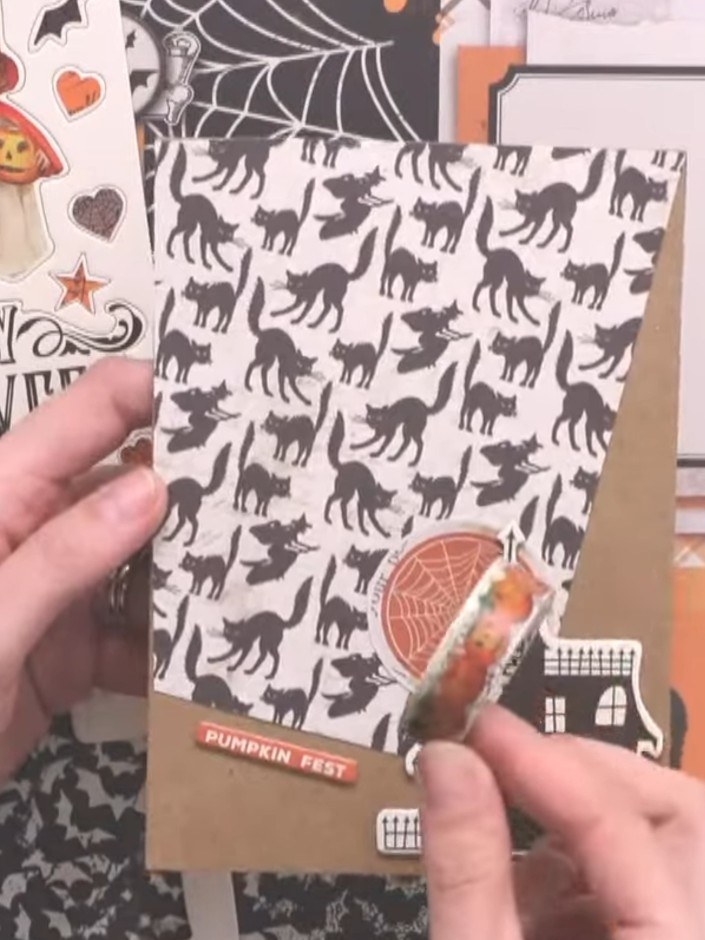
Add a spiderweb element to the opposite corner of the card to balance the design. Position the web motif in the upper corner, creating visual symmetry with the other decorative elements. Place an orange banner sticker with 'Pumpkin Time' text across the middle of the card.
▶ watch this step (42:30)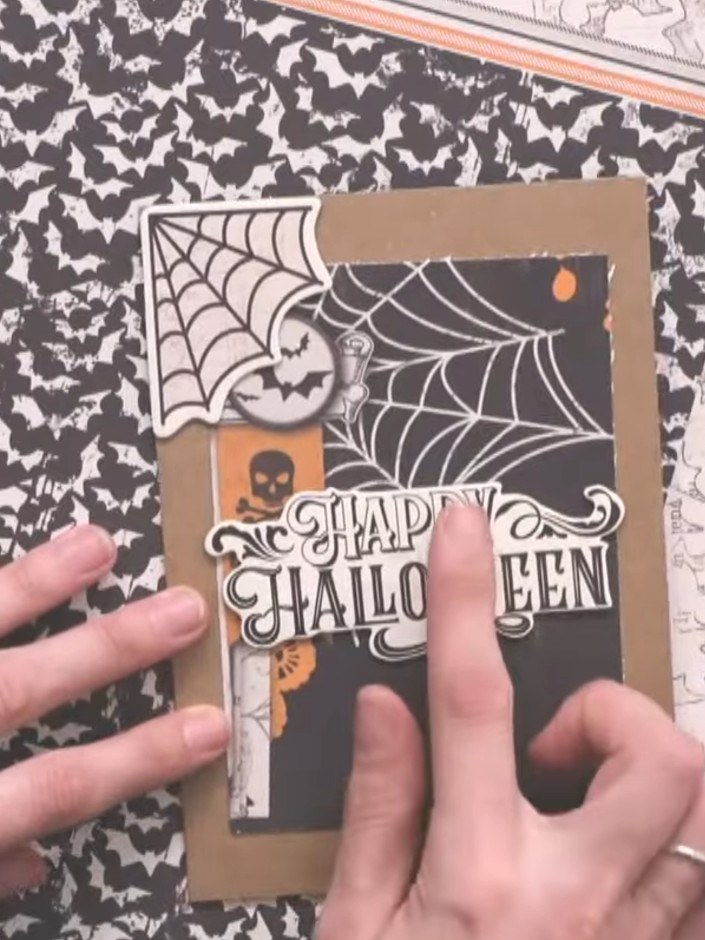
Position and glue down the 'Happy Halloween' sentiment sticker in the centre of the black panel. Ensure all elements including the spider web corners, 'BEWARE' tag, and decorative pieces are securely adhered to complete your Halloween card.
▶ watch this step (47:30)Written up from the show itself. See every guide from our shows · free how-to guides · watch live on My Telly
