Give your friends £10 off their first order!
Refer a FRIEND








Prices change straight away. Languages are translated by Google.
A project from our live show Join Toni for her LIVE show broadcast Tuesday 15th Feb - Yep it's going to be TECHNIQUES · 15/02/2022
Create a sophisticated card using a large floral stamp with coordinating sentiments, featuring clear and gold embossing in opposite corners. This design demonstrates how to use the same stamp in different ways and colours to create a cohesive, themed card with elegant corner details.
Prepare a DL (slim line) card base and position your large floral stamp in one corner.
Stamp the floral design in the corner using a sticky ink pad, capturing just the corner element of the design.
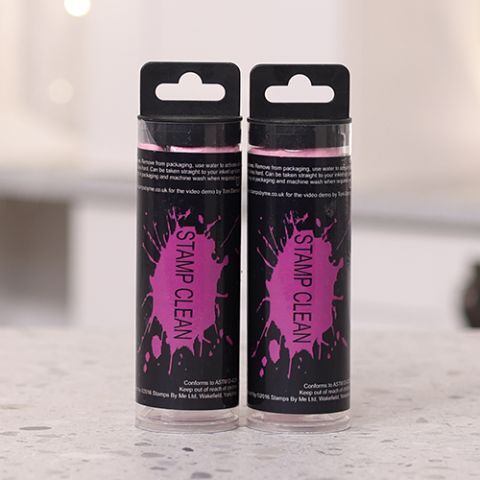
Clean your stamp using the stamp cleaning cloth by running it under water to hydrate it, then wiping the stamp clean and rolling the cloth back into its tube.
Apply clear embossing powder to the first stamped corner and heat set with an embossing gun.
Stamp the same floral design in the opposite corner of the card using a sticky ink pad.
Apply gold embossing powder to the second stamped corner and heat set with an embossing gun.
Stamp a large sentiment (such as 'Find Your Own Happiness') in black ink in the centre of the card, positioning it straight.
Apply 3D foam pads around the edges of the card to add dimension and lift the design.
Share your make with the Stamps By Me community - and keep this guide for next time.
Written up from the show itself. See every guide from our shows · free how-to guides · watch live on My Telly · the previous layout