Give your friends £10 off their first order!
Refer a FRIEND








A project from our live show CREATE AND CRAFT - Join Carley Duff for her brand new IMALA 22 Launch show 1 - Broadcast 4th OCT 22 · 04/10/2022 · watch it from 1:05:00
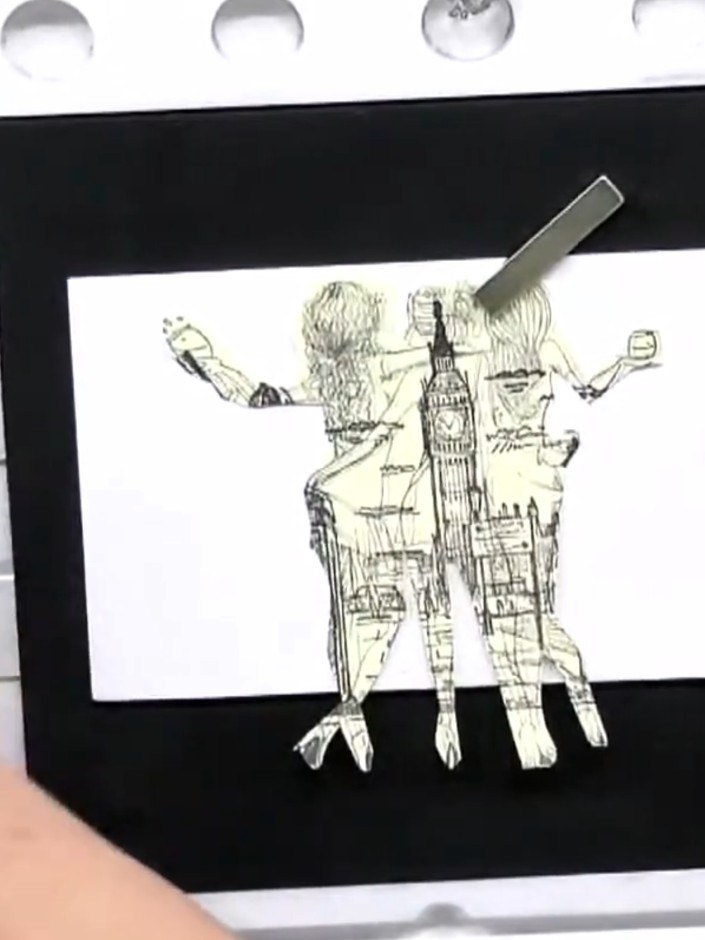
Create a stunning layered scene featuring three fashionable figures on a London street, complete with a red telephone box and iconic cityscape. Using stamp masking techniques, you'll build depth and dimension by layering multiple stamped images over one another. The finished piece showcases elegant line art with subtle watercolour touches on a crisp white background, all mounted on a bold black card frame.
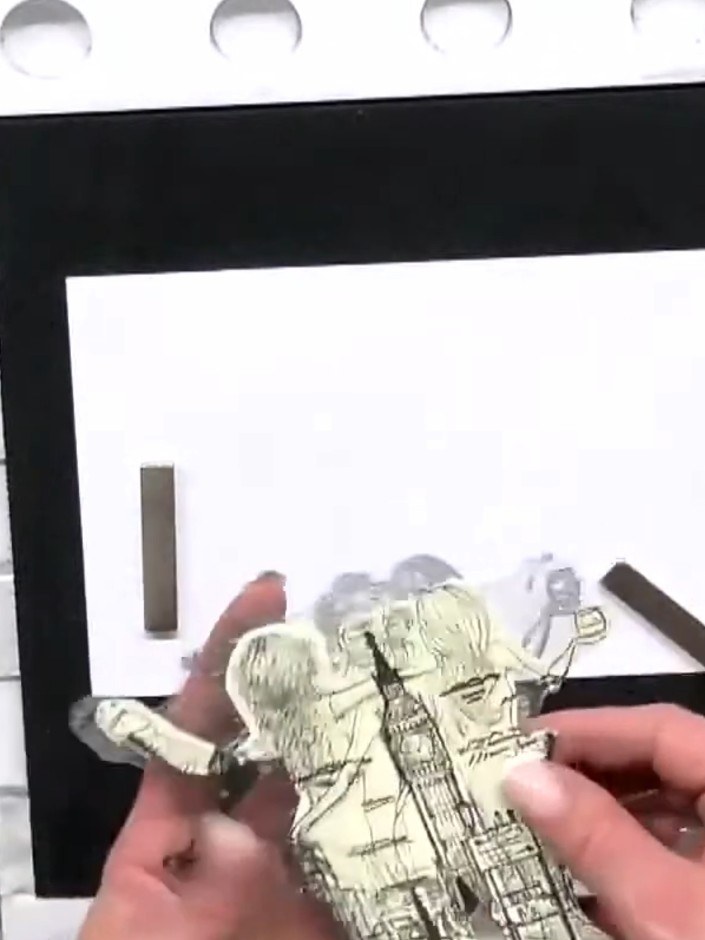
Stamp your first image onto rough paper using black ink. Position the stamp on the paper and press firmly to create a clear impression. Remove the stamp carefully to reveal the stamped image.
▶ watch this step (1:05:00)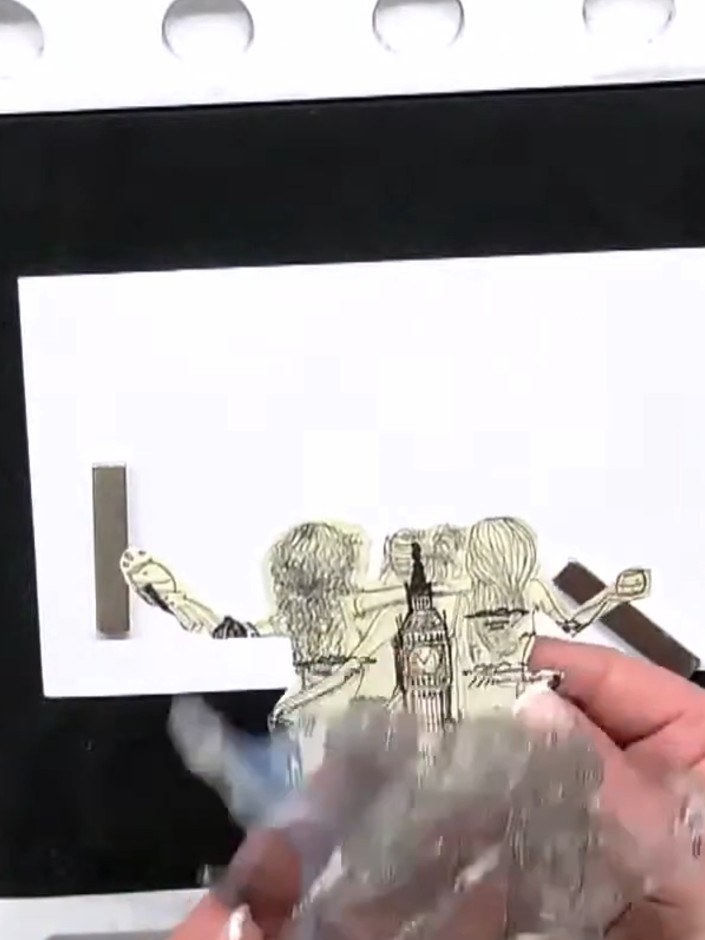
Cut very close to the edge of the stamped image to create a mask. Use scissors to carefully trim around the outline of the stamped figures.
▶ watch this step (1:05:15)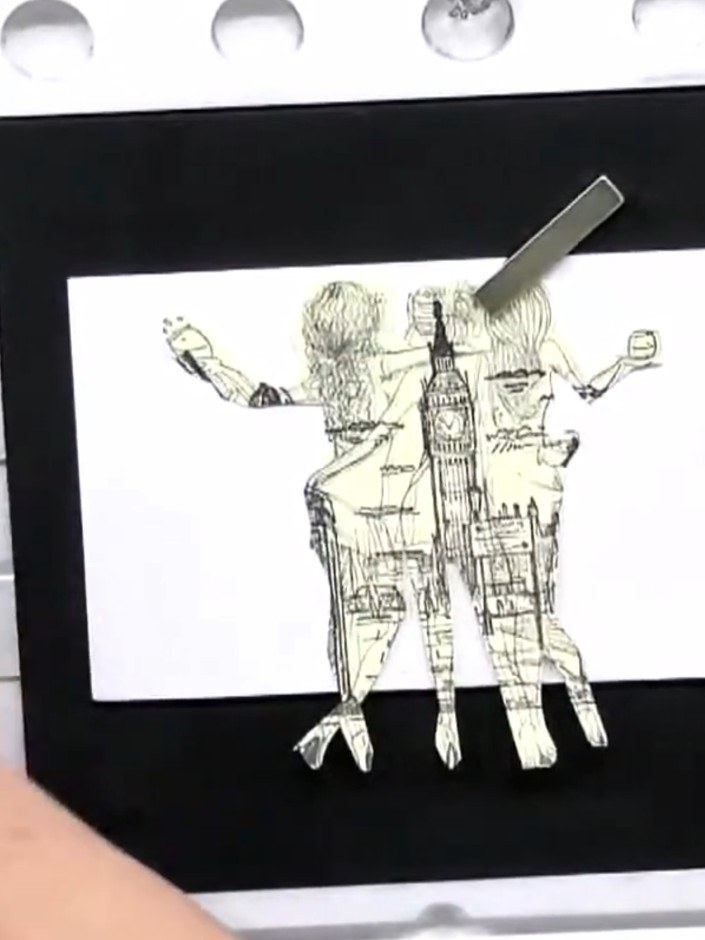
Position the stamped cow mask on your white cardstock using low-tack adhesive tape. Place it over the area where you want to build your layered scene.
▶ watch this step (1:05:30)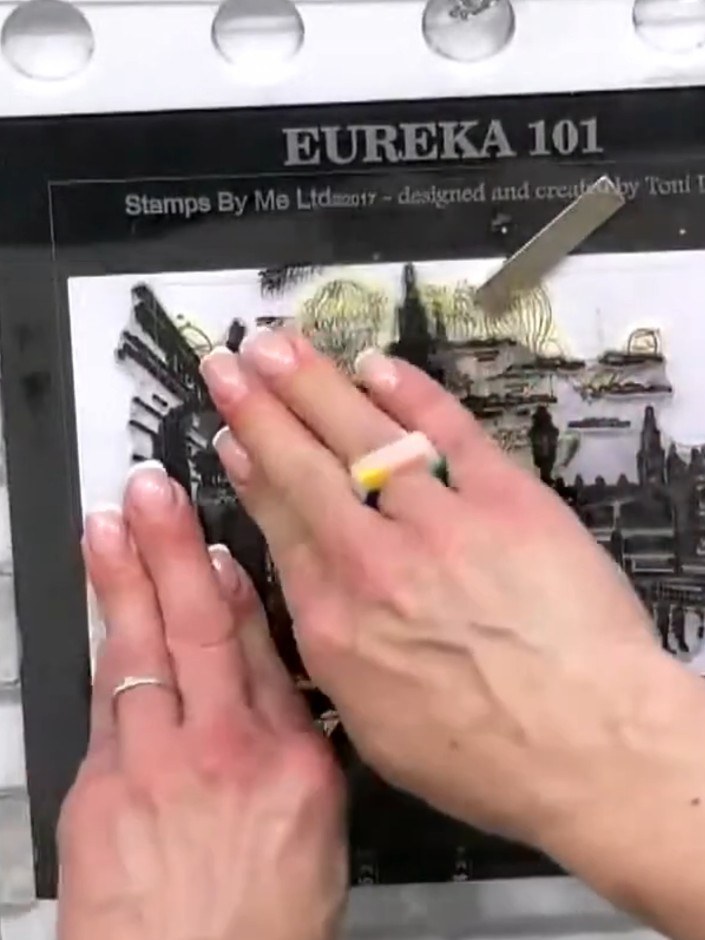
Stamp a second image directly over the masked area using all-purpose ink. Position the London or chandelier stamp over the masked section and press firmly to create a clear impression.
▶ watch this step (1:06:00)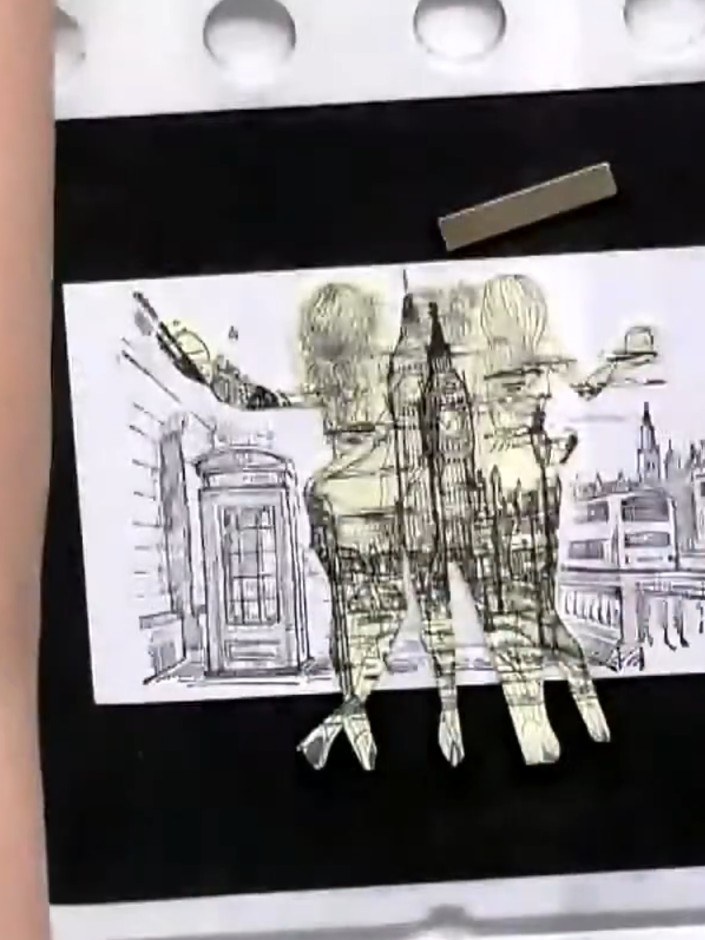
Carefully peel away the masking sheet from the stamped image to reveal the layered London scene composition with the trees and landmarks now visible in their proper positions.
▶ watch this step (1:06:30)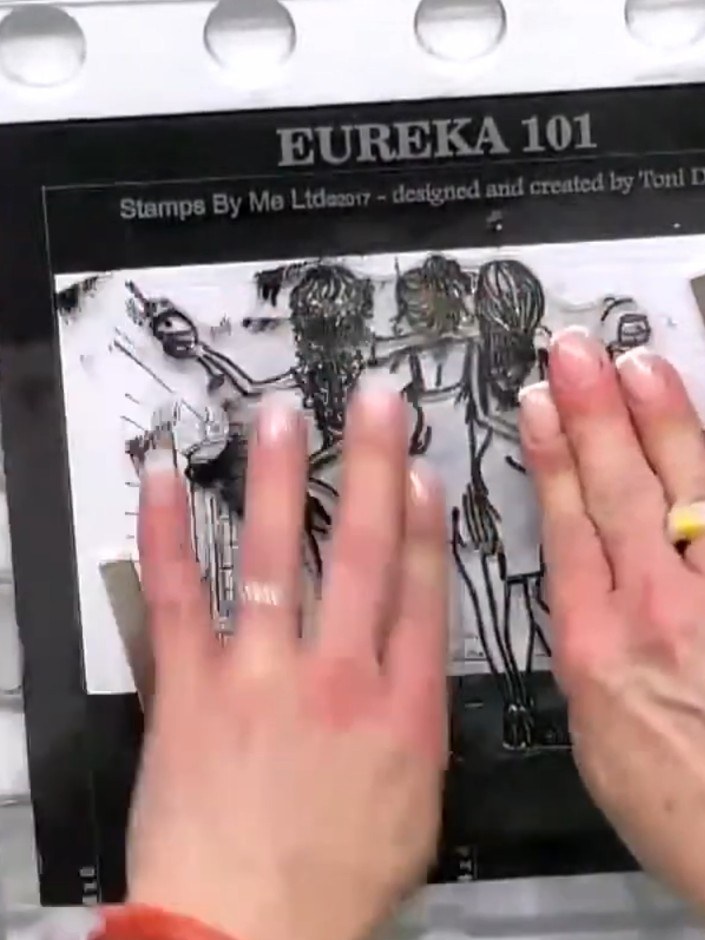
Position additional stamps from the set onto your scene and stamp them to build up the composition. Continue masking and layering stamps to create depth and interest in your London cityscape.
▶ watch this step (1:07:00)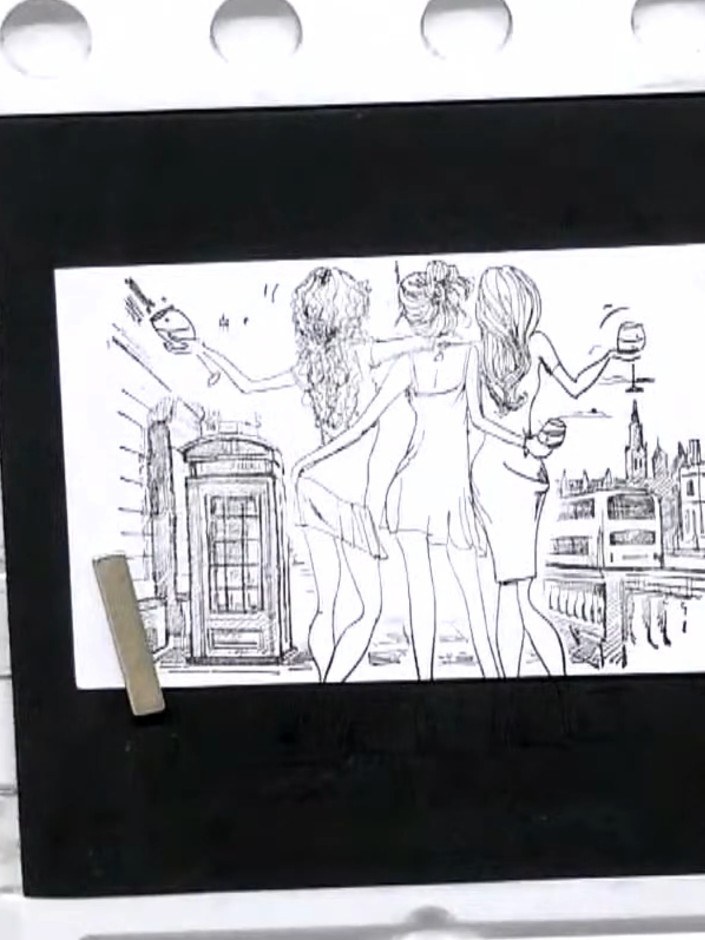
Colour the finished layered design using your preferred colouring technique. Add shading and highlights to bring depth to the scene with the three figures, telephone box, and London background.
▶ watch this step (1:07:30)Written up from the show itself. See every guide from our shows · free how-to guides · watch live on My Telly