Give your friends £10 off their first order!
Refer a FRIEND








A project from our live show BLACK FRIDAY LIVE - Join Toni for her best ever deals show and inspiration - Broadcast 25th Nov 22 · 25/11/2022 · watch it from 24:45
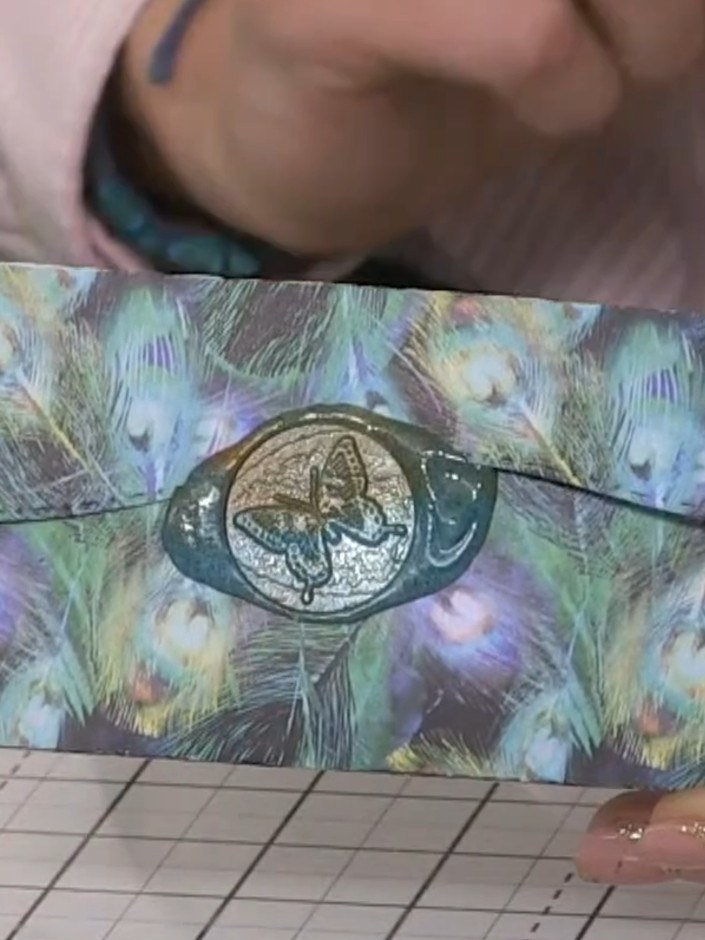
Create a beautiful pop-up gift card holder featuring stunning peacock feather patterned paper in iridescent blues, greens and purples. This elegant wallet-style card opens to reveal a central pop-up mechanism with a decorative butterfly medallion that holds your gift card securely. The project uses simple folding and scoring techniques to create a professional-looking gift card presentation that stands proud when opened.
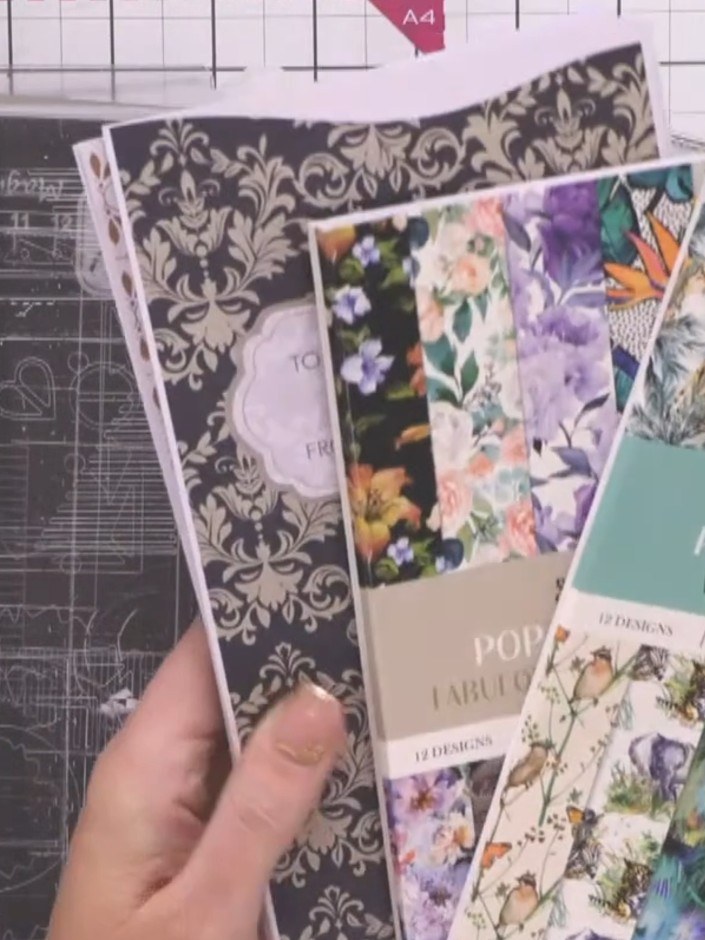
Select your patterned paper from the Pop-Up Gift Card Wildlife Paper Pack. Choose a design you like from the collection of floral and wildlife patterns.
▶ watch this step (25:00)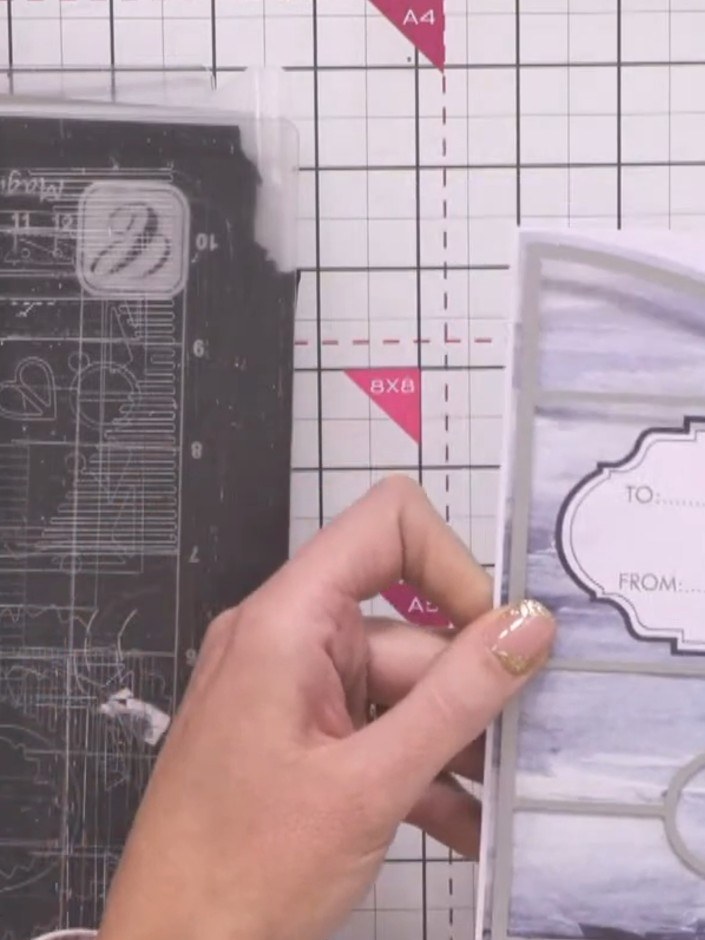
Position the large die on your chosen patterned paper on the cutting mat, ensuring it is aligned correctly with the grid measurements.
▶ watch this step (26:30)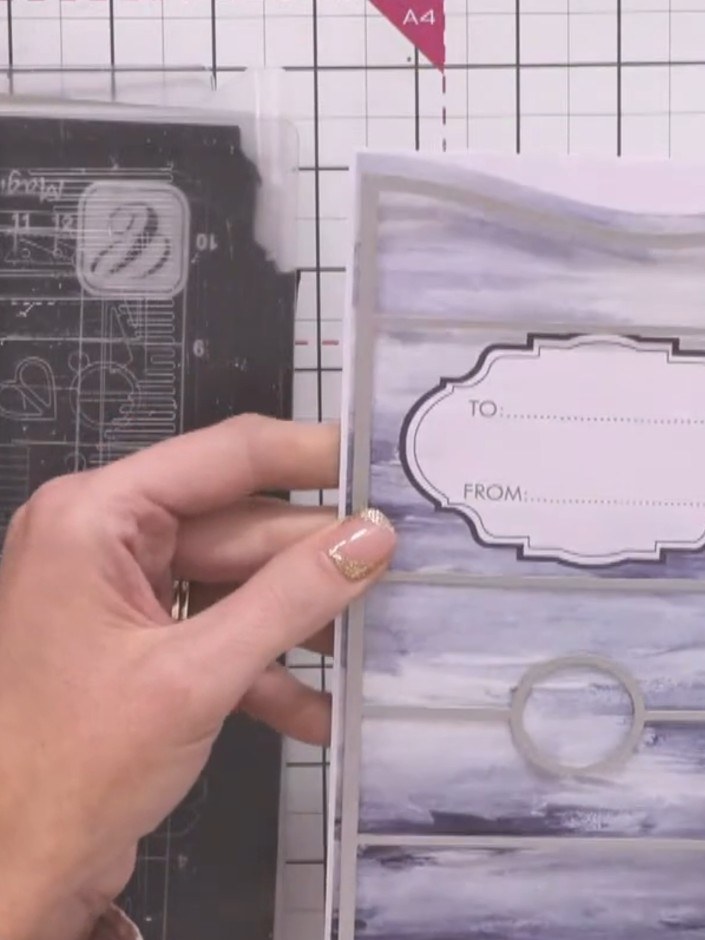
Secure the die to the card panel using small pieces of washi tape or low-tack tape. Place tape along the edges of the die to prevent it from shifting during cutting.
▶ watch this step (26:45)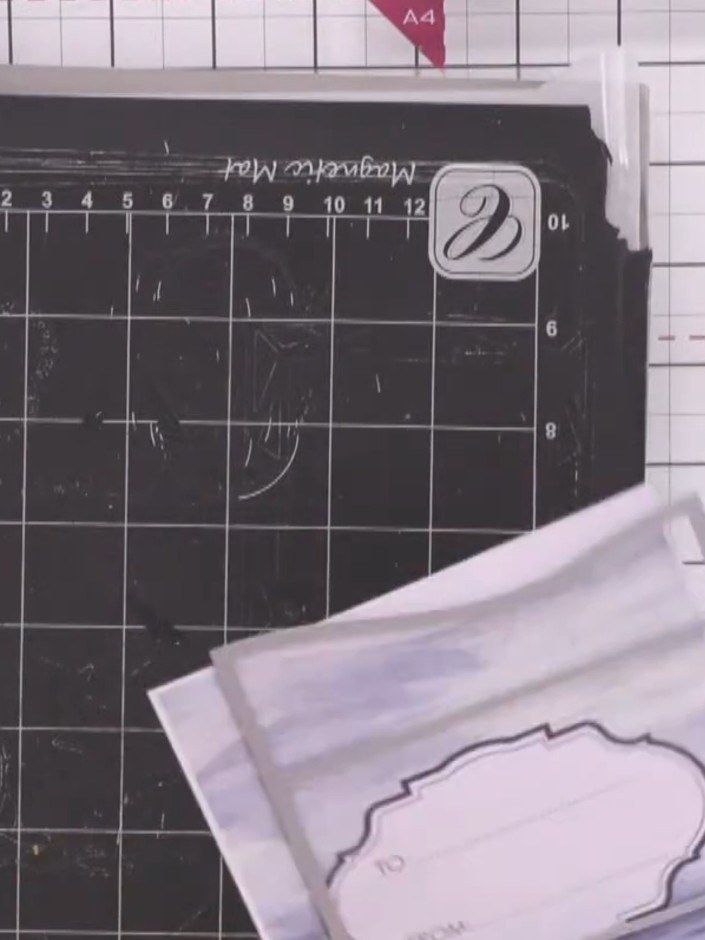
Place your chosen die and paper onto the magnetic mat. Run the die and paper through your cutting machine to cut out the wallet shape.
▶ watch this step (26:50)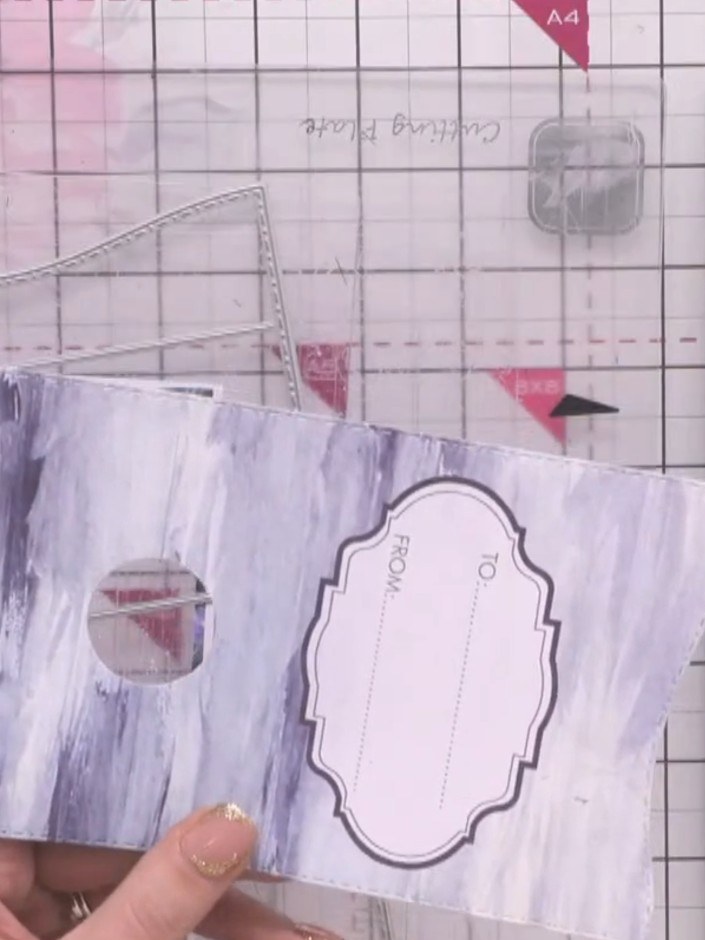
Fold the cut piece along all the score lines to create the rise and fall element of the pop-up. Work through each fold carefully to ensure crisp creases that will allow the mechanism to function properly.
▶ watch this step (31:00)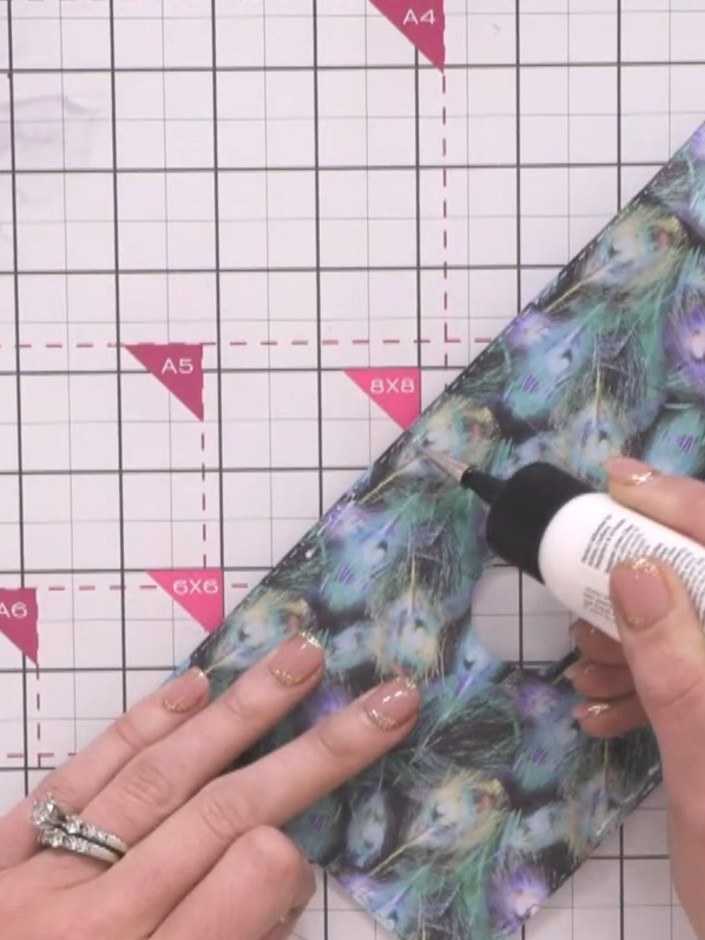
Apply glue down the sides of the folded piece to secure the structure. Use a strong adhesive to ensure the wallet holds its shape.
▶ watch this step (31:45)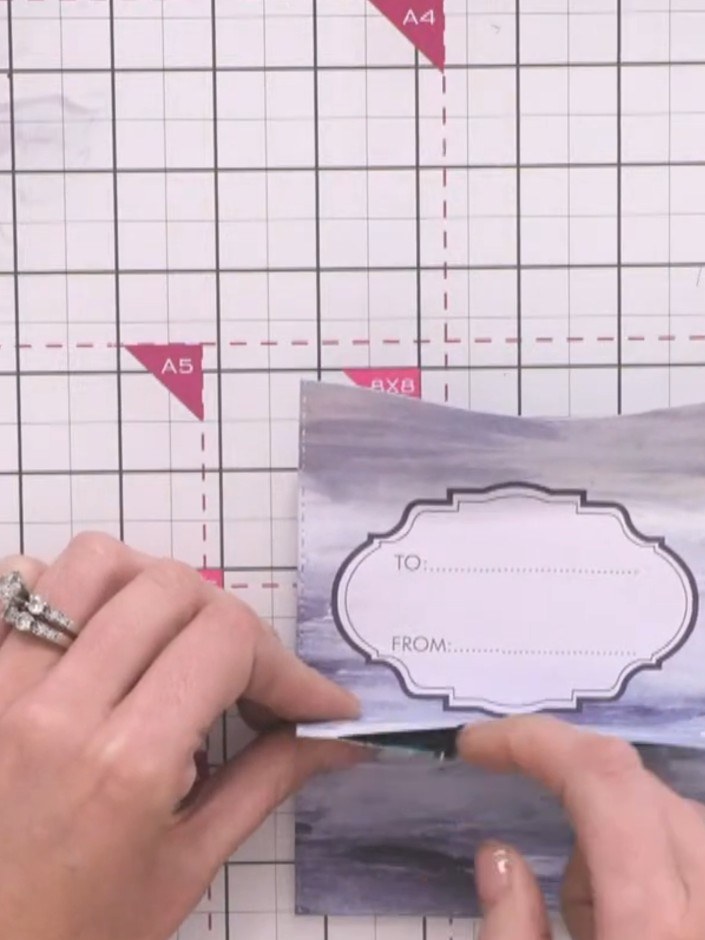
Insert your gift card into the central pocket of the wallet. The card will stand proud when the wallet is opened, creating a pop-up effect.
▶ watch this step (32:30)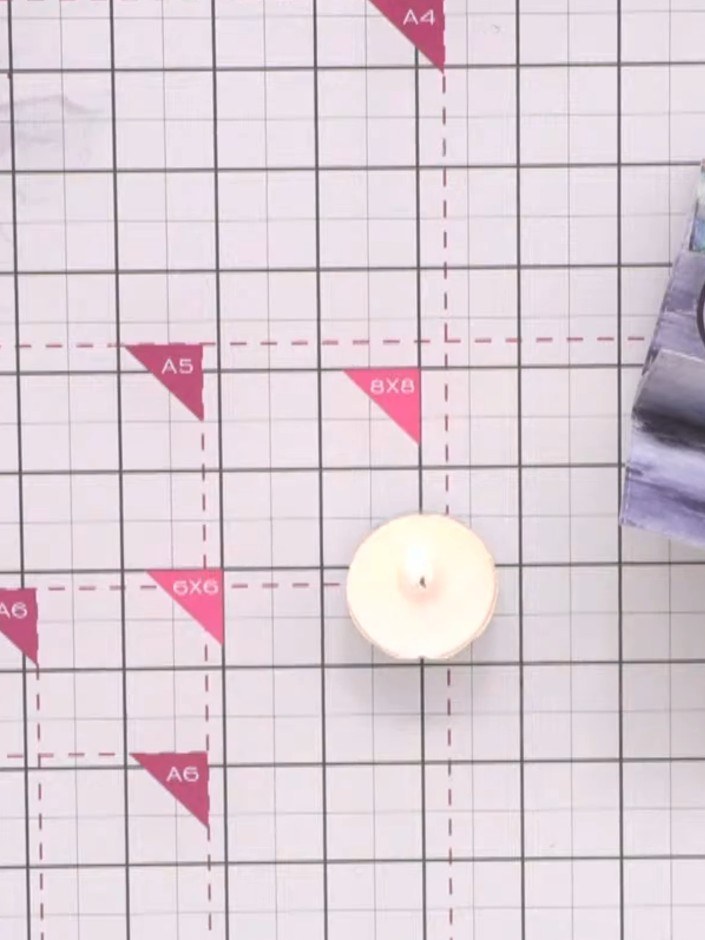
For an elegant finishing touch, seal the wallet closed with a wax seal. Heat the wax and apply it to the closure point of the wallet.
▶ watch this step (33:00)Written up from the show itself. See every guide from our shows · free how-to guides · watch live on My Telly