Give your friends £10 off their first order!
Refer a FRIEND








A project from our live show MONDAY MADNESS - Join Simon from AVAGO-INK for his latest products - Broadcast 28th Nov 22 · 28/11/2022 · watch it from 1:30
Create a charming birthday card featuring an adorable mouse character in a yellow tutu. This delightful design uses stamping and colouring techniques to create a sweet focal image on a soft pink and white striped background with layered elements and a sentiment banner.
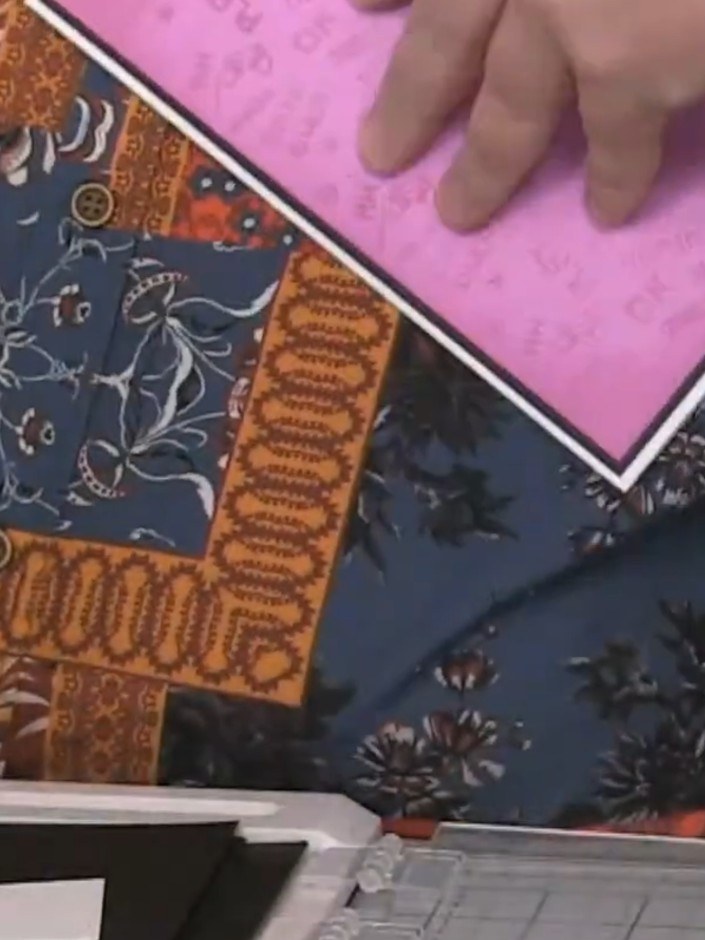
Create the card base with a pink background panel. Use nesting dies to cut black and white layered frame elements with decorative patterned paper featuring orange and navy blue designs.
▶ watch this step (1:45)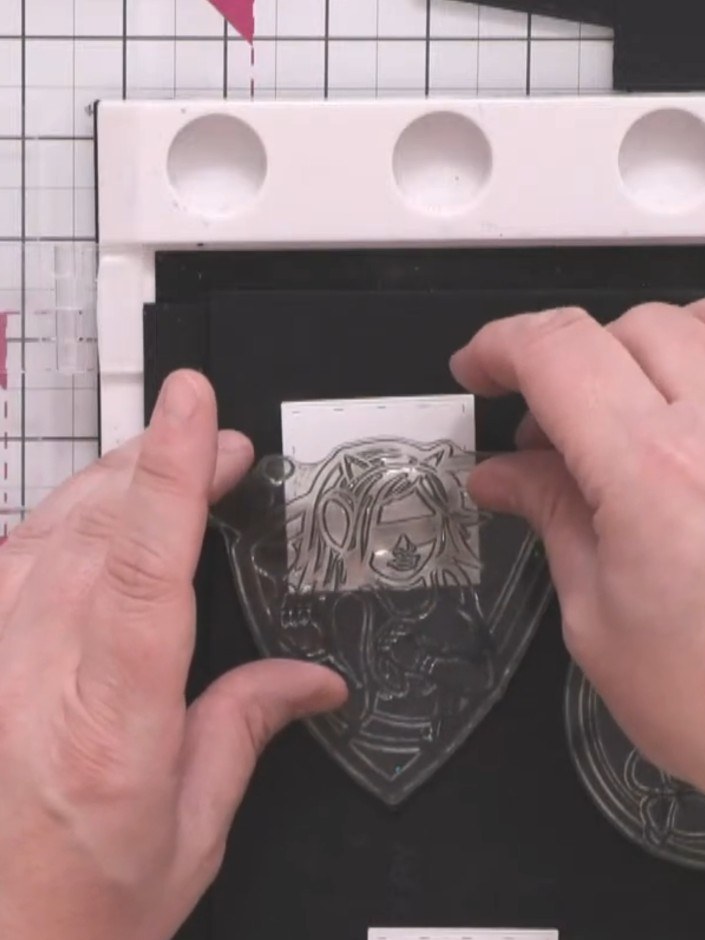
Position the male character stamp in the upper portion of the card front. The stamp shows a character in a shield shape. Place it towards the top of the black card.
▶ watch this step (2:00)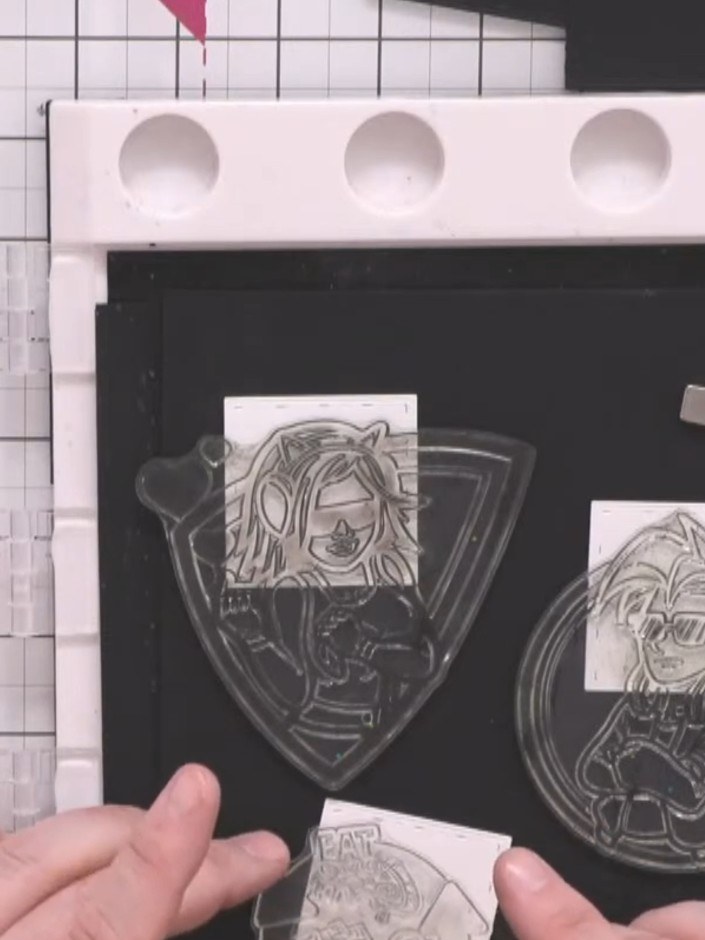
Position the female character stamp (circle design) next to the male character stamp on your black cardstock, ensuring the designs are nicely spaced and aligned.
▶ watch this step (2:15)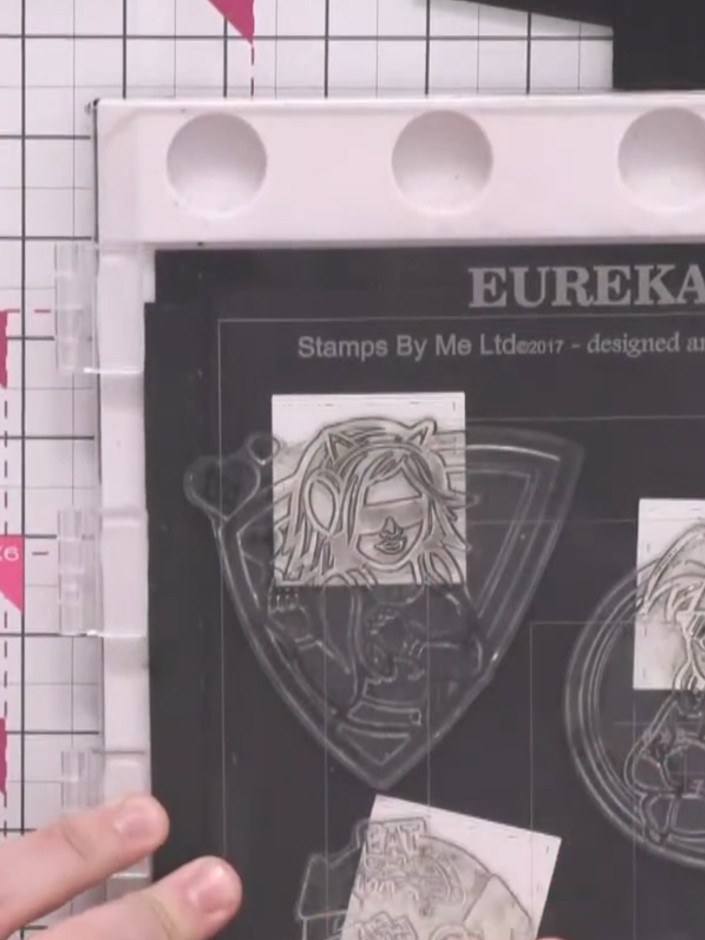
Stamp the circular 'eat game and sleep' design in the top corner of the black card using the clear stamp and white ink.
▶ watch this step (2:30)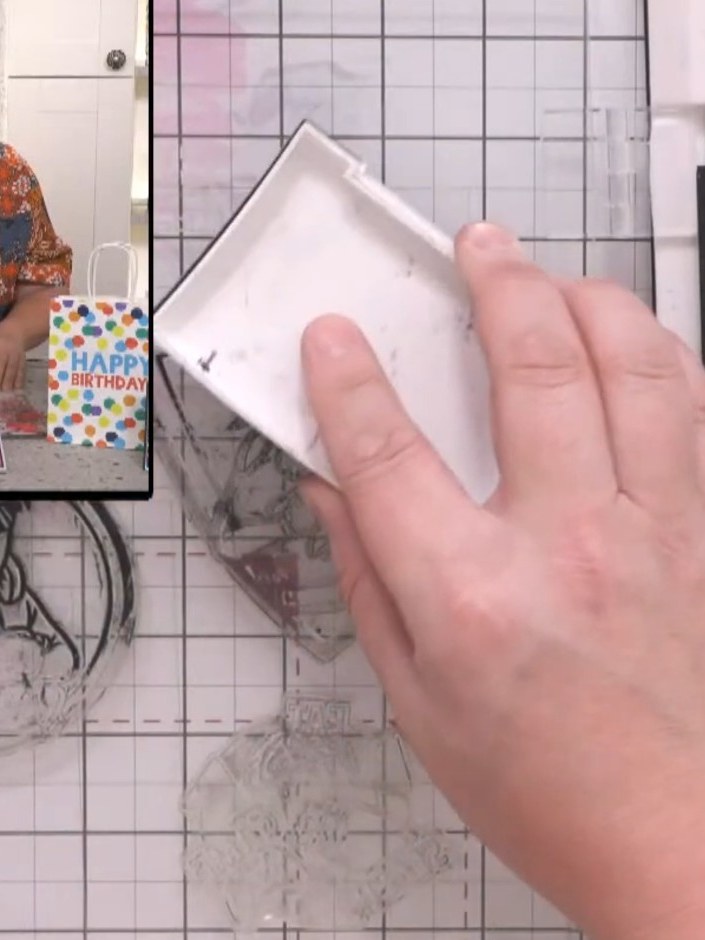
Ink all three character stamps together using a black ink pad, ensuring complete and even coverage across all the stamp surfaces.
▶ watch this step (2:45)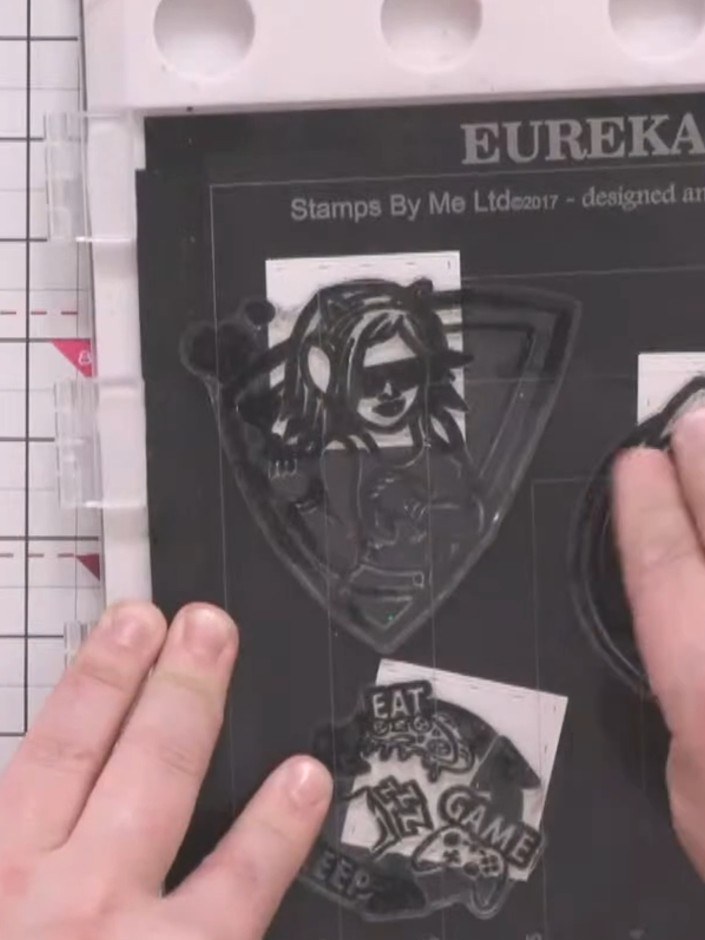
Press the inked stamps from the Eureka 101 stamp set firmly onto white cardstock to transfer the character designs clearly. Ensure even pressure across the entire stamp for a clean impression.
▶ watch this step (3:00)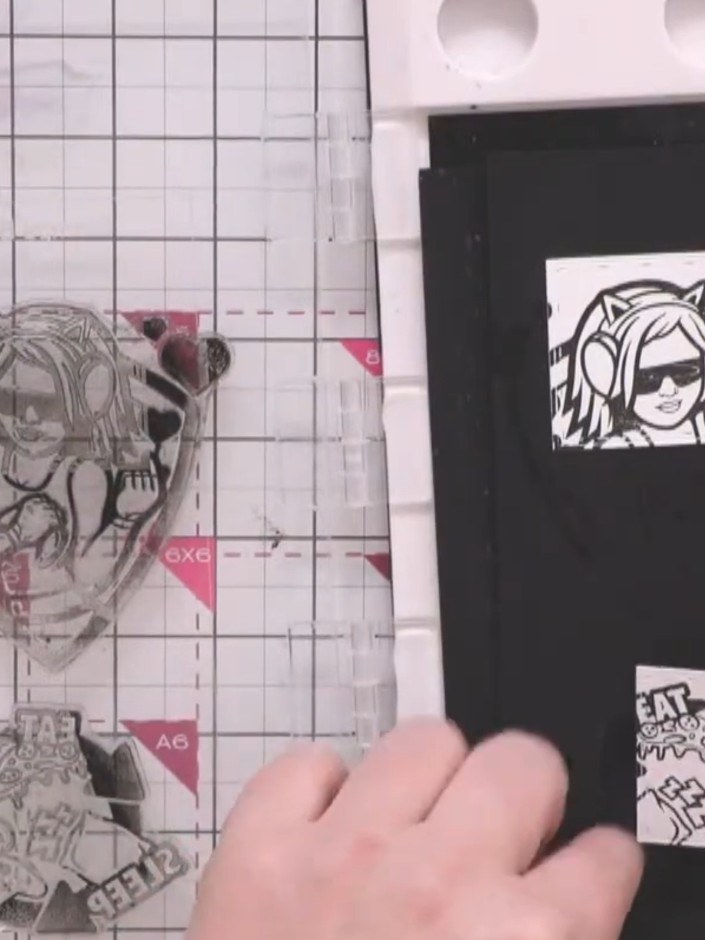
Remove the stamped character images from the stamping press and set them aside to dry completely before colouring.
▶ watch this step (4:00)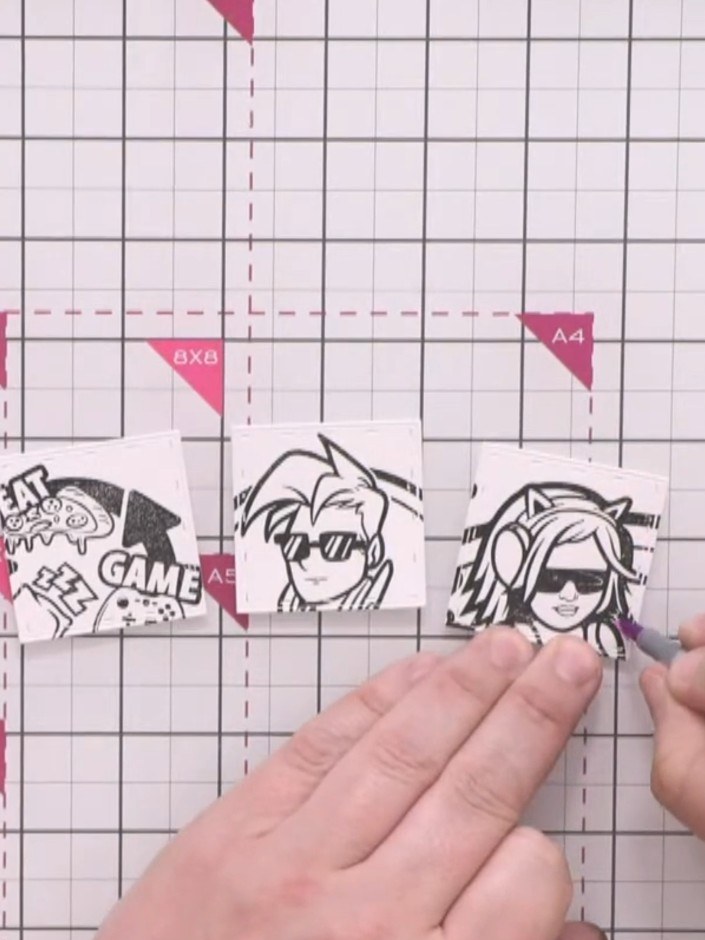
Using an alcohol marker in a colour complementary to the pink background, colour around the character outlines to make them stand out. Leave the characters themselves white so the light pops through.
▶ watch this step (4:15)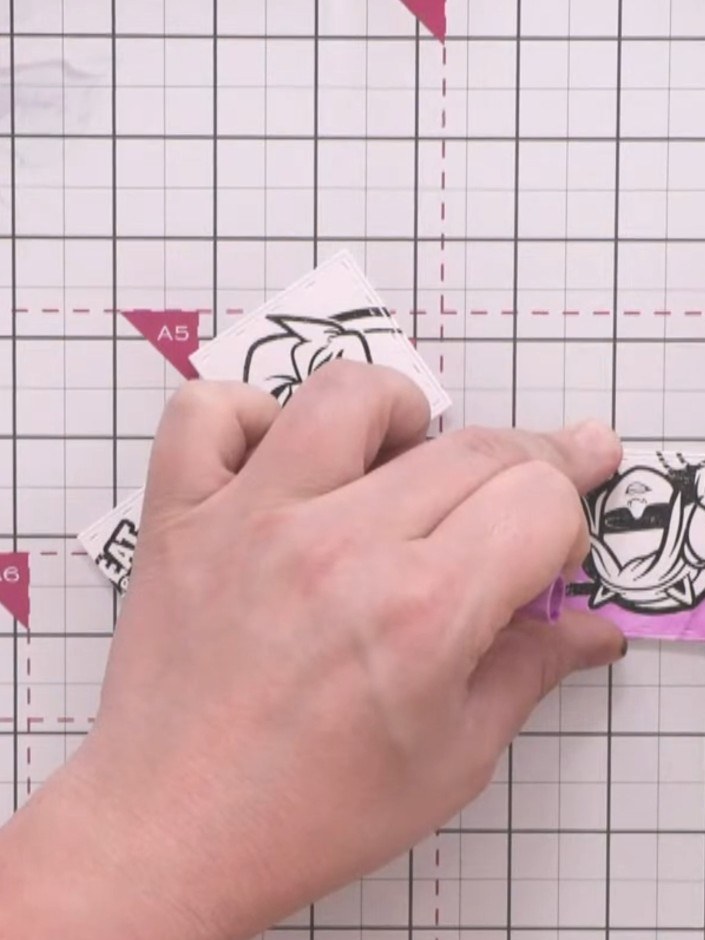
Continue colouring the background areas around all three stamped character designs using your colouring pen, carefully following the contours of each character.
▶ watch this step (5:00)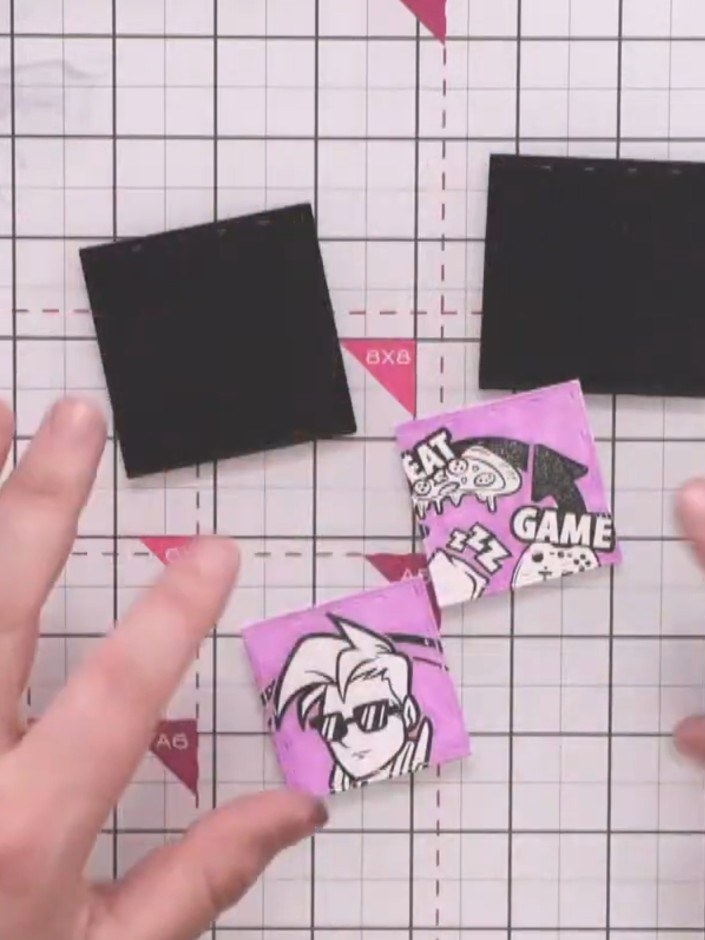
Mount each of the three coloured stamped character pieces onto black card matte layers using adhesive to create a border around each image.
▶ watch this step (7:30)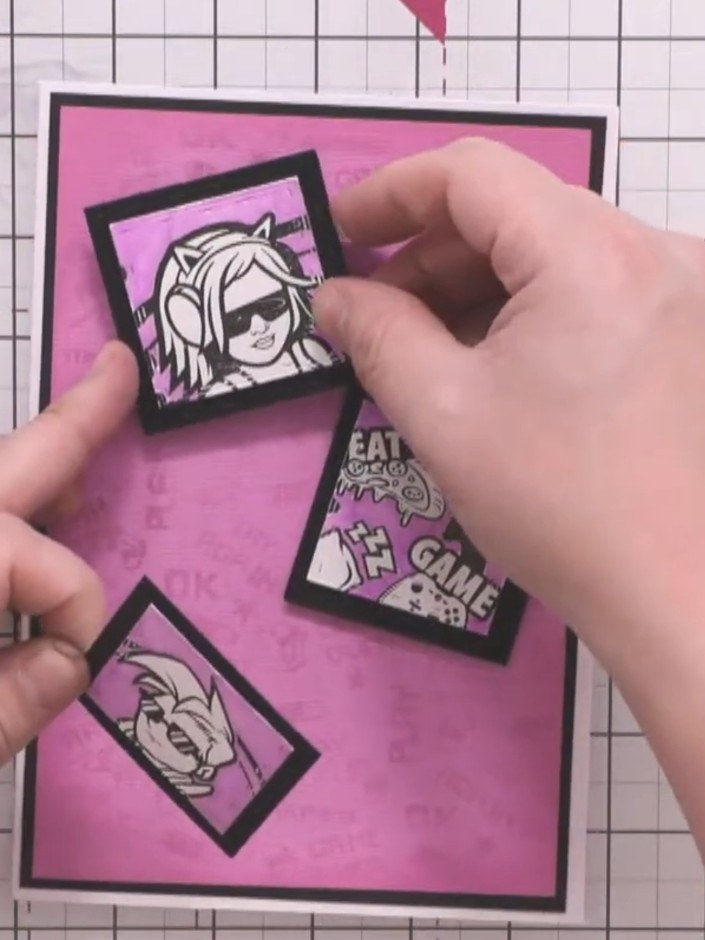
Attach foam pads to the back of the stamped character panels and sentiment pieces to create dimension before adhering them to the card.
▶ watch this step (8:15)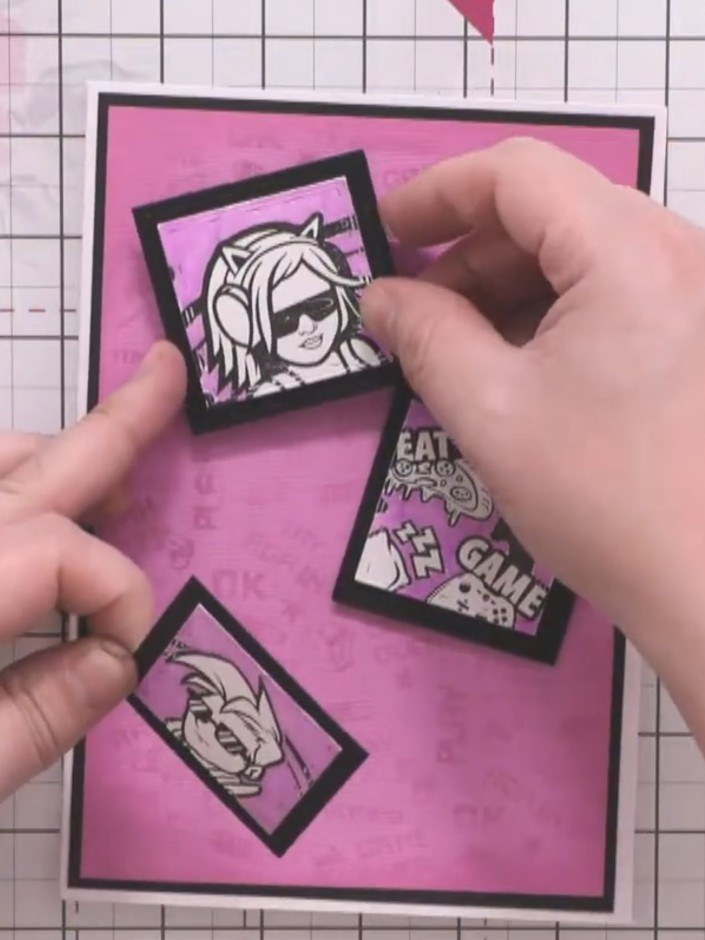
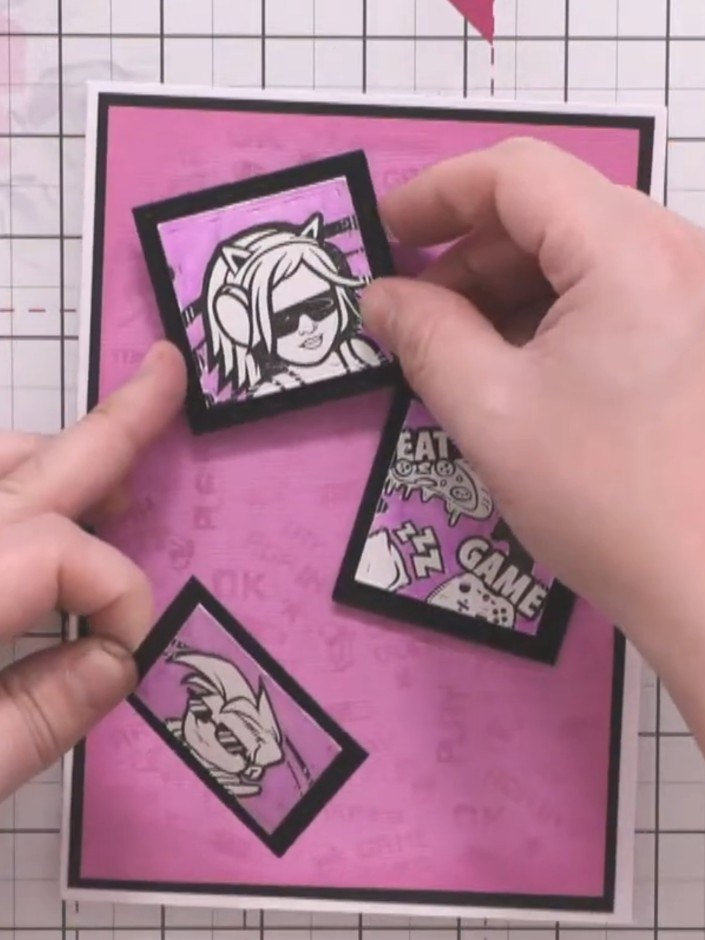
Arrange the three stamped and layered character pieces on the pink card front. Position them at different angles, with one character at the top, one in the middle, and one at the bottom for a dynamic layout.
▶ watch this step (9:00)Written up from the show itself. See every guide from our shows · free how-to guides · watch live on My Telly
