QUICK LINKS

info@howtocraftnetwork.com
We just got smarter - shop and watch with the SBM appGET THE APPWatch us live on your smart TVSEE HOWDiscover our dedicated IPTV channel - go to my-telly.comWATCHCollect loyalty points on every orderFIND OUT MORE
Welcome to the How to Craft Network
 
SBM SHOP
FOLLOW US
GIVE YOUR FRIENDS £10 OFF REFER A FRIEND › DISCOVER MY-TELLY.COM › WE JUST GOT SMARTER GET THE APP › AWARD WINNING CHANNEL ON YOUR TV › JOIN THE CLUB FOR SAVINGS ›
 

Lamination Stamp Watercolour-Effect Card

A project from our live show CREATE AND CRAFT - BRAND NEW COLLECTION - Join Toni for her latest launch show 1 - broadcast 29 Nov 22 · 29/11/2022 · watch it from 50:30
Lamination Stamp Watercolour-Effect Card - the finished project
The finished project

Create a stunning watercolour-effect card featuring vibrant hummingbirds in pink, orange, turquoise and green. Using a two-part lamination stamping technique, you'll build up beautiful layered images by first creating soft, watercolour backgrounds with coloured ink and water spray, then adding crisp black outline details on top for a professional finish.
DOWNLOAD THIS GUIDE (PDF)

Step by step

  1. Step 1: Examine your Stamps by Me A5 lamination stamp set from the Beautiful Moments collection. Identify the solid po

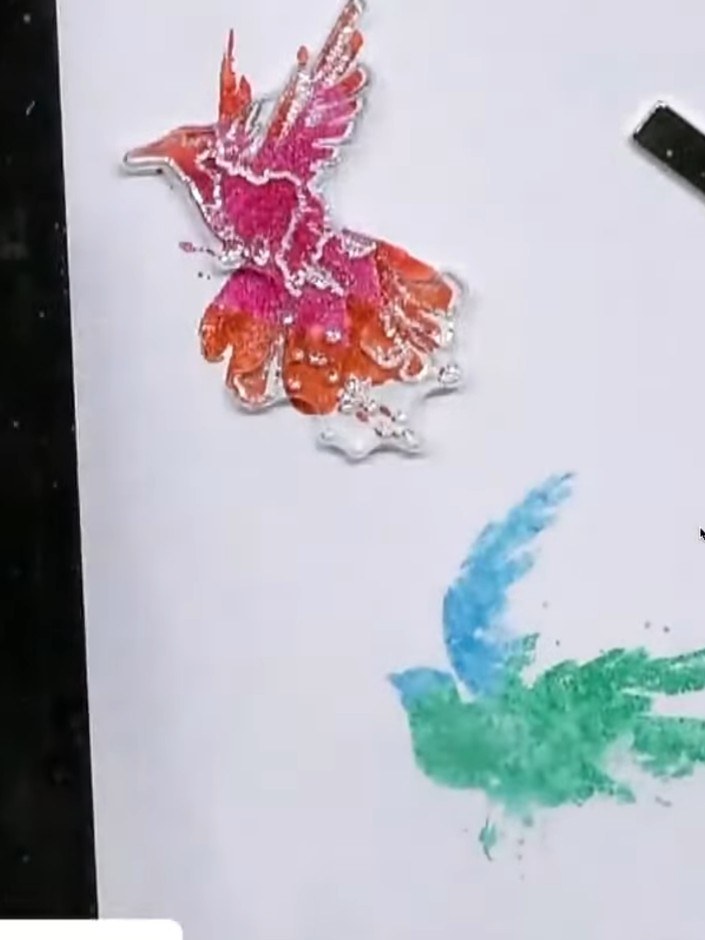
    Examine your Stamps by Me A5 lamination stamp set from the Beautiful Moments collection. Identify the solid portions of the stamps - these are the areas that will hold the IZINK dye spray colours (teal and pink shown).

    ▶ watch this step (50:45)
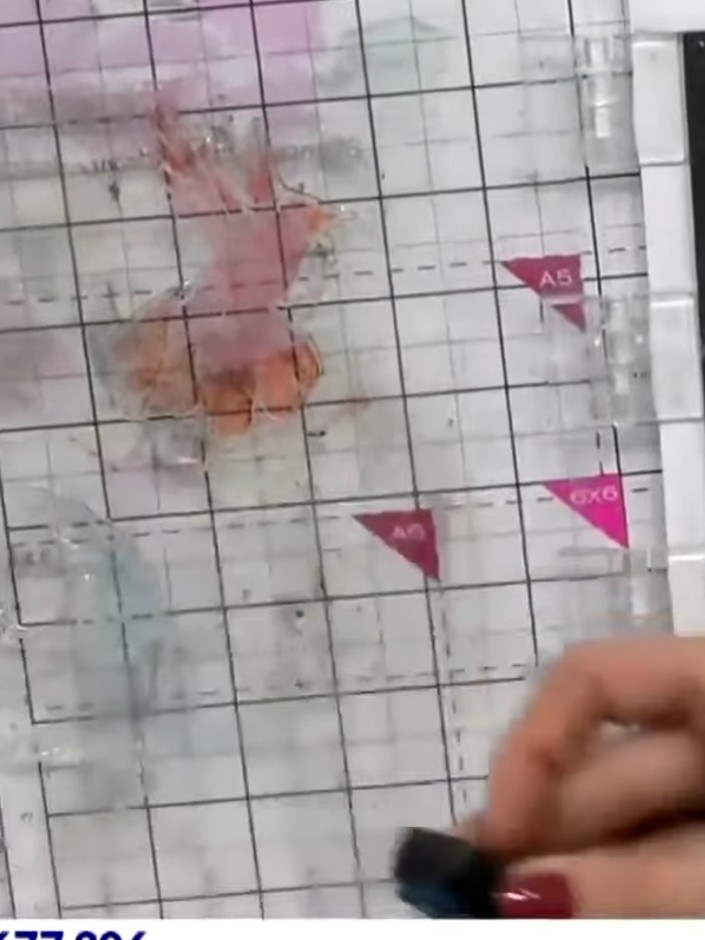
  2. Apply IZINK sprays in multiple colours to the solid portions of the hummingbird stamp. Use teal and pink for variety, creating a vibrant watercolour effect on the stamp surface. ▶ watch 51:00
  3. Lightly spray the inked stamp with water to help the colours blend and bleed naturally. The water will create a watercolour effect as it interacts with the ink. ▶ watch 51:30
  4. Step 4: Stamp the coloured solid portion firmly onto your white cardstock and lift the stamp away cleanly to reveal th

    Stamp the coloured solid portion firmly onto your white cardstock and lift the stamp away cleanly to reveal the watercolour effect.

    ▶ watch this step (51:45)
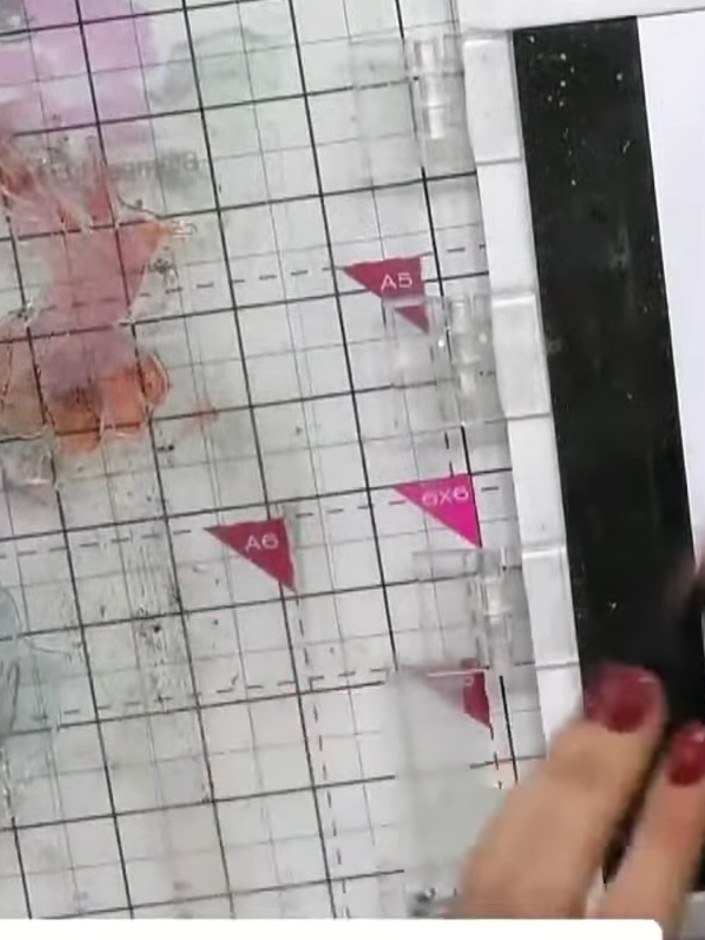
  5. Step 5: While the ink is still wet, observe the colours bleeding and blending together on the paper. The wet ink will

    While the ink is still wet, observe the colours bleeding and blending together on the paper. The wet ink will create beautiful watercolour-effect patterns as the different colours merge.

    ▶ watch this step (52:15)
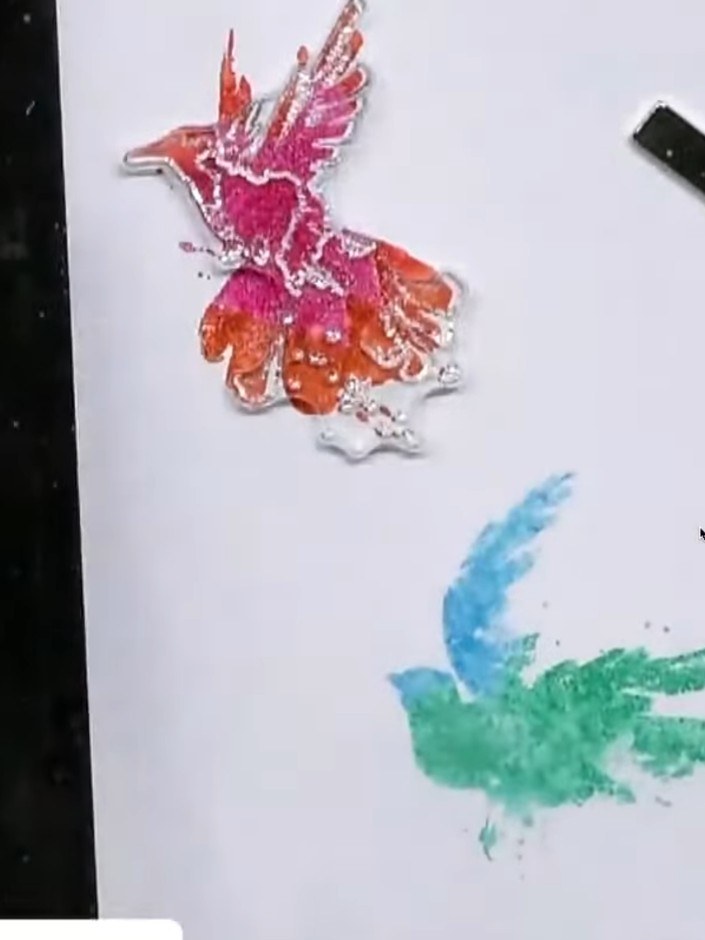
  6. Step 6: Clean the stamp thoroughly to remove all ink residue. Allow the first stamped layer on your card to dry comple

    Clean the stamp thoroughly to remove all ink residue. Allow the first stamped layer on your card to dry completely before proceeding to the next step.

    ▶ watch this step (52:30)
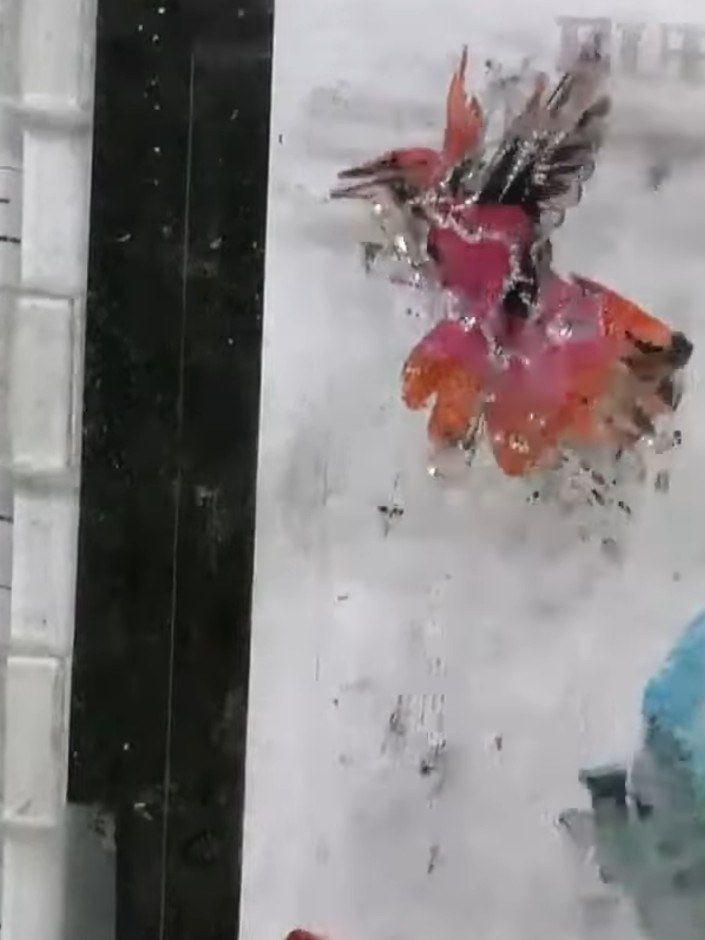
  7. Using black ink, carefully stamp the detailed outline portions of the hummingbird design over the coloured areas. Position the stamp to align with the watercolour effect beneath. ▶ watch 52:45
  8. Step 8: Carefully align and stamp the black outline bird stamp over the dried coloured background. Allow the stamp to

    Carefully align and stamp the black outline bird stamp over the dried coloured background. Allow the stamp to sit naturally over the colours, accepting slight misalignment as part of the handmade effect.

    ▶ watch this step (53:00)
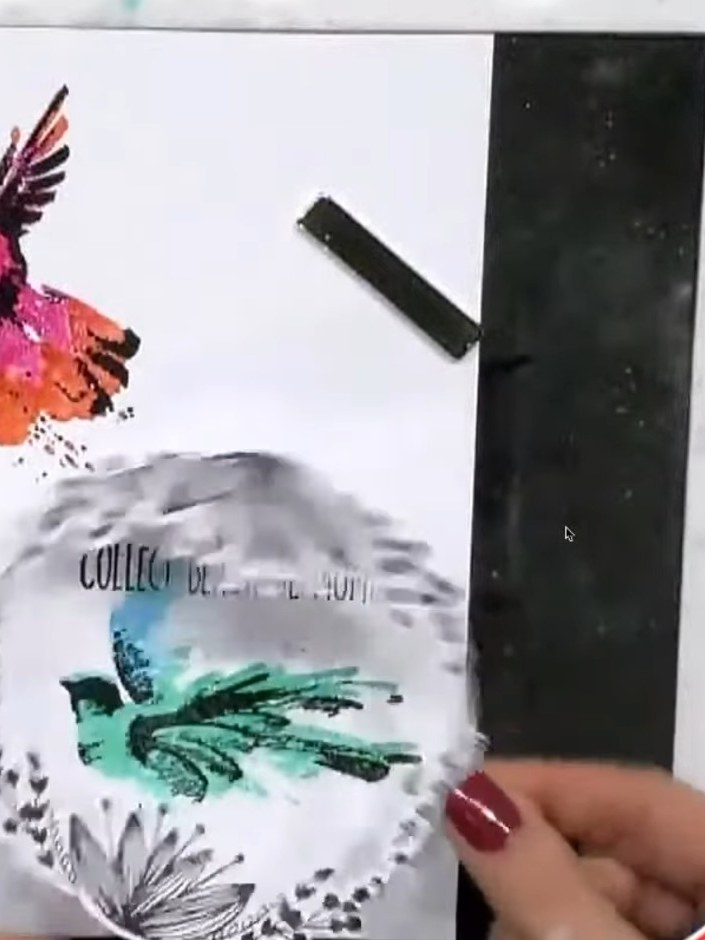
  9. Step 9: Stamp one of the coordinating sentiments in black ink onto the card to complete your design. Position the sent

    Stamp one of the coordinating sentiments in black ink onto the card to complete your design. Position the sentiment stamp where desired and press firmly to ensure a clear impression.

    ▶ watch this step (53:30)

Tips from the show

More from this show

Written up from the show itself. See every guide from our shows · free how-to guides · watch live on My Telly







