Give your friends £10 off their first order!
Refer a FRIEND








 Hidden GemsWed 18 Nov 10am
 The Thursday DropThu 19 Nov 6pm
 The Friday Final CutFri 20 Nov 10am
Prices change straight away. Every language is our own translation, not Google.
A project from our live show ONE DAY SPECIAL - Join Toni for her brand new launch - Broadcast 27th February 2026 · 27/02/2026 · watch it from 22:15
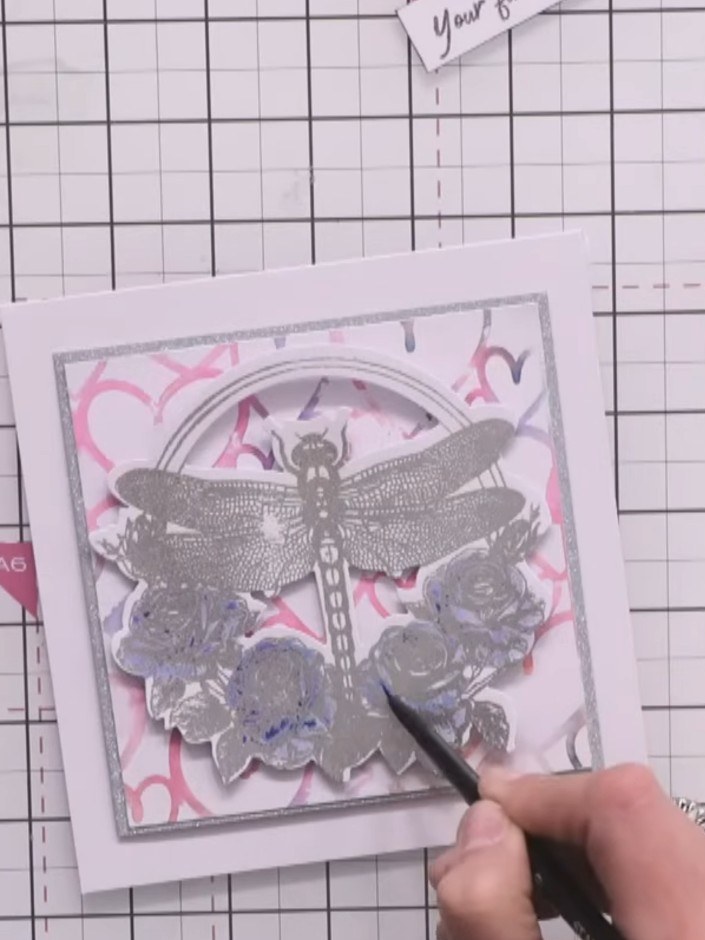
Create a striking card featuring a large embossed dragonfly stamped in metallic silver powder with a hand-stencilled heart background in pink tones. The design combines heat-embossed detail with watercolour ink resist techniques for depth and dimension. The finished piece showcases elegant layering with decorative flowers and a sentiment banner.
 Stamps By Me - Floral Flutter Complete Collection - 270226ESEE IT
 Wow Powder Trio - Created By Toni Darroch - Russett, Laurel Argent - 270226ASEE IT
 Stamps By Me - Stencils and Die Set - Beautiful Buttercups - 080824BSEE IT
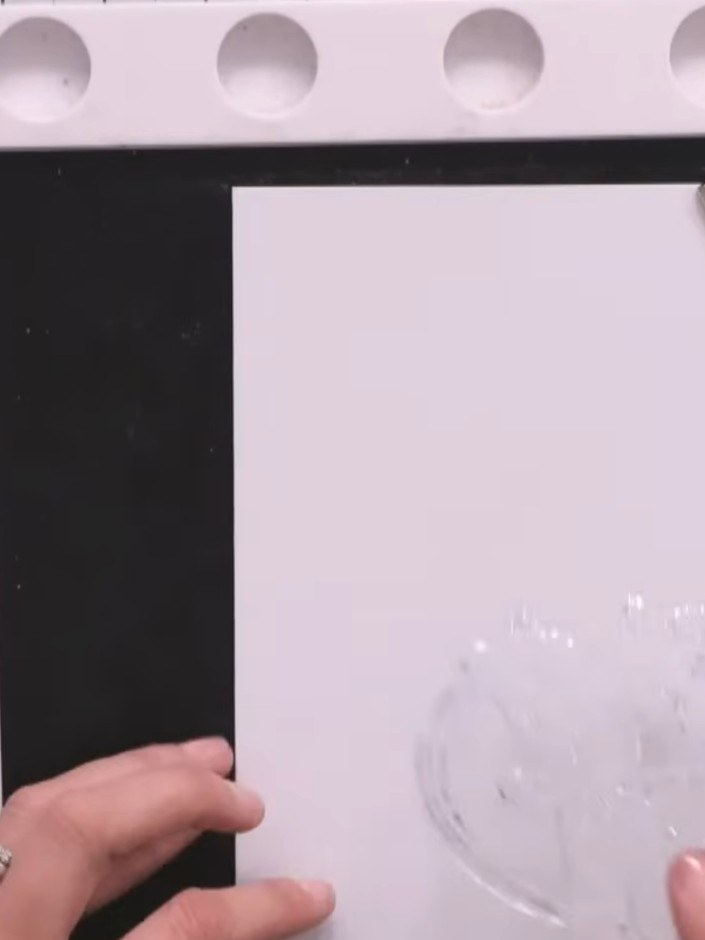
Wipe your rubber stamp with an anti-static bag to remove any dust or moisture before inking. This prevents white specks appearing in your stamped image.
▶ watch this step (22:15)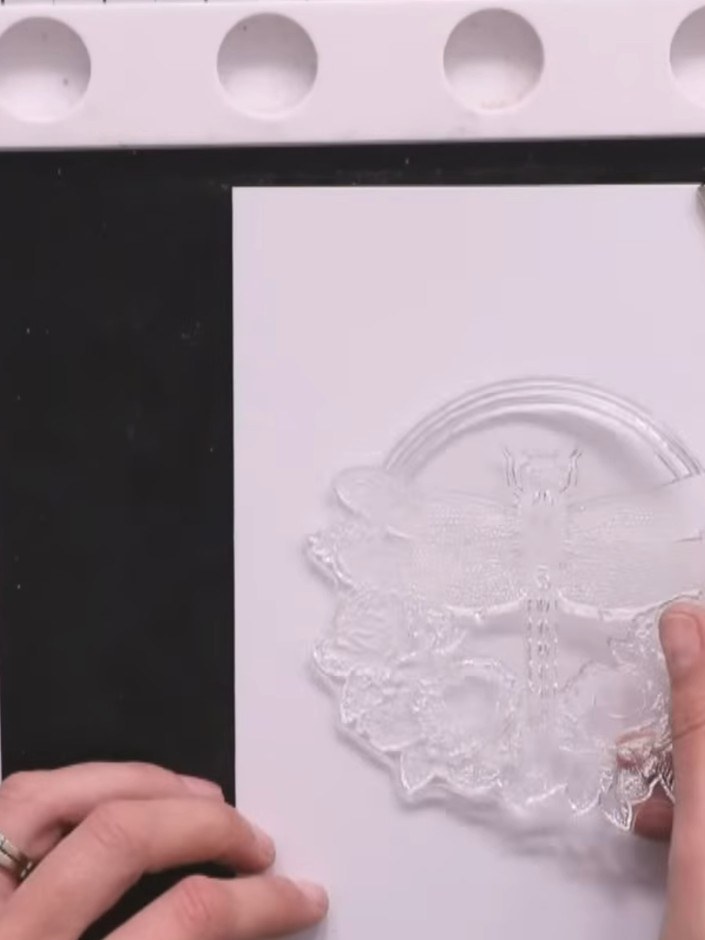
Ink up the large dragonfly stamp thoroughly with sticky embossing ink, stamping it twice onto white cardstock to ensure all the detail is picked up clearly.
▶ watch this step (23:00)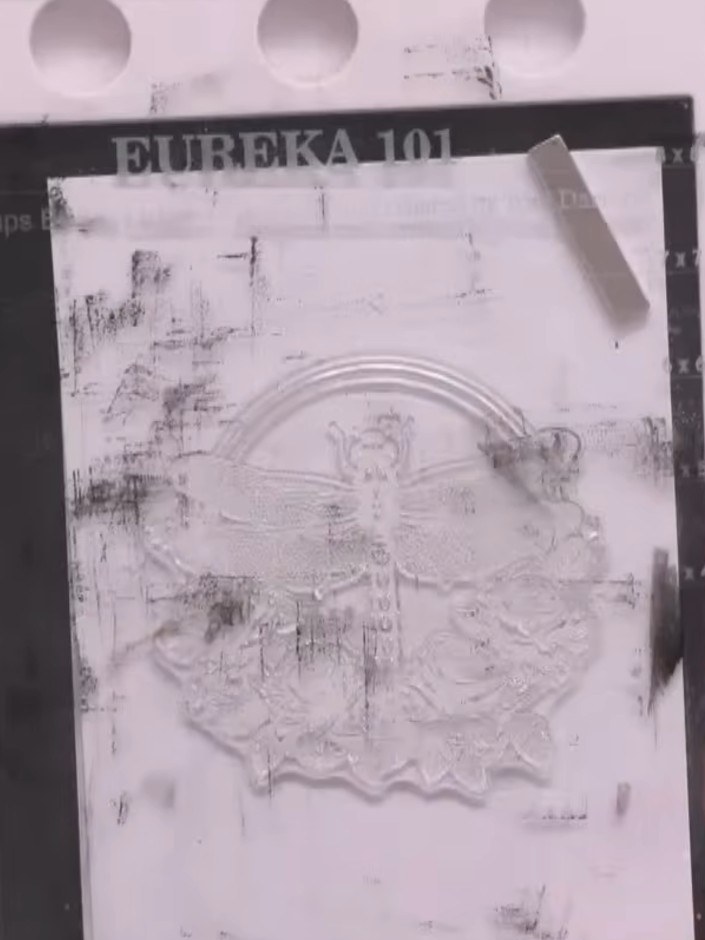
Pour the metallic embossing powder (Argent from the WOW Powder Trio) generously over the wet stamped dragonfly image, ensuring it is completely coated. Tap off the excess powder.
▶ watch this step (23:45)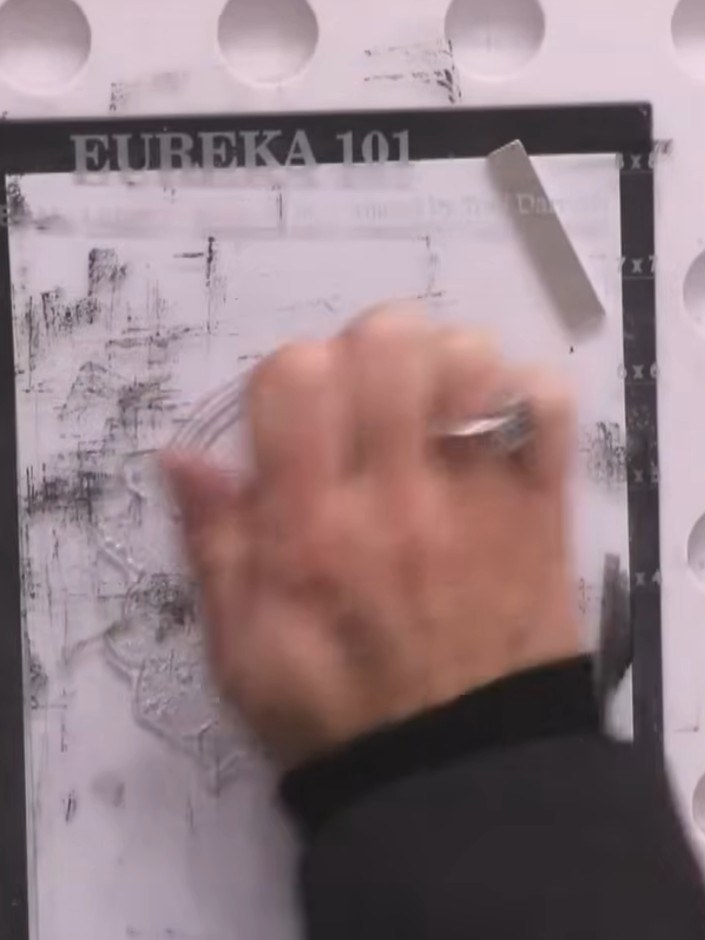
Tap off the excess embossing powder back into the pot. Heat set the powder using a heat gun, ensuring the gun is hot before applying it to the card to melt and set the embossing powder.
▶ watch this step (24:15)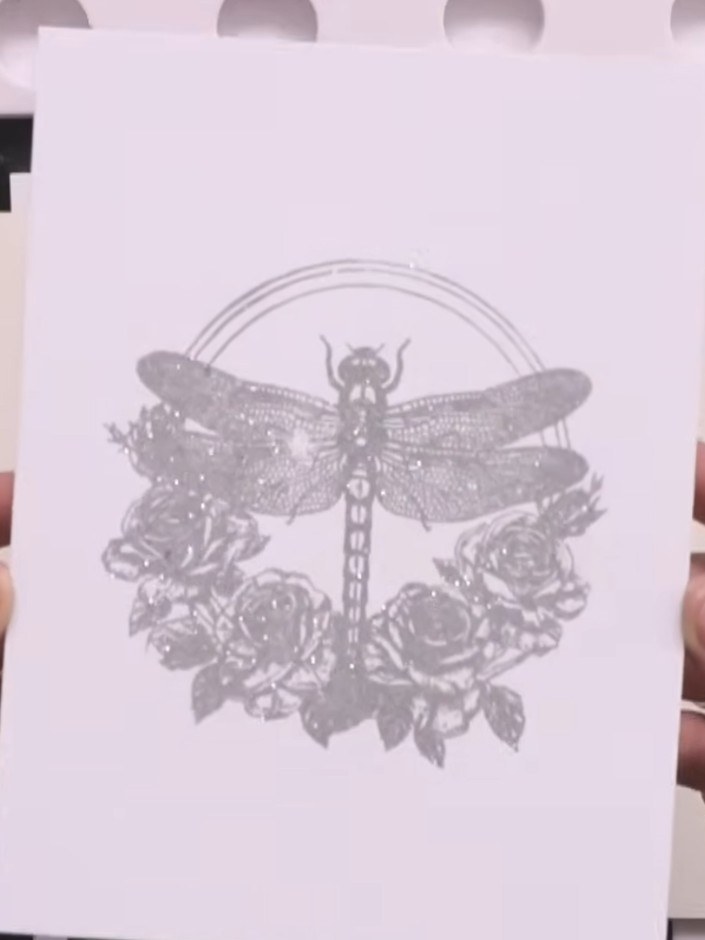
Once the embossed dragonfly has cooled, use the coordinating die to cut around the stamped image, creating a shaped card element.
▶ watch this step (25:30)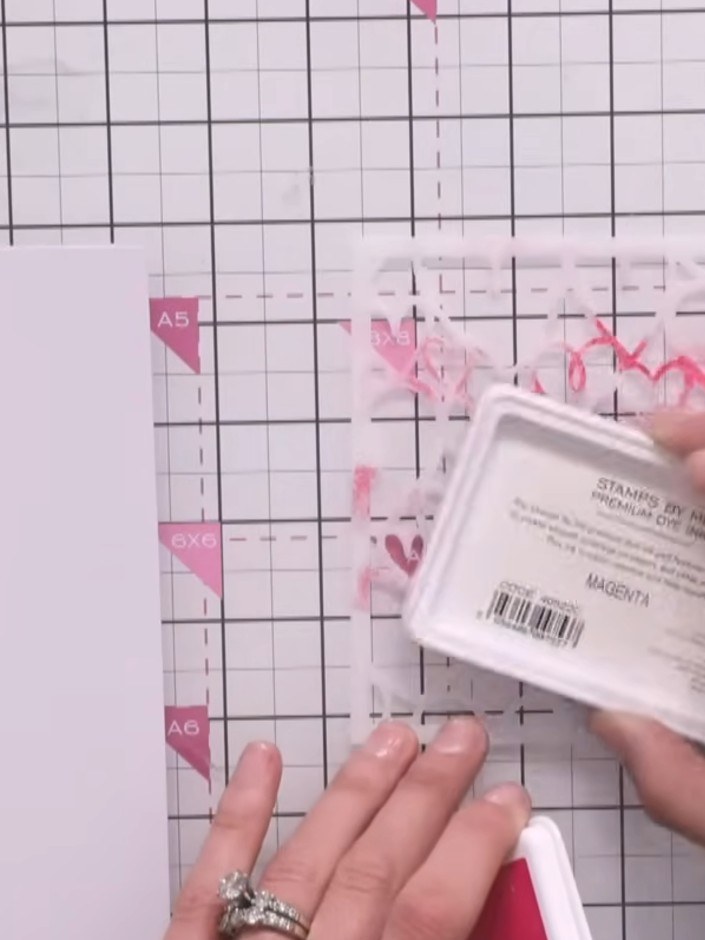
Ink up the heart stencil with magenta ink directly on the stencil itself. Add touches of orange and teal ink to create a multi-coloured effect on the stencil.
▶ watch this step (31:45)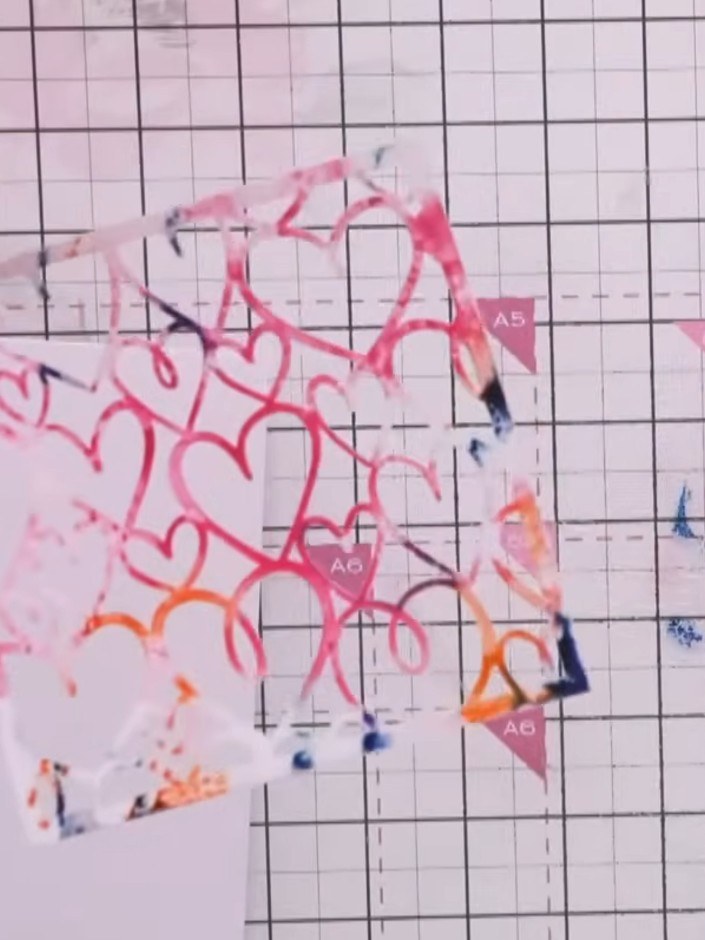
Spray the inked stencil lightly with water to create a resist effect. Press the wet stencil onto your card background to transfer the pattern.
▶ watch this step (32:15)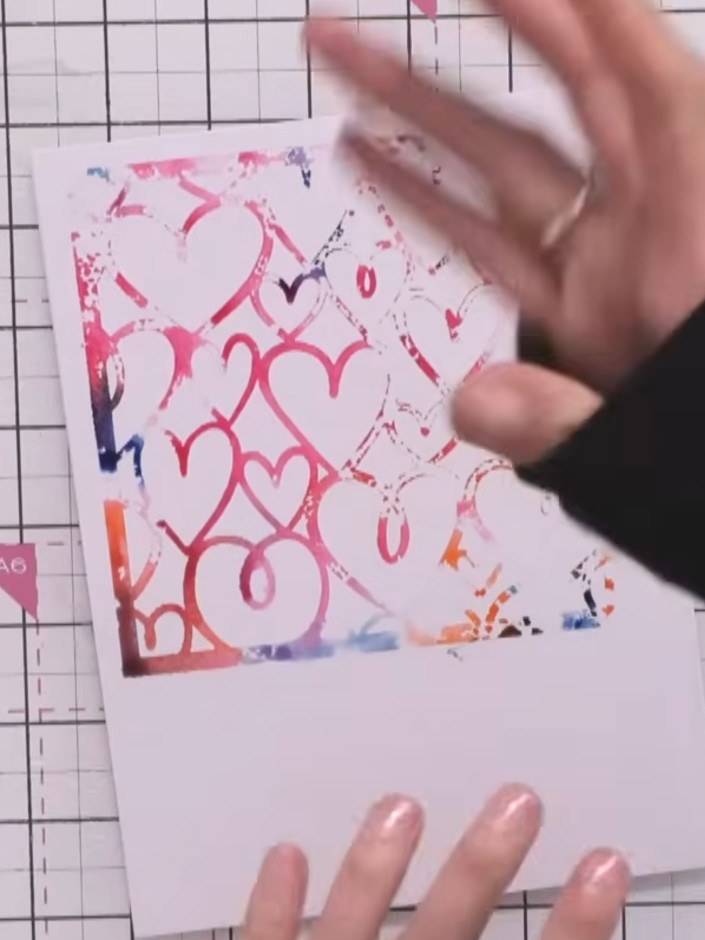
Carefully lift the stencil away from the card to reveal the stamped and stencilled heart pattern. Allow the background to dry completely before continuing with the next step.
▶ watch this step (33:15)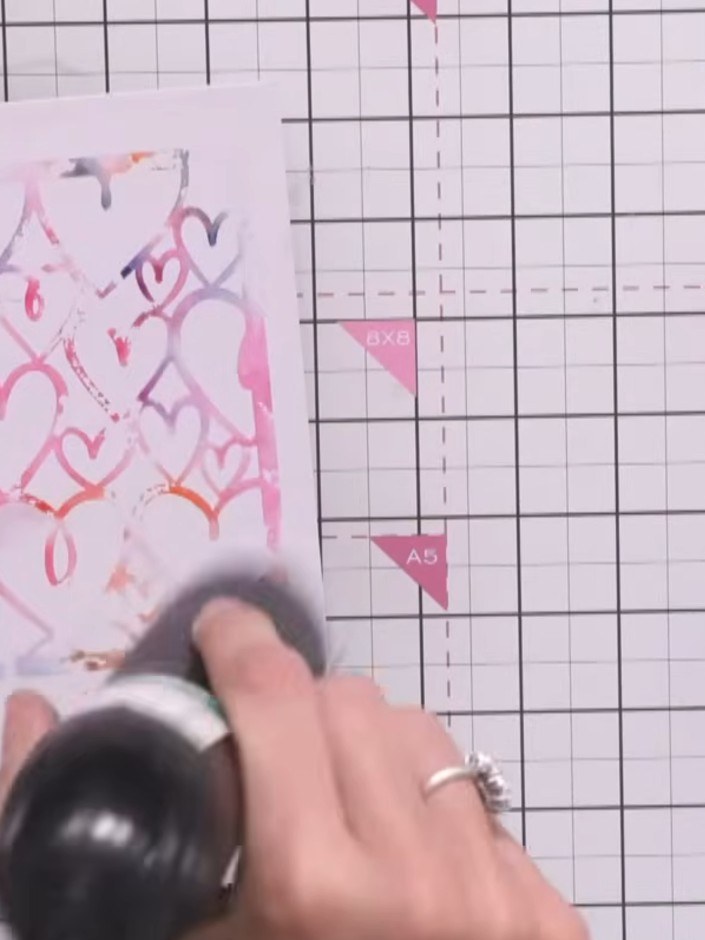
Cut a rectangular panel from the stencilled heart background using a guillotine or craft knife and ruler on your cutting mat.
▶ watch this step (34:00)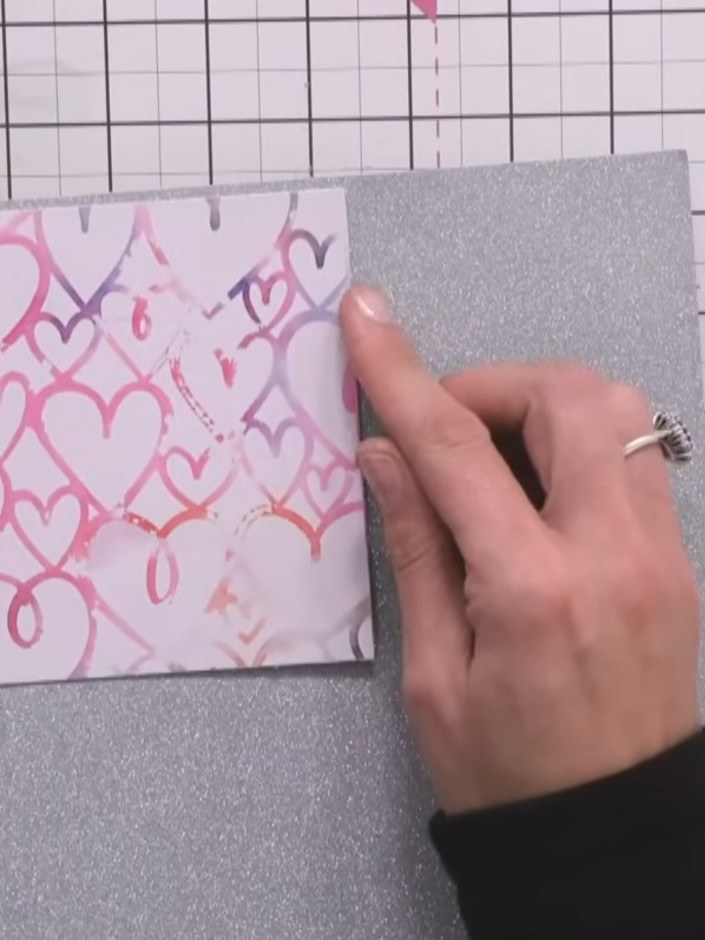
Mount the heart-patterned background panel centrally onto the silver glitter card stock using foam pads for dimension.
▶ watch this step (35:30)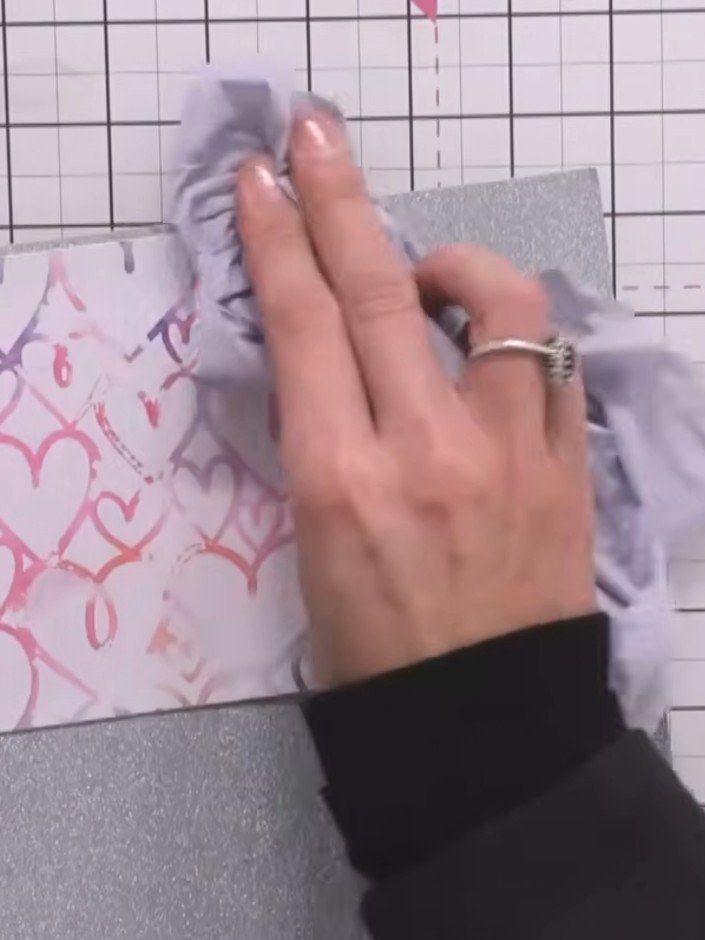
Adhere the embossed dragonfly die-cut on top of your card using foam pads to create dimension. Position it centrally over the stencilled heart background.
▶ watch this step (36:00)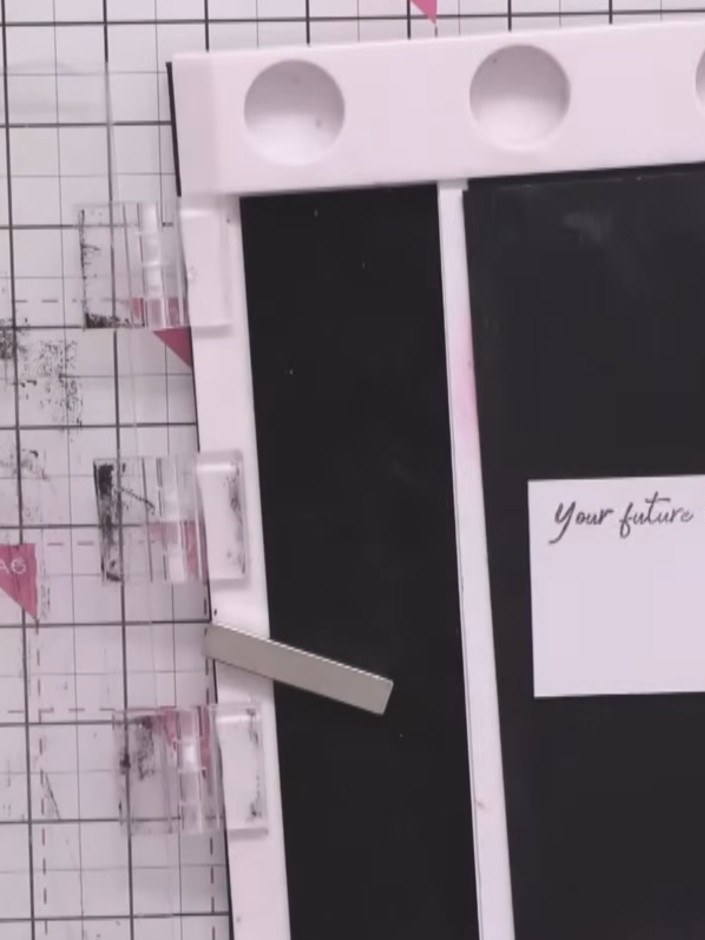
Stamp a sentiment from the collection onto a white cardstock strip and trim it neatly. Edge the strip with ink using an ink pad to add definition.
▶ watch this step (39:15)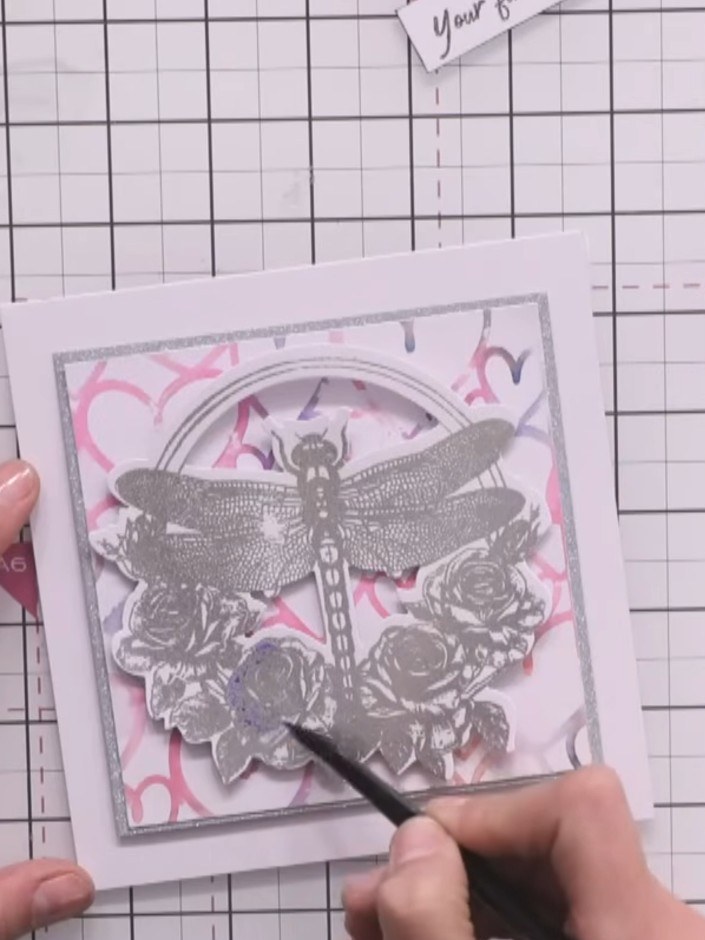
Use a watercolour brush with teal ink to add subtle colour washes to the flowers and wings of the dragonfly. The embossing powder will resist the ink, creating a beautiful contrast. Edge the design gently to build up the colour gradually.
▶ watch this step (40:30)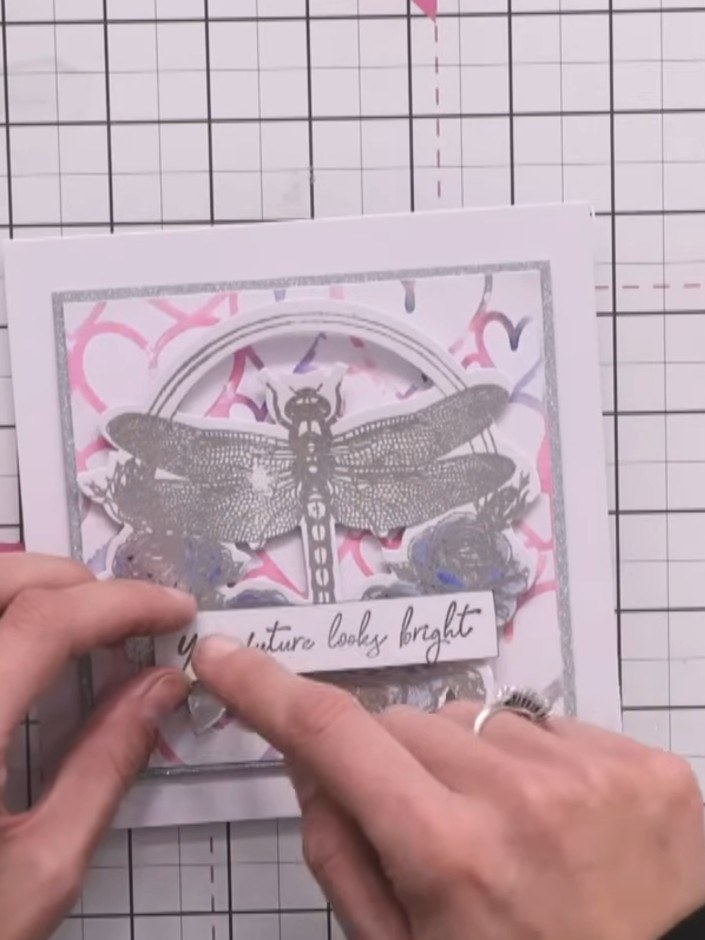
Mount the sentiment strip onto the card using small foam pads, positioning it centrally below the dragonfly to balance the composition.
▶ watch this step (42:15)Written up from the show itself. See every guide from our shows · free how-to guides · watch live on My Telly