Give your friends £10 off their first order!
Refer a FRIEND








 Hidden GemsWed 18 Nov 10am
 The Thursday DropThu 19 Nov 6pm
 The Friday Final CutFri 20 Nov 10am
Prices change straight away. Every language is our own translation, not Google.
A project from our live show HOBBYMAKER TV - Join Toni for her latest show - Broadcast 2 P.M. 6th MARCH 2026 · 06/03/2026 · watch it from 49:45
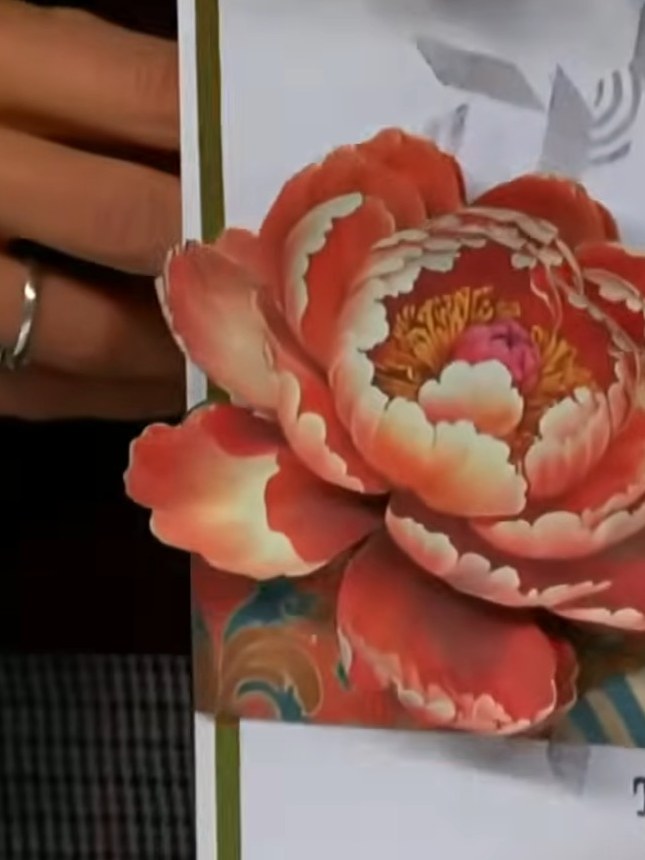
Create a stunning layered flower card featuring a beautiful dimensional bloom in coral and peach tones. This elegant design combines stamped botanical backgrounds with die-cut flower layers built up for a 3D effect, finished with a 'Thankful For You' sentiment. The card showcases artistic stamping and paper layering techniques to create a gallery-worthy handmade greeting.
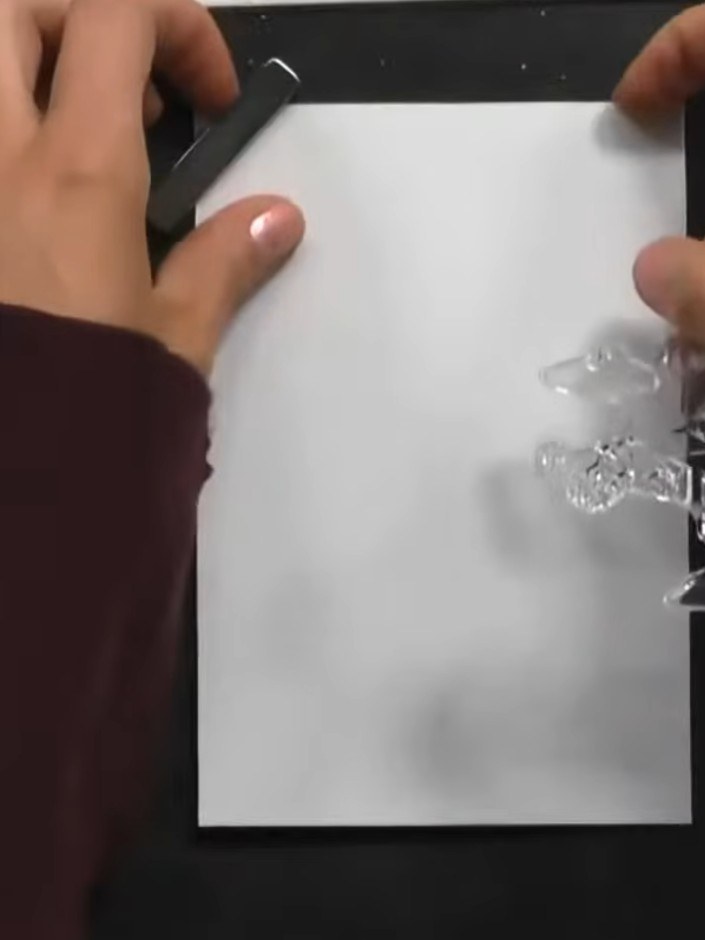
Take a piece of white card stock and position the abstract background stamp from the Botanical Essence bundle onto it. Ink the stamp with a light grey ink pad and press firmly onto the card to create a subtle stamped background pattern.
▶ watch this step (49:45)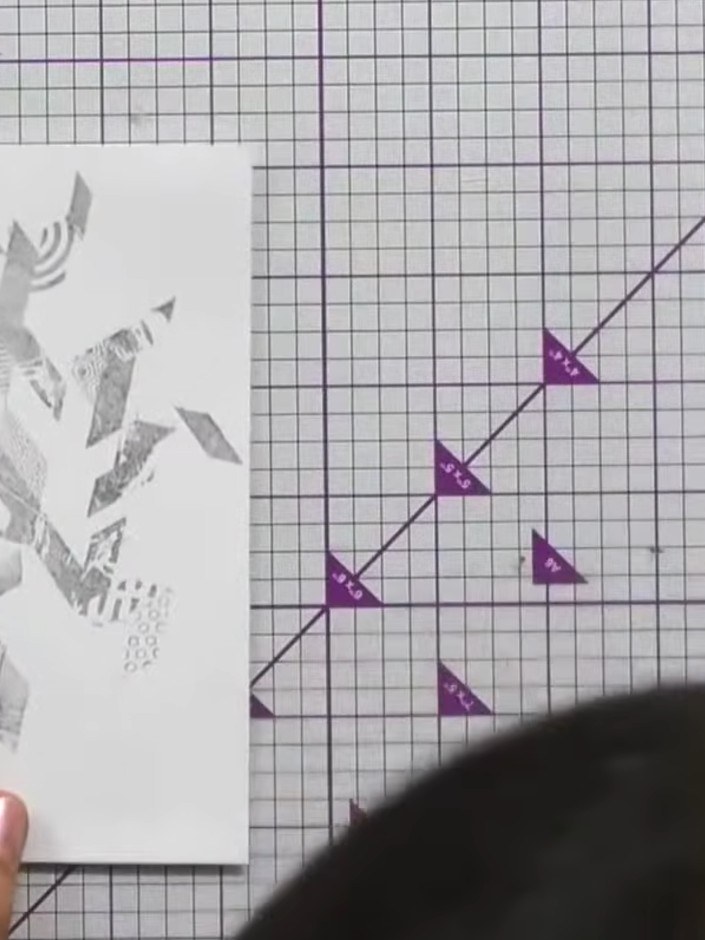
Select coordinating papers from the Botanical Essence collection. Cut out three matching flower designs in different sizes, with the largest being the full flower and progressively smaller versions with petals removed to create a layered effect.
▶ watch this step (50:30)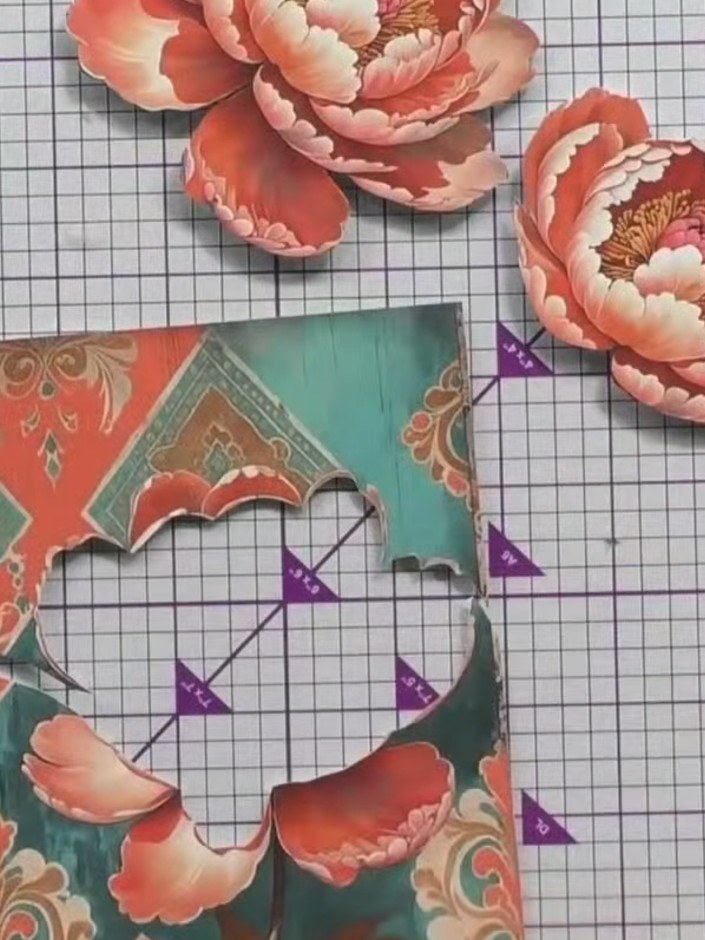
Layer the three flower pieces on top of each other, starting with the largest at the base, to create dimension and a cascading effect. Position each layer slightly offset to show the petals beneath.
▶ watch this step (51:45)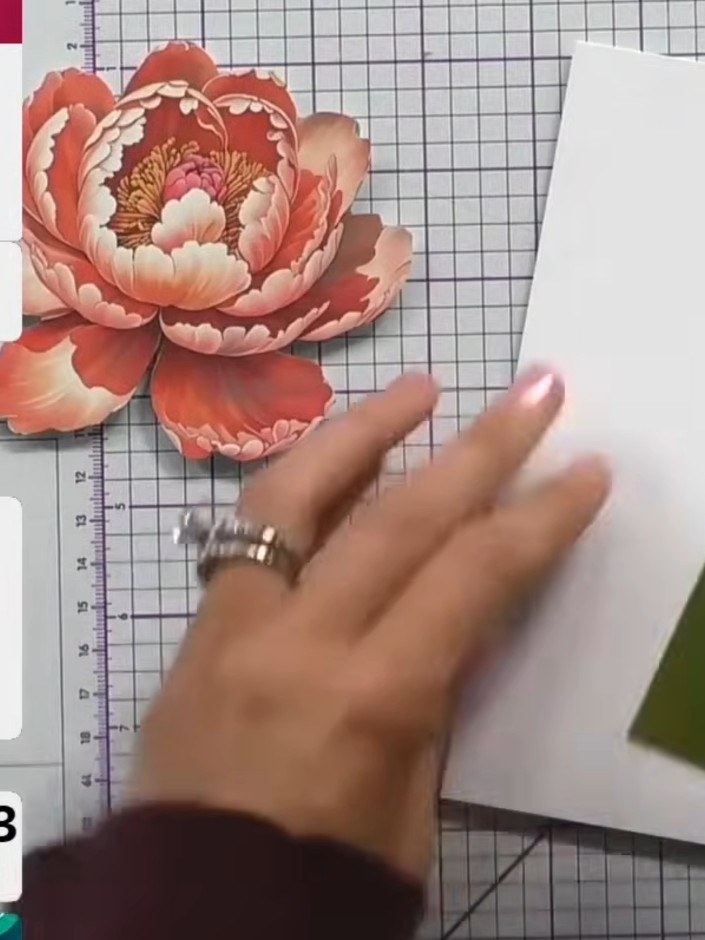
Gently manipulate the layered flower by pinching the petals and lifting the corners to add natural shaping and movement to the blooms. This creates dimension and a more realistic appearance.
▶ watch this step (52:00)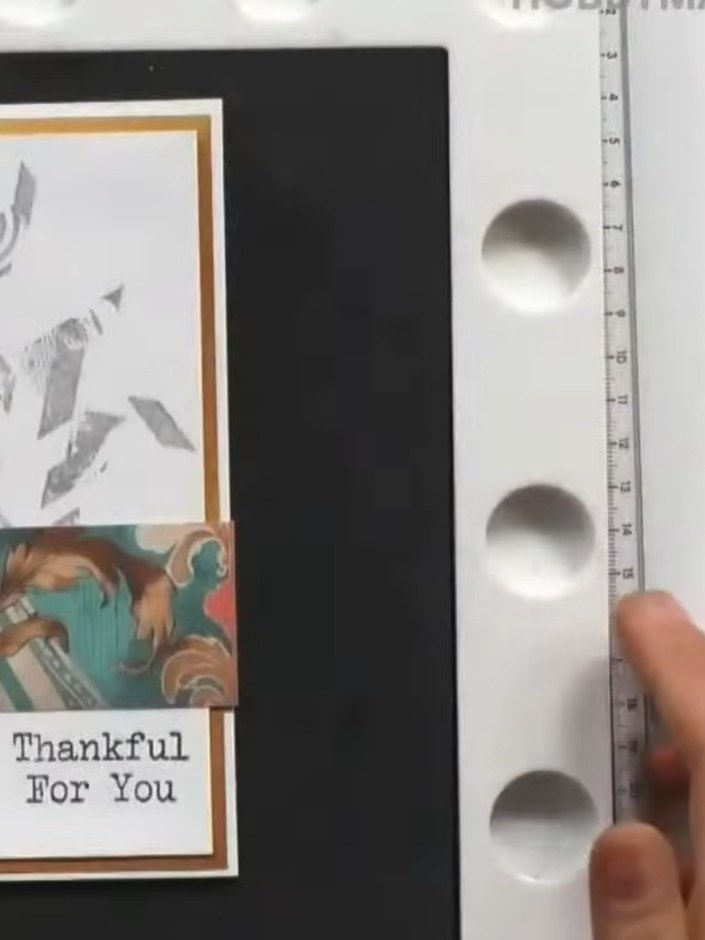
Stamp the 'Thankful For You' sentiment onto a white label or rectangle panel using black ink, positioning it at the bottom right of your card design.
▶ watch this step (54:00)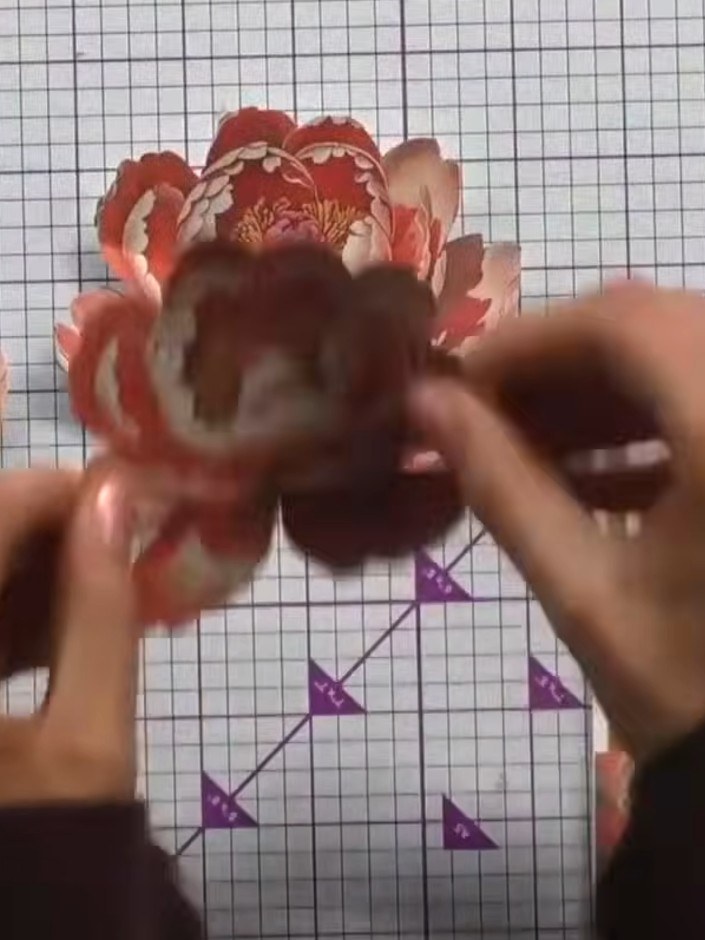
Adhere the completed layered flowers to your card front using foam pads or adhesive. Position them as the focal point of your design, arranging them to create an attractive composition.
▶ watch this step (54:30)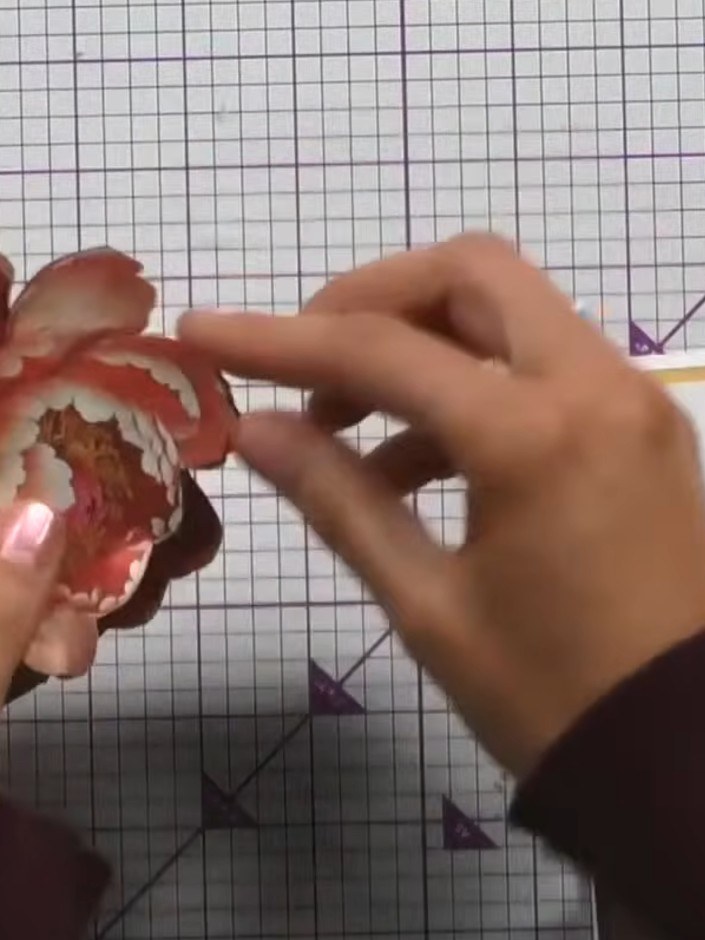
Add stamped background detail to the back or side of your card. This creates visual interest when the card is viewed from different angles. Position the decorative floral element as desired.
▶ watch this step (55:45)Written up from the show itself. See every guide from our shows · free how-to guides · watch live on My Telly