Give your friends £10 off their first order!
Refer a FRIEND








A project from our live show FRIDAY NEW LAUNCH - Join Toni for an unusual and exciting launch show - Broadcast 16th Dec 22 · 16/12/2022 · watch it from 11:30
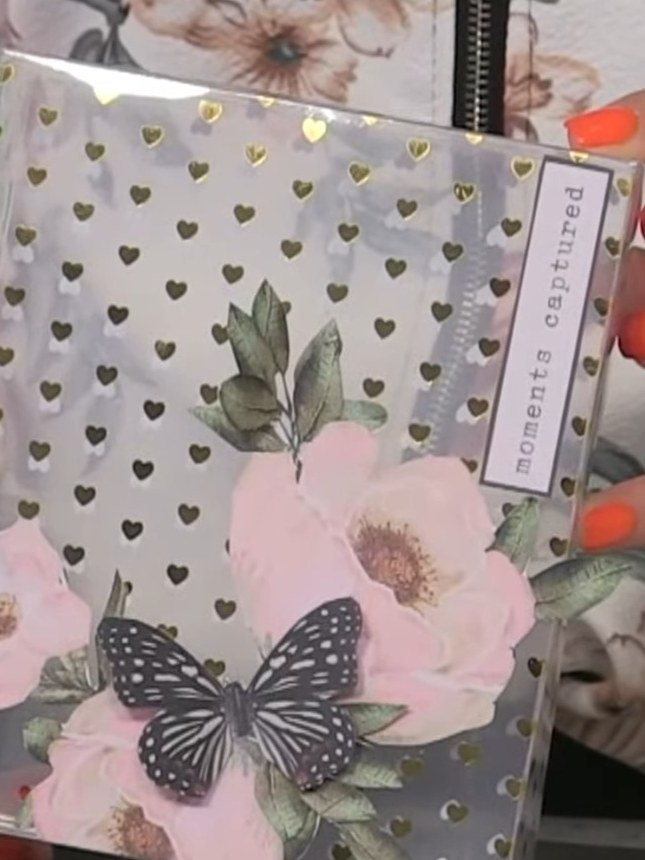
Create a stunning transparent gift box using clear acetate sheets with professionally scored fold lines. This elegant project demonstrates how to construct a simple yet sophisticated box with tapered corners, perfect for presenting small gifts with a modern, see-through aesthetic. The finished piece showcases clean lines and a contemporary design that allows the contents to be beautifully displayed.
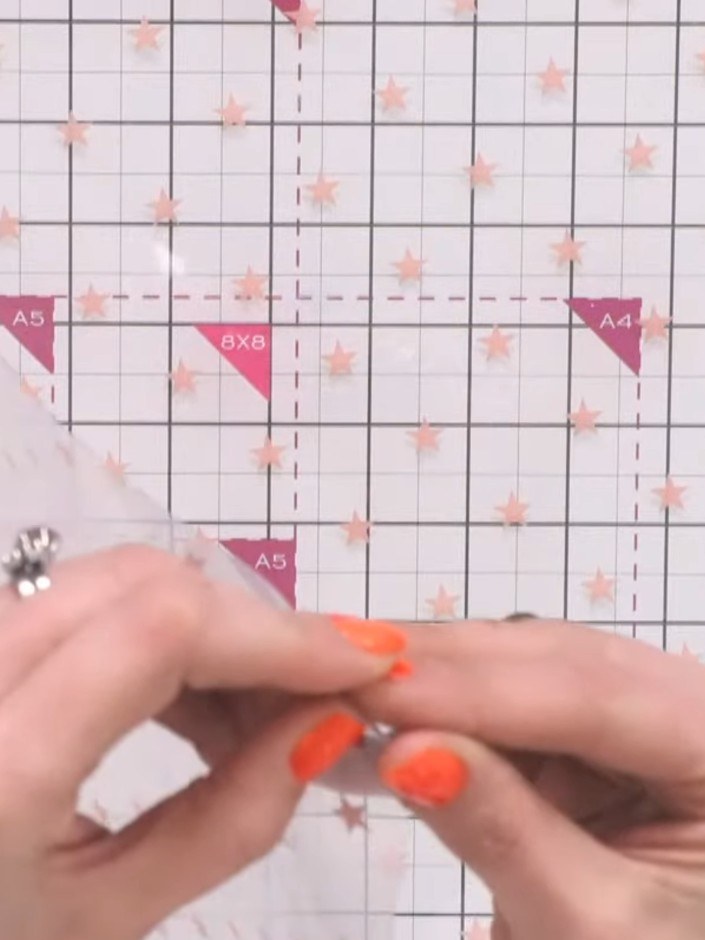
Remove the protective sheet from your 12 by 12 inch acetate sheet by gently peeling it away from one corner.
▶ watch this step (12:30)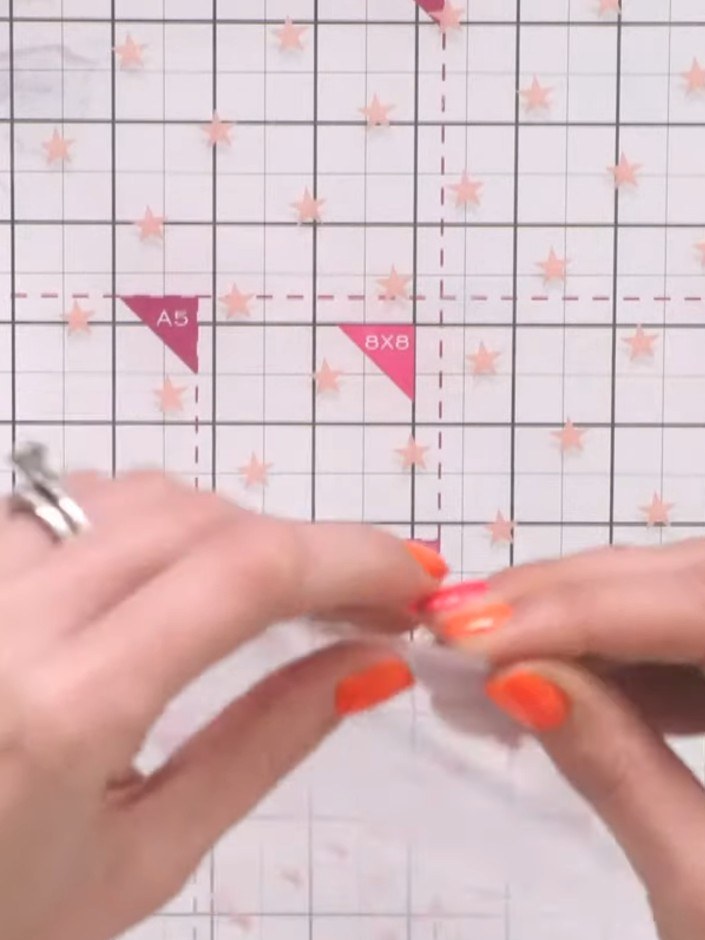
Take two sheets of acetate and place one in your guillotine. Trim a thin slither off the top edge and a similar slither off one side to create a slightly smaller piece for your box lid.
▶ watch this step (13:45)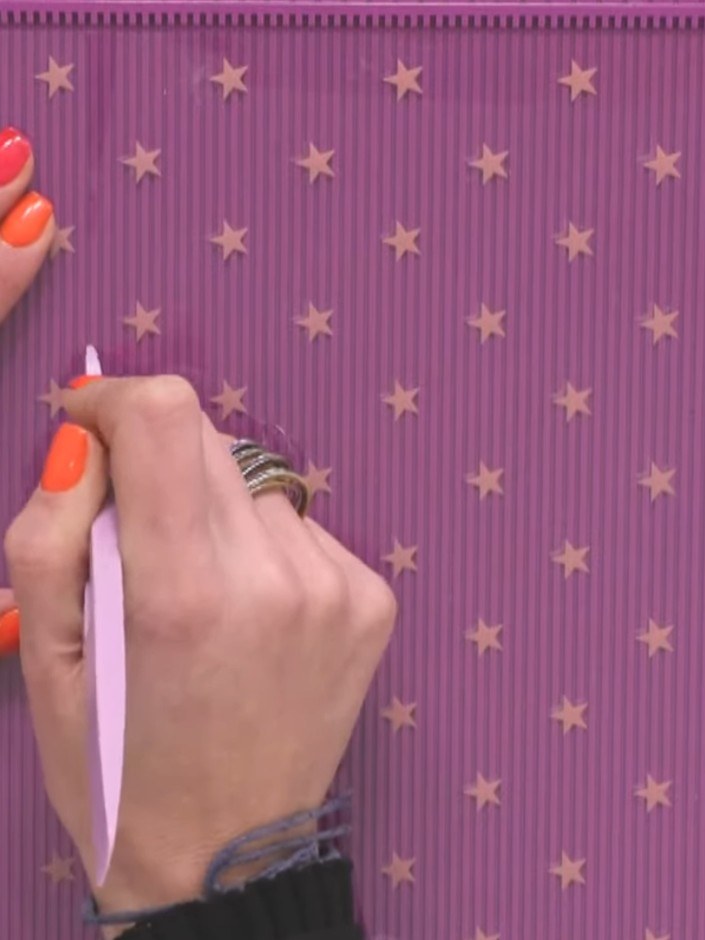
Score additional lines at 1 cm intervals on all four sides of the acetate sheet. These scored lines will create the flaps that hold the box together.
▶ watch this step (17:00)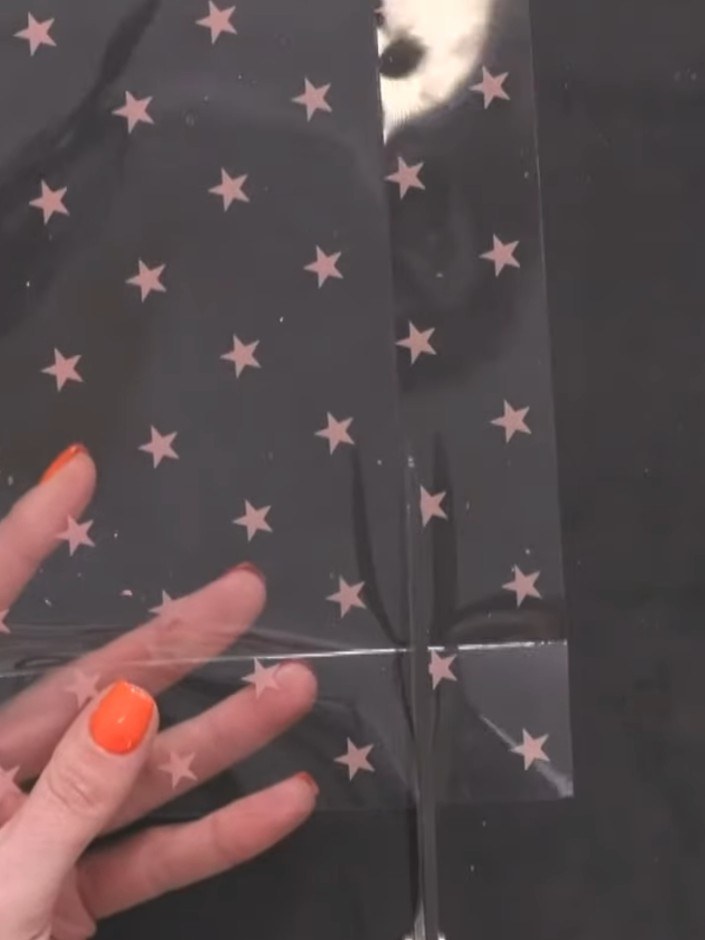
At each corner, cut a diagonal line from the top corner down towards the base, then cut across to create a tapered corner flap. This creates a chamfered edge that will fold neatly when assembling the box.
▶ watch this step (20:30)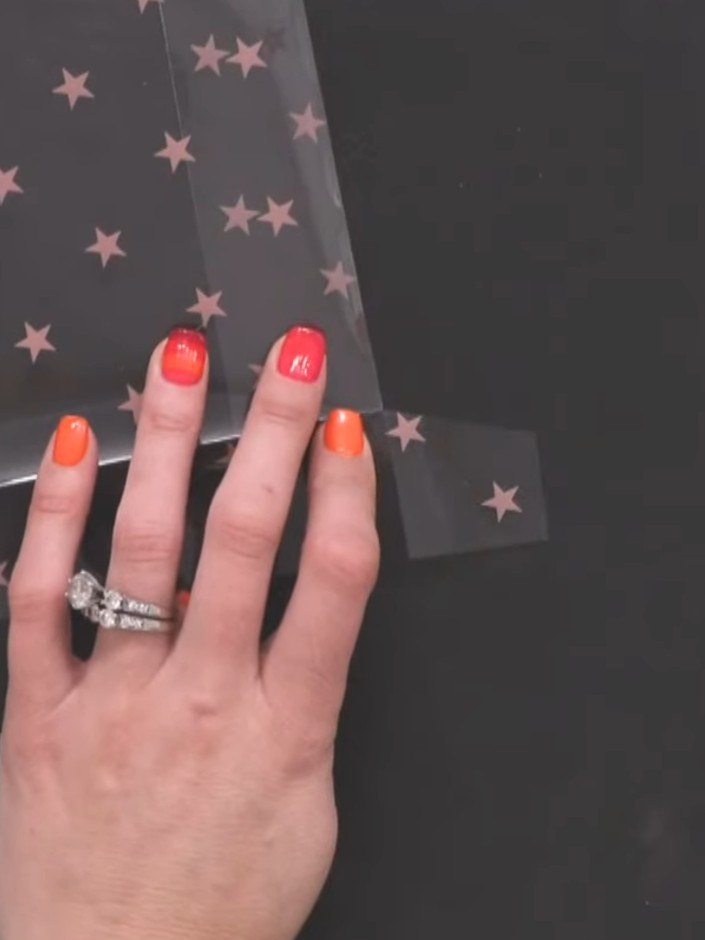
Apply double-sided tape to the flaps of the acetate sheet. Fold the acetate up along the score lines, tucking the flaps inside to form the box base.
▶ watch this step (25:45)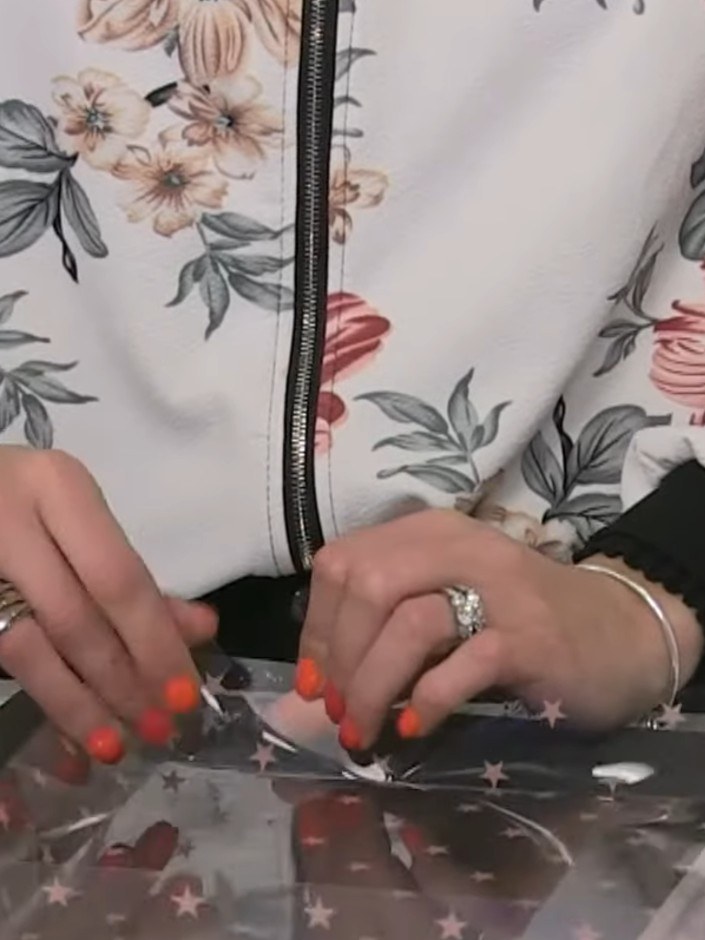
Repeat the taping and folding process with your second acetate sheet to create the box lid. Ensure all four sides are securely taped and the corners are neatly folded.
▶ watch this step (27:00)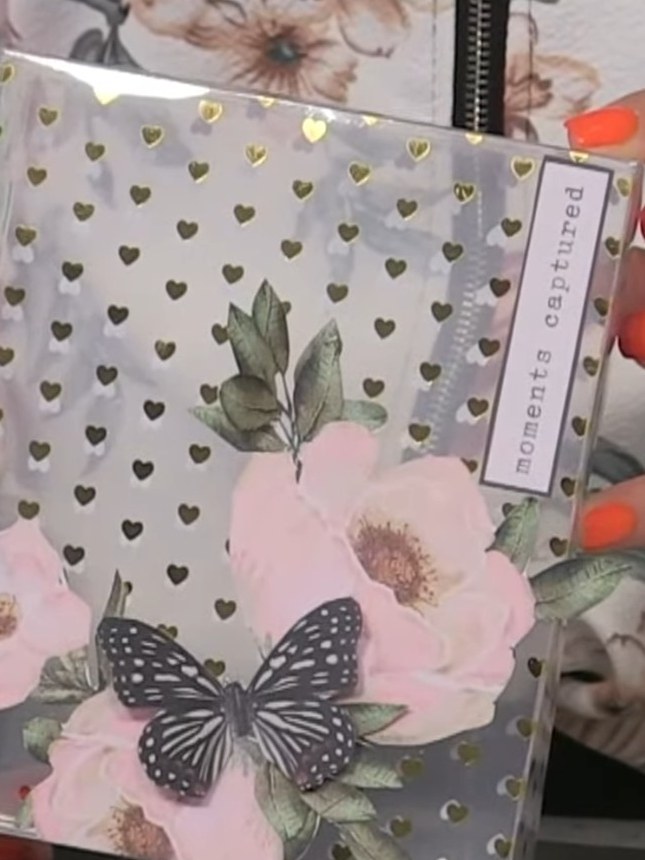
Decorate the top of your finished acetate box by adhering decorative paper panels featuring flowers and butterflies, or sentiment labels, to the exterior using double-sided tape.
▶ watch this step (30:00)Written up from the show itself. See every guide from our shows · free how-to guides · watch live on My Telly