Give your friends £10 off their first order!
Refer a FRIEND








 Hidden GemsWed 18 Nov 10am
 The Thursday DropThu 19 Nov 6pm
 The Friday Final CutFri 20 Nov 10am
Prices change straight away. Every language is our own translation, not Google.
A project from our live show MY PODCAST - Catch my latest updates broadcast 9th March 2026 · 09/03/2026 · watch it from 36:45
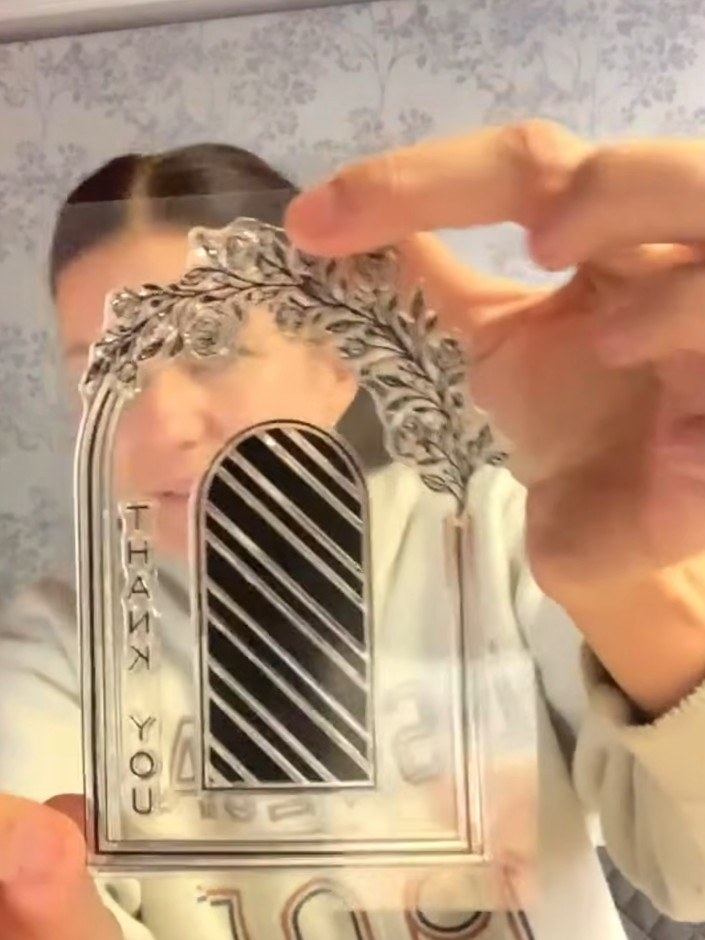
Create a striking black card featuring heat-embossed floral designs using WOW embossing powders. This project demonstrates the heat embossing technique with multiple powder colours to create dimensional, sparkly details on card stock. The finished piece showcases elegant floral motifs with a professional, polished appearance perfect for special occasions.
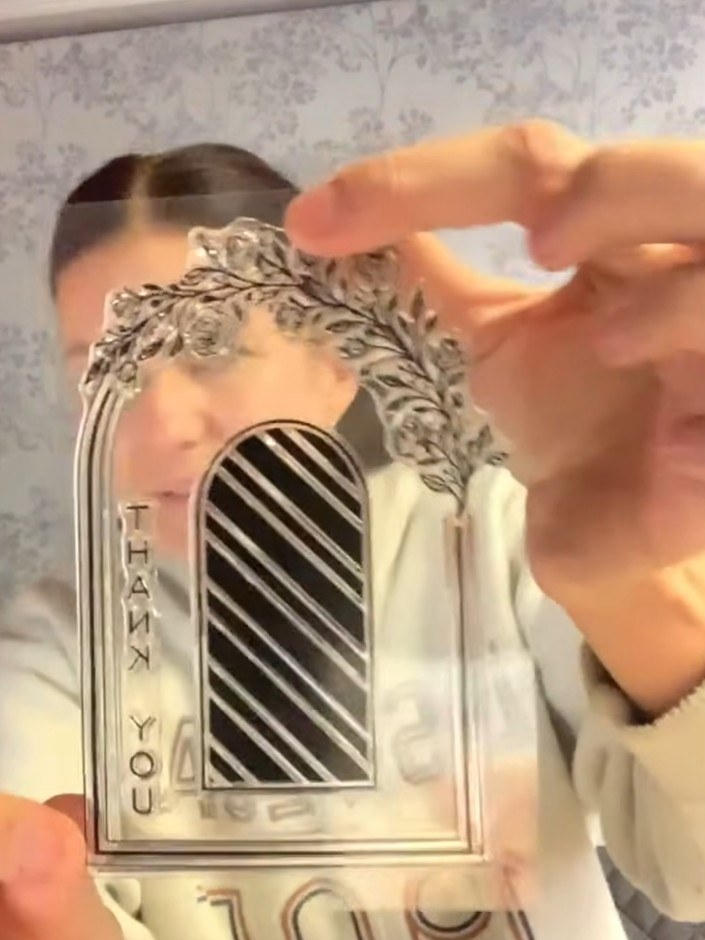
Prepare your black card stock by wiping it with an anti-static bag to remove moisture, fingerprints and dust. Tap your floral stamp face-down onto a sticky ink pad (such as VersaMark) to coat all the stamp details evenly with the clear embossing ink. Press the inked stamp firmly onto the black card stock, pushing down evenly to transfer the sticky ink impression. Ensure good contact across the entire stamp surface.
▶ watch this step (40:45)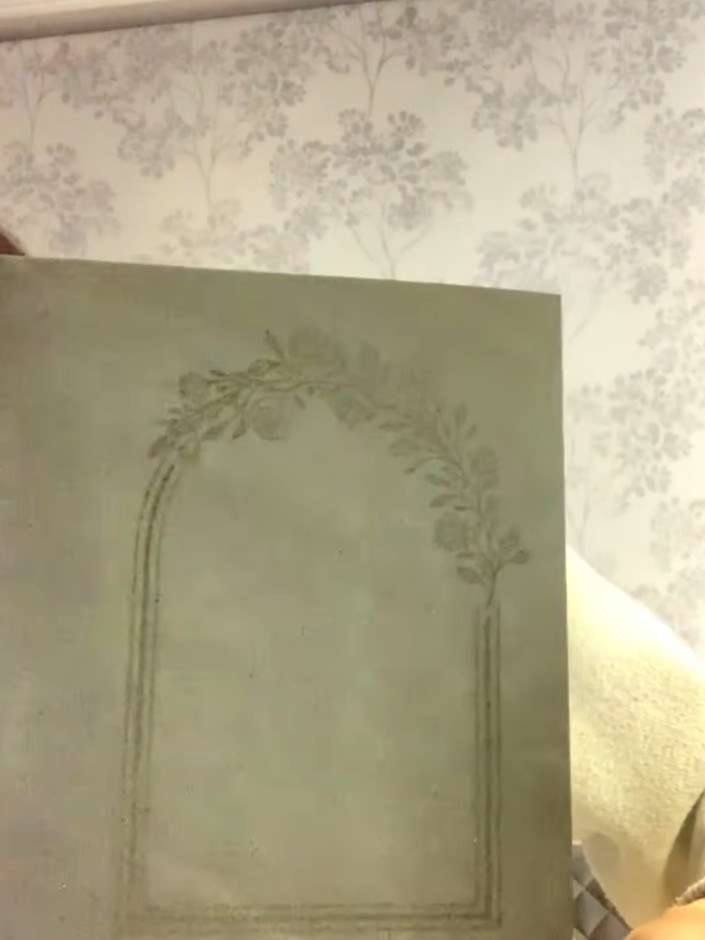
Immediately pour your chosen WOW embossing powder over the stamped image to cover the entire floral arch design. Ensure all the embossing ink is completely covered with powder.
▶ watch this step (45:00)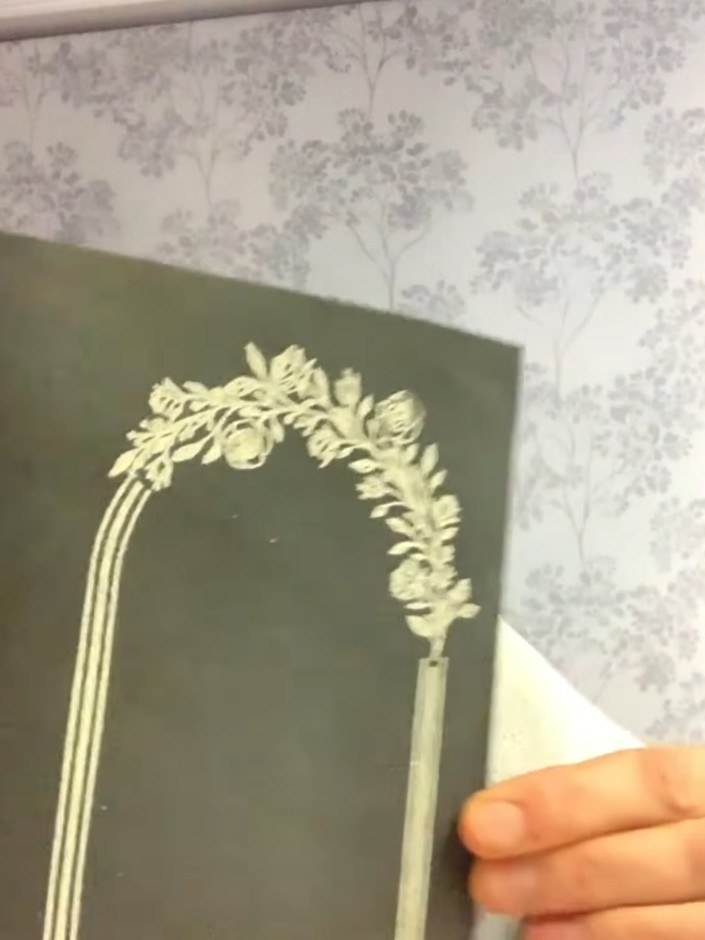
Gently tap and shuffle the card to distribute the embossing powder evenly across the stamped floral frame design, ensuring all the stamped areas are well covered.
▶ watch this step (45:15)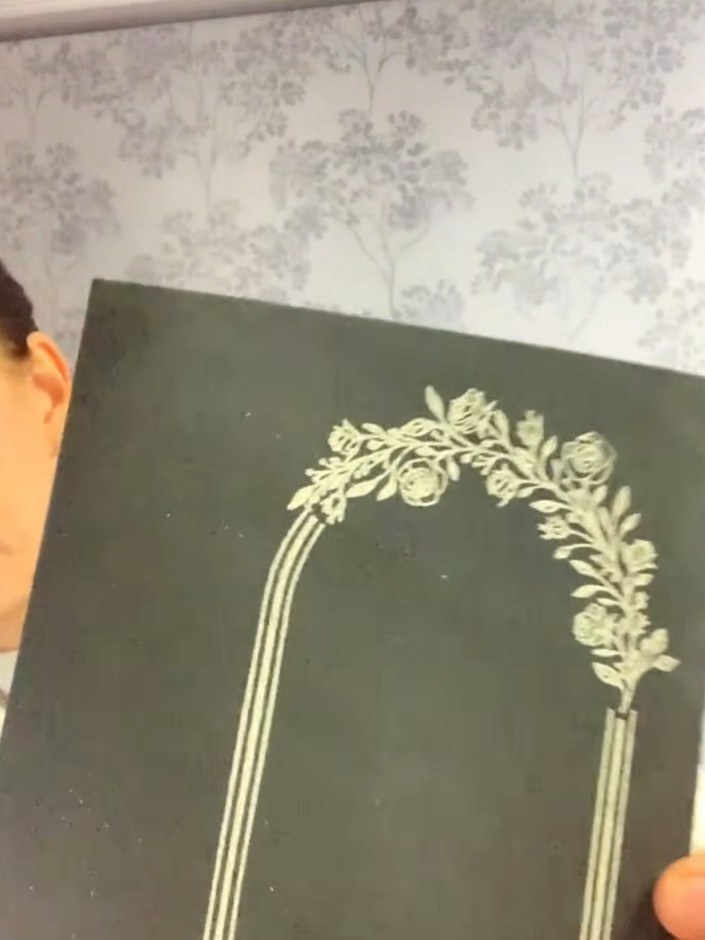
Tap the card gently with an anti-static bag to remove excess embossing powder. Push the powder away from areas without sticky ink to ensure crisp, clean edges on your design.
▶ watch this step (45:30)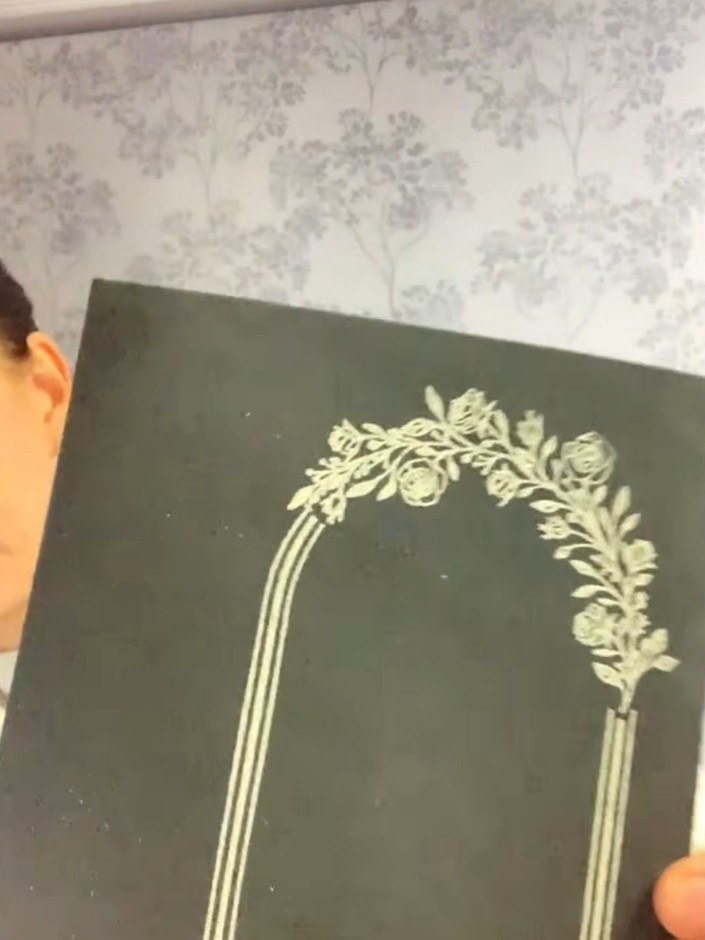
Turn on your heat embossing gun and allow it to reach full temperature before applying heat to the embossing powder. Hold the heat gun a short distance from the card and move it across the embossed floral arch. Continue heating until the white embossing powder melts and becomes glossy, creating a raised, shiny finish on the grey cardstock. Allow the card to cool completely before handling to ensure the heat embossed design sets permanently.
▶ watch this step (46:15)Written up from the show itself. See every guide from our shows · free how-to guides · watch live on My Telly