Give your friends £10 off their first order!
Refer a FRIEND








A project from our live show 774679 - SBM Invisibility Paper Pad Kit · 01/01/2023 · watch it from 1:00
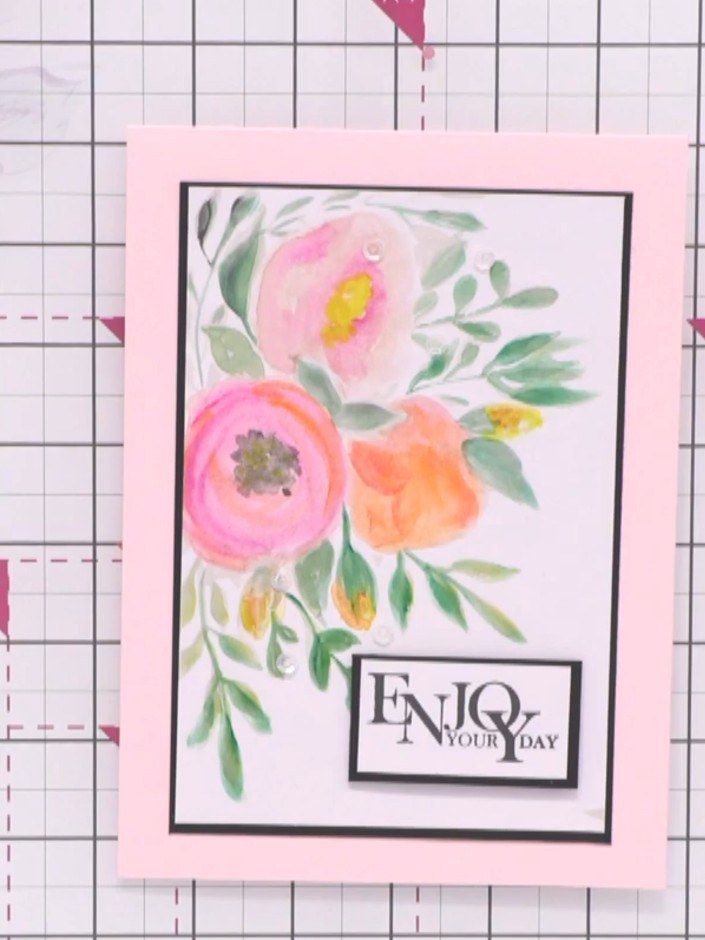
Create a beautiful watercolour-style floral card using an innovative invisible guide technique. Paint delicate pink flowers and green foliage over a sepia-toned design that shows through your paper, allowing you to build up layers of colour and sparkle for a professional artistic finish. This method makes it easy to achieve stunning watercolour effects without needing advanced painting skills.
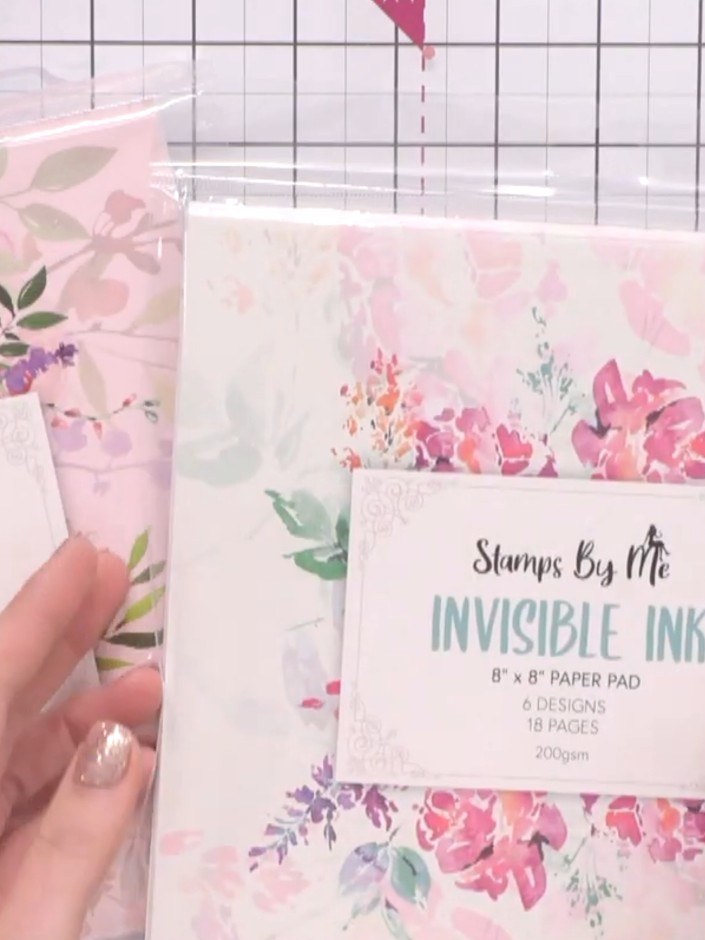
Select one of the invisible ink paper pad sheets. These feature sepia-toned floral designs printed underneath that will guide your watercolour painting.
▶ watch this step (1:00)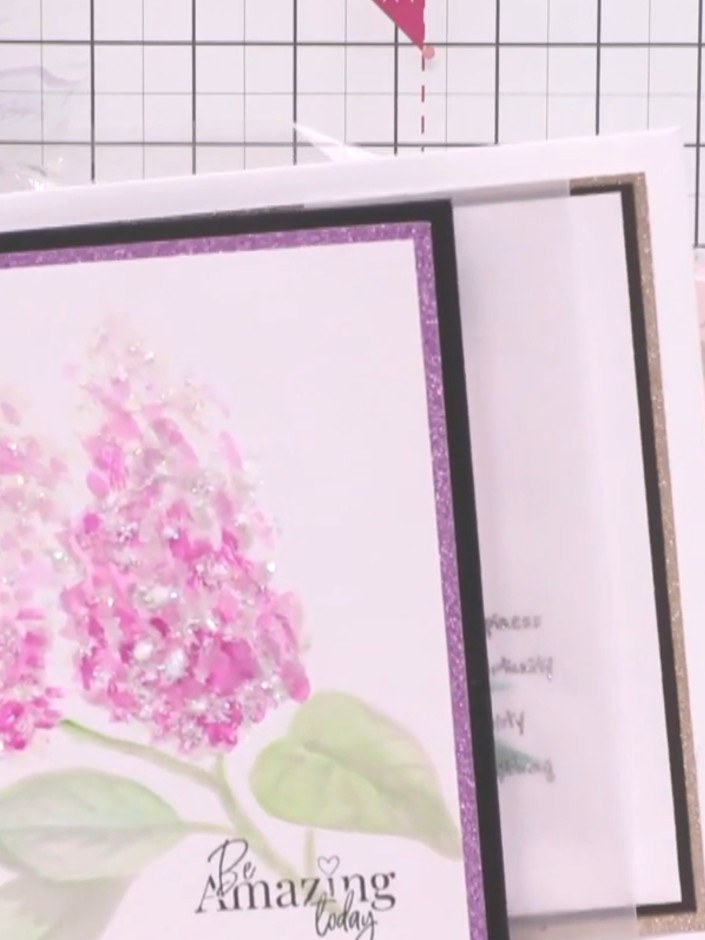
Use the faint guide design visible on the paper as your template for where to add colour. Paint the floral images with watercolours, adding pink to the flower petals and green to the leaves and stems.
▶ watch this step (1:15)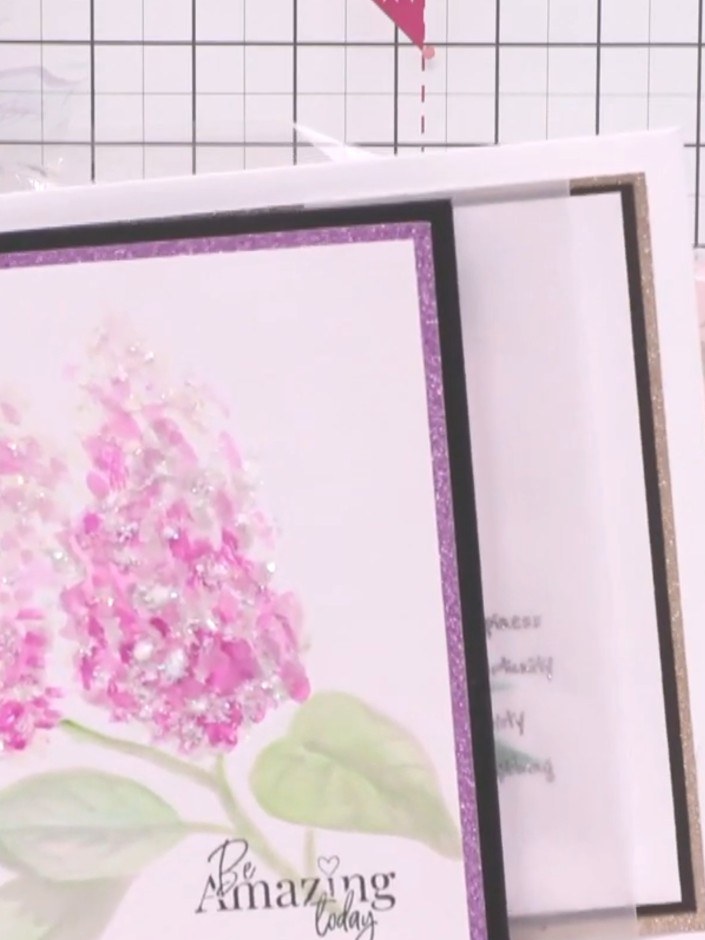
Using your chosen watercolour paints or markers, add pink and green colours to the floral design, painting over the invisible guide. Build up the colours on the petals and leaves to create depth and dimension.
▶ watch this step (1:15)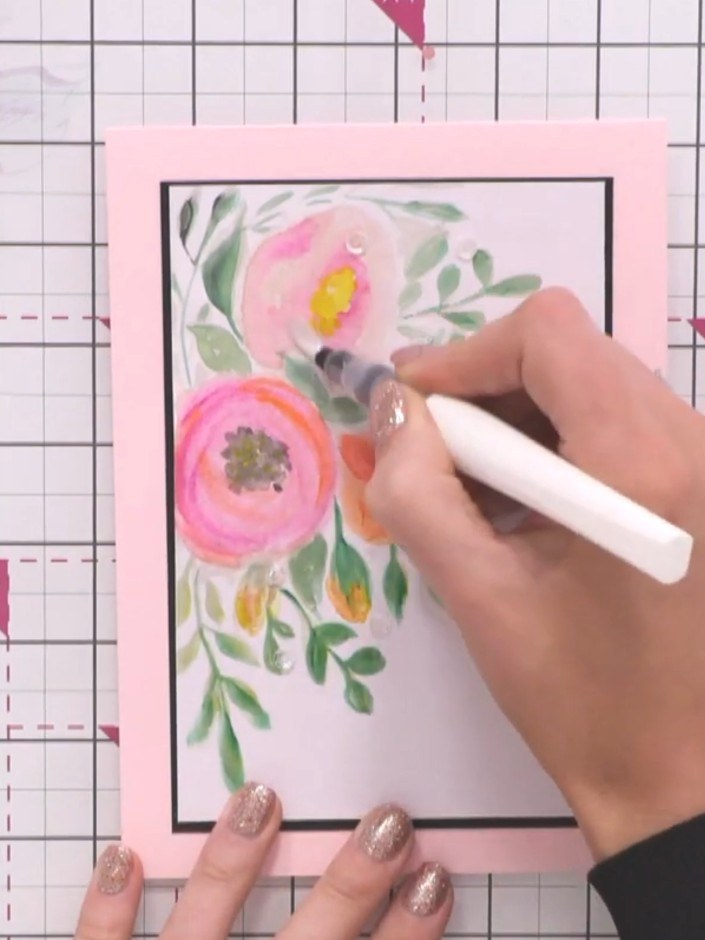
Add your own creative touches to the watercolour design using additional colours. Use a white pen or marker to add highlights and details to the painted flowers, enhancing the petals and centres for extra dimension.
▶ watch this step (1:30)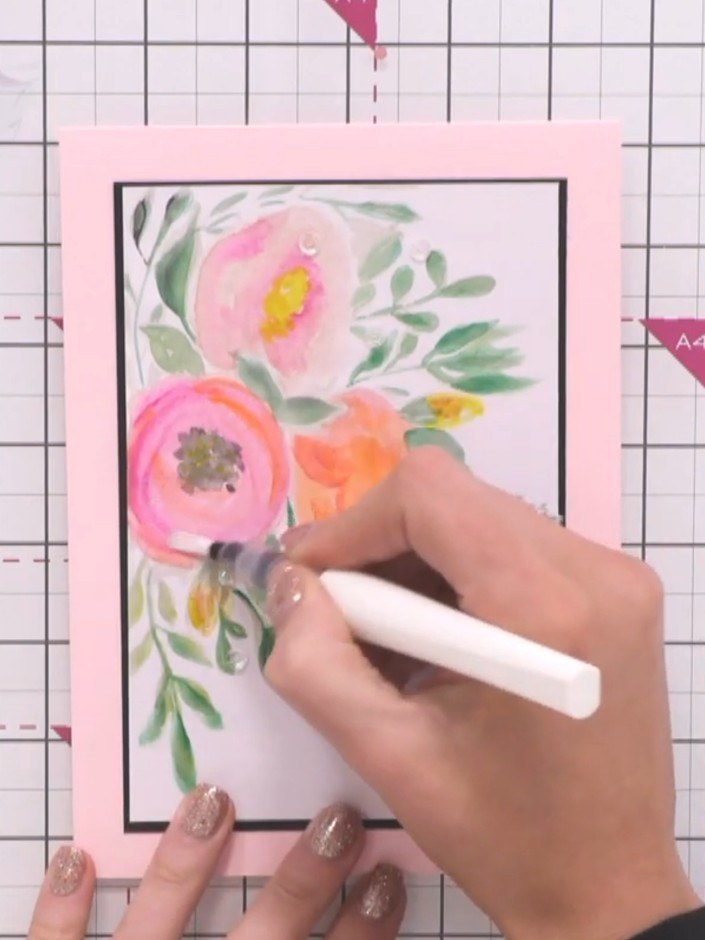
Add sparkle to your watercolour artwork using a sparkle pen. Apply the sparkle pen to enhance the flowers and make the design extra special.
▶ watch this step (1:45)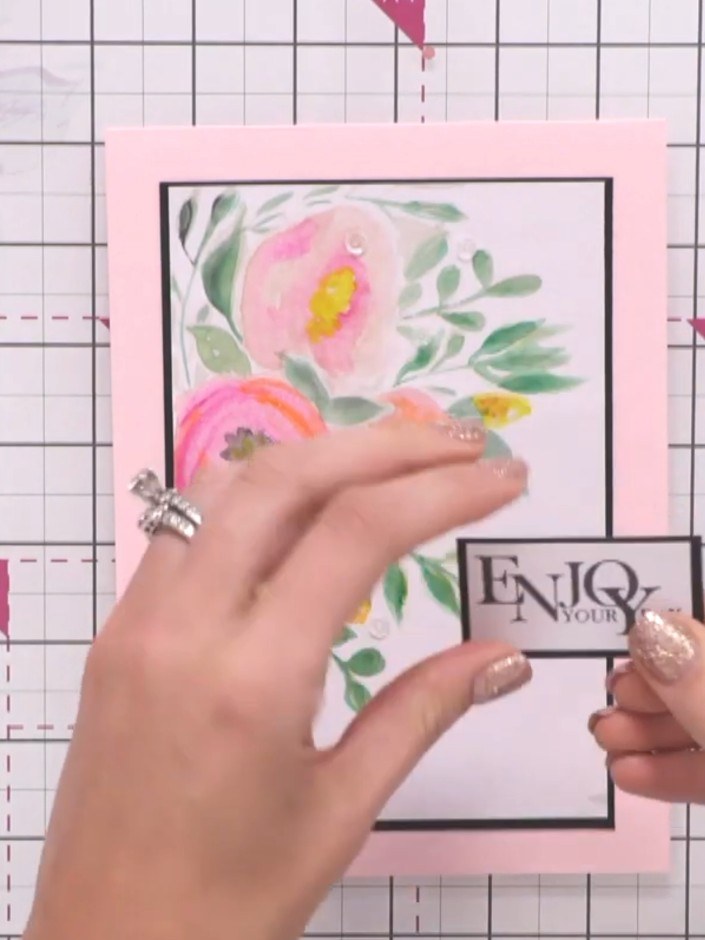
Select a sentiment stamp from your collection that complements your design. Position the 'ENJOY YOUR DAY' sentiment stamp in the lower right corner of the white panel, below the watercolour flowers.
▶ watch this step (1:45)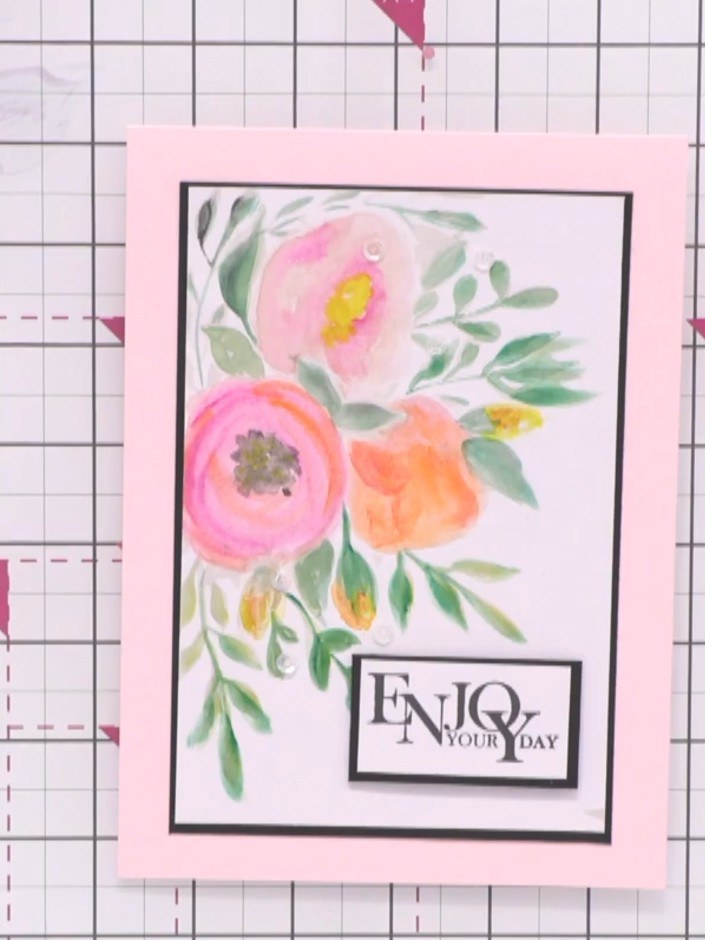
Adhere your chosen sentiment to the corner of the painted panel using a foam pad. Position the sentiment in the lower right corner of the artwork to complete the card design.
▶ watch this step (2:00)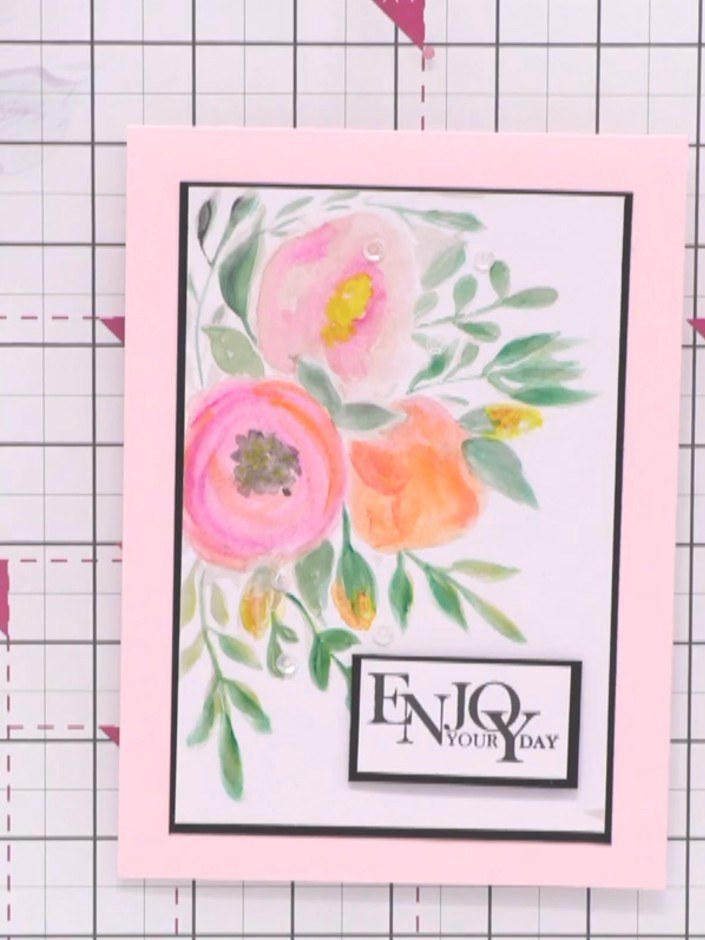
Mount your finished watercolour painted panel onto a card blank using adhesive. Position the panel centrally on the card front to complete your project.
▶ watch this step (2:00)Written up from the show itself. See every guide from our shows · free how-to guides · watch live on My Telly