Give your friends £10 off their first order!
Refer a FRIEND








 Hidden GemsWed 18 Nov 10am
 The Thursday DropThu 19 Nov 6pm
 The Friday Final CutFri 20 Nov 10am
Prices change straight away. Every language is our own translation, not Google.
A project from our live show ONE DAY SPECIAL - Join Toni for her brand new launch - Broadcast 13th March 2026 · 13/03/2026 · watch it from 19:30
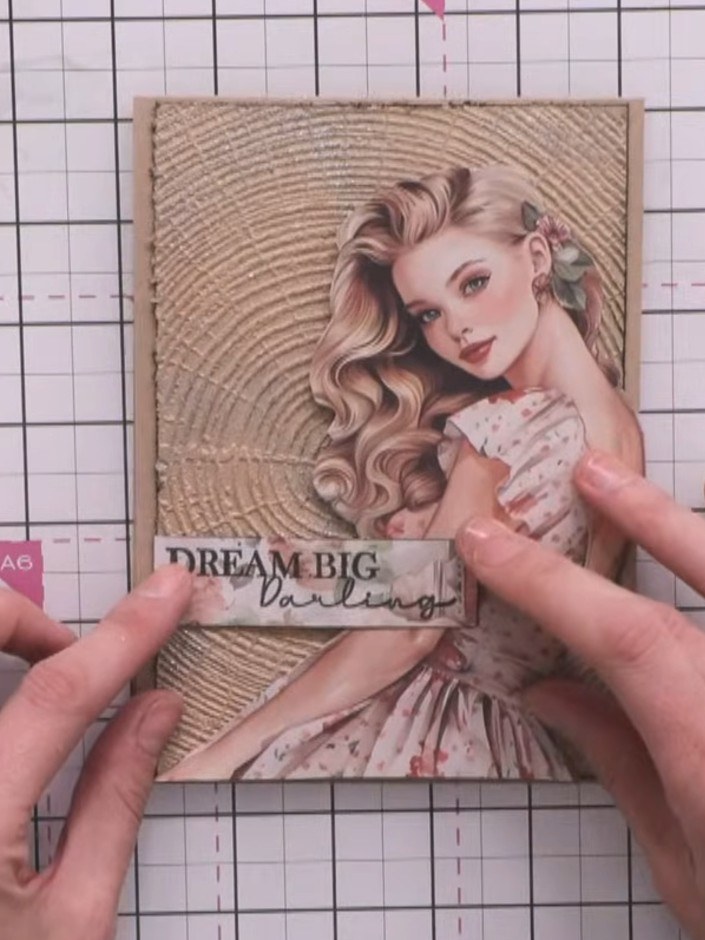
Create a stunning vintage-inspired card featuring a timber-textured embossed background in warm russet and shimmering argent tones. This mixed-media design showcases a beautifully fussy-cut lady image in soft pinks and neutrals, complemented by the 'Dream Big Darling' sentiment. The project combines dimensional embossing techniques with sparkly embossing powders to achieve an elegant, distressed finish.
 Signature Watercolour High Definition 3D Embossing Folder - Timber - 191022KSEE IT
 Wow Powder Trio - Created By Toni Darroch - Russett, Laurel Argent - 270226ASEE IT
 Stamps By Me - Steal My Heart Collection - 090326ASEE IT
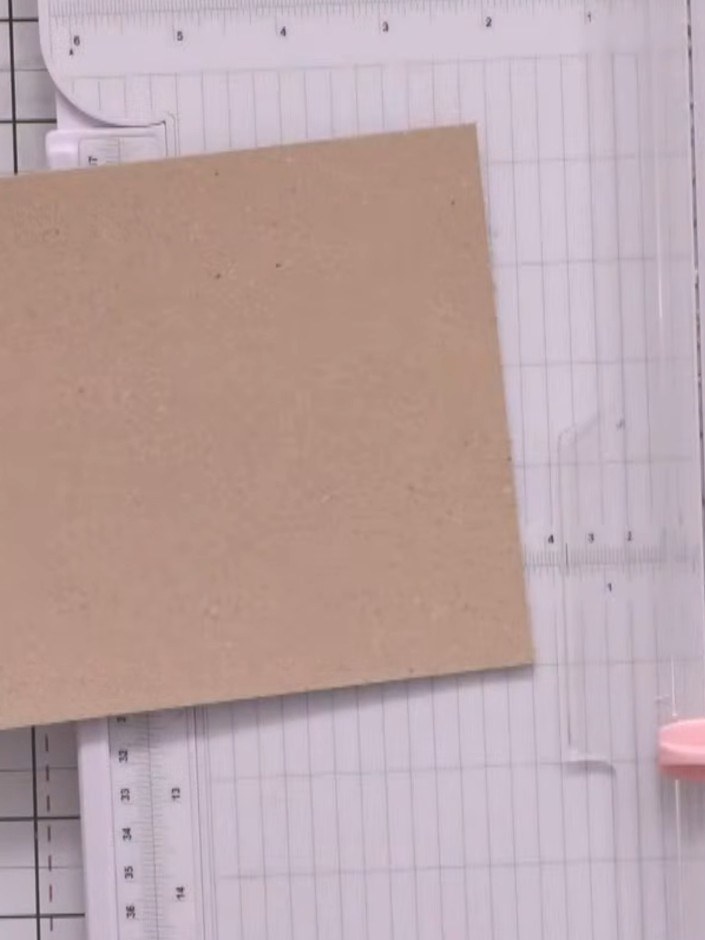
Cut a piece of craft-coloured card stock in half to create your card base measuring 5 by 7 inches.
▶ watch this step (21:30)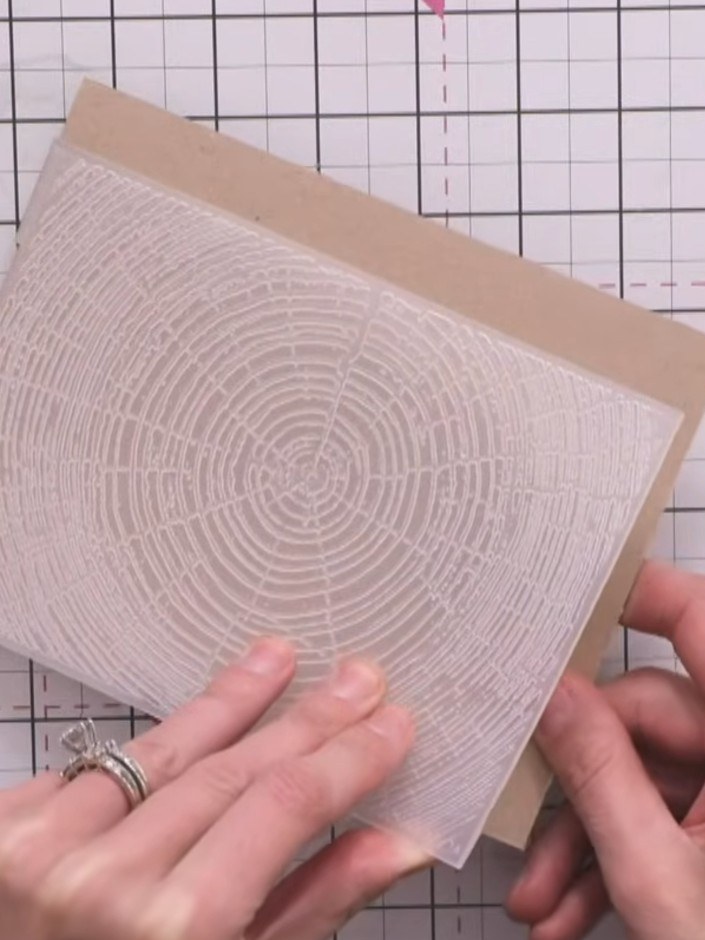
Lightly spray your card stock with water to soften the fibres and prevent cracking when embossing. Place the card stock on your craft mat for this step.
▶ watch this step (22:15)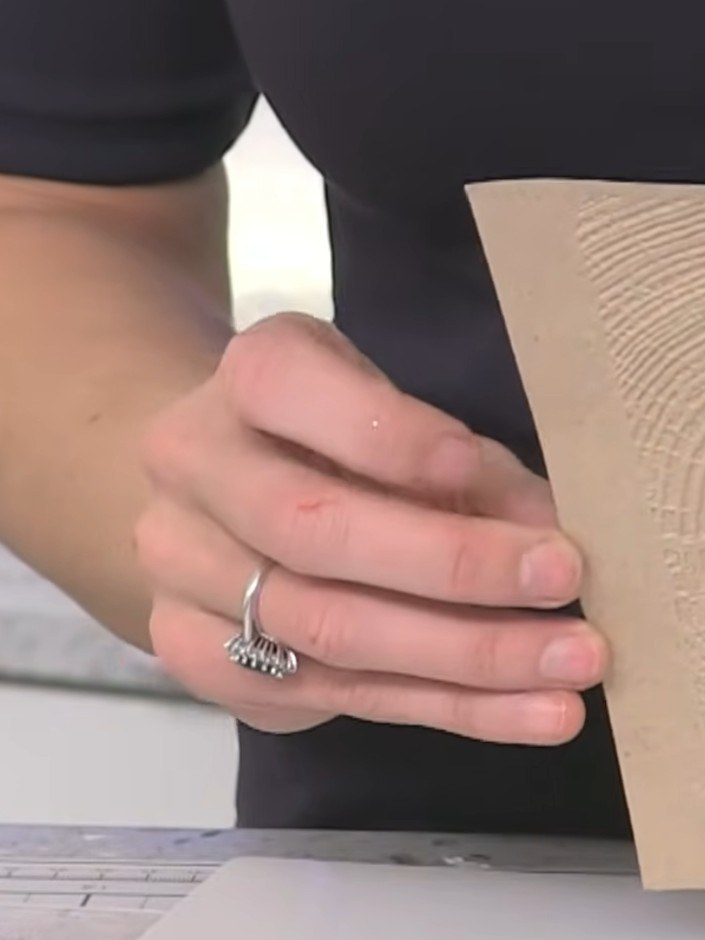
Place your kraft cardstock inside the timber embossing folder and run it through your die-cutting machine. You can choose to use either the embossed or debossed side of the finished result.
▶ watch this step (23:45)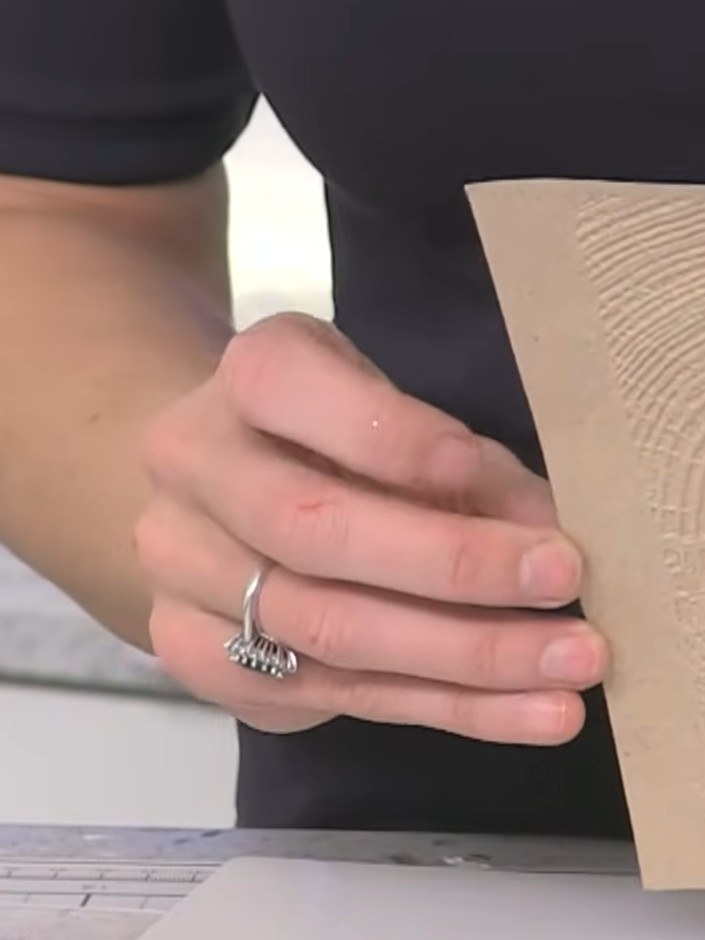
Trim the embossed timber-textured cardstock to a smaller size suitable for your card design using a craft knife and cutting mat.
▶ watch this step (24:30)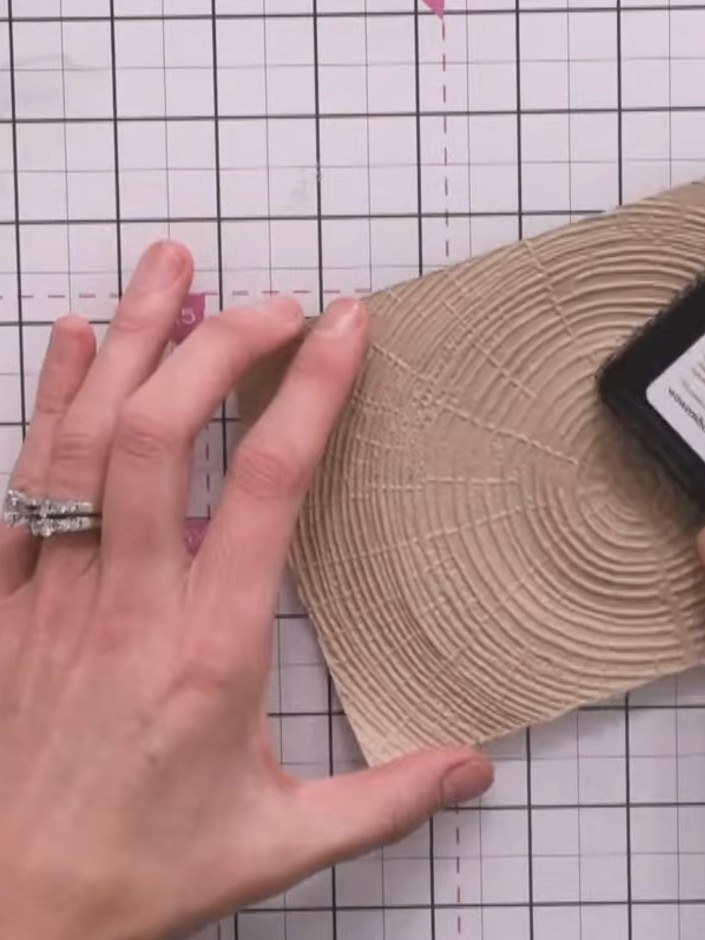
Apply a sticky embossing ink pad randomly across the embossed timber surface to create texture. Dab the ink pad lightly over the raised areas of the design.
▶ watch this step (26:45)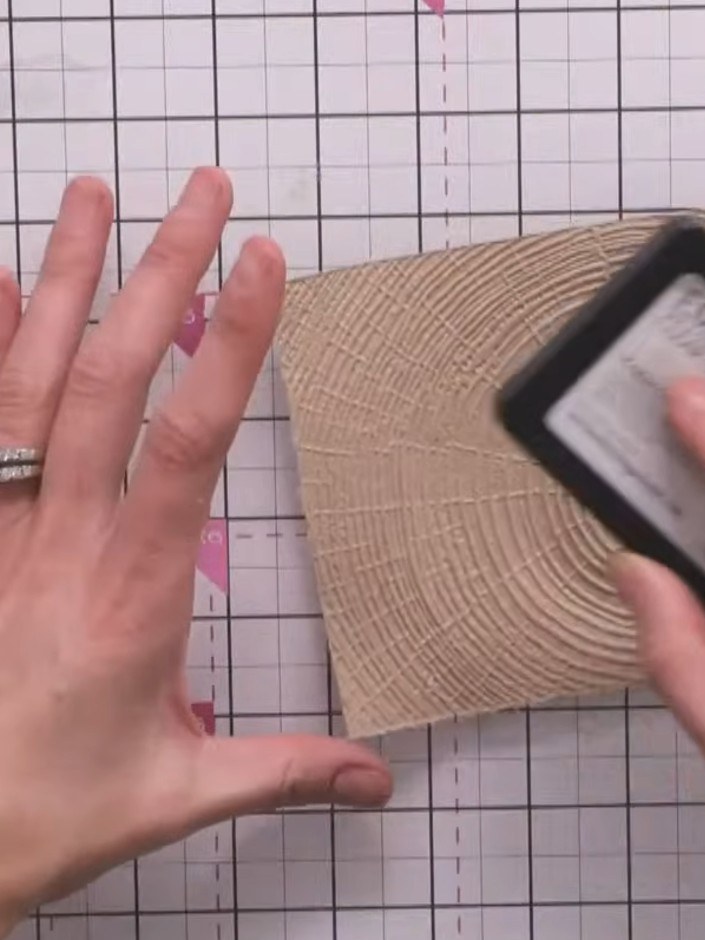
Tap russet embossing powder onto the raised areas of the embossed timber card in random spots to add texture and depth.
▶ watch this step (27:00)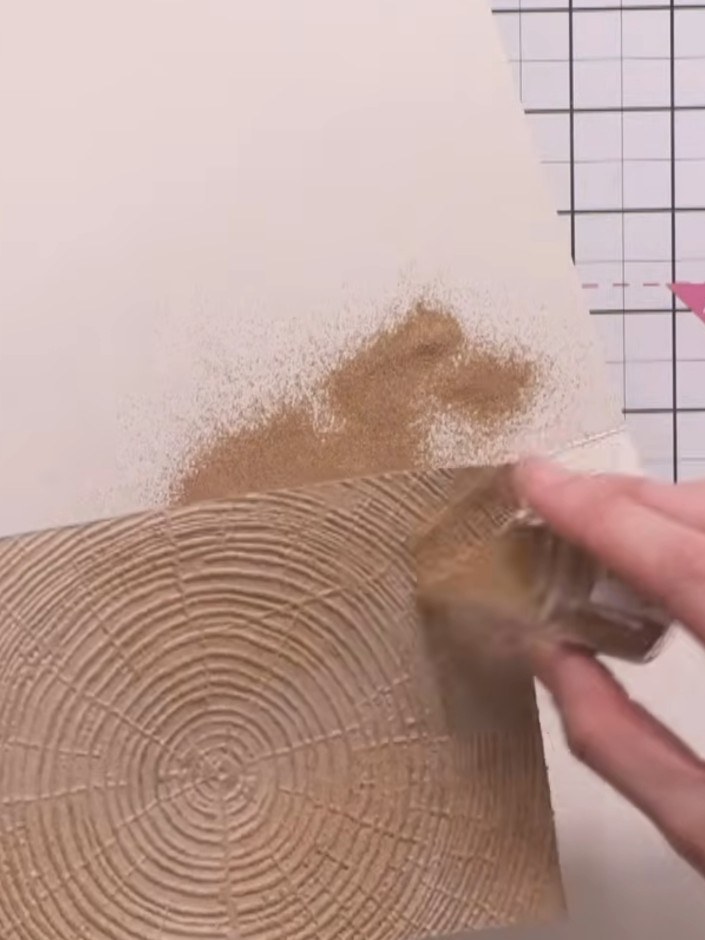
Apply argent embossing powder to other areas of the card. Layer it over some of the russet areas to create variation in colour and texture.
▶ watch this step (28:00)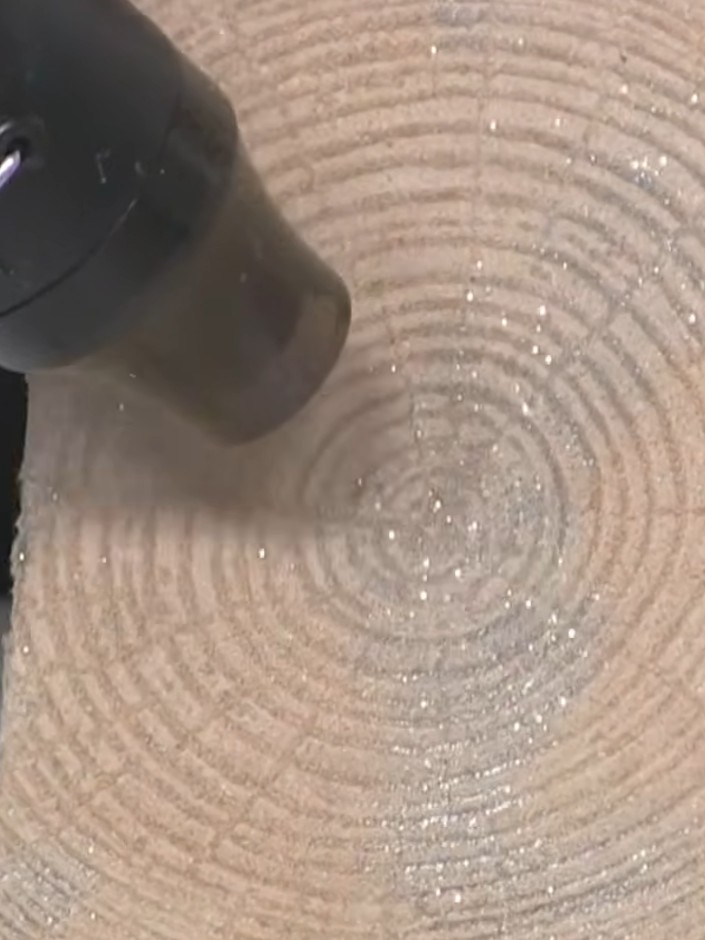
Heat-set all the embossing powder using a heat gun, keeping the gun moving continuously to avoid warping the card. Work over the entire embossed surface until the powder has melted and set.
▶ watch this step (30:00)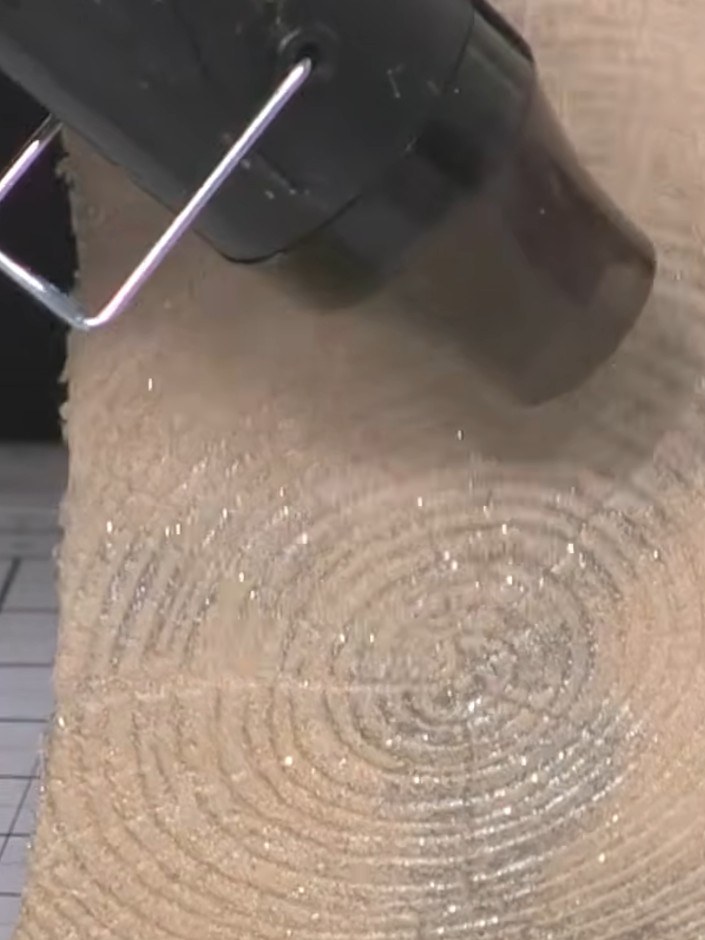
Distress the edges of the embossed timber background piece using a black ink pad to add definition and prevent the panel from appearing to float when mounted on the final card.
▶ watch this step (32:00)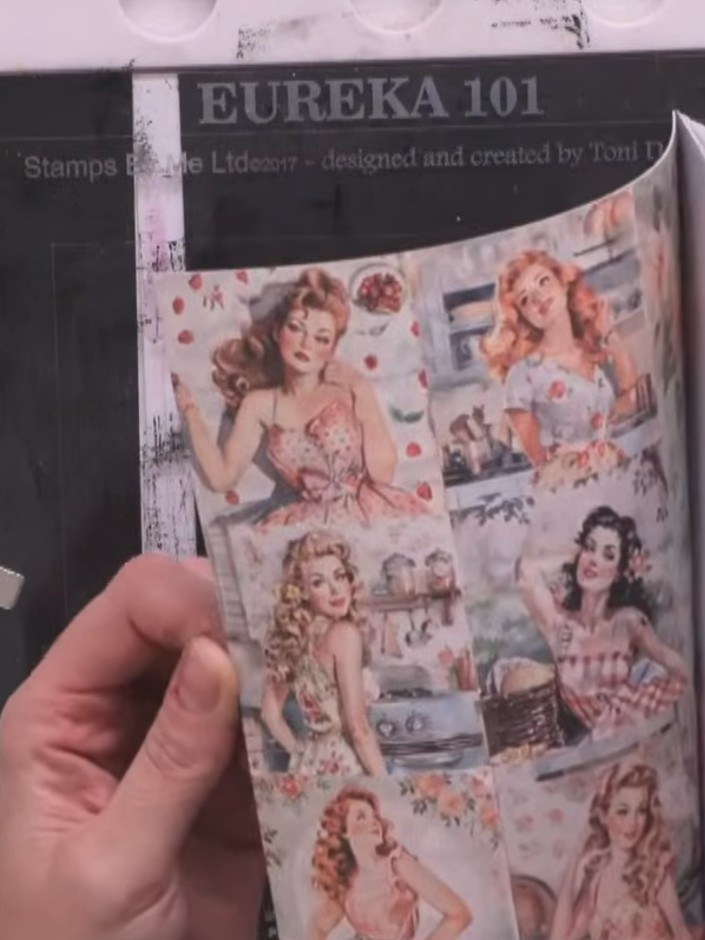
Fussy-cut a large vintage lady image from the Steal My Heart paper collection. Move the paper rather than the scissors as you cut around the image. Stamp a sentiment such as 'Dream Big Darling' onto patterned paper using black ink. Position the stamped sentiment on your card design.
▶ watch this step (33:30)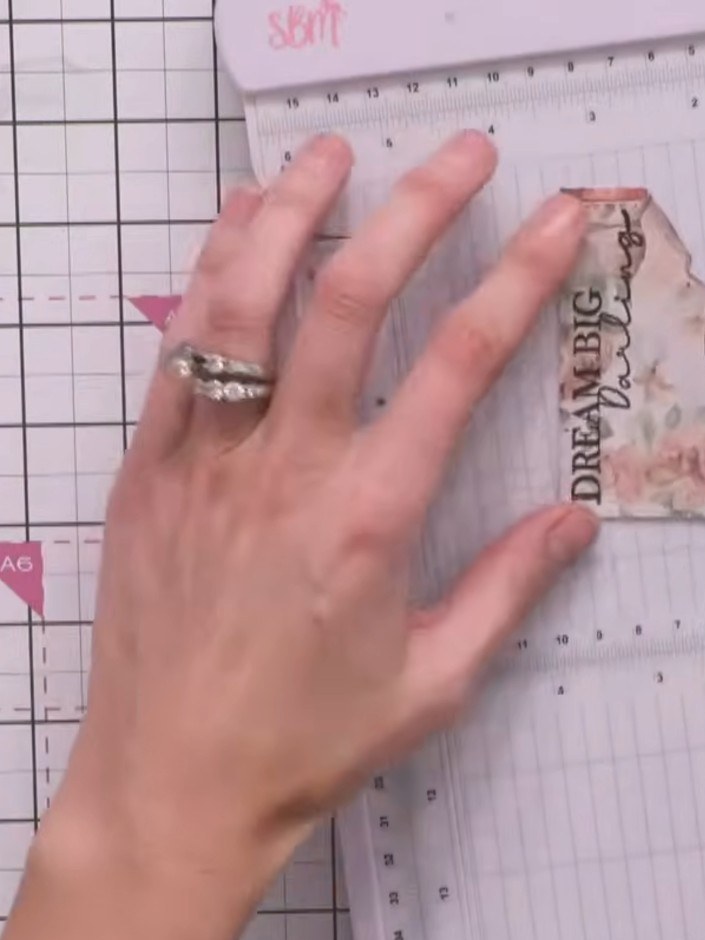
Trim the stamped sentiment into a rectangle. Distress the edges of the rectangle using a black ink pad.
▶ watch this step (39:30)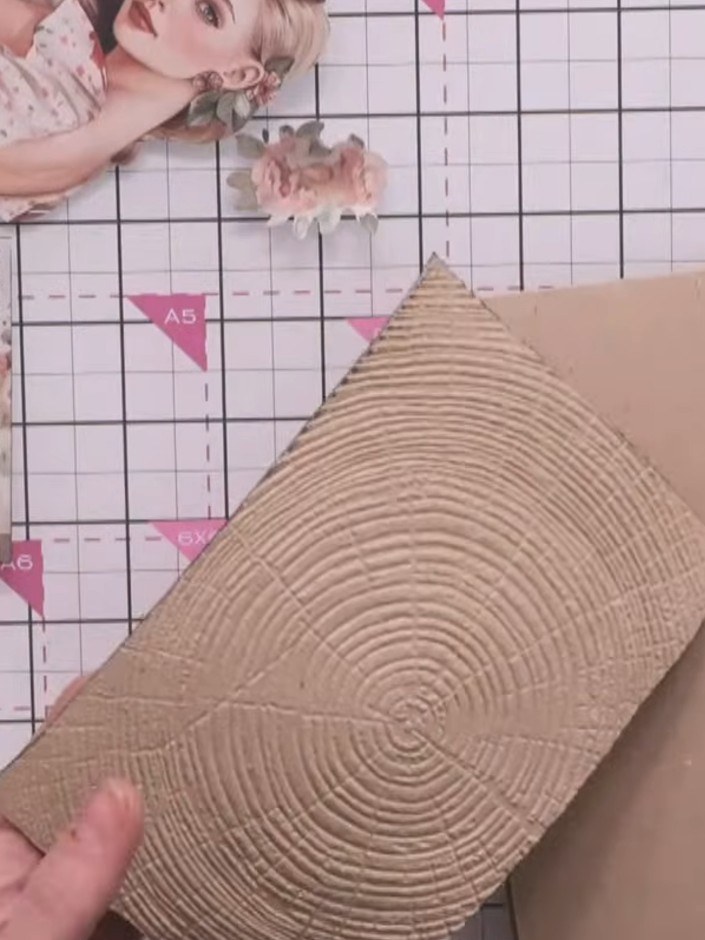
Adhere the embossed timber background piece to a craft-coloured card blank using glue, positioning it centrally on the card front. Attach the stamped sentiment rectangle to the card front using glue, positioning it centrally and creating a slight arch by lifting one end slightly as you adhere it.
▶ watch this step (40:30)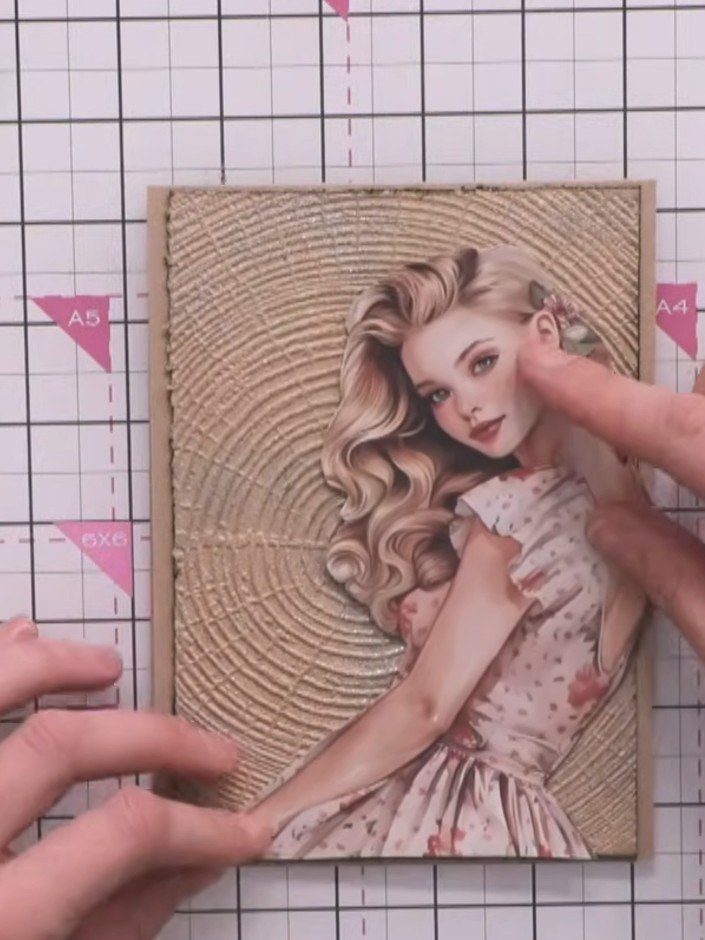
Apply small foam pads to the back of the fussy-cut lady image to add dimension.
▶ watch this step (43:00)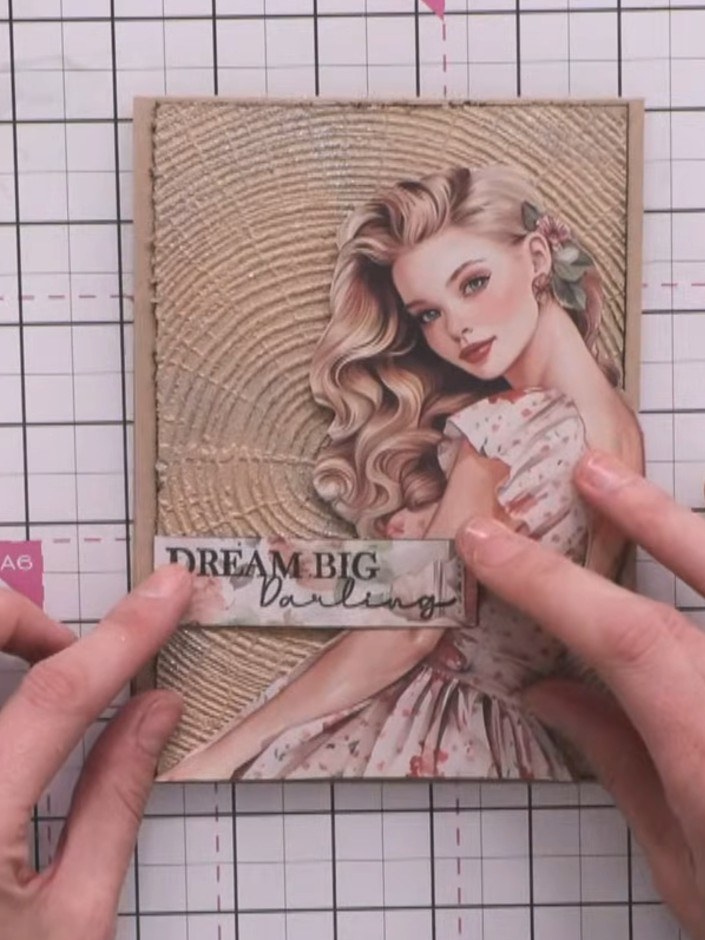
Adhere the lady image to the card front using foam pads, positioning her centrally over the 'Dream Big Darling' sentiment strip and the textured timber background.
▶ watch this step (44:00)Written up from the show itself. See every guide from our shows · free how-to guides · watch live on My Telly