Give your friends £10 off their first order!
Refer a FRIEND








A project from our live show BRAND SHOWCASE - FUNKY FOSSIL - Join us for this much loved event where the SMALL brands get to shout LOUDEST - Broadcast 20TH JAN 23 · 20/01/2023 · watch it from 30:00
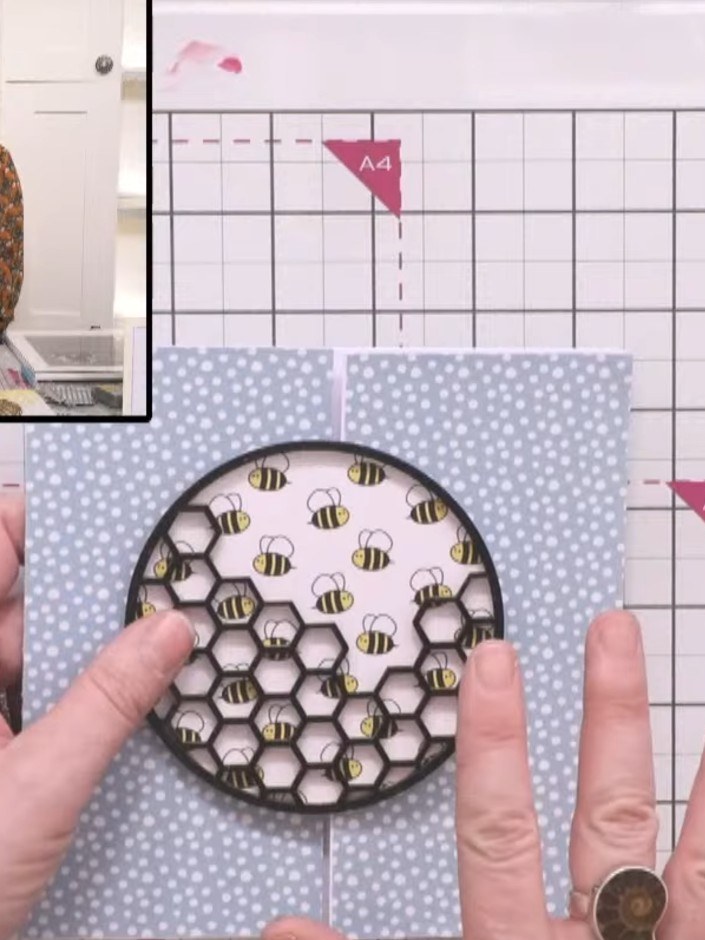
Create an elegant gatefold card with a sophisticated hexagon design. The interior features a stencilled honeycomb pattern heat embossed in soft yellow and blue tones, whilst the front showcases a delicate lightweight ply embellishment with botanical motifs. This project combines layered stencil work with heat embossing techniques to achieve a professional finish.
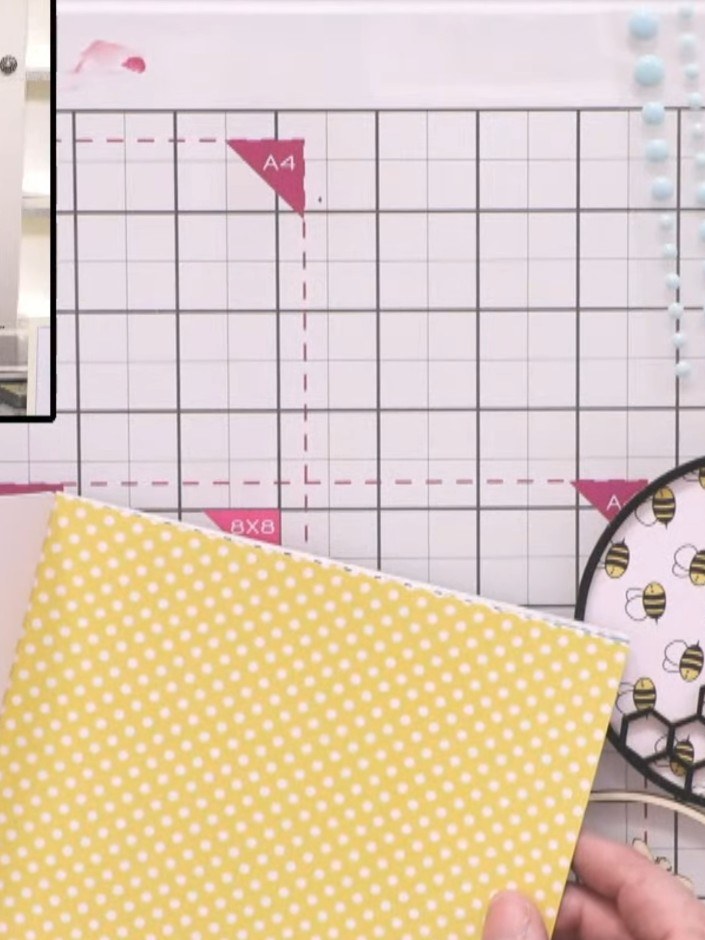
Cut a 15 cm square card base from white cardstock and fold it in half to create a gatefold format. Score and fold the card to ensure crisp edges.
▶ watch this step (32:45)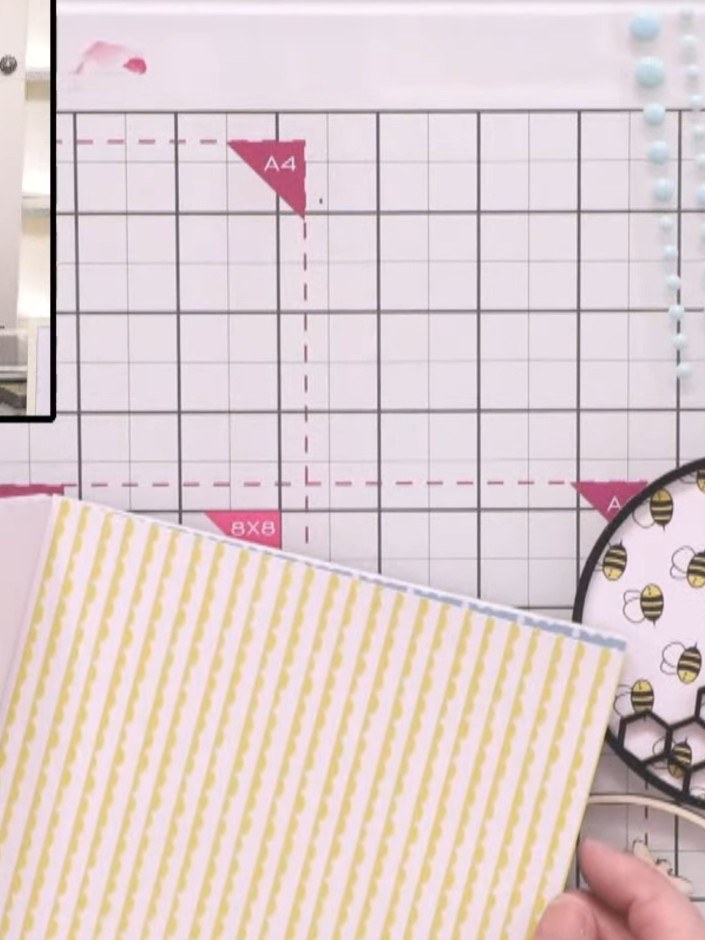
Select coordinating patterned paper from the paper pad. Cut pieces to cover the front panels of the gatefold card. The yellow polka dot pattern works well for this bee-themed design.
▶ watch this step (33:00)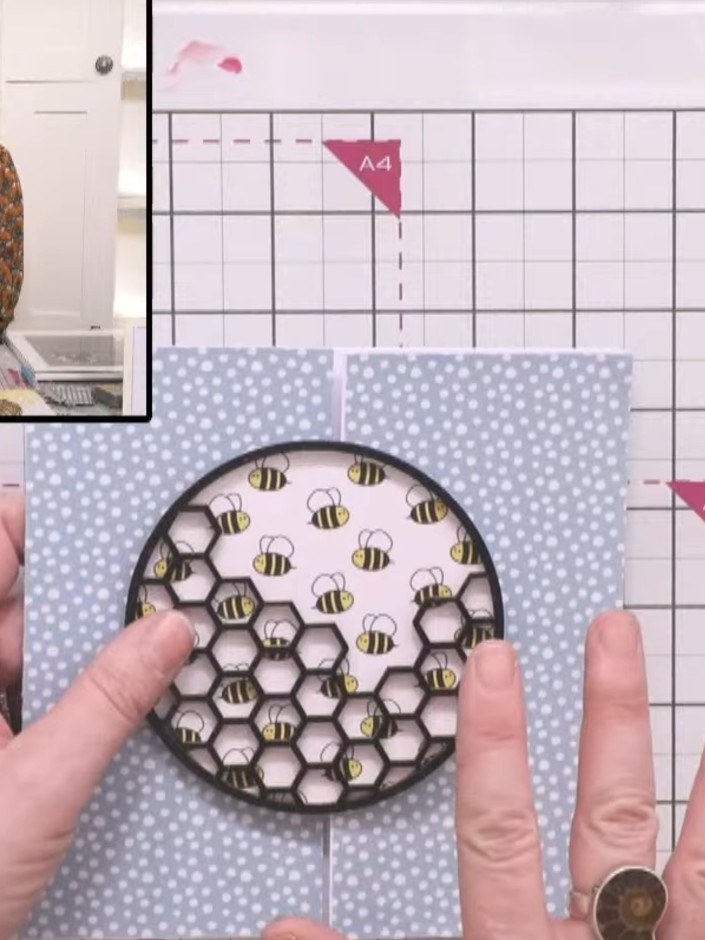
Use the hex matrix stencil to apply yellow ink to the inside left panel of the card, creating a hexagon pattern that fades as it goes down.
▶ watch this step (34:30)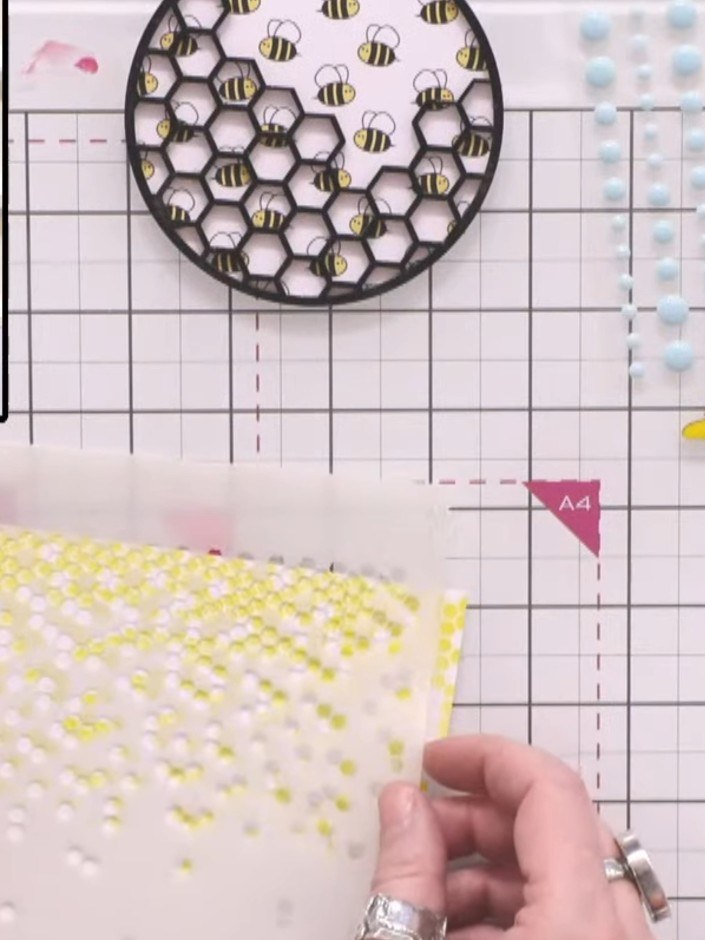
Position the hex matrix stencil higher up on the yellow patterned panel. Apply embossing ink through the stencil to create a pattern with fewer hexagons at the top.
▶ watch this step (37:15)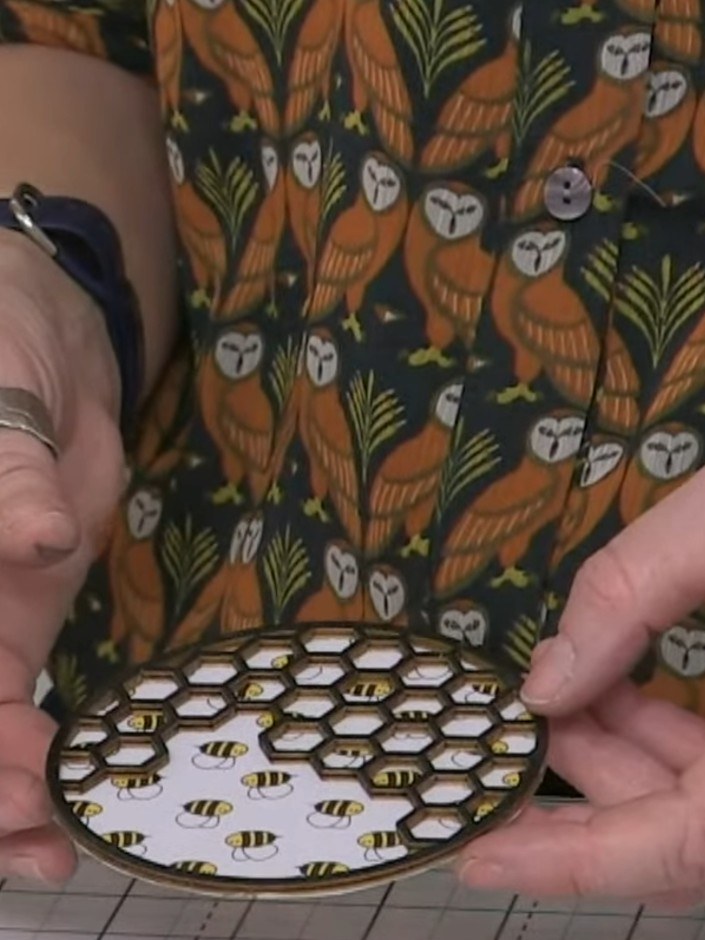
Cut out a circle of bee-patterned paper to fit behind the honeycomb die-cut circle. Position the paper behind the die-cut to show the bees through the hexagonal openings.
▶ watch this step (35:00)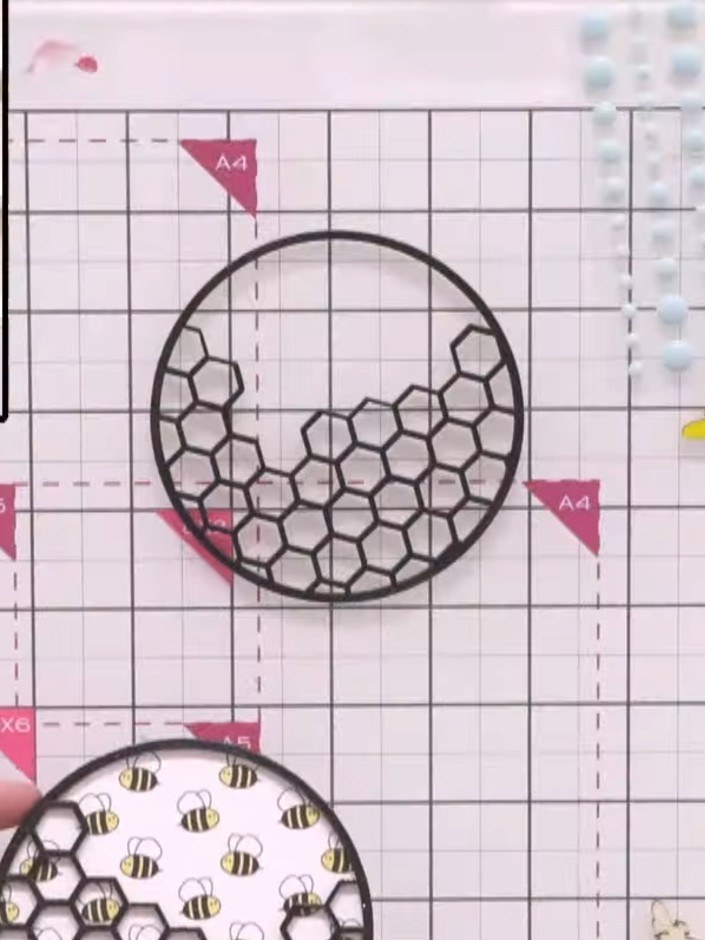
Mat the circular honeycomb ply embellishment with the bee pattern paper, ensuring the bee details are visible through the hexagonal openings in the centre of the circle.
▶ watch this step (36:00)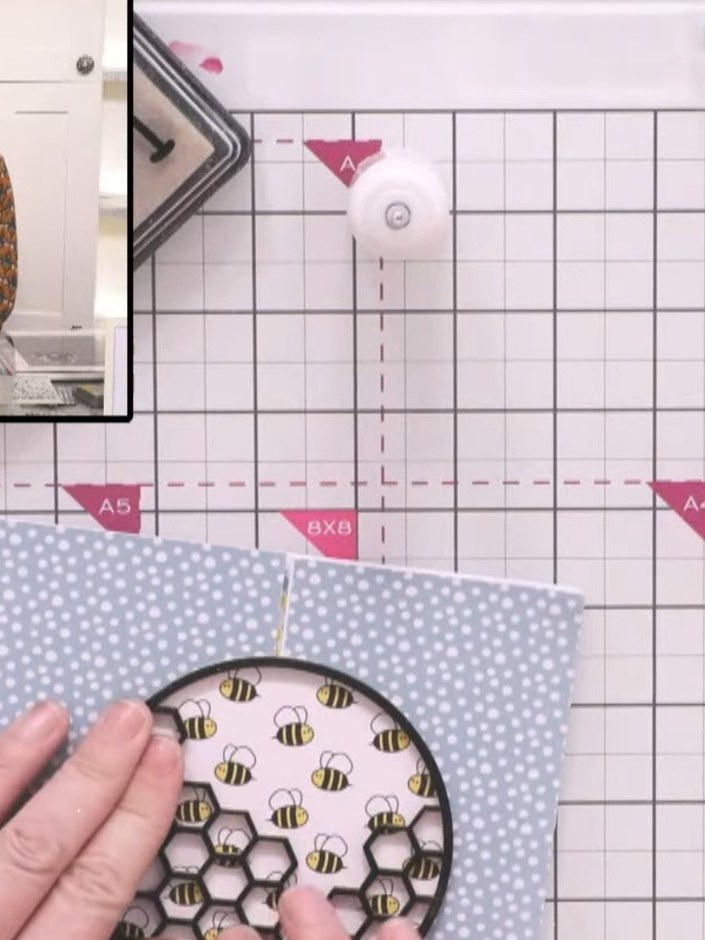
Adhere the matted ply embellishment to the front of the gatefold card. Position it centrally on the card front.
▶ watch this step (43:45)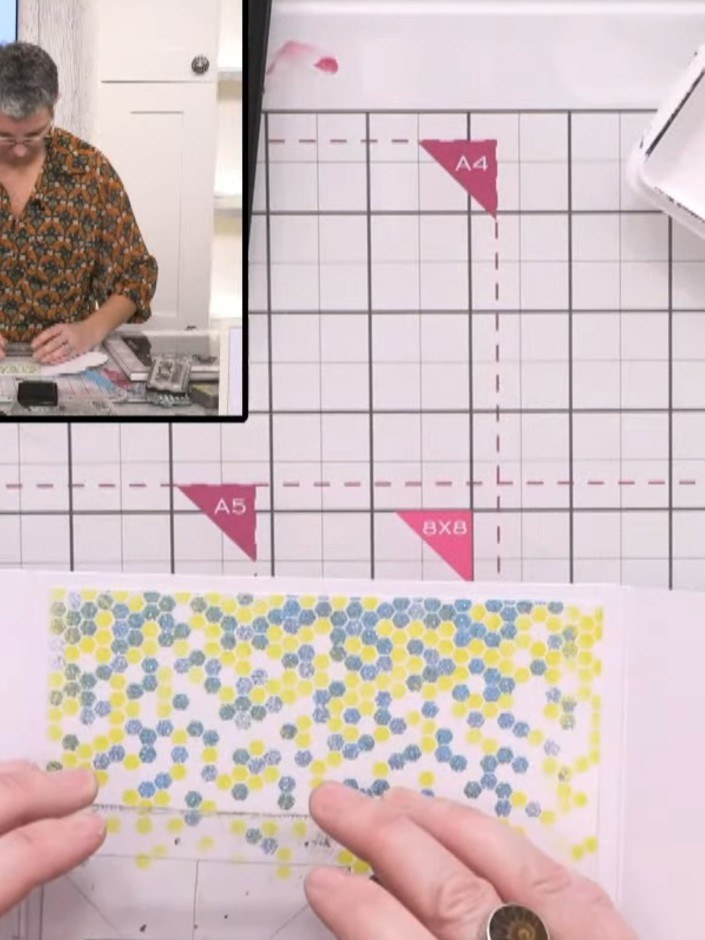
Stamp a small bee with heart trail sentiment from the A5 stamp set onto the inside right panel of the card using black ink.
▶ watch this step (47:00)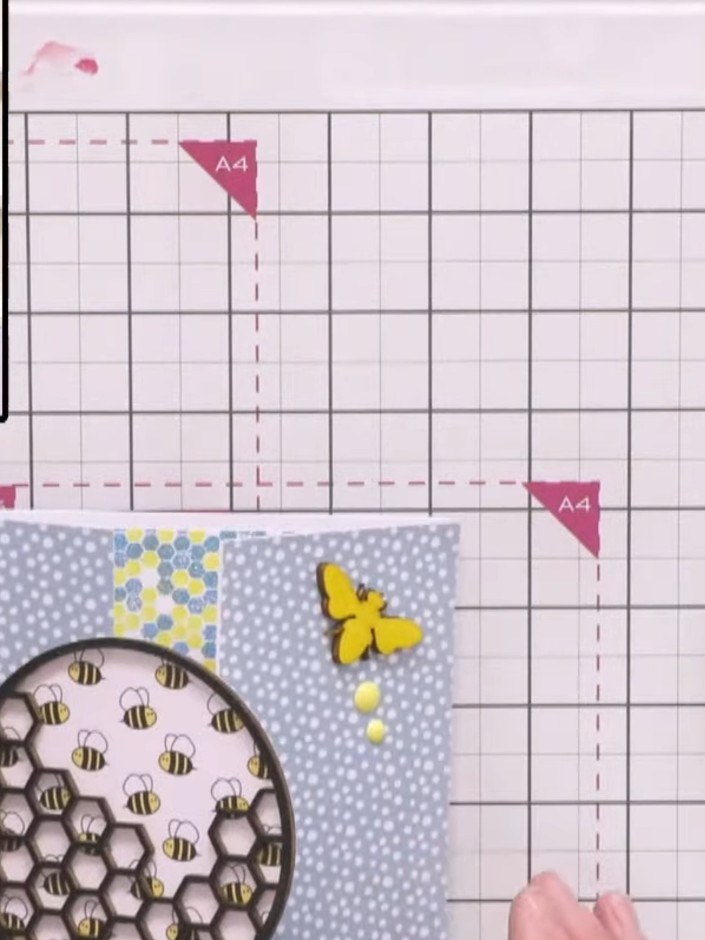
Add yellow enamel dots around the honeycomb focal point and along the flight path of the butterfly to complete the card.
▶ watch this step (48:30)Written up from the show itself. See every guide from our shows · free how-to guides · watch live on My Telly