Give your friends £10 off their first order!
Refer a FRIEND








 Hidden GemsWed 18 Nov 10am
 The Thursday DropThu 19 Nov 6pm
 The Friday Final CutFri 20 Nov 10am
Prices change straight away. Every language is our own translation, not Google.
A project from our live show MY PODCAST - Catch my latest updates broadcast 23rd March 2026 · 23/03/2026 · watch it from 40:45
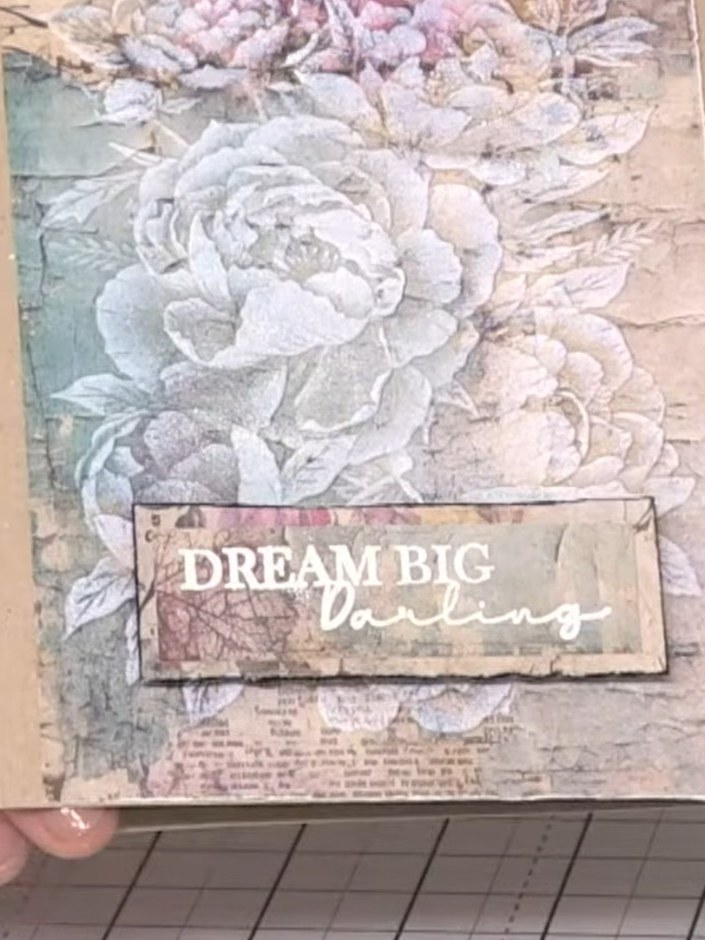
Create an elegant card featuring dimensional floral imagery with a vintage aesthetic. Using a 3D embossing folder, white embossing powder, and optional sparkle accents, you'll produce a sophisticated design with soft pink and cream tones against a textured background. The 'Dream Big Darling' sentiment adds an inspirational finishing touch to this beautiful handmade card.
 Signature Watercolour High Definition 3D Embossing Folder - Tiger Lily - 090622ISEE IT
 Signature Watercolour High Definition 3D Embossing Folder - Pretty Peony - 090622HSEE IT
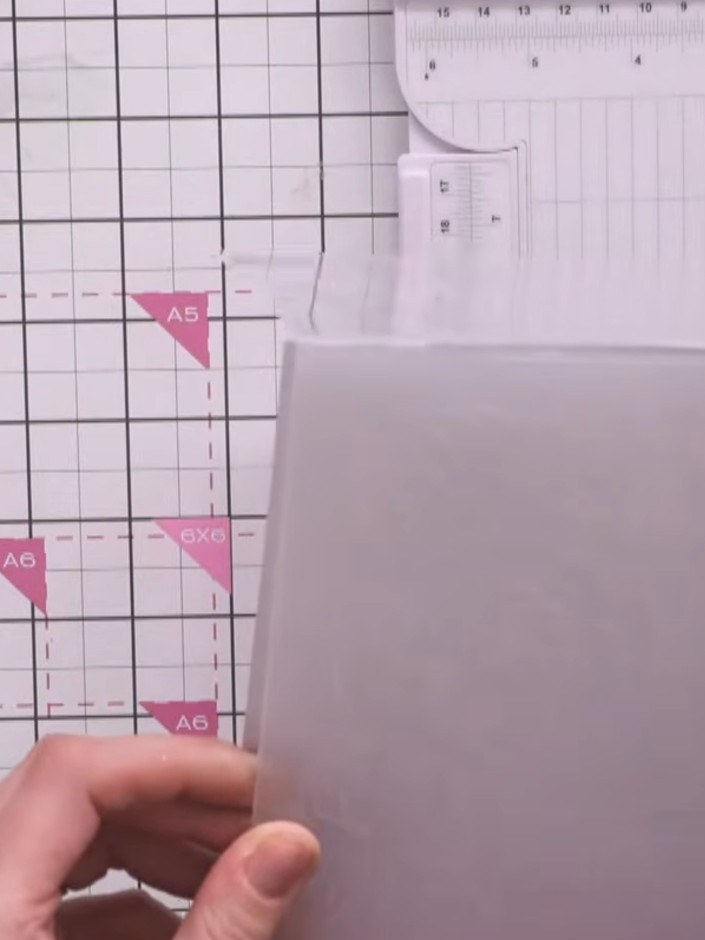
Cut white card stock to A6 size. Place it into your chosen embossing folder (Tiger Lily or Pretty Peony) and run it through your embossing machine to create the raised floral design.
▶ watch this step (40:45)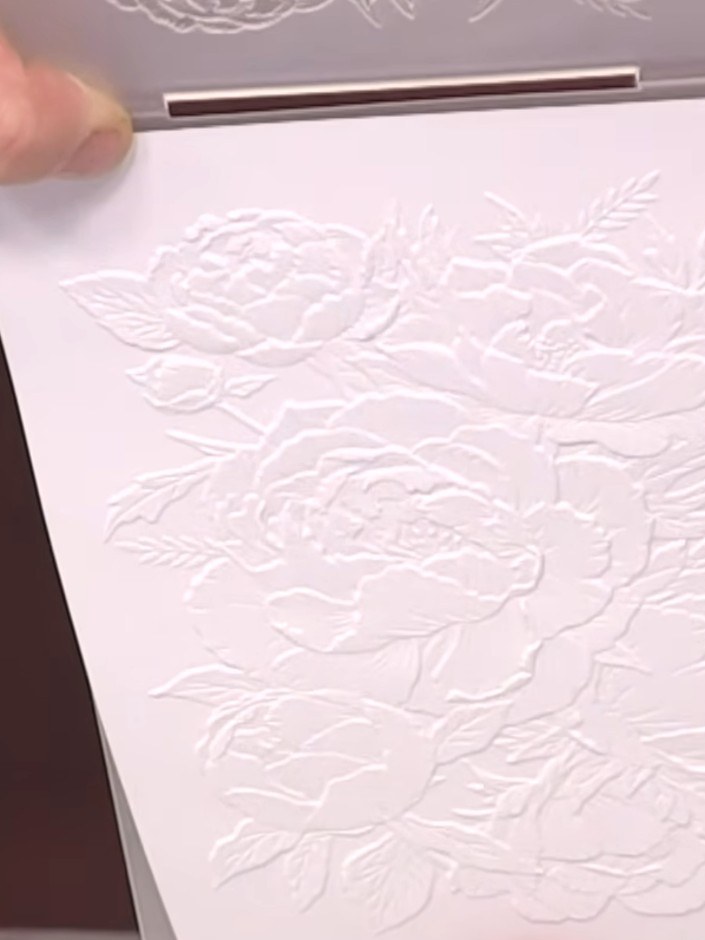
Using a white ink pad, tap it repeatedly across the embossed floral design to fill in all the raised areas. Ensure full coverage of the dimensional details including the petals and leaves.
▶ watch this step (43:30)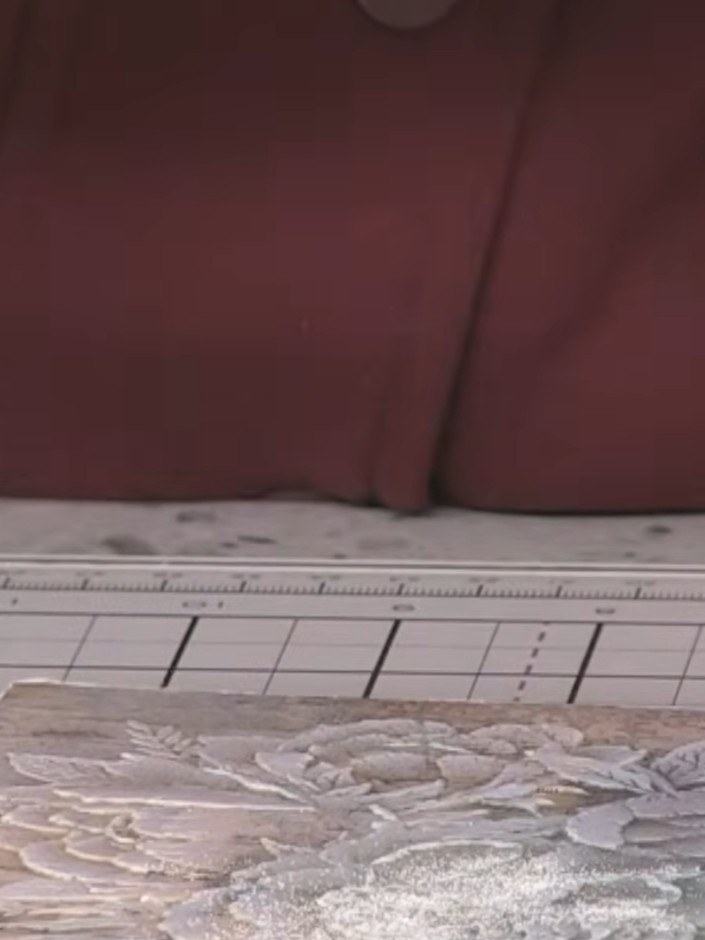
Sprinkle iridescent embossing powder into the centre of the embossed flowers and leaves to add accent sparkle.
▶ watch this step (48:30)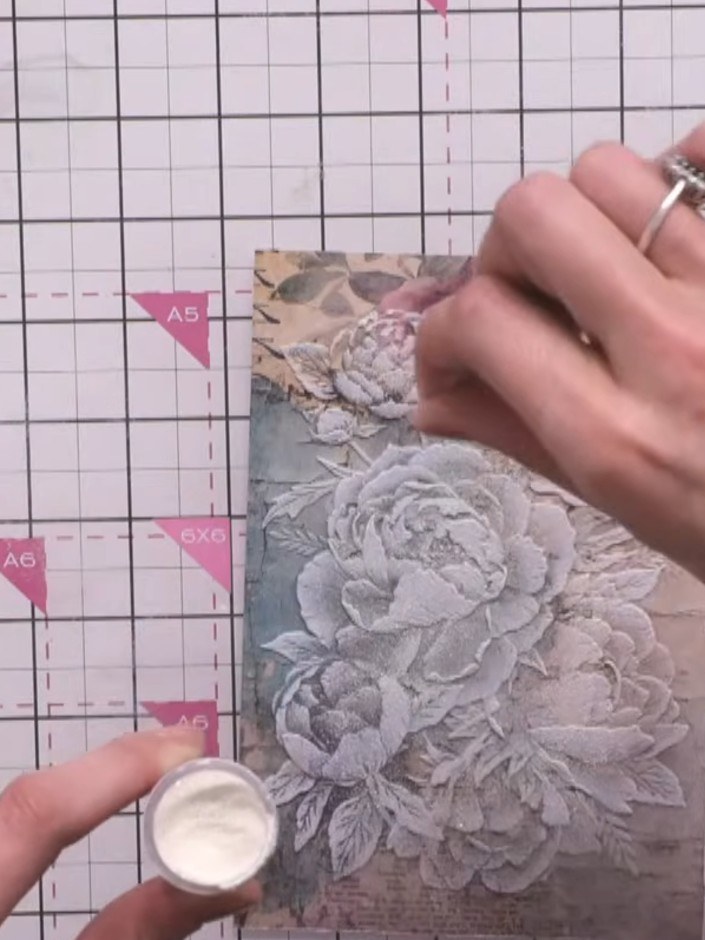
Tap off any excess embossing powder onto a piece of card to catch it for reuse. Heat set the powder using an embossing heat gun, holding it at a safe distance from the card to avoid scorching.
▶ watch this step (49:00)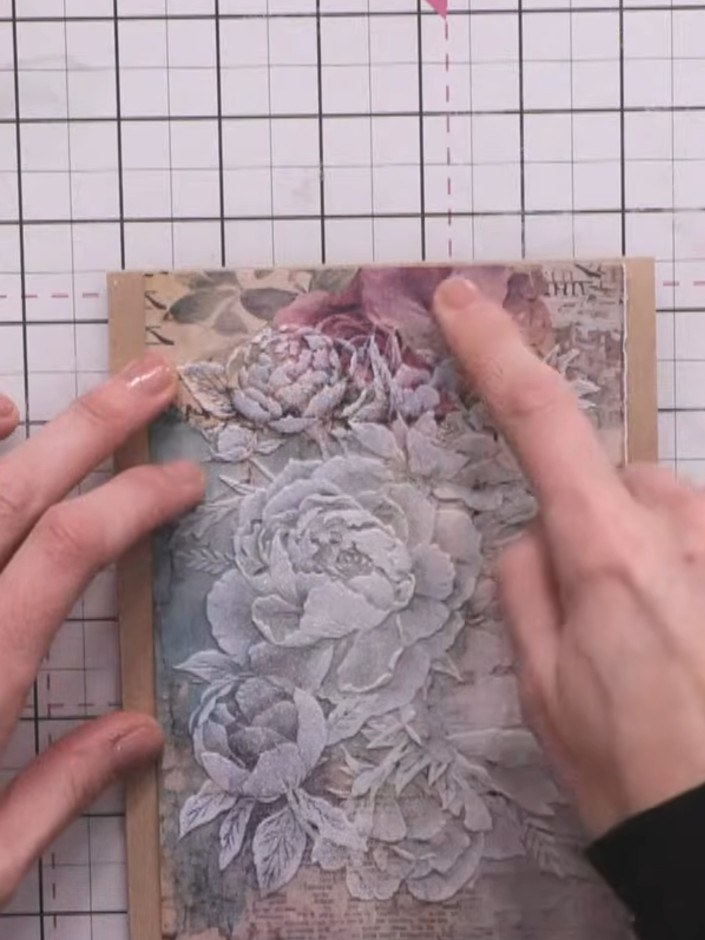
Layer the embossed floral piece onto complementary patterned paper. Position it centrally and smooth it down to ensure good adhesion.
▶ watch this step (51:45)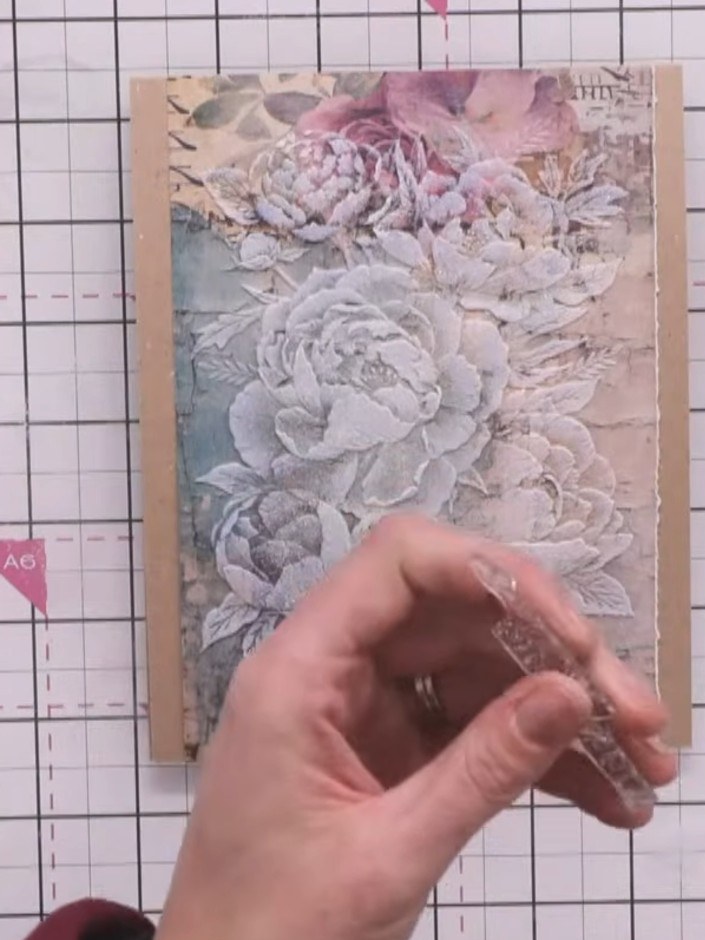
Stamp a sentiment onto a separate piece of card stock using sticky embossing ink. Position the stamp where desired and press firmly to transfer the ink.
▶ watch this step (53:30)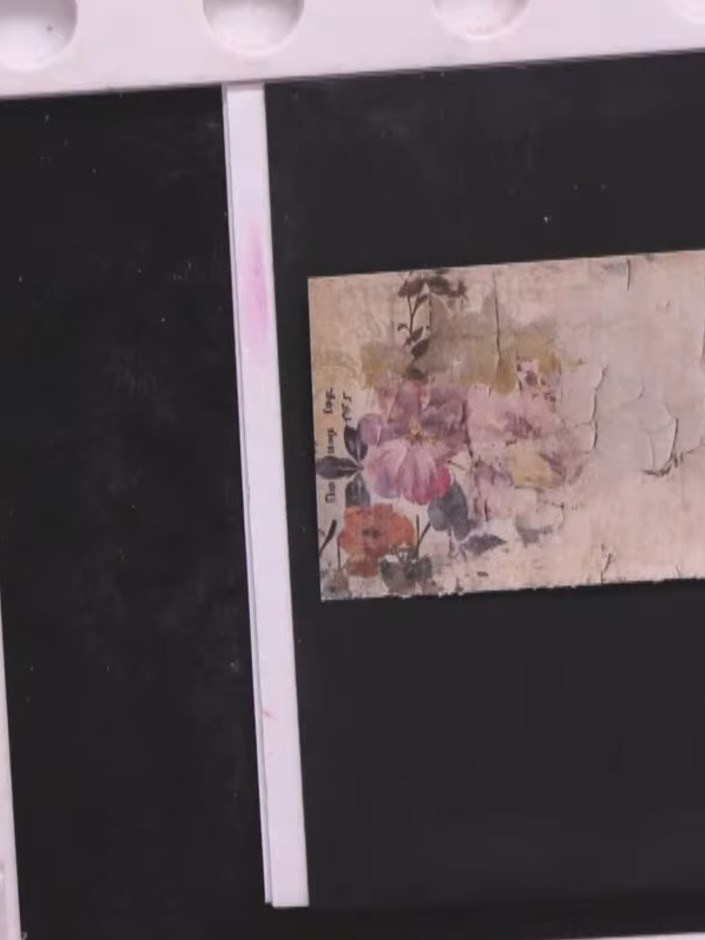
Stamp your chosen sentiment onto white cardstock using the clear embossing ink. Sprinkle white embossing powder over the wet ink, tap off the excess, and heat set with your heat tool until the powder melts and becomes shiny.
▶ watch this step (54:30)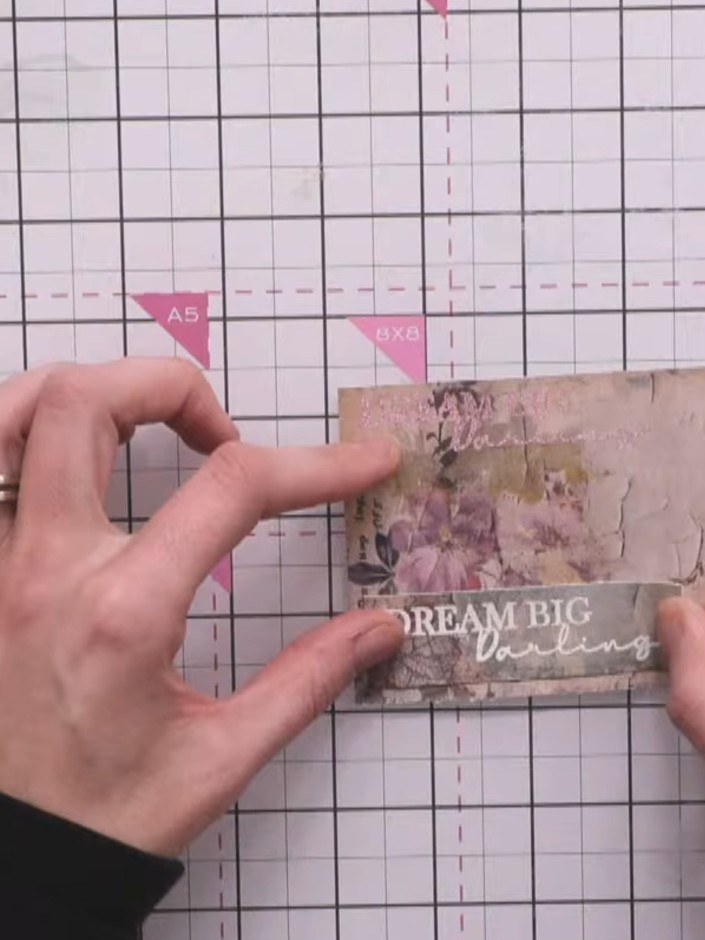
Trim the sentiment piece to size. Edge the trimmed piece with a dark ink pad by swiping the edges to add dimension.
▶ watch this step (1:02:00)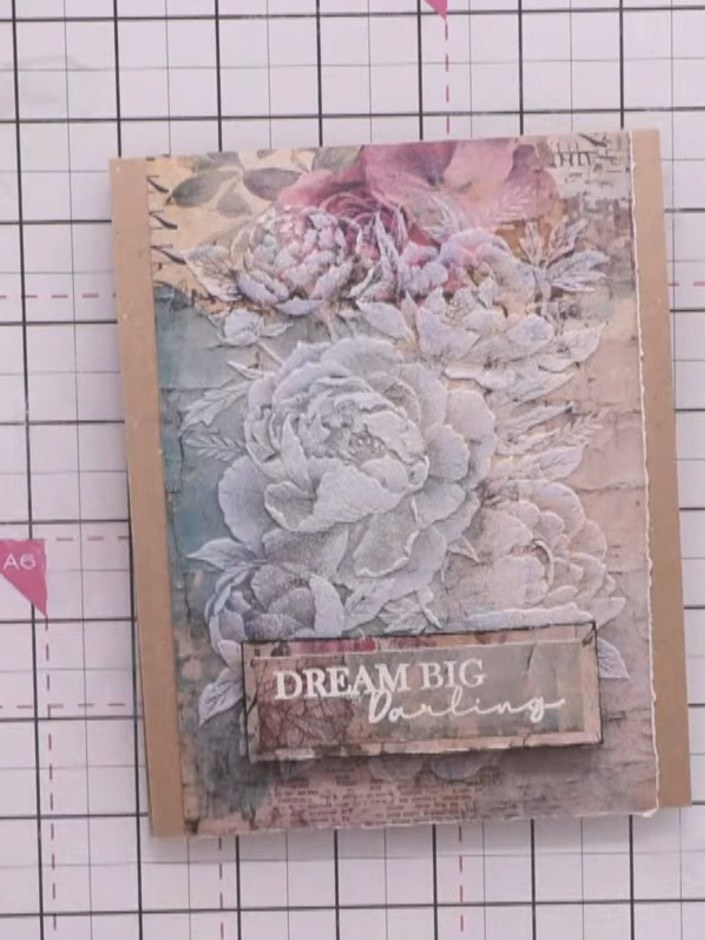
Attach foam pads to the back of the 'DREAM BIG Darling' sentiment piece and adhere it to the centre of the main card panel.
▶ watch this step (1:03:15)Written up from the show itself. See every guide from our shows · free how-to guides · watch live on My Telly