Geef je vrienden £ 10 korting op hun eerste bestelling!
Nodig een VRIEND uit








 Deal Huntersdi 17 nov 13:00 uur
 Hidden Gemswo 18 nov 10:00 uur
 The Thursday Dropdo 19 nov 18:00 uur
Prijzen worden meteen aangepast. Elke taal is onze eigen vertaling, niet Google.
Een project uit onze liveshow THE FRIDAY FINAL CUT - Uitzending 13 november 2026 · 13/11/2026
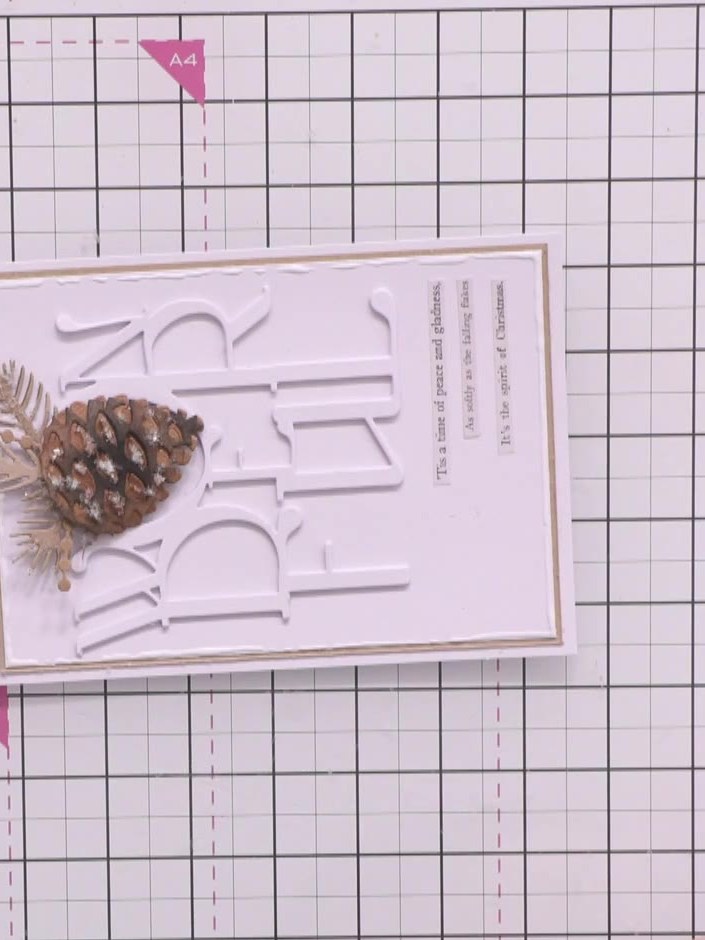
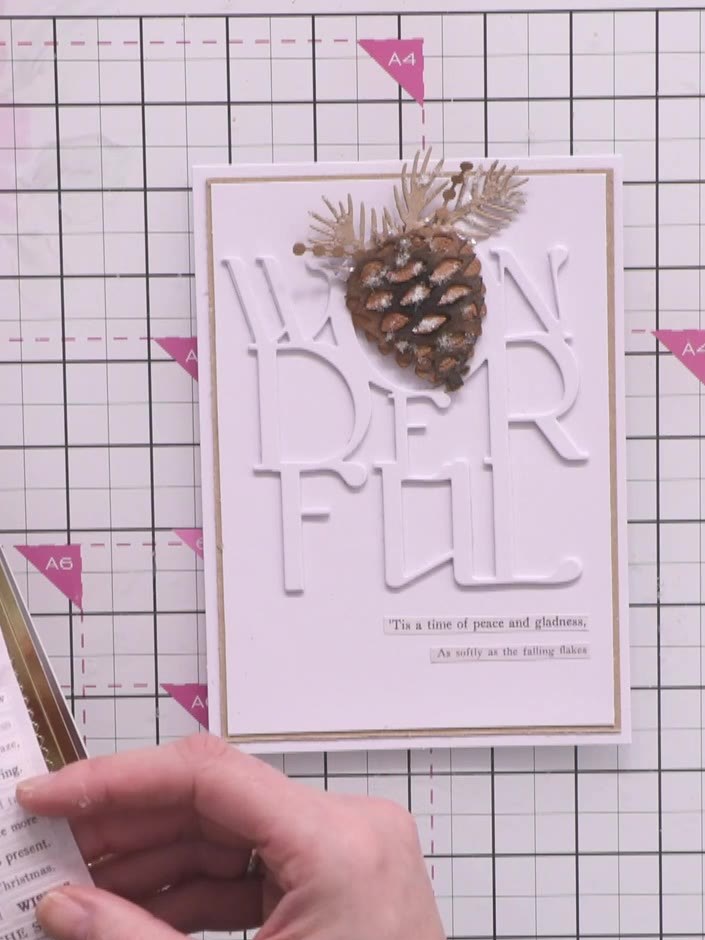
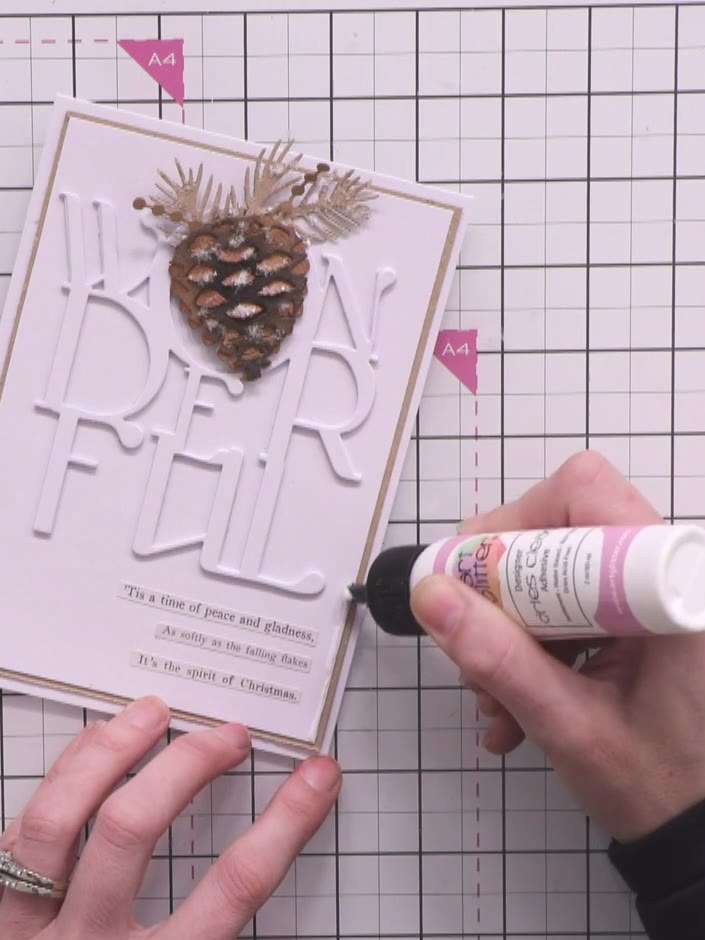
Create an elegant Christmas card featuring a three-dimensional pine cone nestled in the 'O' of the word 'Wonderful'. This sophisticated design combines kraft and white cardstock layers with a realistic pine cone die-cut embellishment adorned with delicate foliage, finished with colourless glitter for a frosty, sparkly effect. The card includes a sentiment strip with festive text to complete the seasonal greeting.
 1
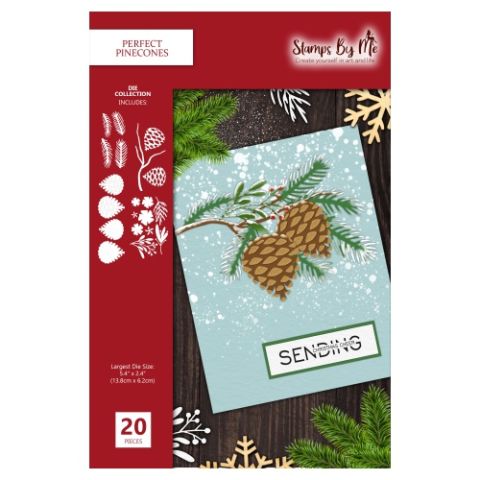
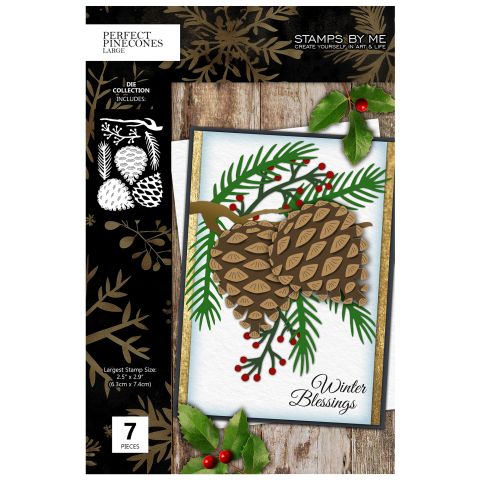
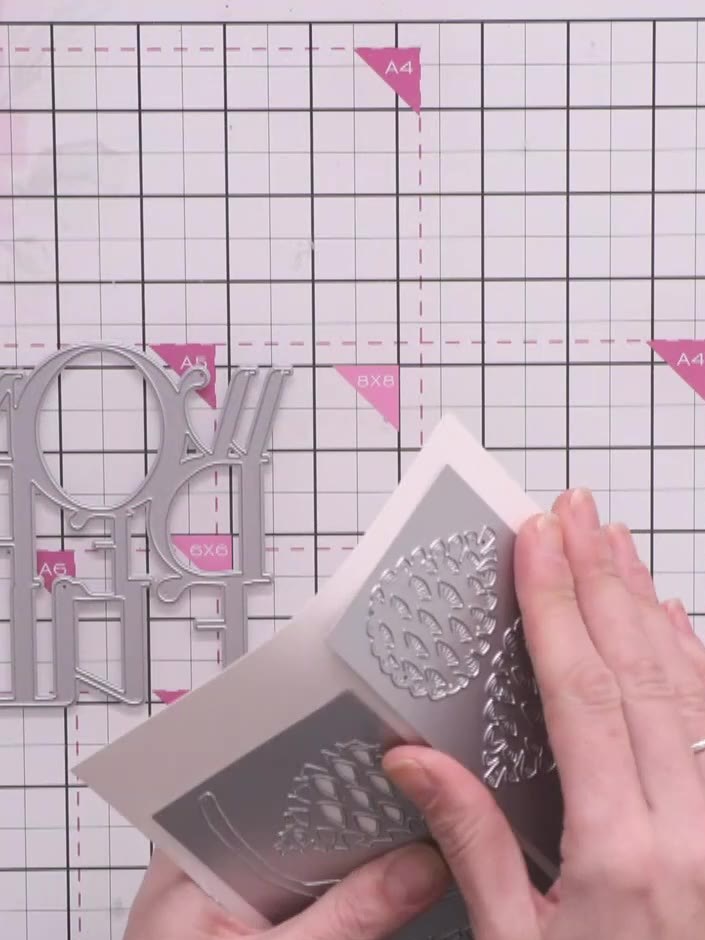
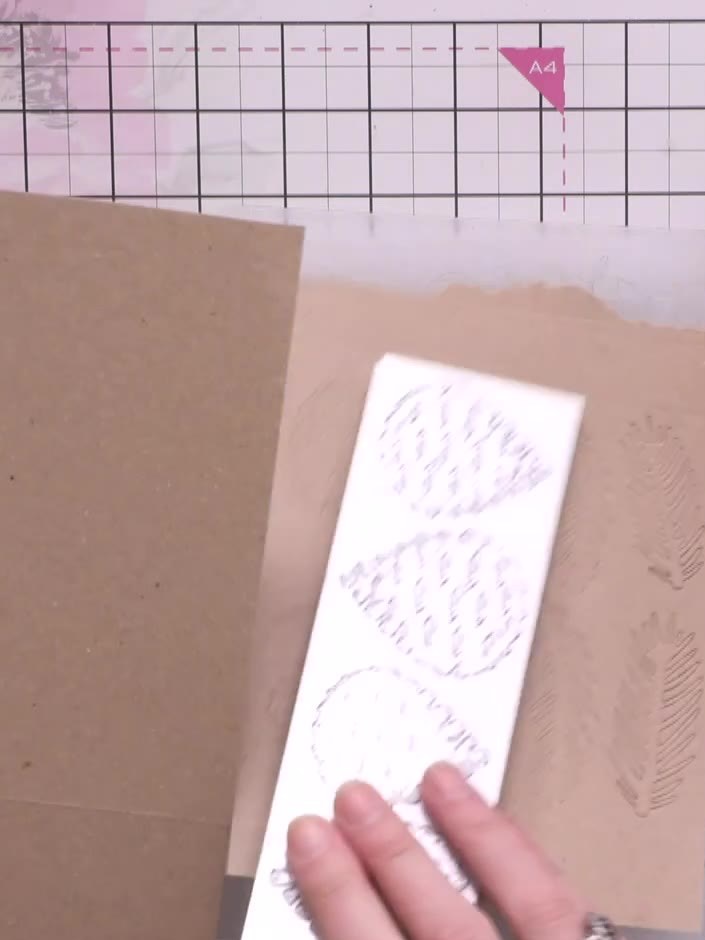
Cut the pine cone jacket and fern pieces from kraft cardstock using the Perfect Pinecones die. Place a spare piece of card underneath the cardstock to help the die cut through properly.
 2
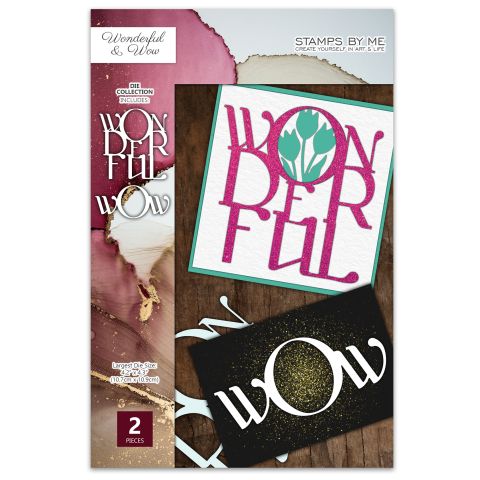
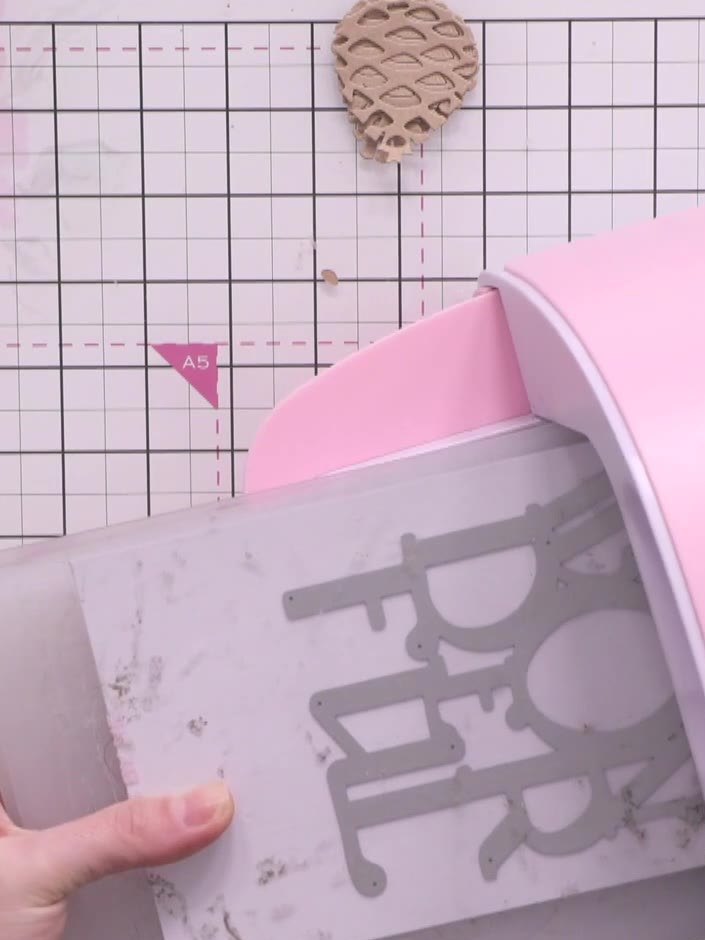
Cut the word 'Wonderful' from white cardstock using the Wonderful & Wow die set. Create four separate layers by running the die through your die-cutting machine four times.
 3
Stack all four 'Wonderful' die-cut pieces together using fast-drying glue to create a raised 3D embellishment. Press down firmly to ensure all the embossed layers stick together securely.
 4
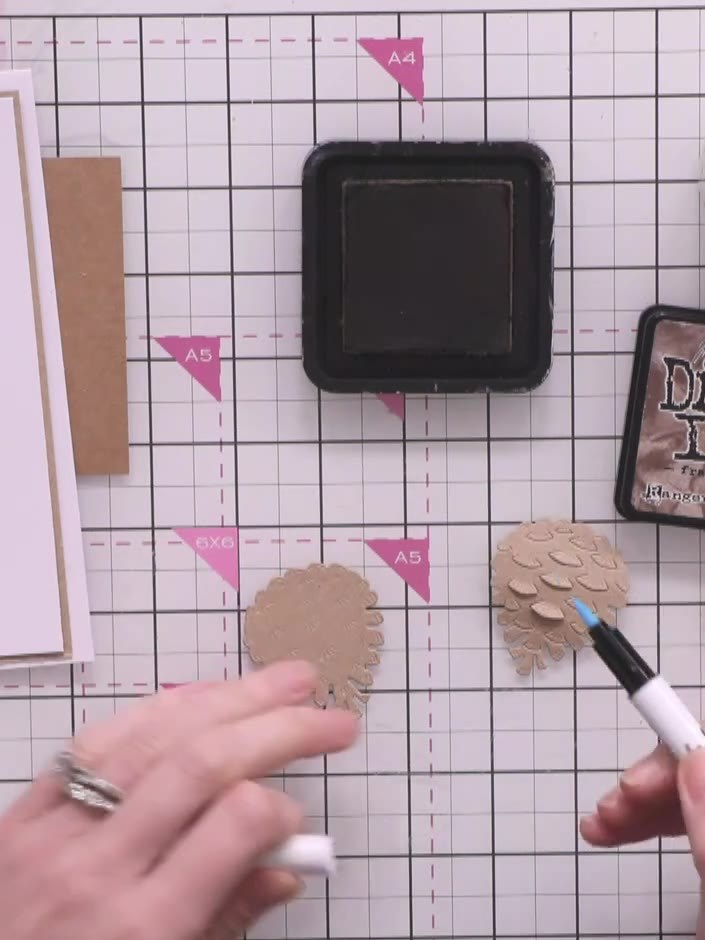
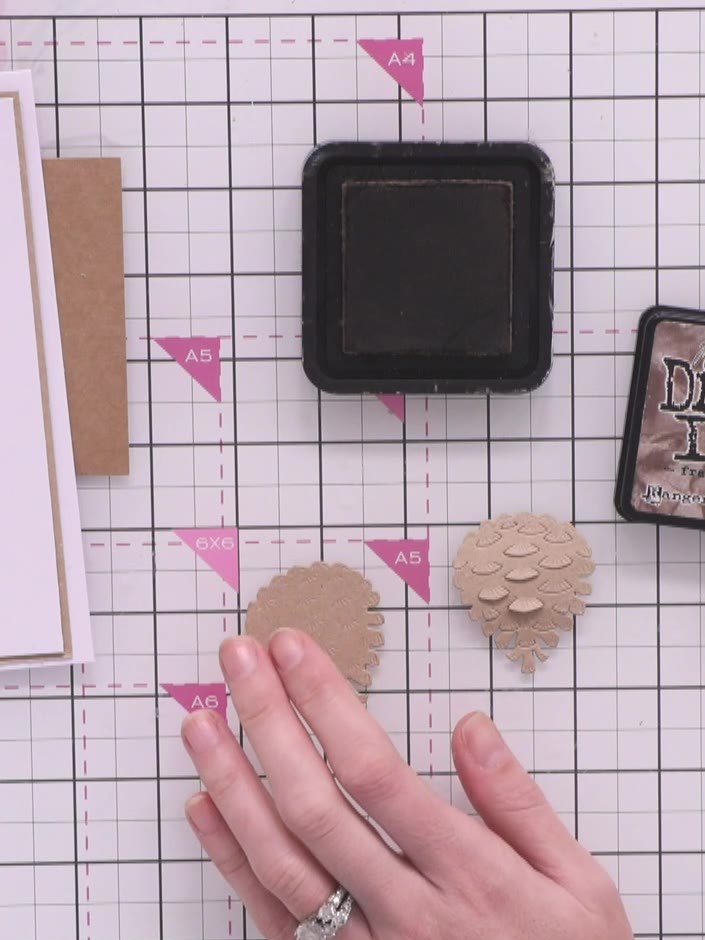
Blend Frayed Burlap distress ink onto the pine cone layers using an ink blending tool. Apply the ink to add depth and realism to the pine cone pieces.
 5
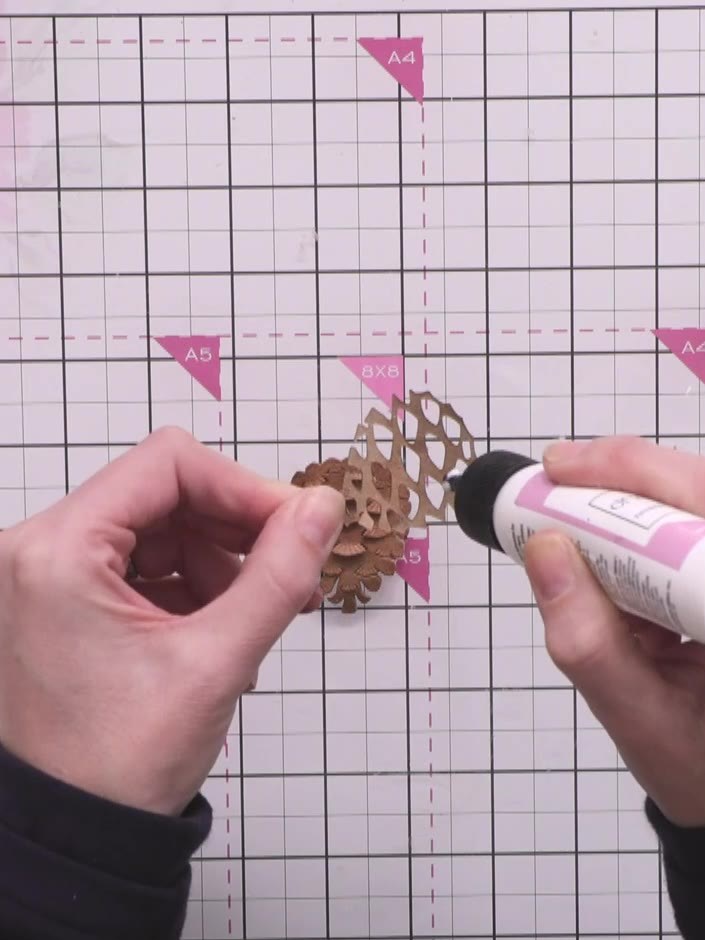
Glue the inked pine cone layers together, keeping glue away from the embossed legs. Manipulate the legs to create an organic pine cone shape.
 6
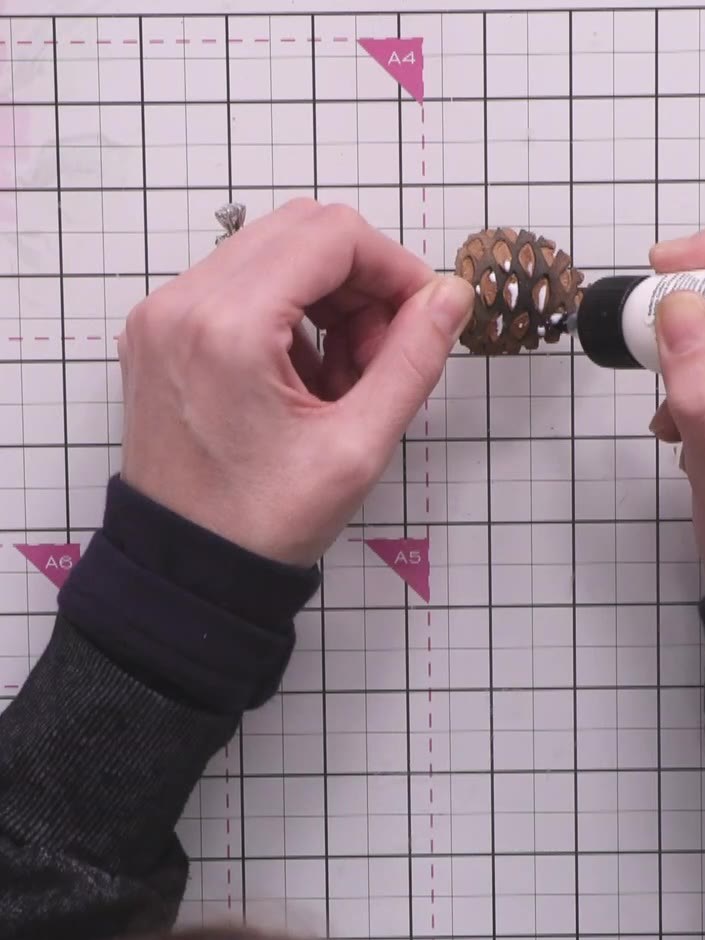
Slot the jacket piece under the pine cone's legs to create a shadow effect. Use glue to secure the legs down firmly to the jacket piece.
 7
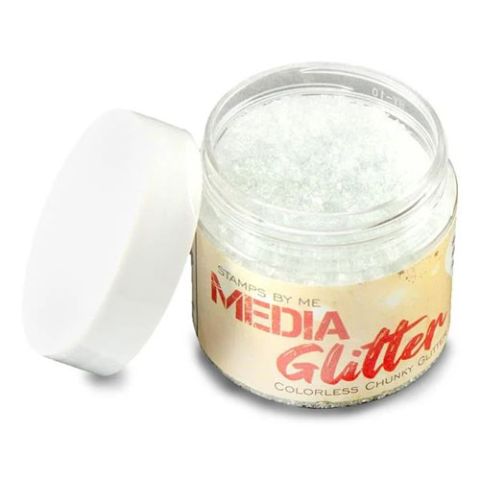
Apply fast-drying glue to the pine cone's legs using a precision applicator. Sprinkle colourless glitter over the glued areas and allow to dry completely, leaving crystal sparkles on the pine cone.
 8
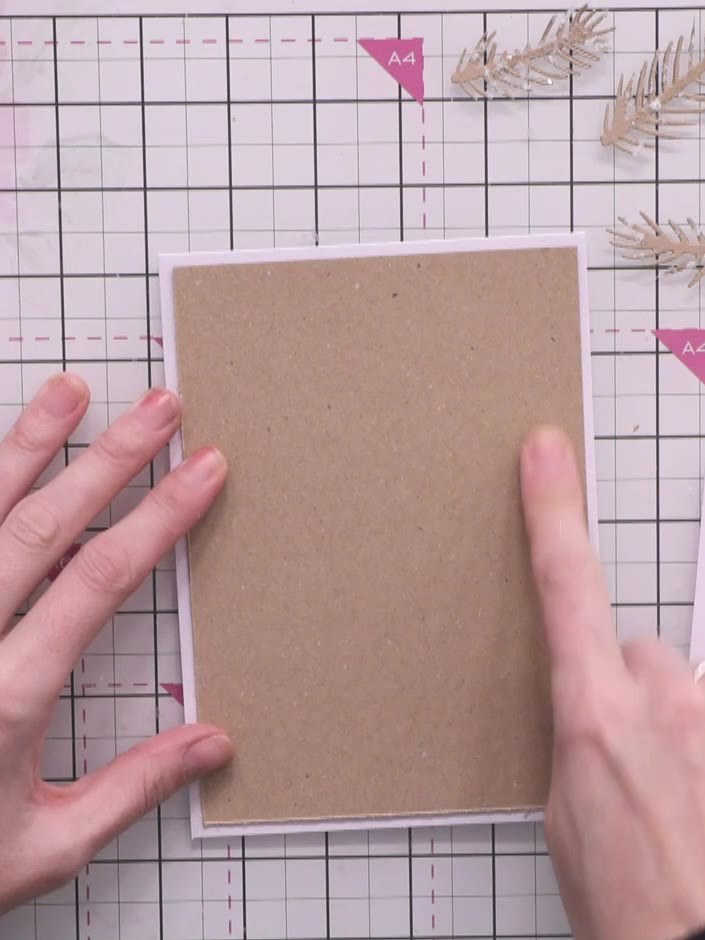
Create a card base by layering kraft cardstock as the bottom layer with white cardstock on top. Burnish the layers together with your hands to ensure they are firmly adhered.
 9
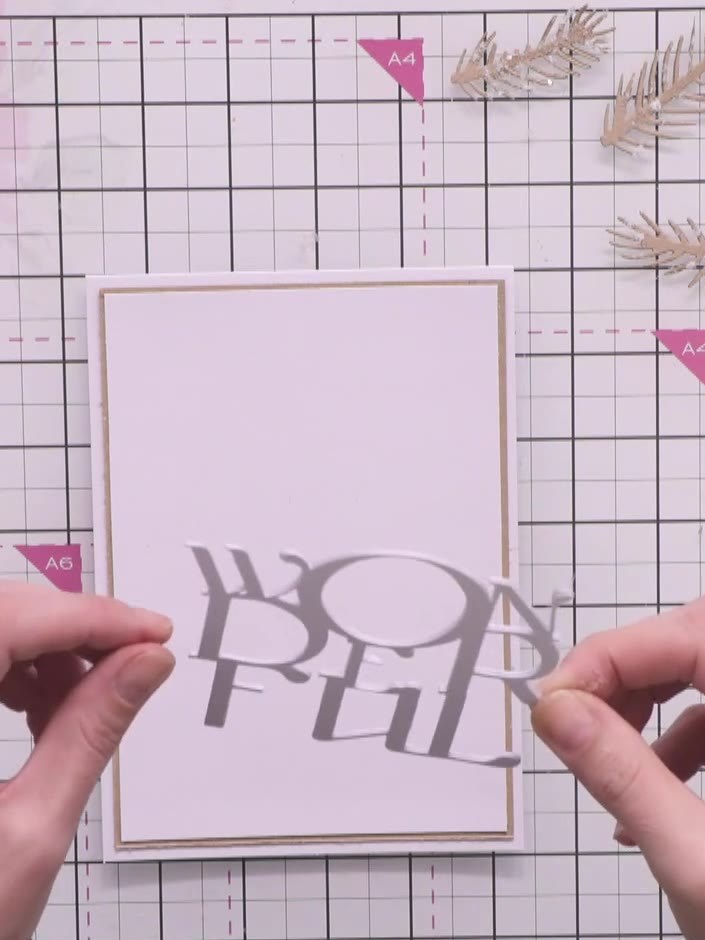
Glue the stacked 'Wonderful' die-cut embellishment onto the white cardstock layer, positioning it centrally to leave space for the pine cone and foliage elements.
 10
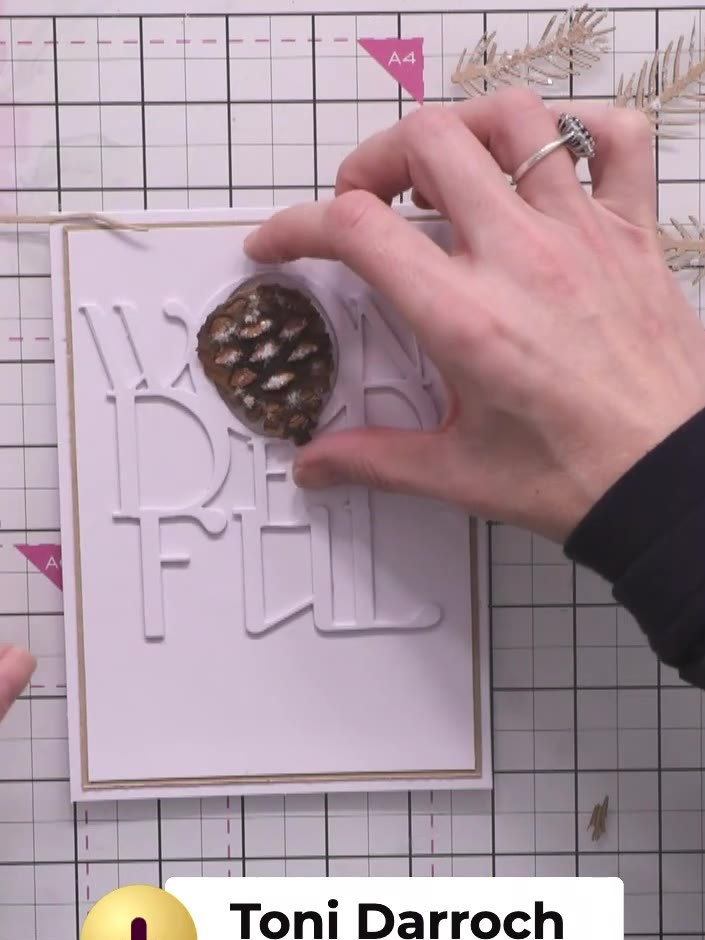
Using foam pads or glue, attach the completed pine cone embellishment into the centre of the 'O' in the 'Wonderful' word die-cut on your card front.
 11
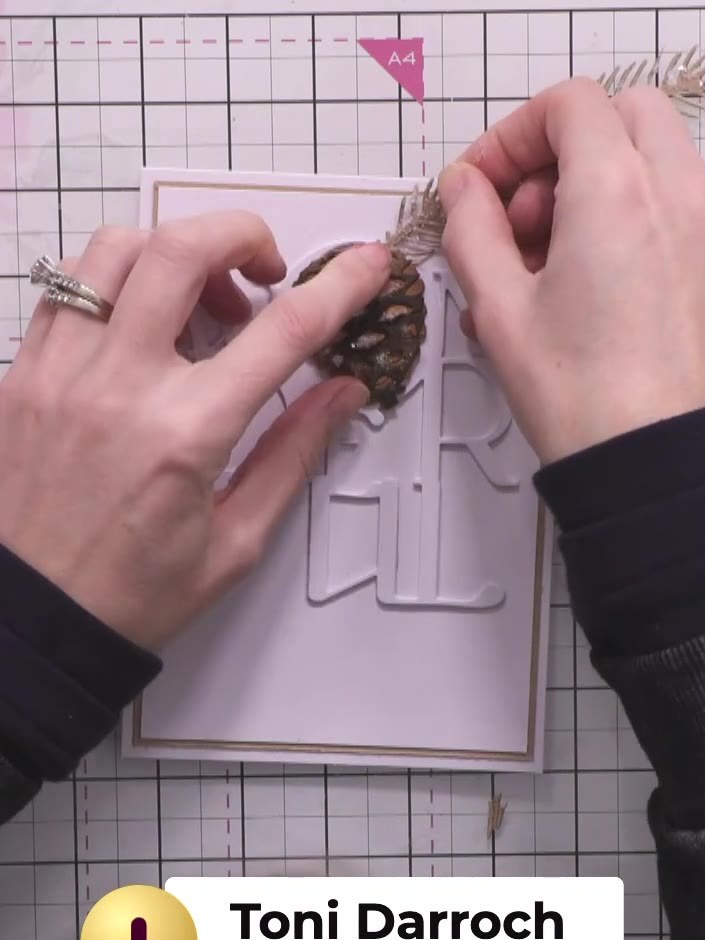
Add foliage adornment fillers around the pine cone using glue, tucking them in to fill the space and create a natural arrangement. Position the fillers to complement the pine cone and create depth in your design.
 12
Add a sentiment strip below the 'Wonderful' letters with text such as 'Tis a time of peace and gladness, As softly as the falling flakes, It's the spirit of Christmas.'
 13
Apply fast-drying glue around the entire edge of the card border. Sprinkle colourless glitter over the glued edges to create a sparkly frame finish.
Deel je project met de Stamps By Me community - en bewaar deze handleiding voor de volgende keer.
Rechtstreeks uit de show uitgeschreven. Bekijk alle handleidingen uit onze shows · gratis handleidingen · kijk live op My Telly · de vorige weergave