Geef je vrienden £ 10 korting op hun eerste bestelling!
Nodig een VRIEND uit








 Hidden Gemswo 11 nov 10:00 uur
 The Thursday Dropdo 12 nov 18:00 uur
 The Friday Final Cutvr 13 nov 10:00 uur
Prijzen worden meteen aangepast. Elke taal is onze eigen vertaling, niet Google.
Een project uit onze liveshow HOBBYMAKER TV - Uitzending van 9 november 2026 · 09/11/2026
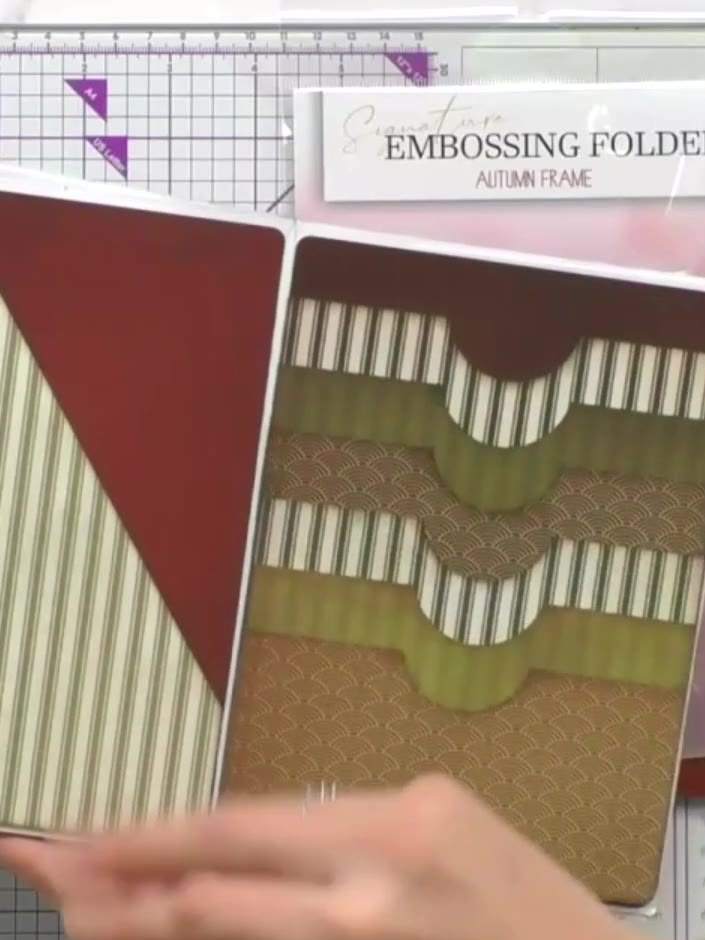
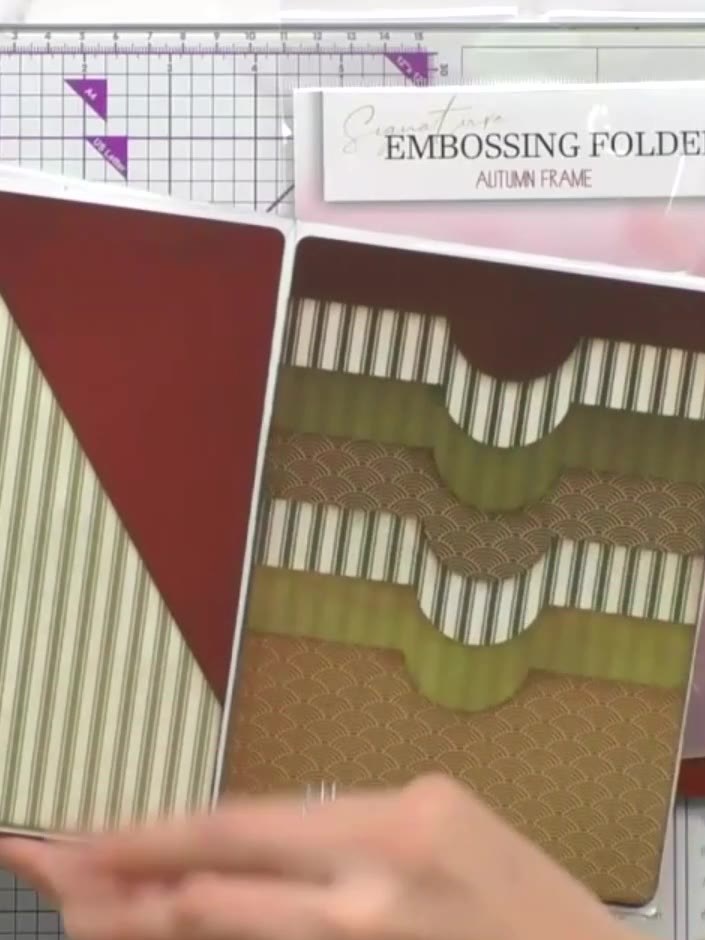
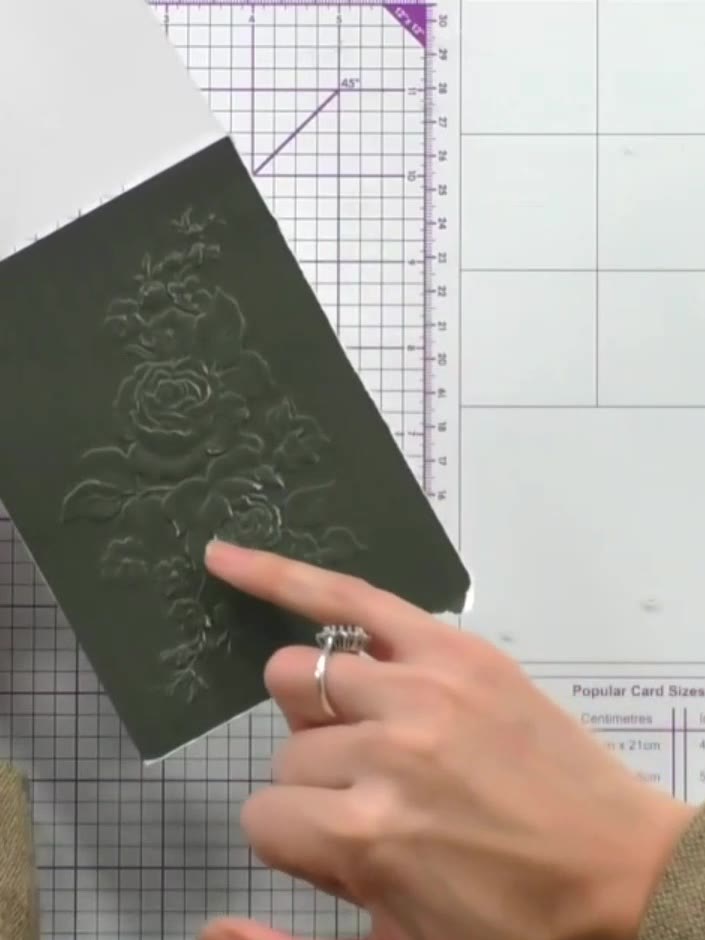
Create a sophisticated birthday card featuring the Stamps By Me Classic Paper Bundle with elegant olive green and striped papers. This project uses an embossing folder to add texture and dimension, combined with coordinating papers and embellishments to create a refined, layered design perfect for special occasions.
 1
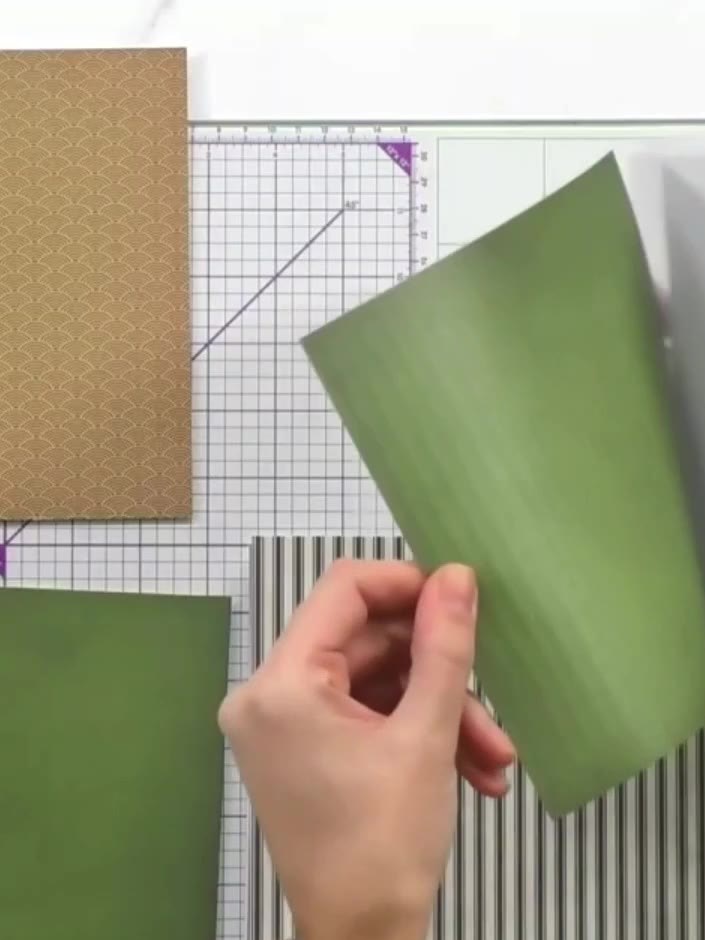
Die-cut the largest balloon shape from your chosen cardstock using your die-cutting machine. Select papers from the Heritage collection in coordinating colours such as brown, green, or striped patterns. Die-cut progressively smaller balloon shapes from the coordinating cardstock colours in the Heritage Paper Bundle. Use nested balloon dies to create multiple sizes, cutting from the brown, green, striped and solid papers. Layer the balloon die-cuts from largest to smallest, offsetting them slightly to create visual interest and dimension. Position each balloon so they overlap in a pleasing arrangement. Attach each balloon layer using foam pads to create dimension and height. Build up the layers, placing the smaller balloons on top of the larger ones to create a nested effect. Add the 'Happy Birthday' die-cut sentiment to the top of your card design. Position it centrally on the green patterned paper layer.
 2
Add embellishments around the balloons using dies from the Heritage Paper Bundle. Cut bunting triangles in burgundy and striped paper, and cut party hat shapes in coordinating colours to create a festive scene.
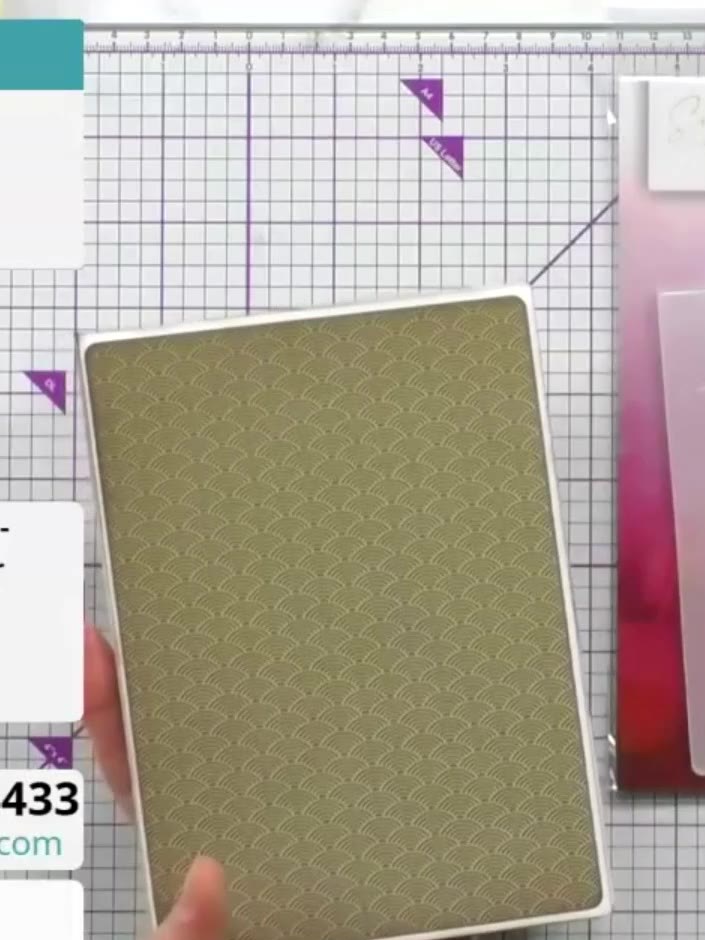 3
Mount the finished balloon design onto your card base to complete the card.
Deel je project met de Stamps By Me community - en bewaar deze handleiding voor de volgende keer.
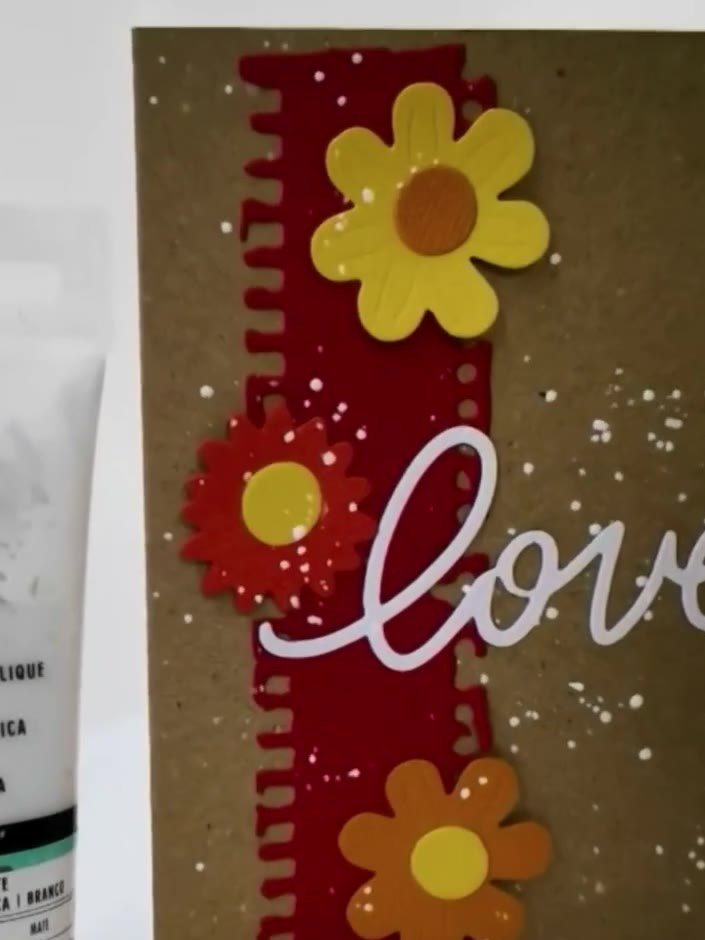 Circular Wreath Card with Stamped Leaves and Berries3 stappenLetterpress Embossed Birthday Card with Die-Cut Happy Birthday10 stappen
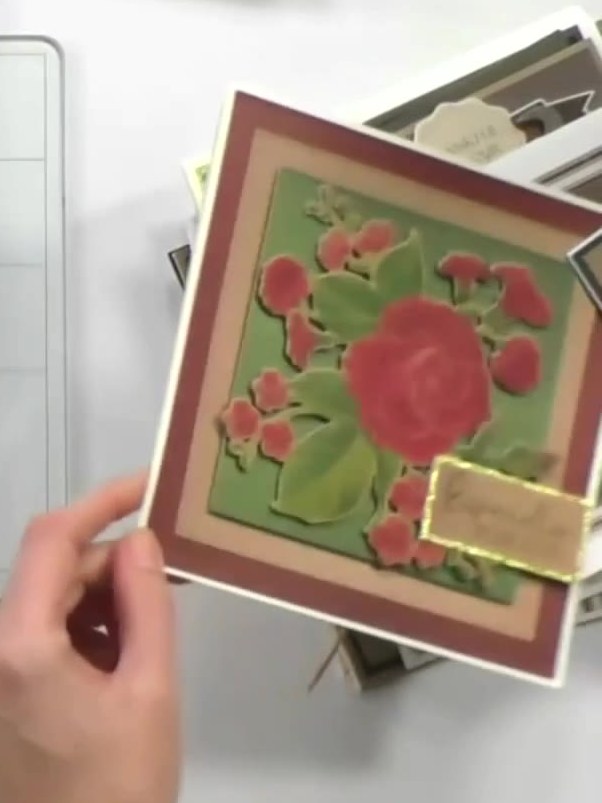 Festive Wreath Card with Poinsettia Dies and Layered Florals5 stappen
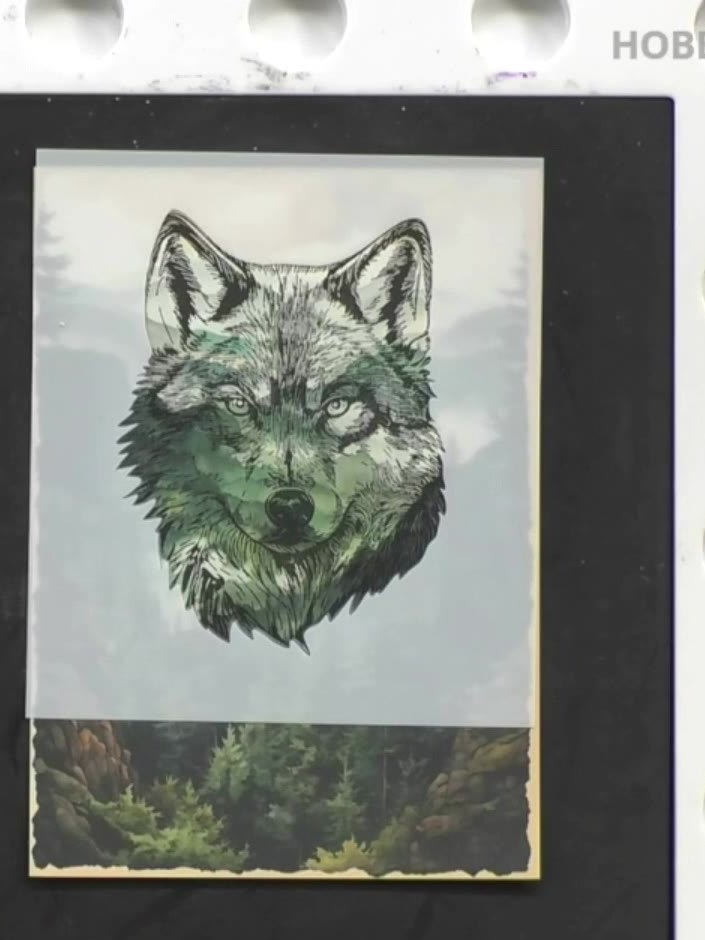 Woodland Wildlife Stencil and Stamped Scene Card8 stappen
 Embossed Heritage Paper Card with White Ink Highlight6 stappen
Rechtstreeks uit de show uitgeschreven. Bekijk alle handleidingen uit onze shows · gratis handleidingen · kijk live op My Telly · de vorige weergave