Regala ai tuoi amici 10 £ di sconto sul loro primo ordine!
Invita un AMICO








I prezzi si aggiornano subito. Ogni lingua è una nostra traduzione, non Google.
Un progetto dalla nostra diretta RIGUARDA Simon nel Monday Madness con AVAGO-INK 27 set 21 · 27/09/2021
A quirky and fun card featuring a little pig descending on a colourful parachute made from scrap paper. This design uses stamped pig images, layered grass, and a handmade parachute canopy with string details, perfect for children's cards.
Shape the top of your card blank using a circle die, cutting only partway along the edge to create a rounded top.
Trim a piece of ombre scrap paper (darker to lighter) to the width of your card and adhere it with the darker area at the top using tape runner.
Trim the edges of the ombre paper and round off the top to create a sky effect.
Die-cut a grass layer from scrap paper using a grass die and set aside.
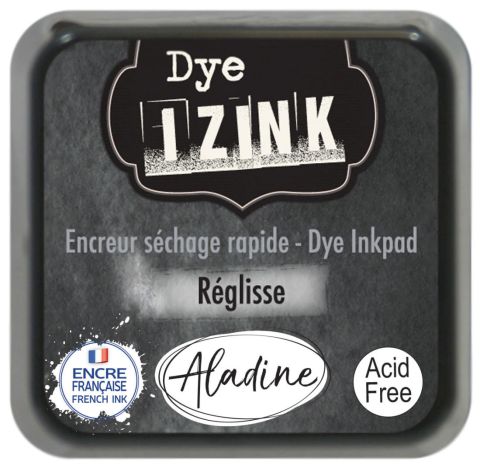
Stamp three pig images in different poses using black ink (Reglisse) onto scrap paper using a small stamping block.
Die-cut all the stamped pig images and the grass pieces together in one pass through the die-cutting machine.
Adhere the grass layer to the card using tape runner, positioning it across the lower portion.
Attach the pig images using foam pads, positioning one standing on the grass and one creeping behind it.
Create the parachute canopy by die-cutting circles from two pieces of matching scrap card using a small circular die.
Cut lines from the centre point to the edge of the circles (keeping the pieces together) to create a parachute pattern.
Reassemble the parachute pieces like a jigsaw, using a backing strip of scrap card to hold them together.
Cut four lengths of sparkly card and attach them to the centre of the parachute using double-sided sticky tape to create suspension strings.
Tie the four strings together with a knot and trim the excess.
Secure the parachute to the card using foam tape, positioning it above the pig.
Attach the smallest pig upside down to the knot of the parachute strings using foam pads.
Add sentiment washi tape strips (such as 'So Proud of You' and 'Let's Celebrate') to the card using foam pads.
Condividi il tuo progetto con la community di Stamps By Me - e conserva questa guida per la prossima volta.
Scritto direttamente dalla puntata. Vedi tutti i tutorial delle nostre puntate · tutorial gratuiti · guarda in diretta su My Telly · la versione precedente