Give your friends £10 off their first order!
Refer a FRIEND








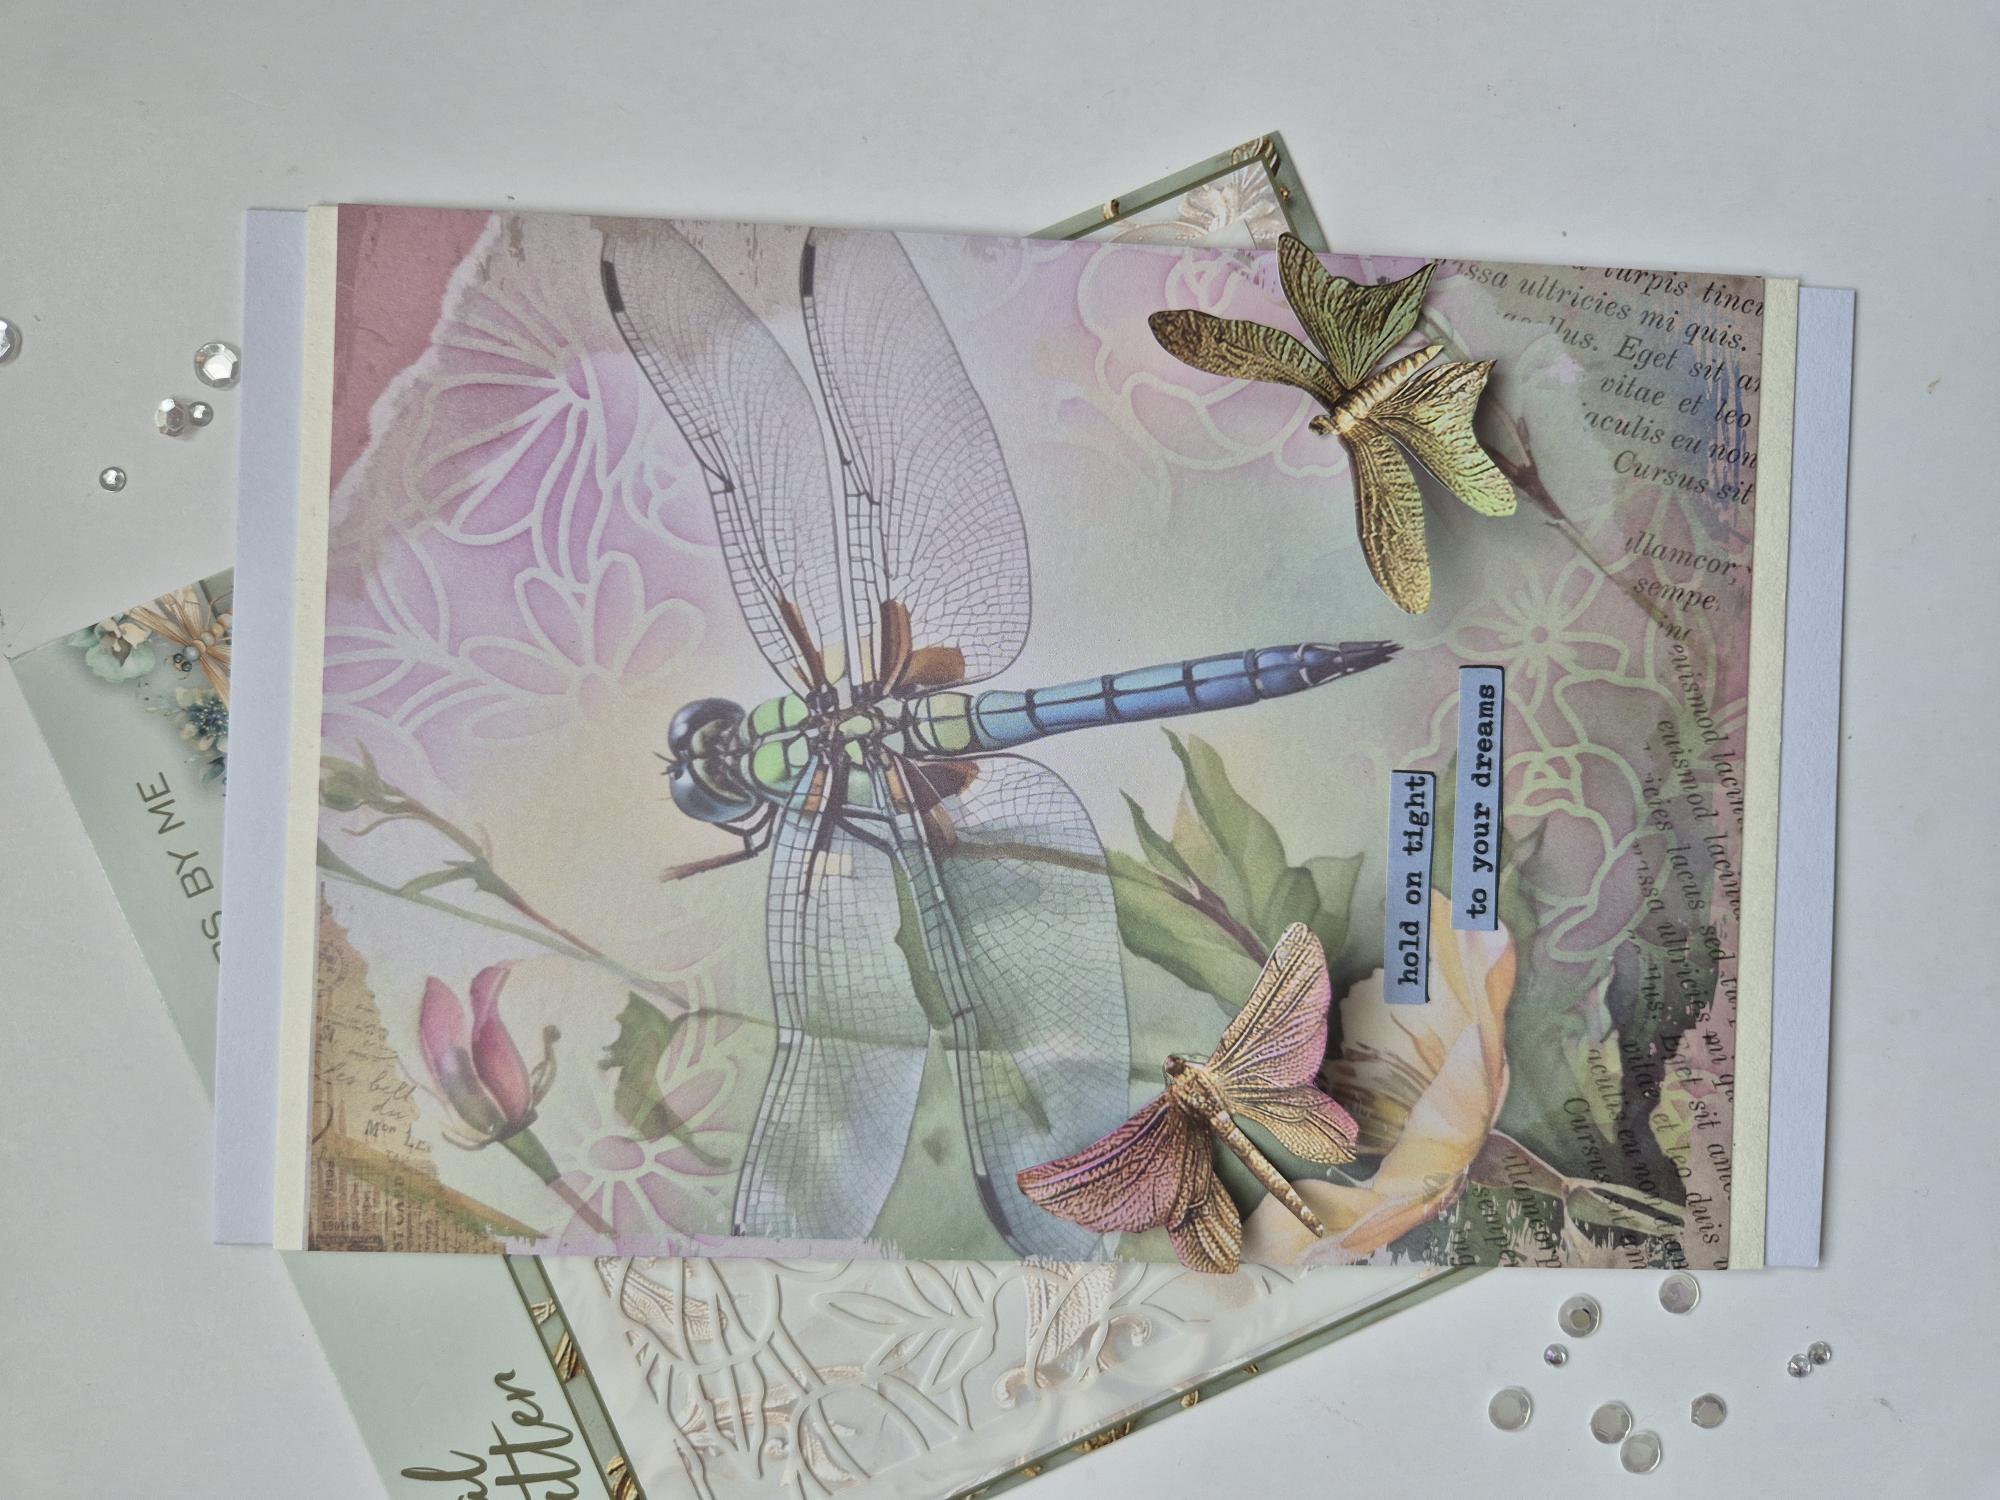
WHAT YOU WILL NEED:
Floral Flutter Collection (mounts, papers, 6 x 6 floral stencil)
Cream Card blank 6 x 8" (trim to 5 x 8")
Cream cardstock 5 x 7 1/2"
SBM Dye Ink Pad: Heather, Hedgerow
Blending brush
Sentiment tabs of your own choice
Black fineline pens
SBM A3 Magnetic glass mat
Paper Trimmer
Glue/3D glue gel
Die Cutting machine
[click image to enlarge] 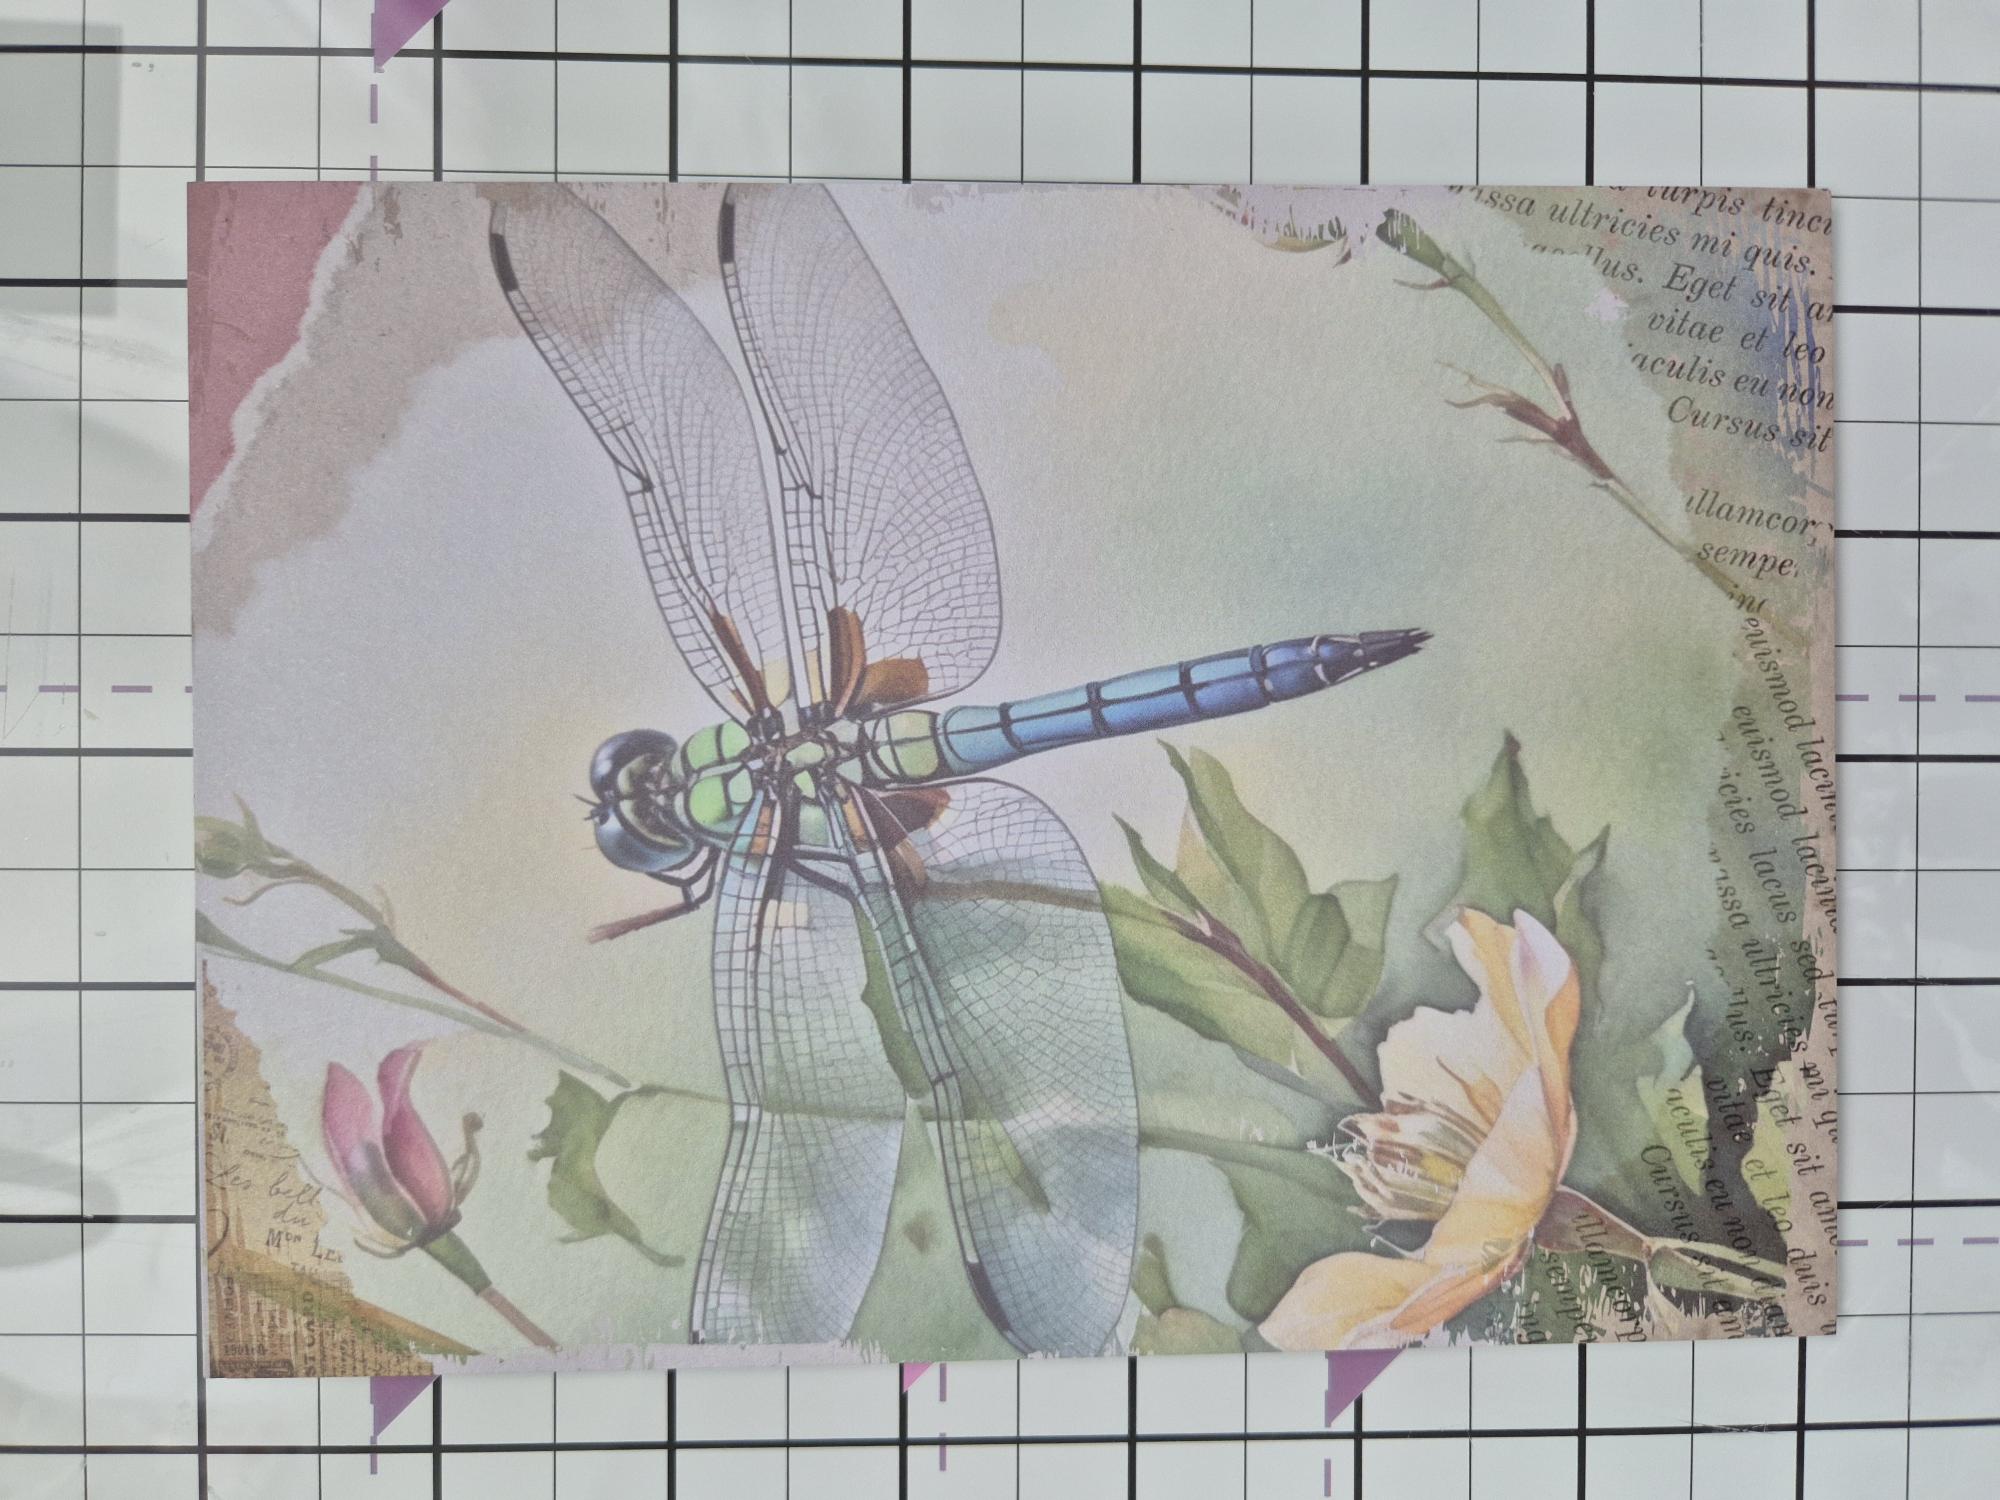
|
Choose this design from your Floral Flutter painted mounts pack. |
|
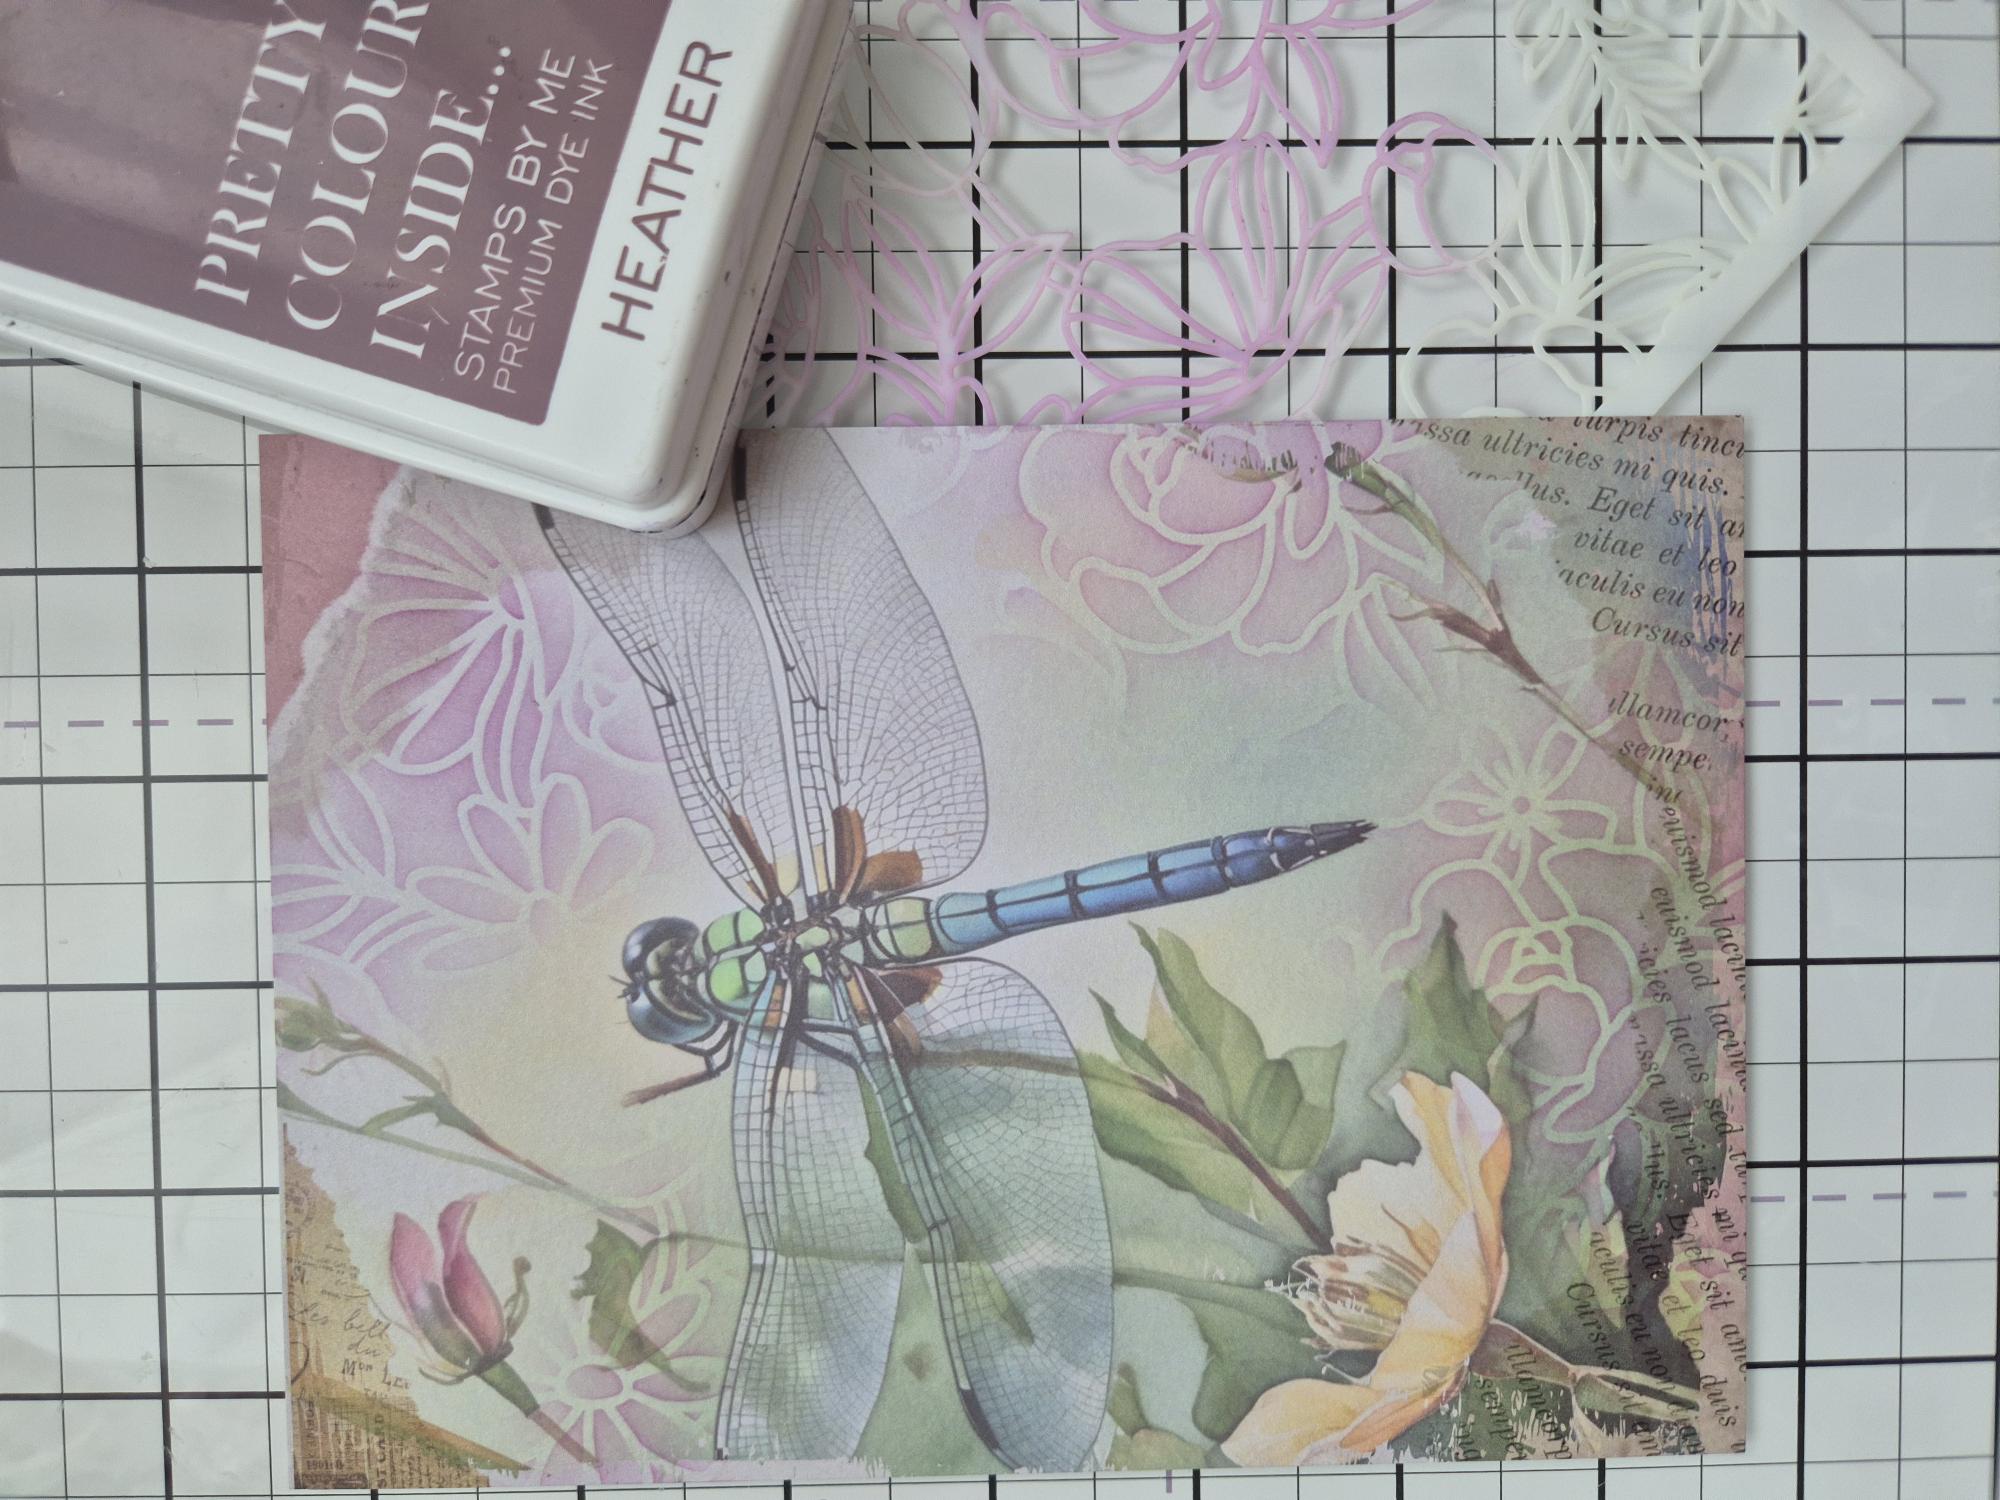
Randomly blend the Heather ink through the floral stencil, in the top right corner, coming onto the right side and up from the bottom edges. |
|
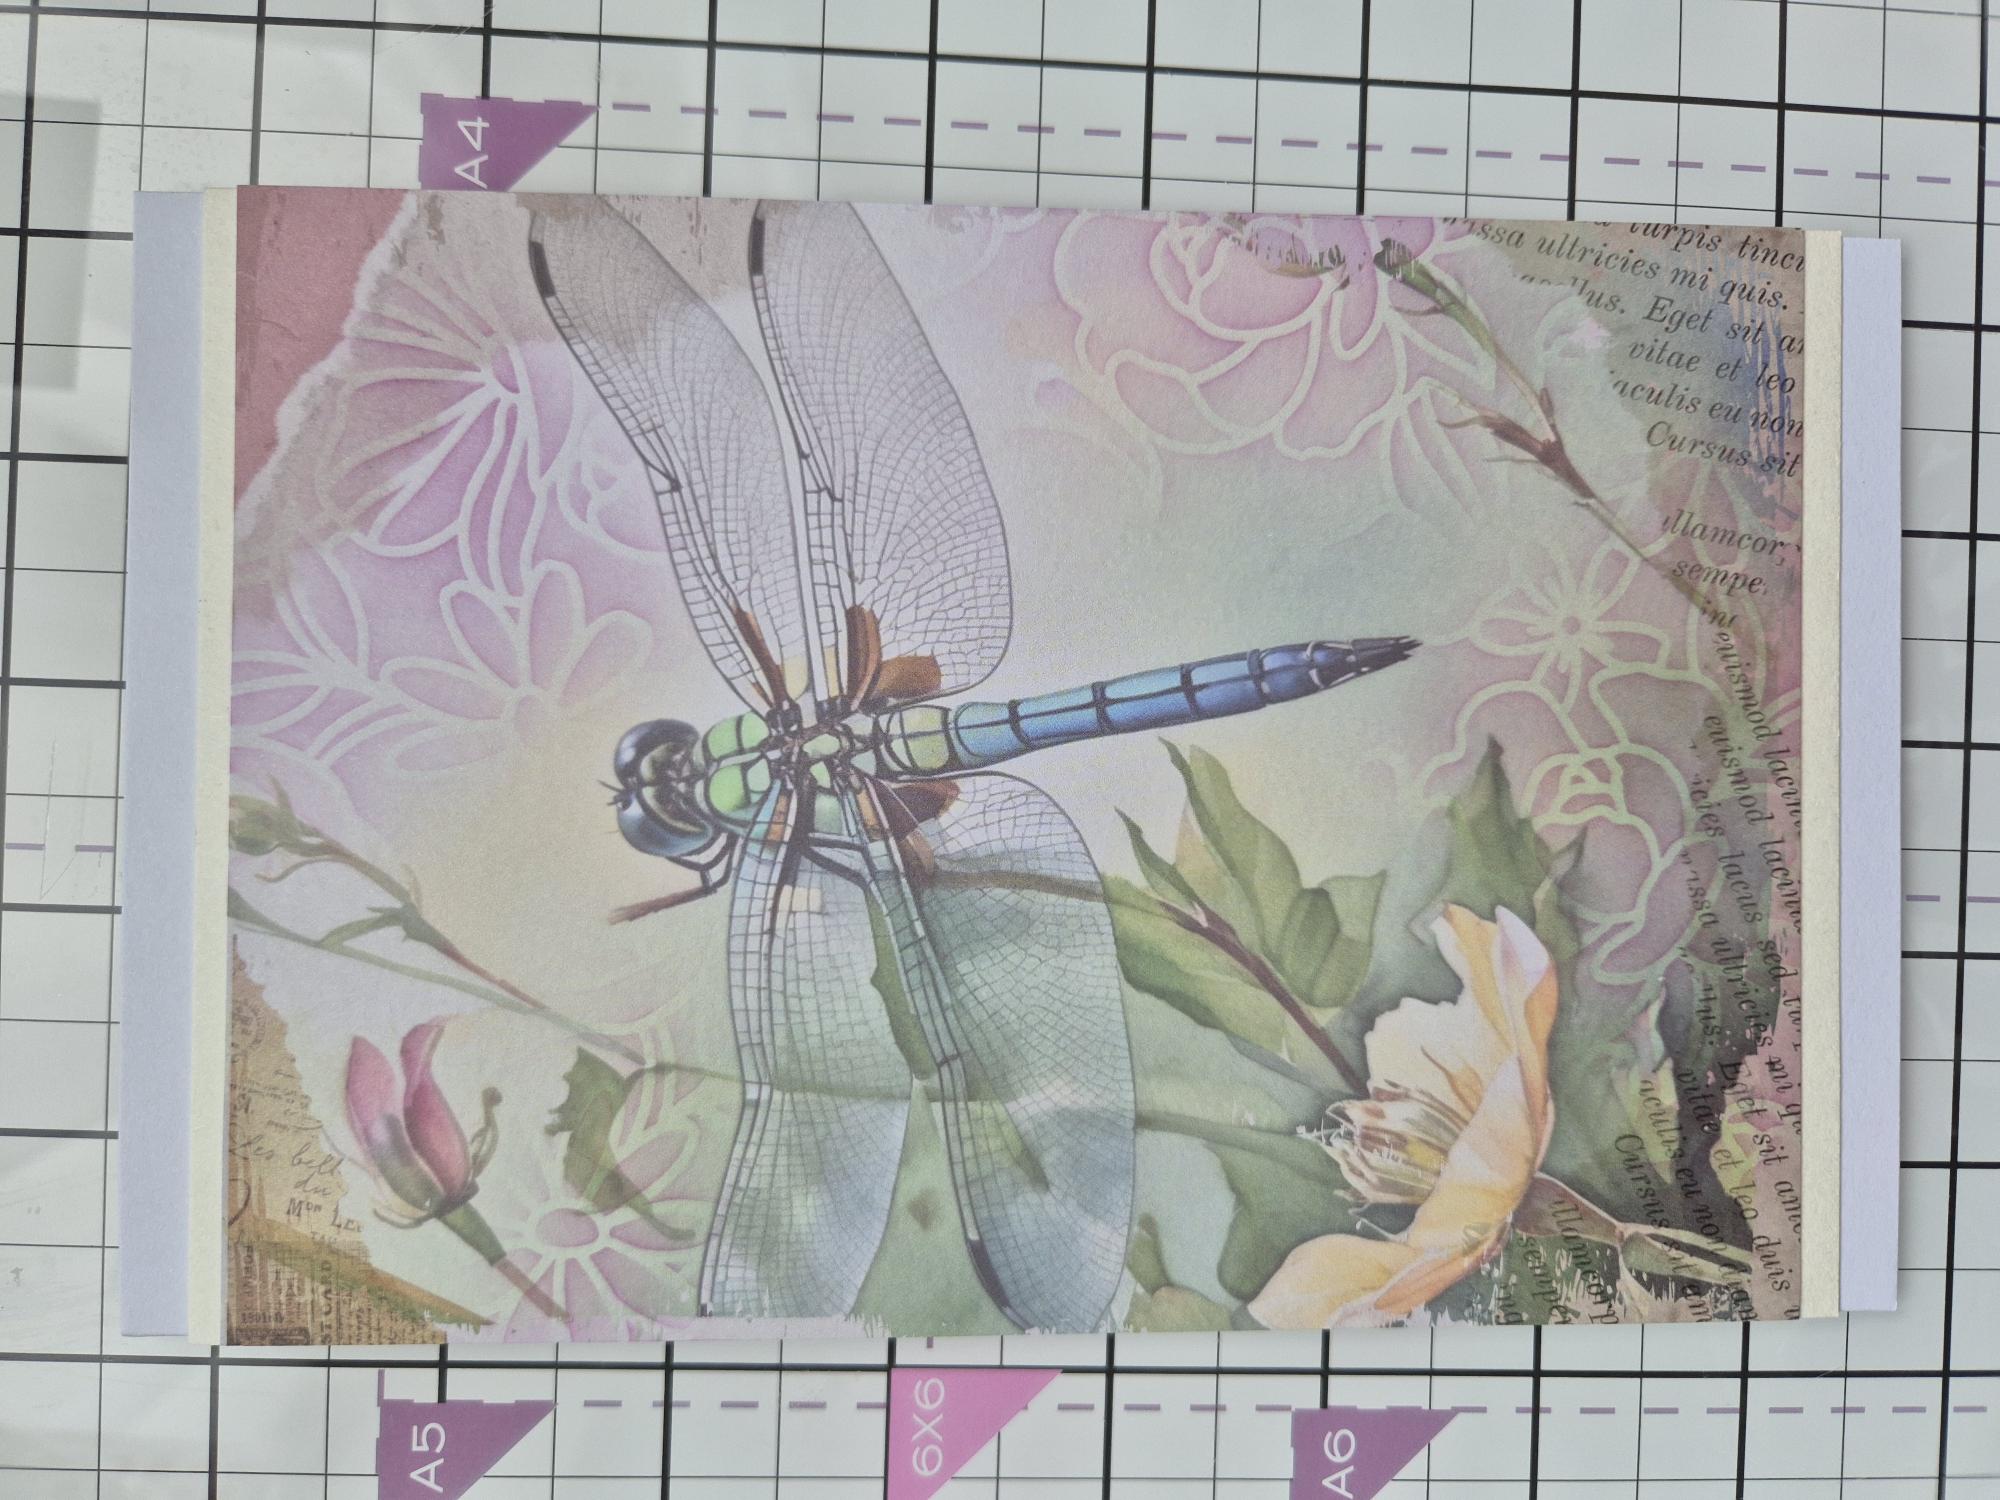
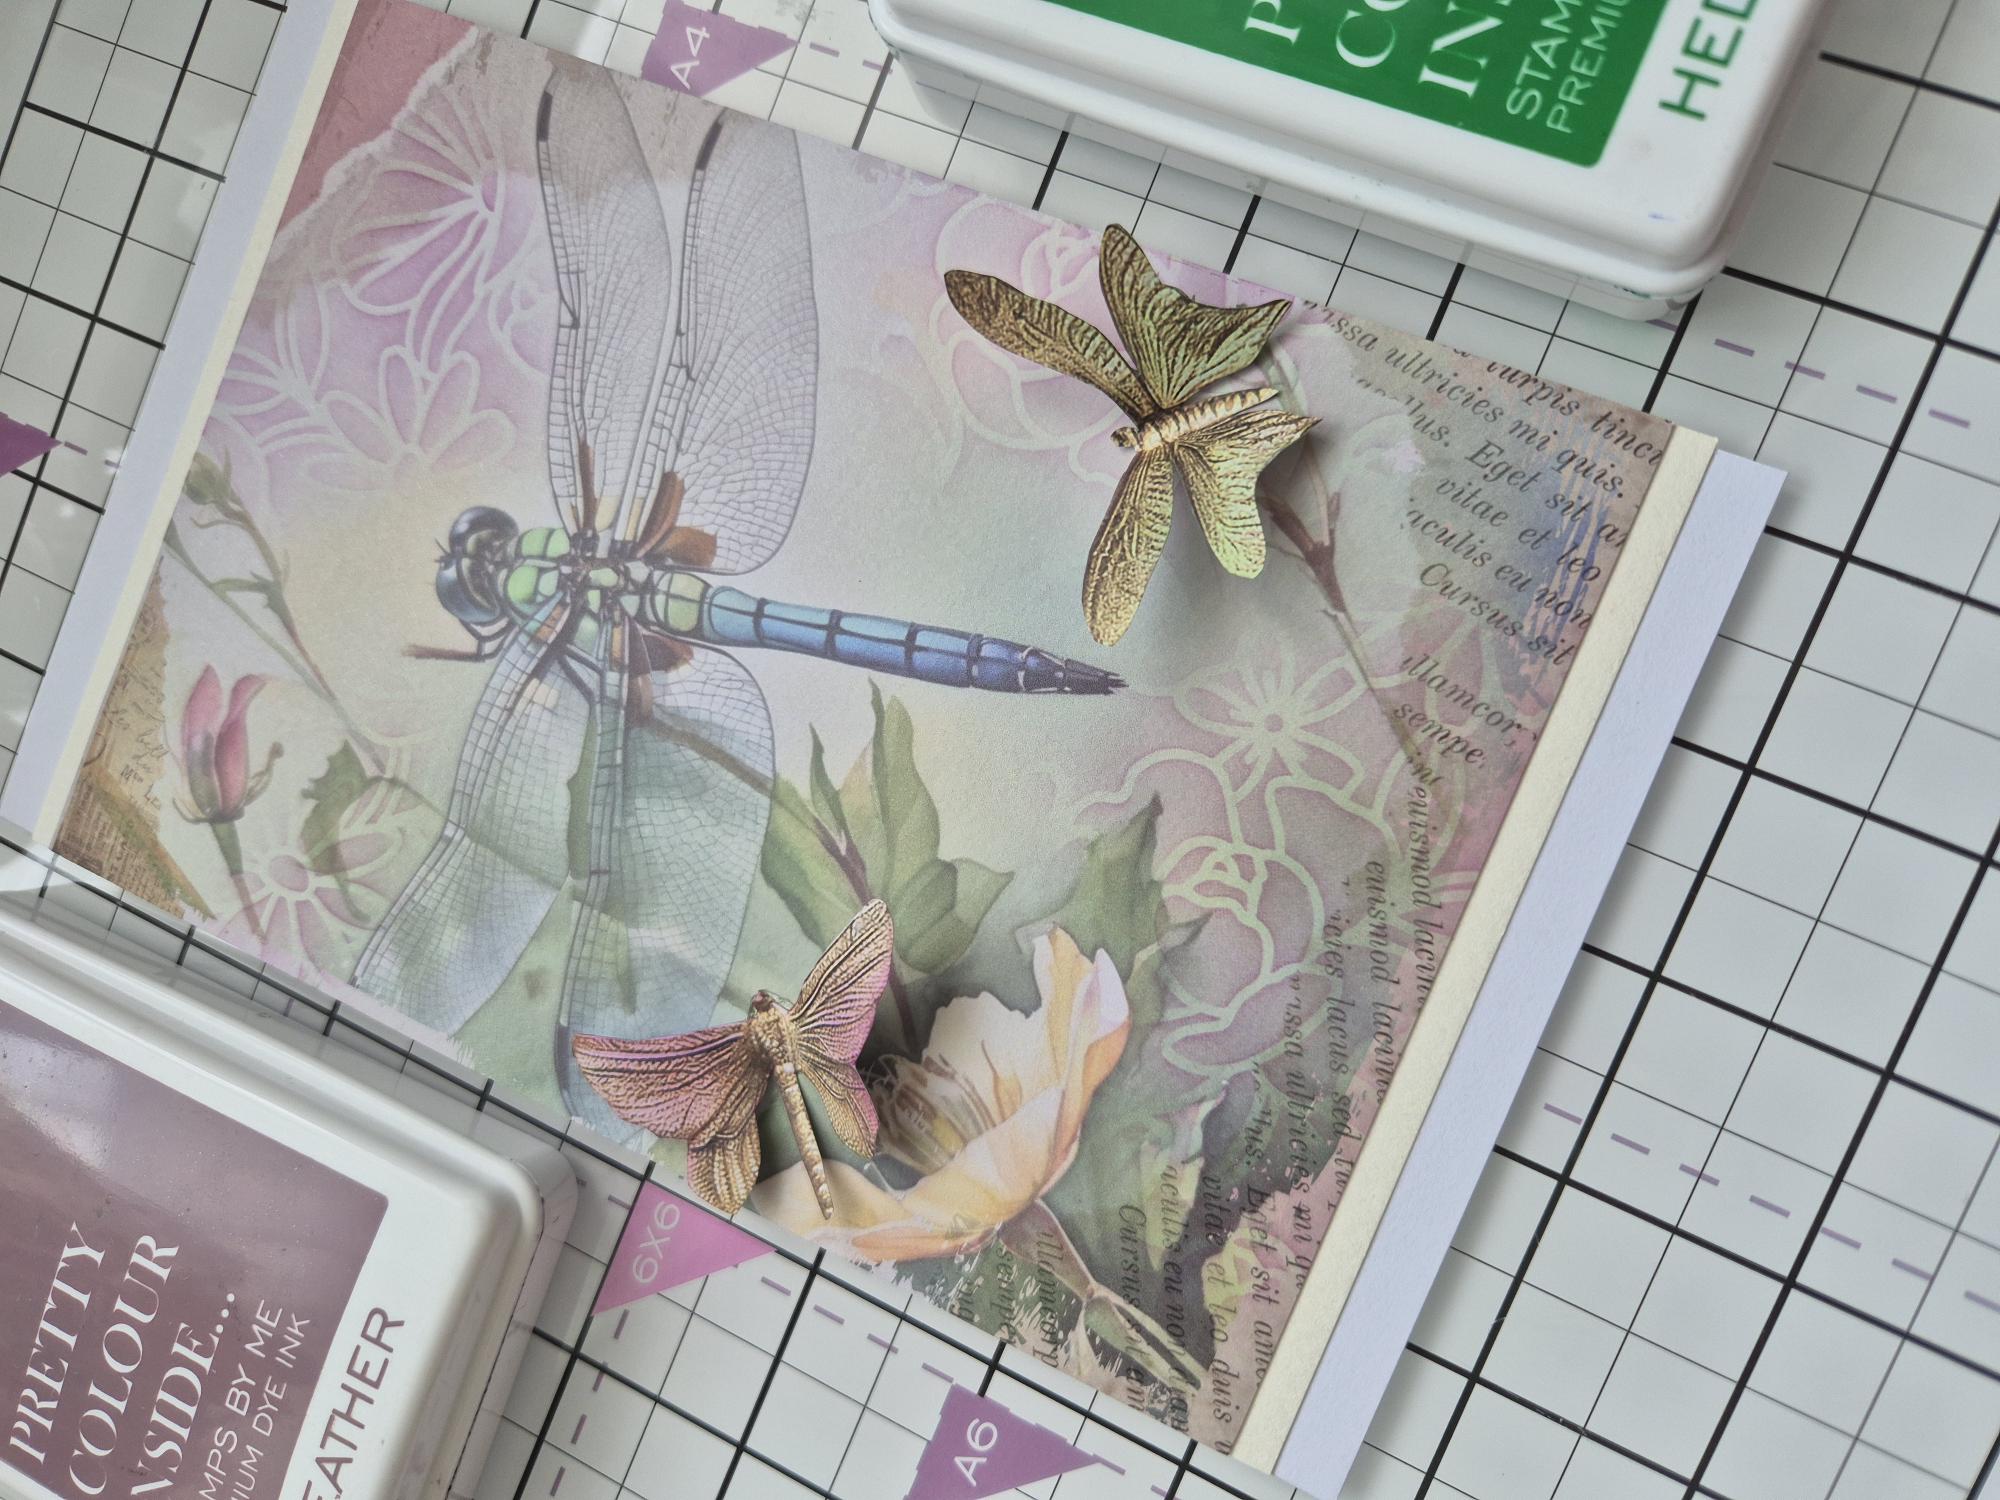
Adhere your artwork onto your cream cardstock so the left/right sides are flush and there is an equal amount of cream cardstock visible top and bottom. Adhere onto your trimmed card blank, again ensuring sides are flush and the white card blank is visible equally at the top and bottom. |
|
Fussy cut a few Dragonflies/Butterflies from your Floral Flutter paper pack. Blend around the edges with Heather then adhere, where required, onto your artwork. I used 3D glue gel applied along the bodies only and manipulated the wings with my fingers, so they looked as though they were about to fly away. |
|
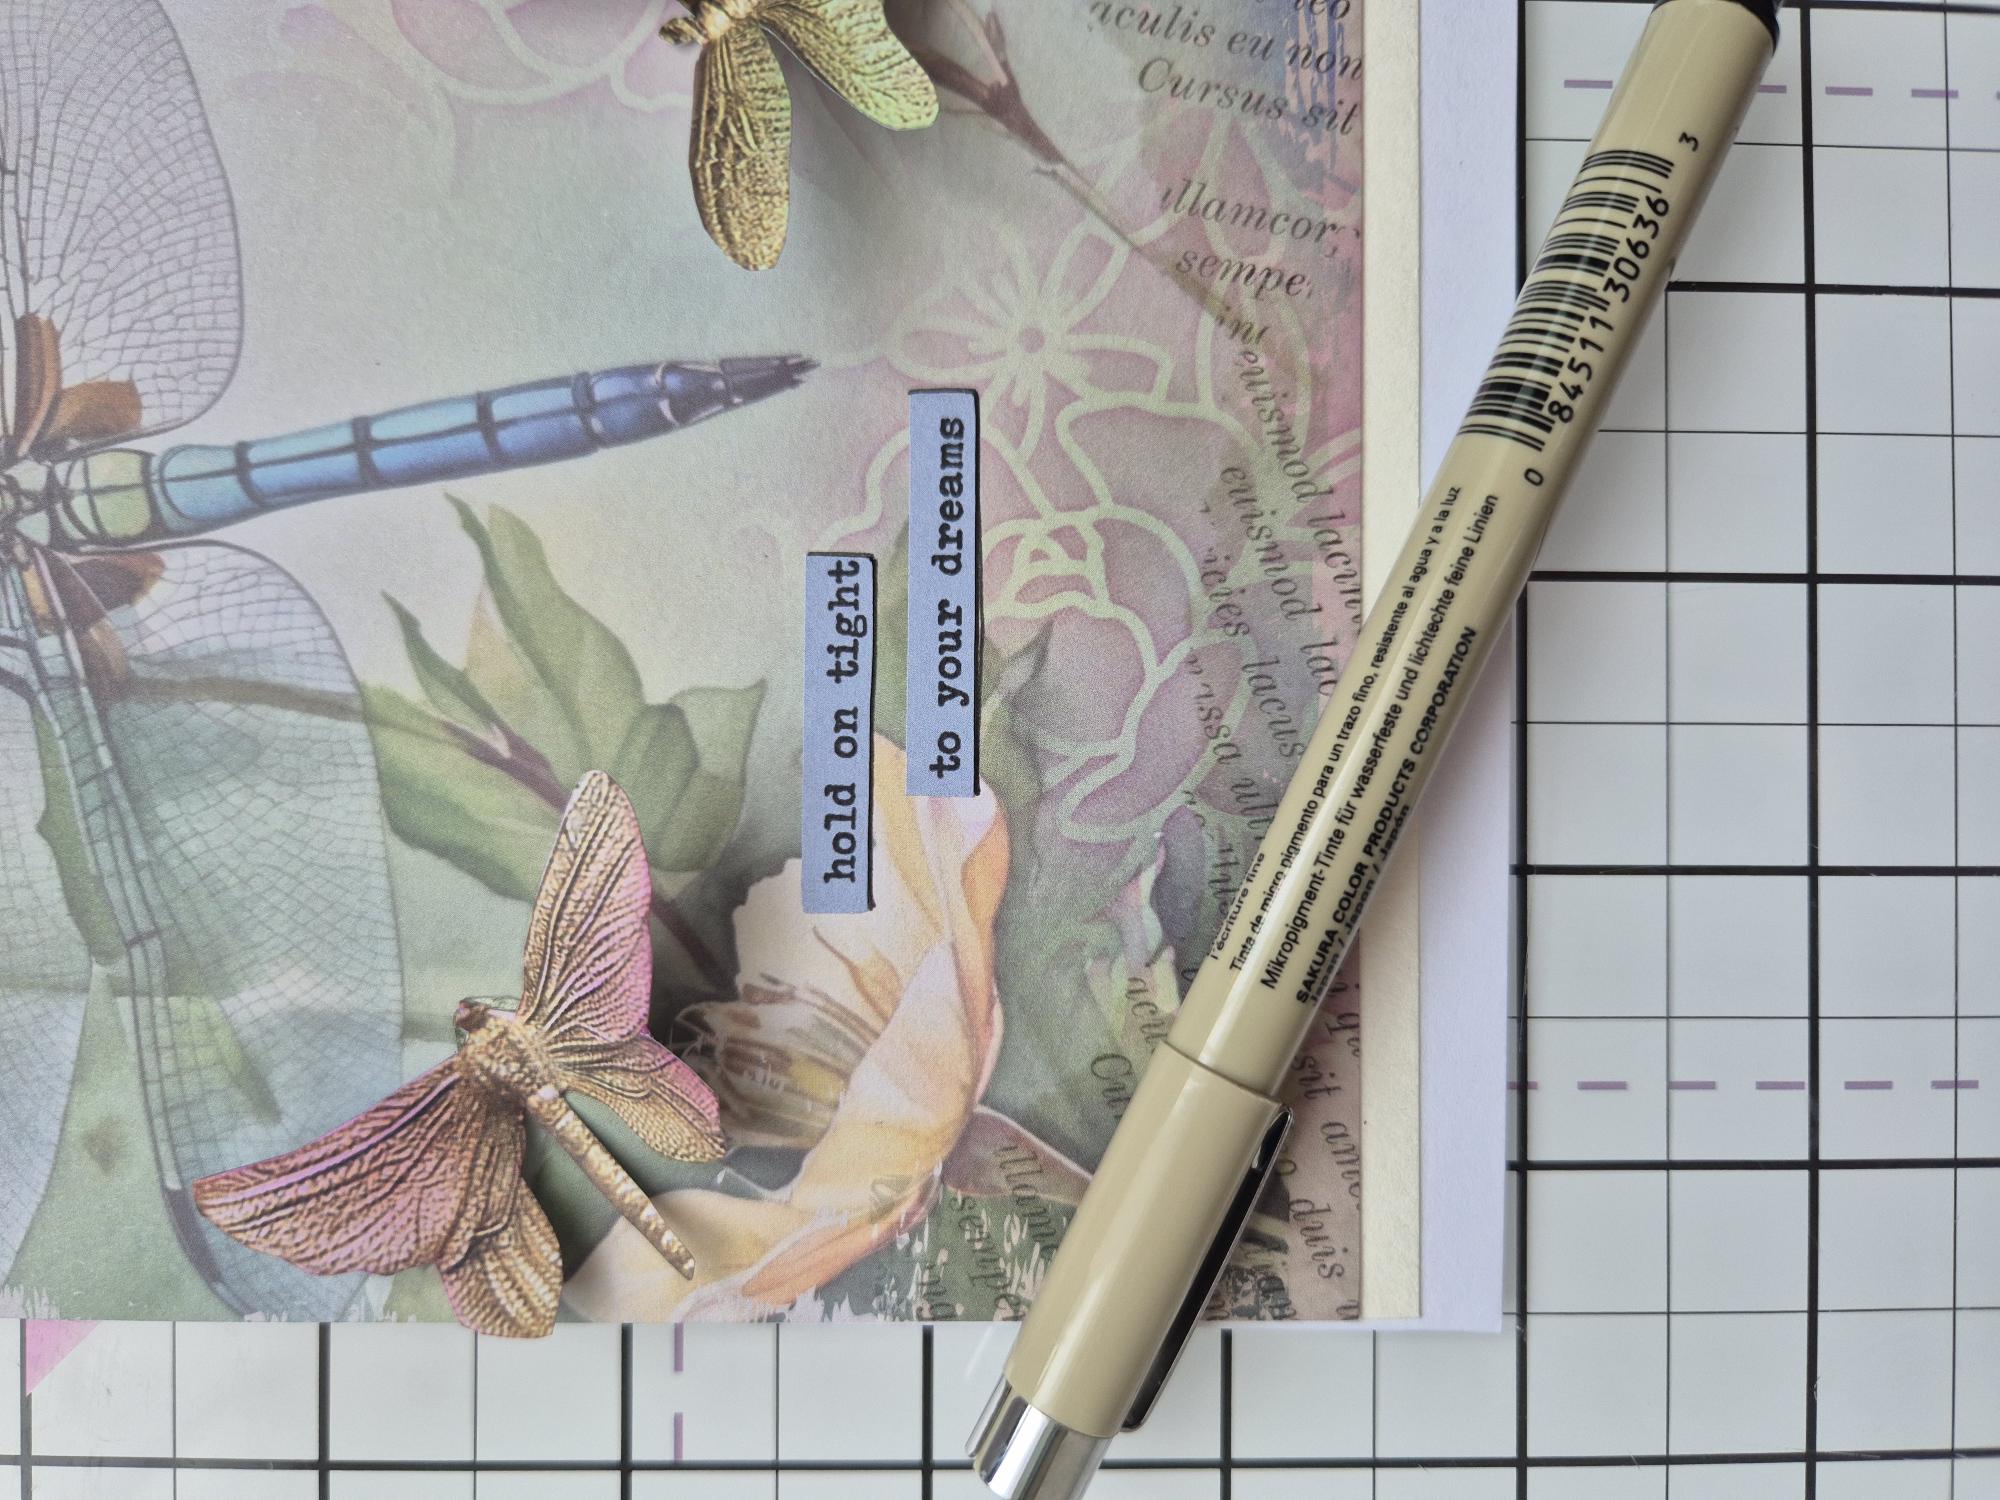
Add your chosen tab sentiments. I used my black fineline pen under the bottom of the tabs, to look like a drop shadow. |