Give your friends £10 off their first order!
Refer a FRIEND








 The Thursday DropThu 12 Nov 6pm
 The Friday Final CutFri 13 Nov 10am
 Community ShowcaseMon 16 Nov 10am
Prices change straight away. Every language is our own translation, not Google.
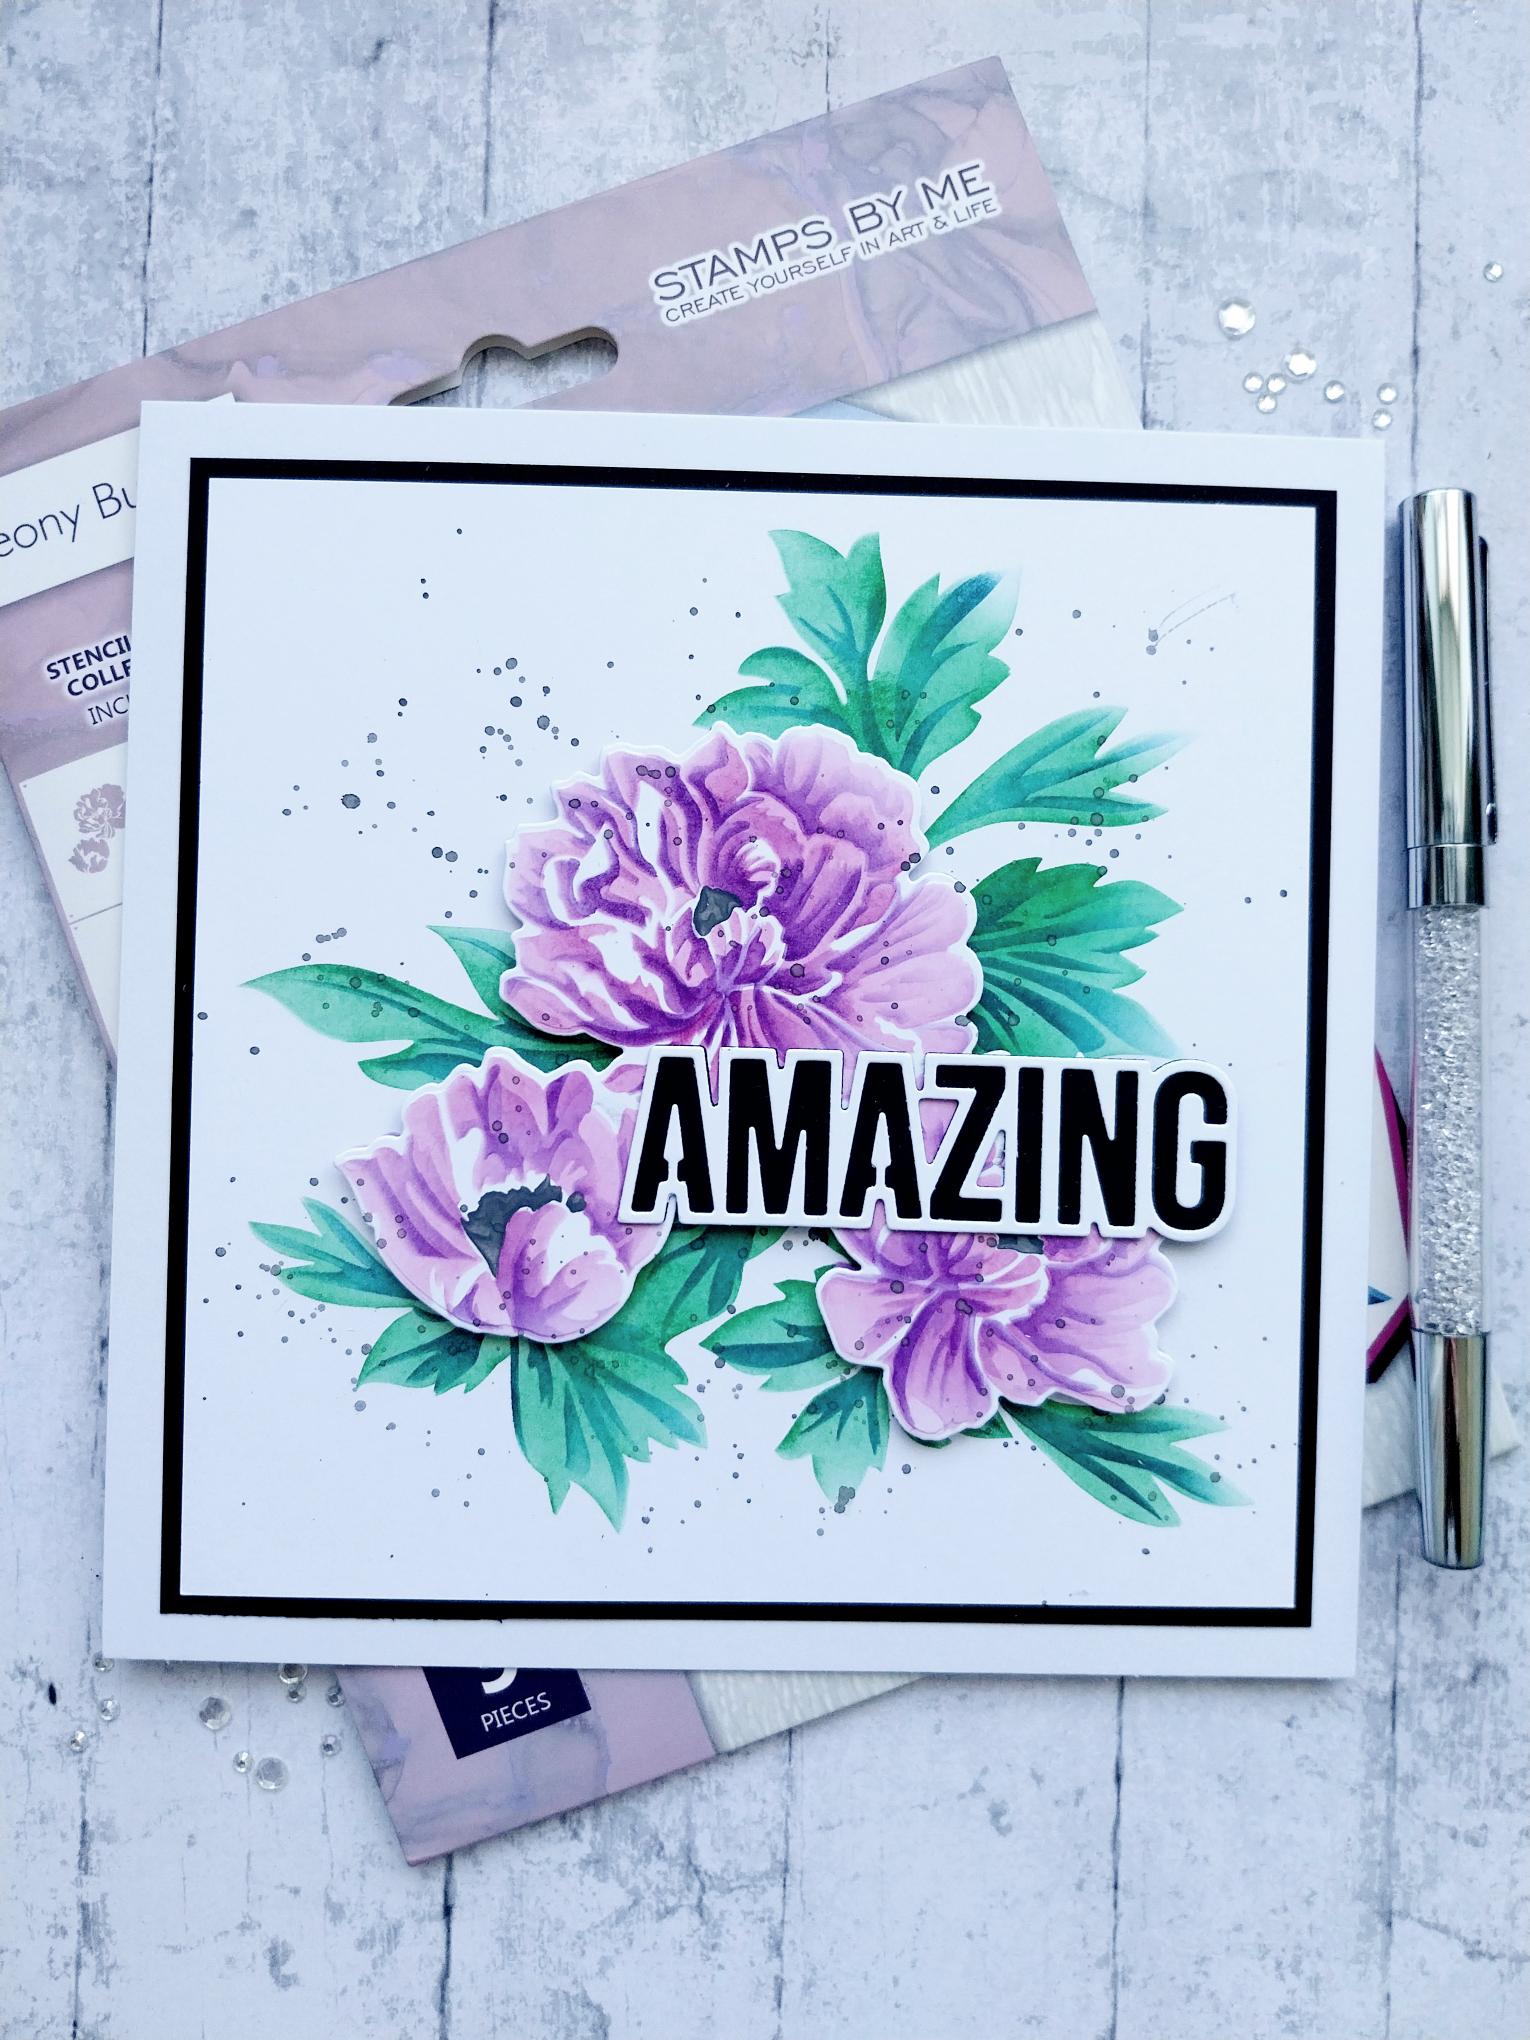
WHAT YOU WILL NEED:
White card blank 7 x 7"
Black/white cardstock
Peony Bunch Stencil & Die Set
SBM Dye Ink Pad: Magenta, Indigo, Hedgerow, Tiffany
Distress Ink/Oxide Ink Pad: Black Soot
Blending tool
Paint brush
SBM A3 Magnetic glass mat
Paper Trimmer
Glue
Foam pads
Die Cutting machine
[click image to enlarge] 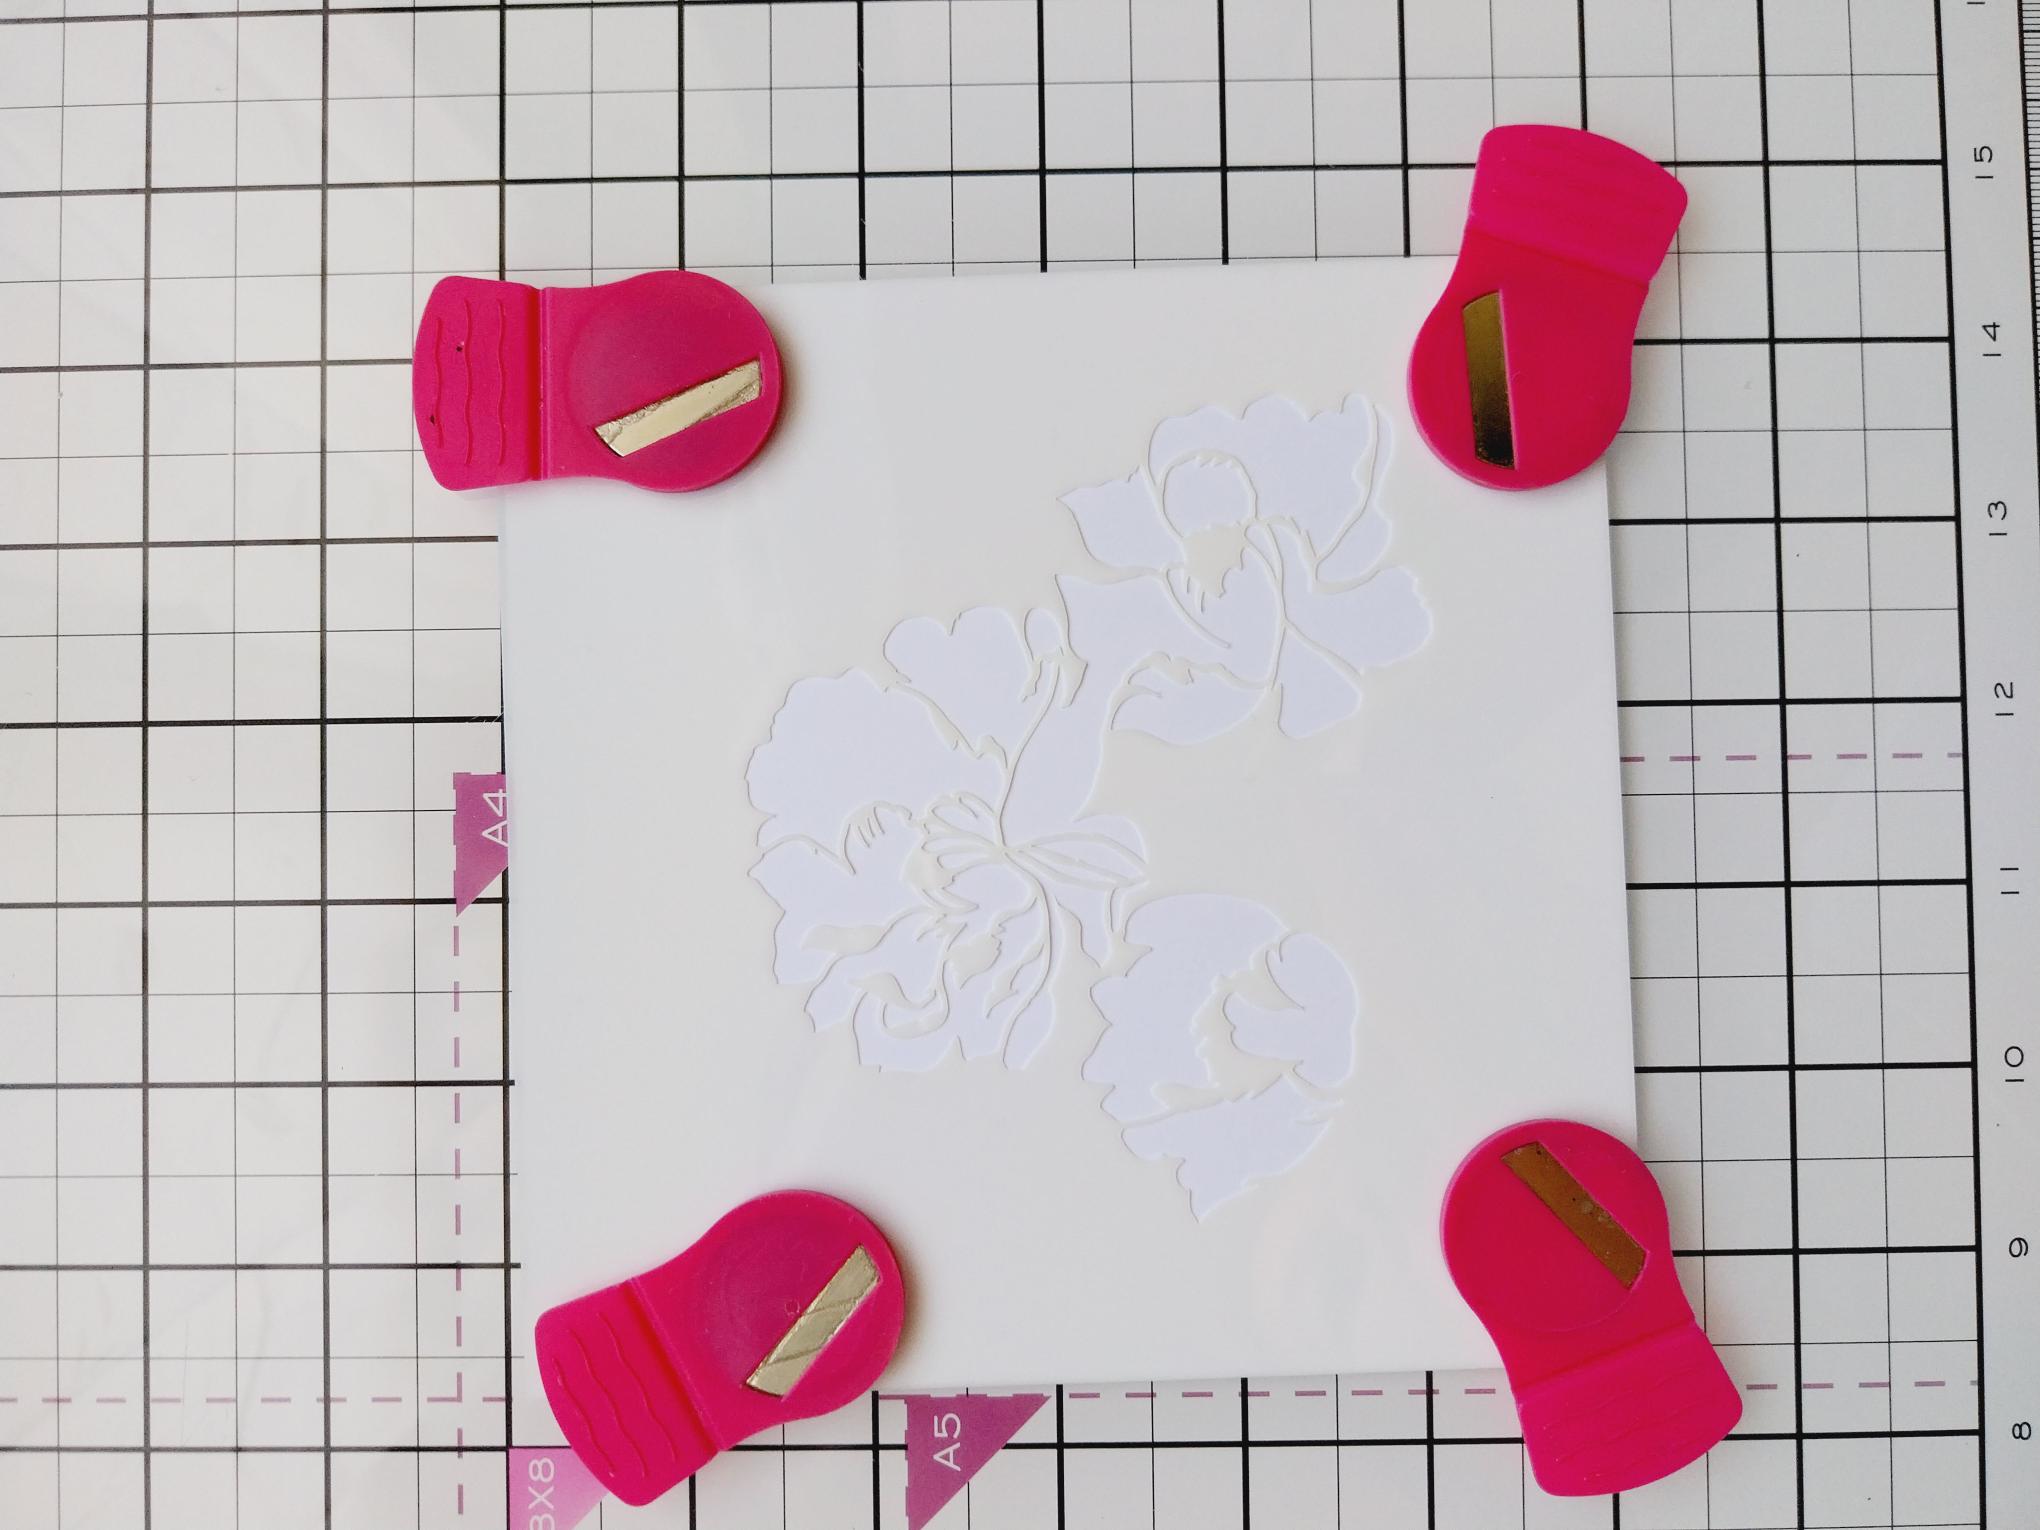
|
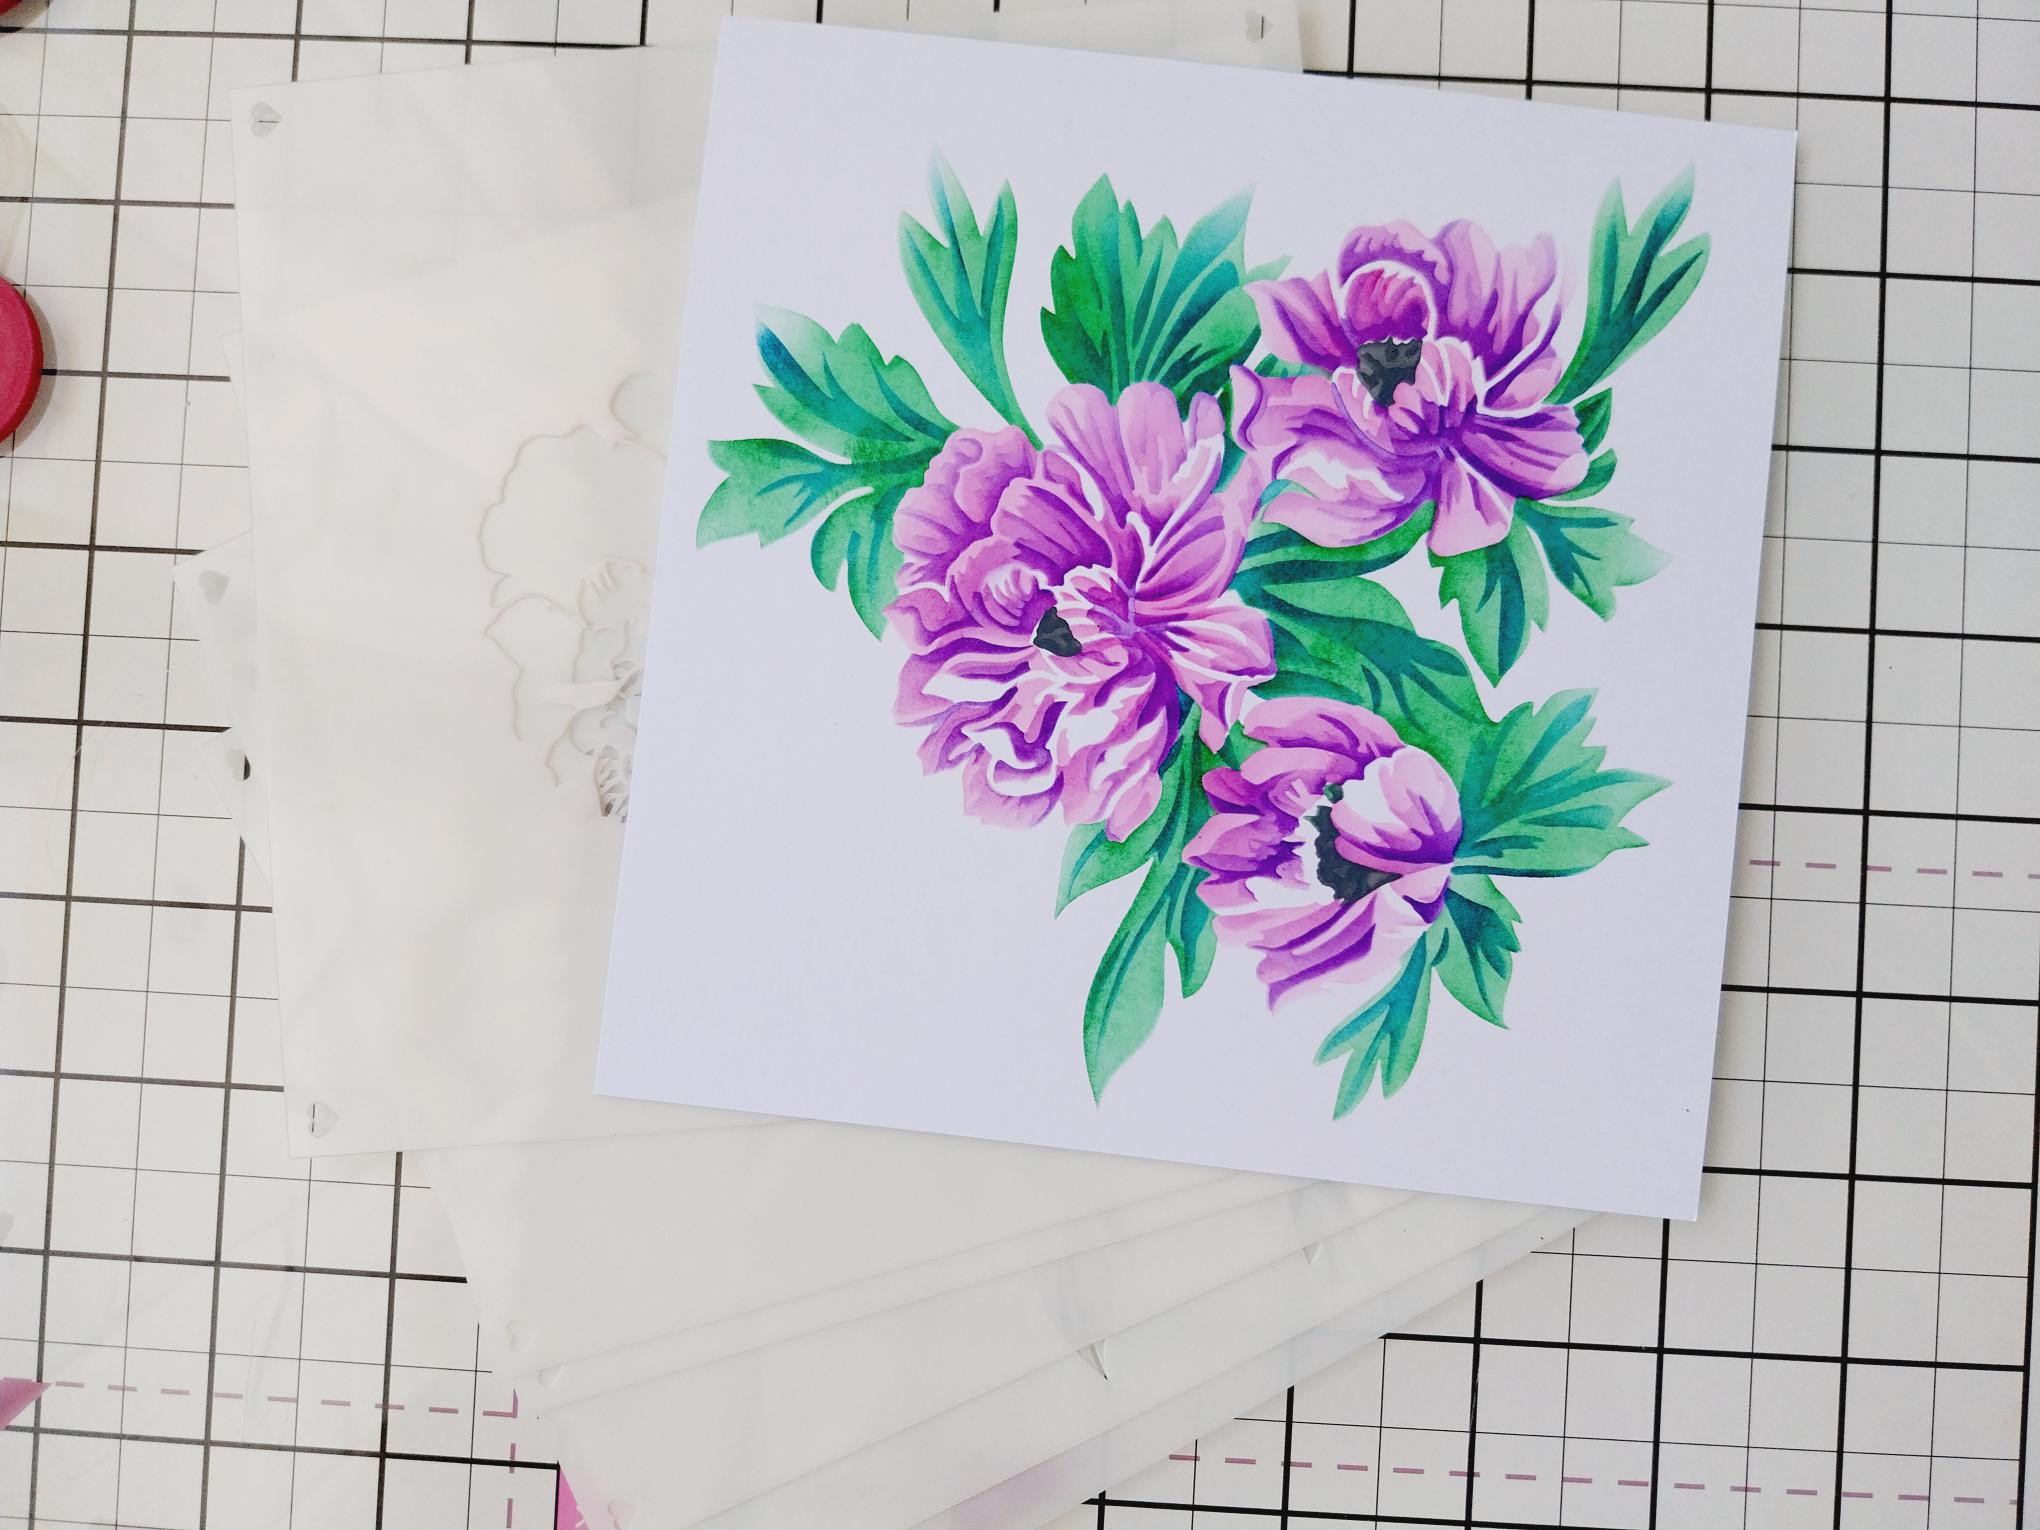
Secure stencil 1 on a piece of white card 6 x 6". |
|
Blend Magenta lightly through stencil 1. Line up stencil 2 and blend lightly with Magenta and Indigo. Line up stencil 3 and blend with the same colours but with a bit more intensity. Line up stencil 4 and use the same colours but again applying more pressure. Line up stencil 5 and apply Hedgerow and Black Soot in the centres of the flowers. Line up stencil 6 and apply Hedgerow and Tiffany on the leaves and Black Soot in the centre, with more pressure. Set to one side. |
|
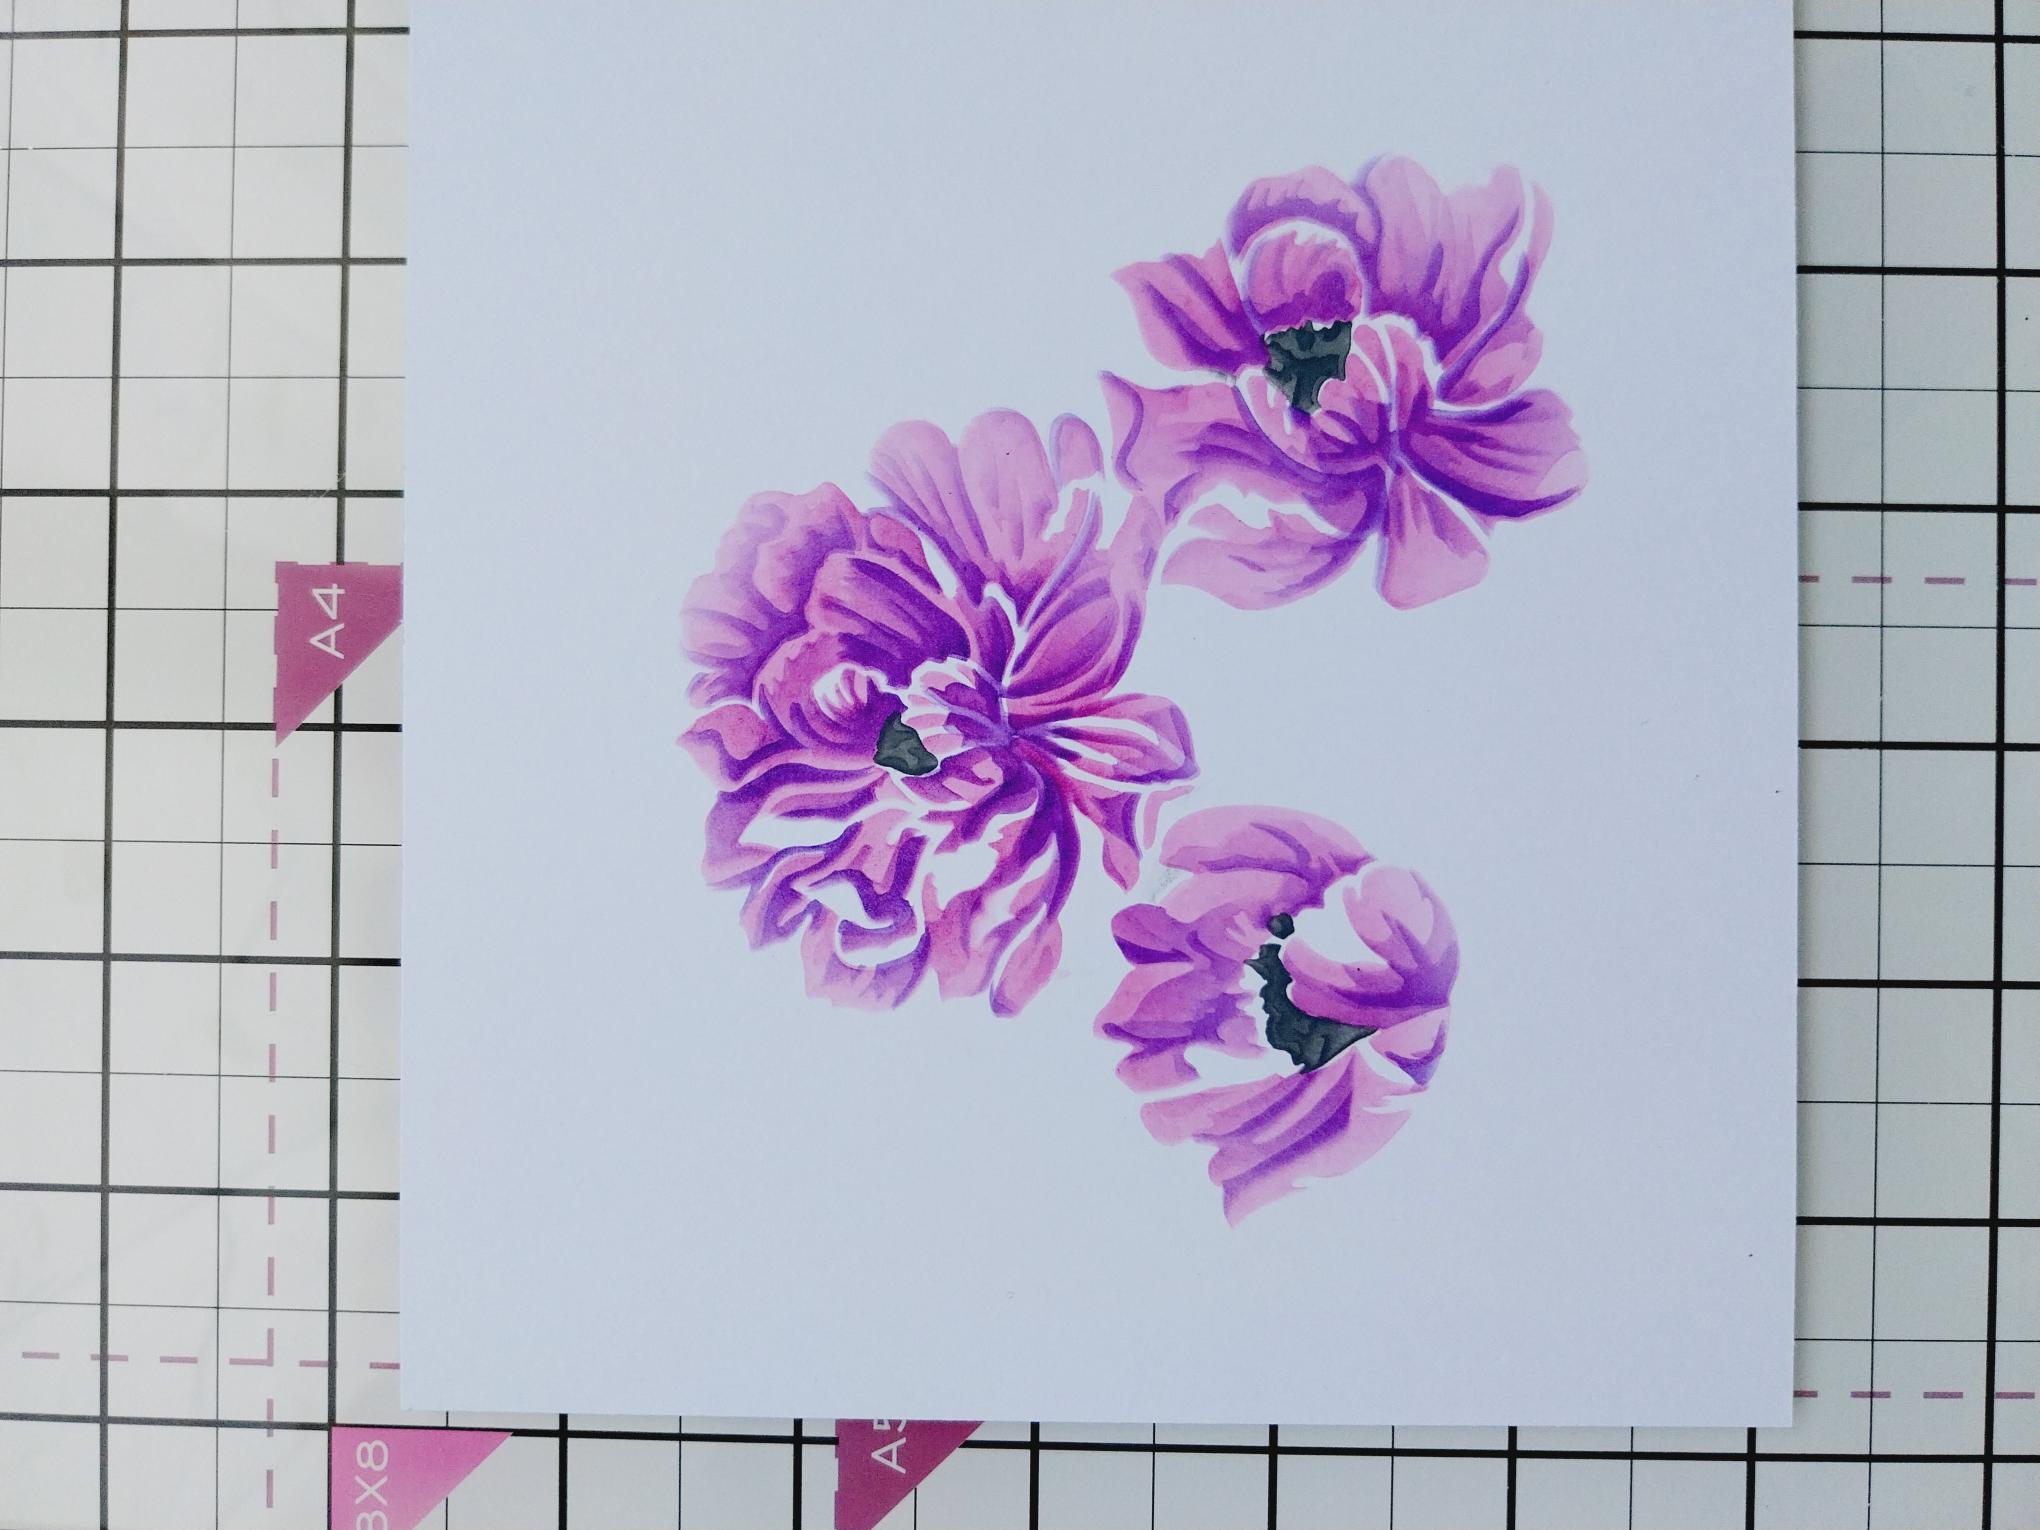
On a seperate piece of white card repeat the stencilling process as before but using stencils 5 and 6 to add the centre of the flowers only. The result is just the flower heads, as seen here. |
|
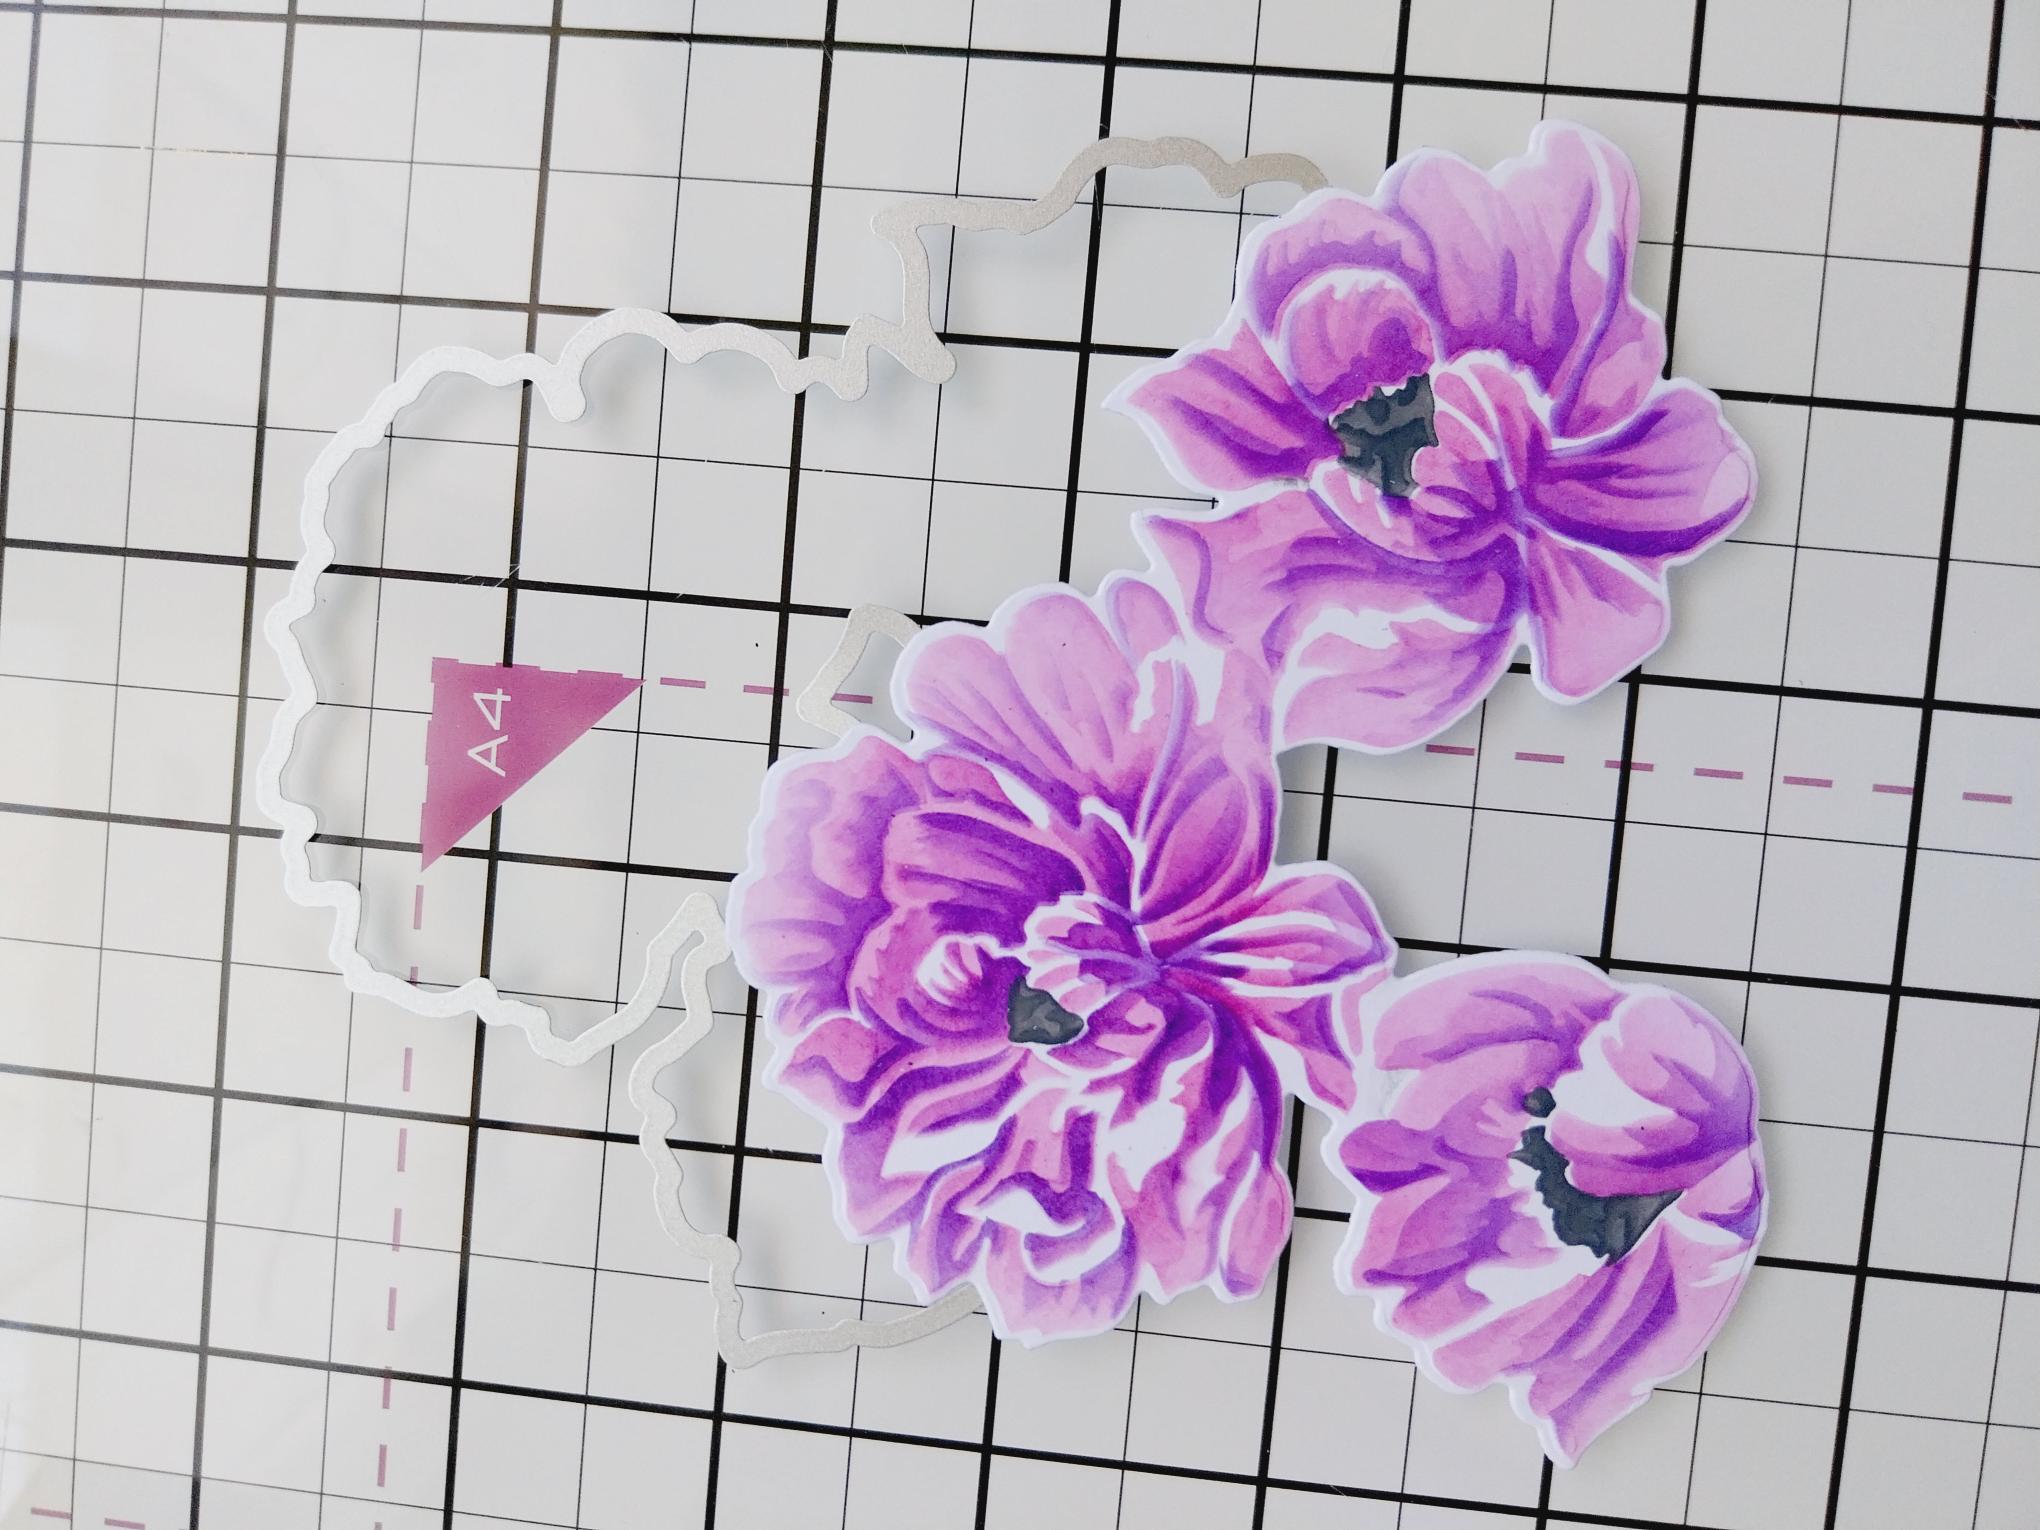
Die cut these with the coordinating die. |
|
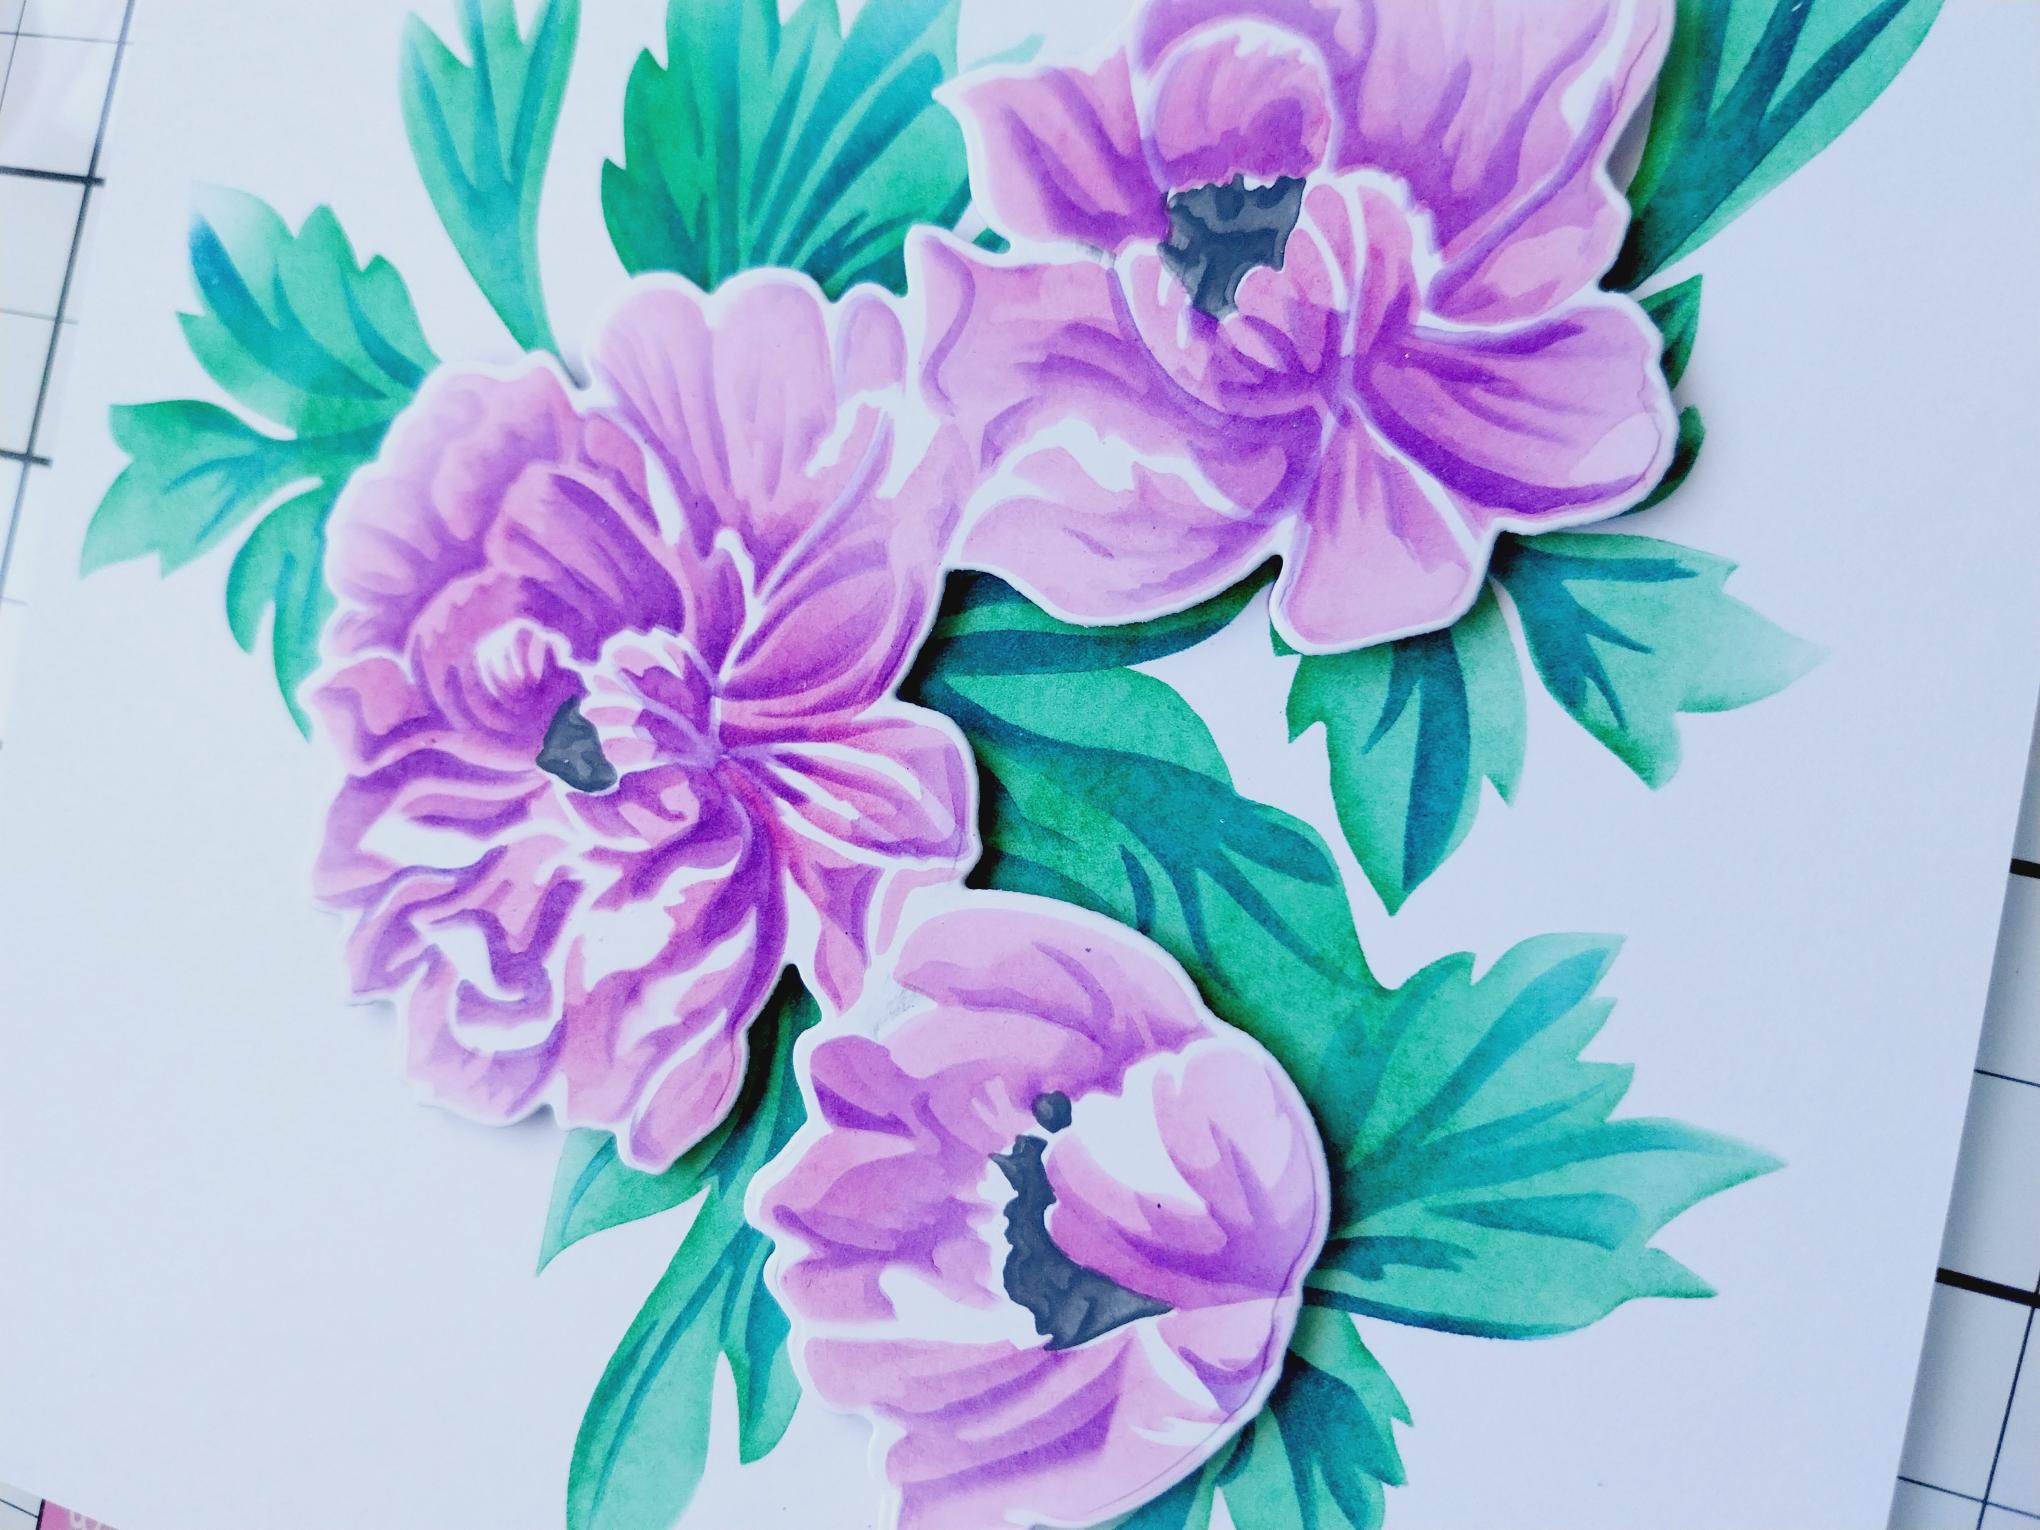
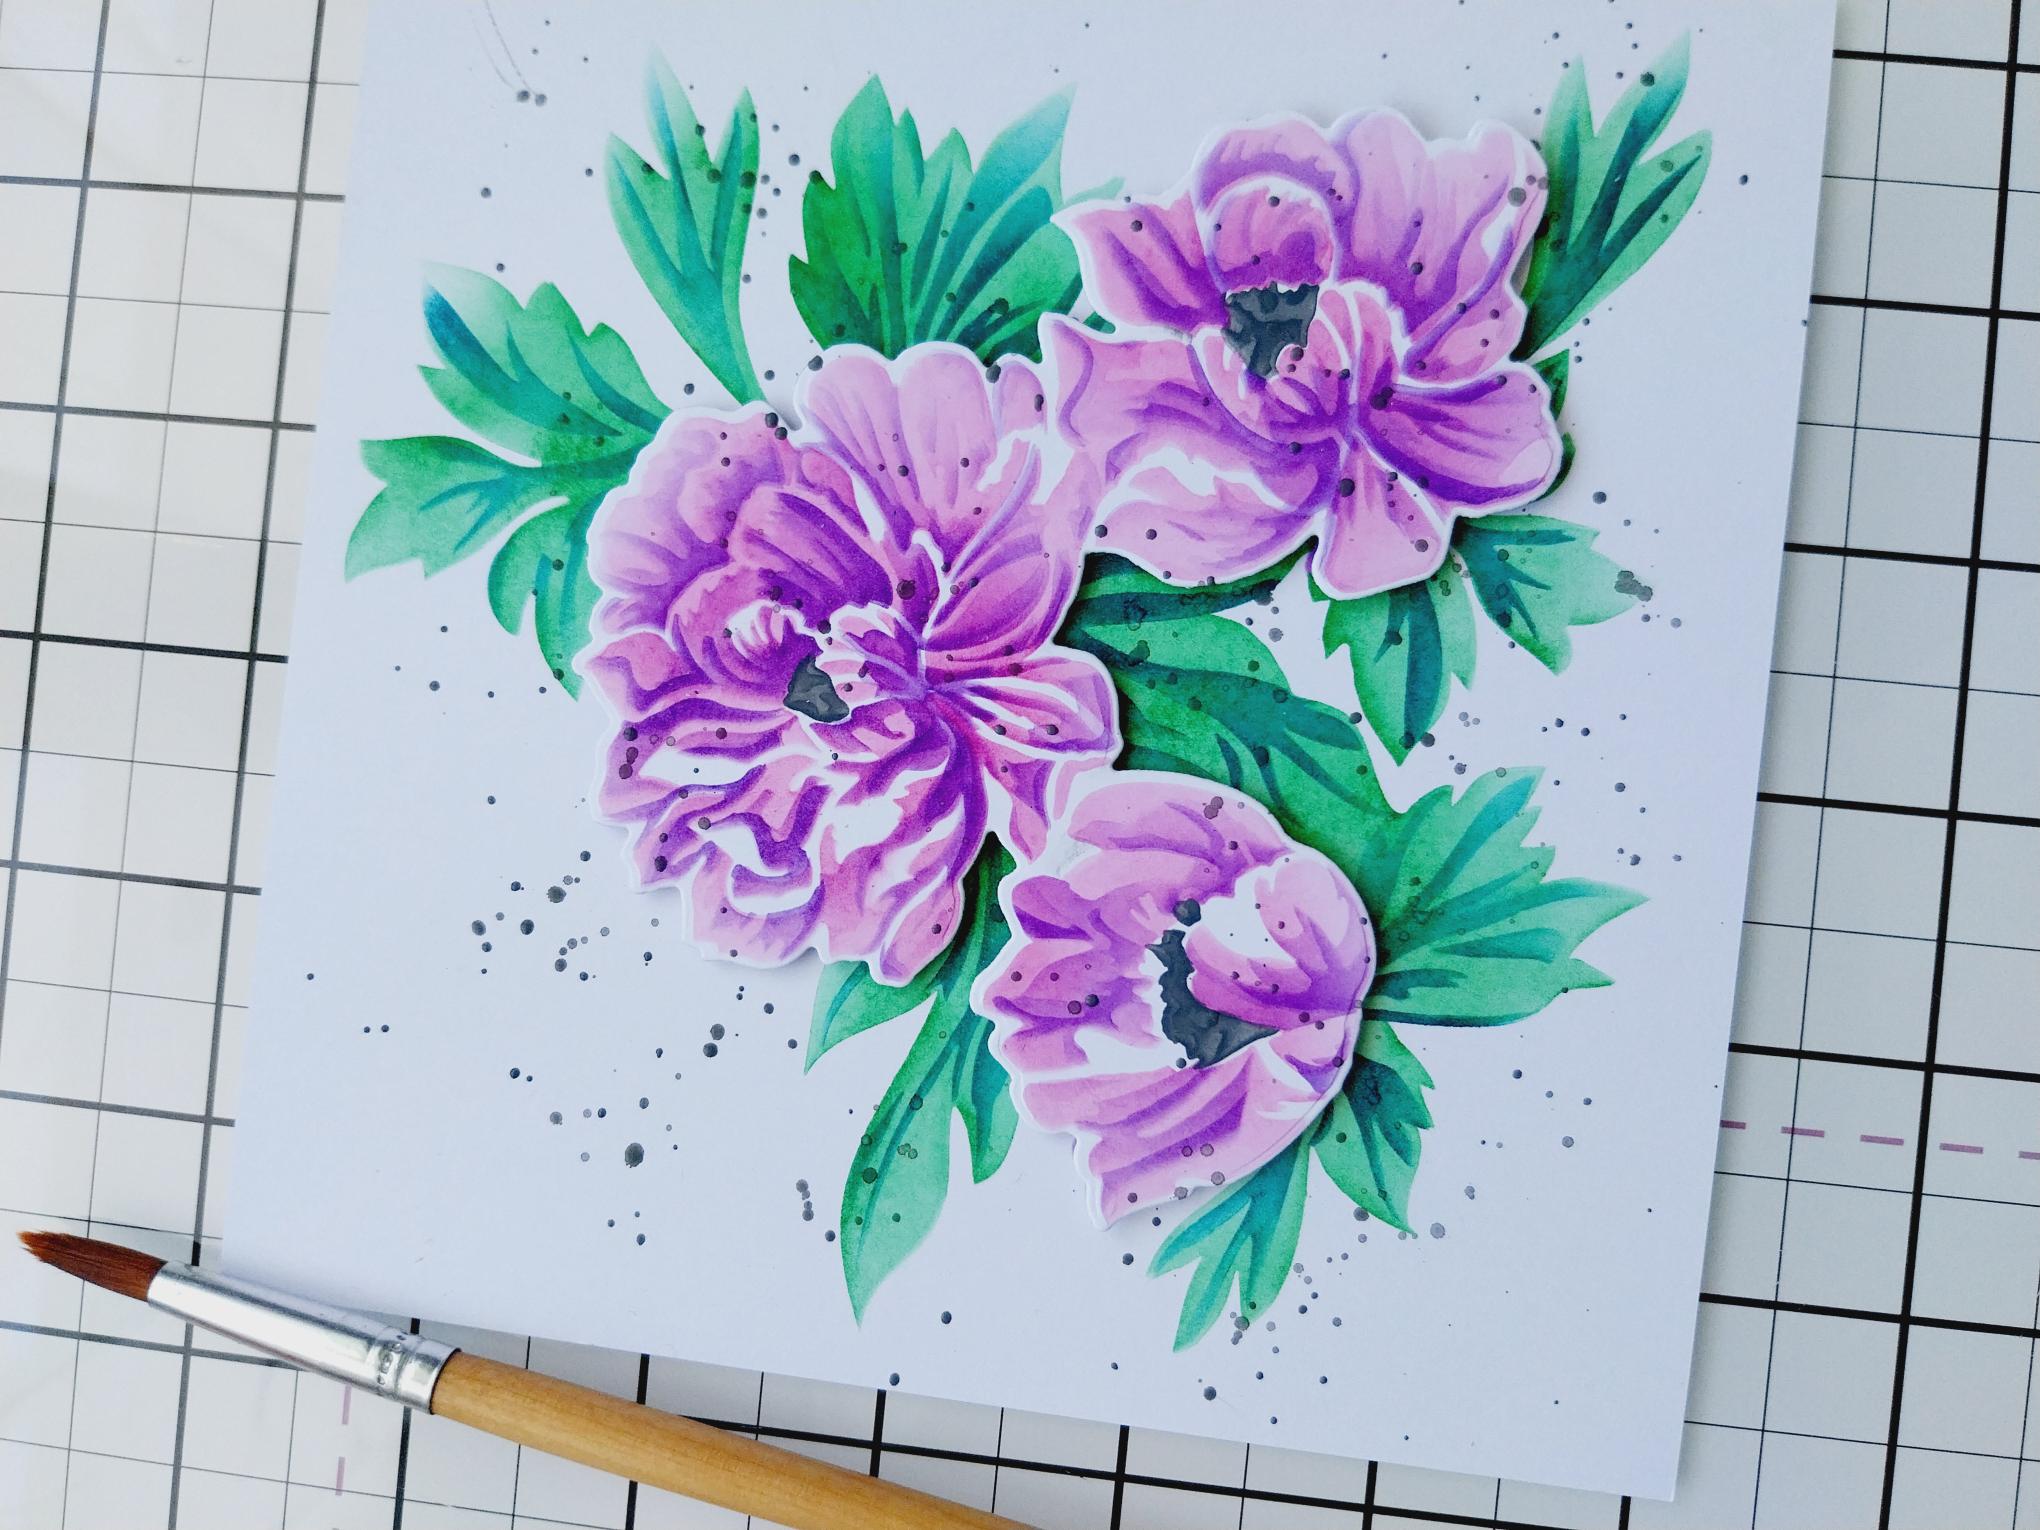
Use foam pads to adhere on top of your complete stencilled image. |
|
Splatter with watered-down Black Soot. |
|
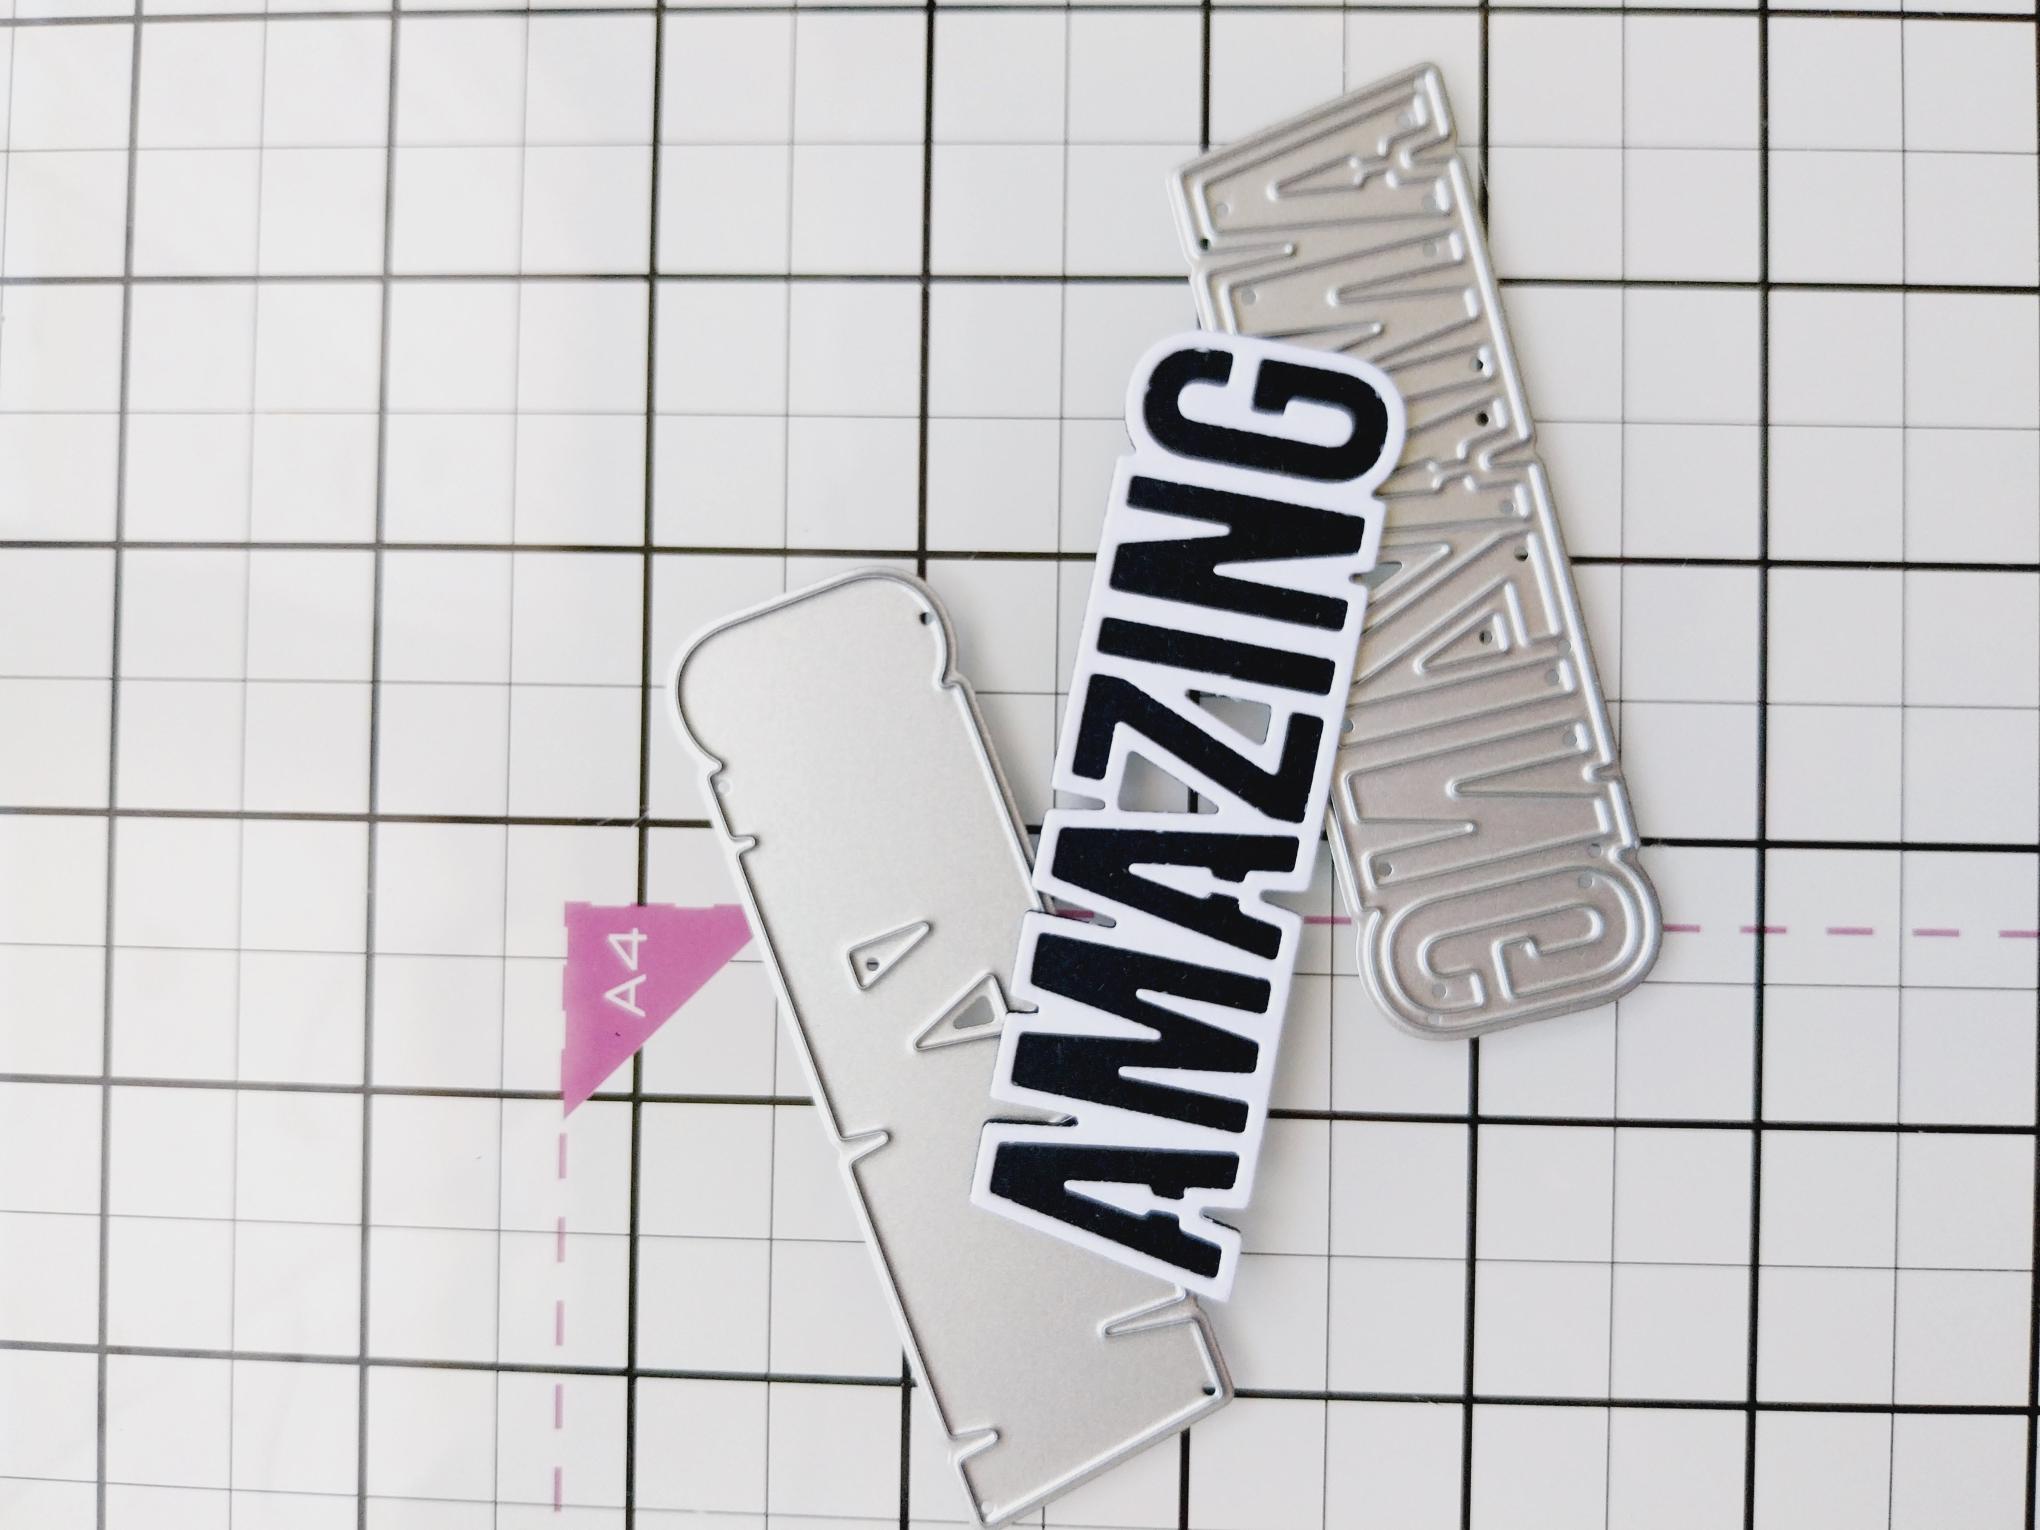
Use the sentiment dies to cut the detailed sentiment from white card and the mat from black. Adhere together. |
|
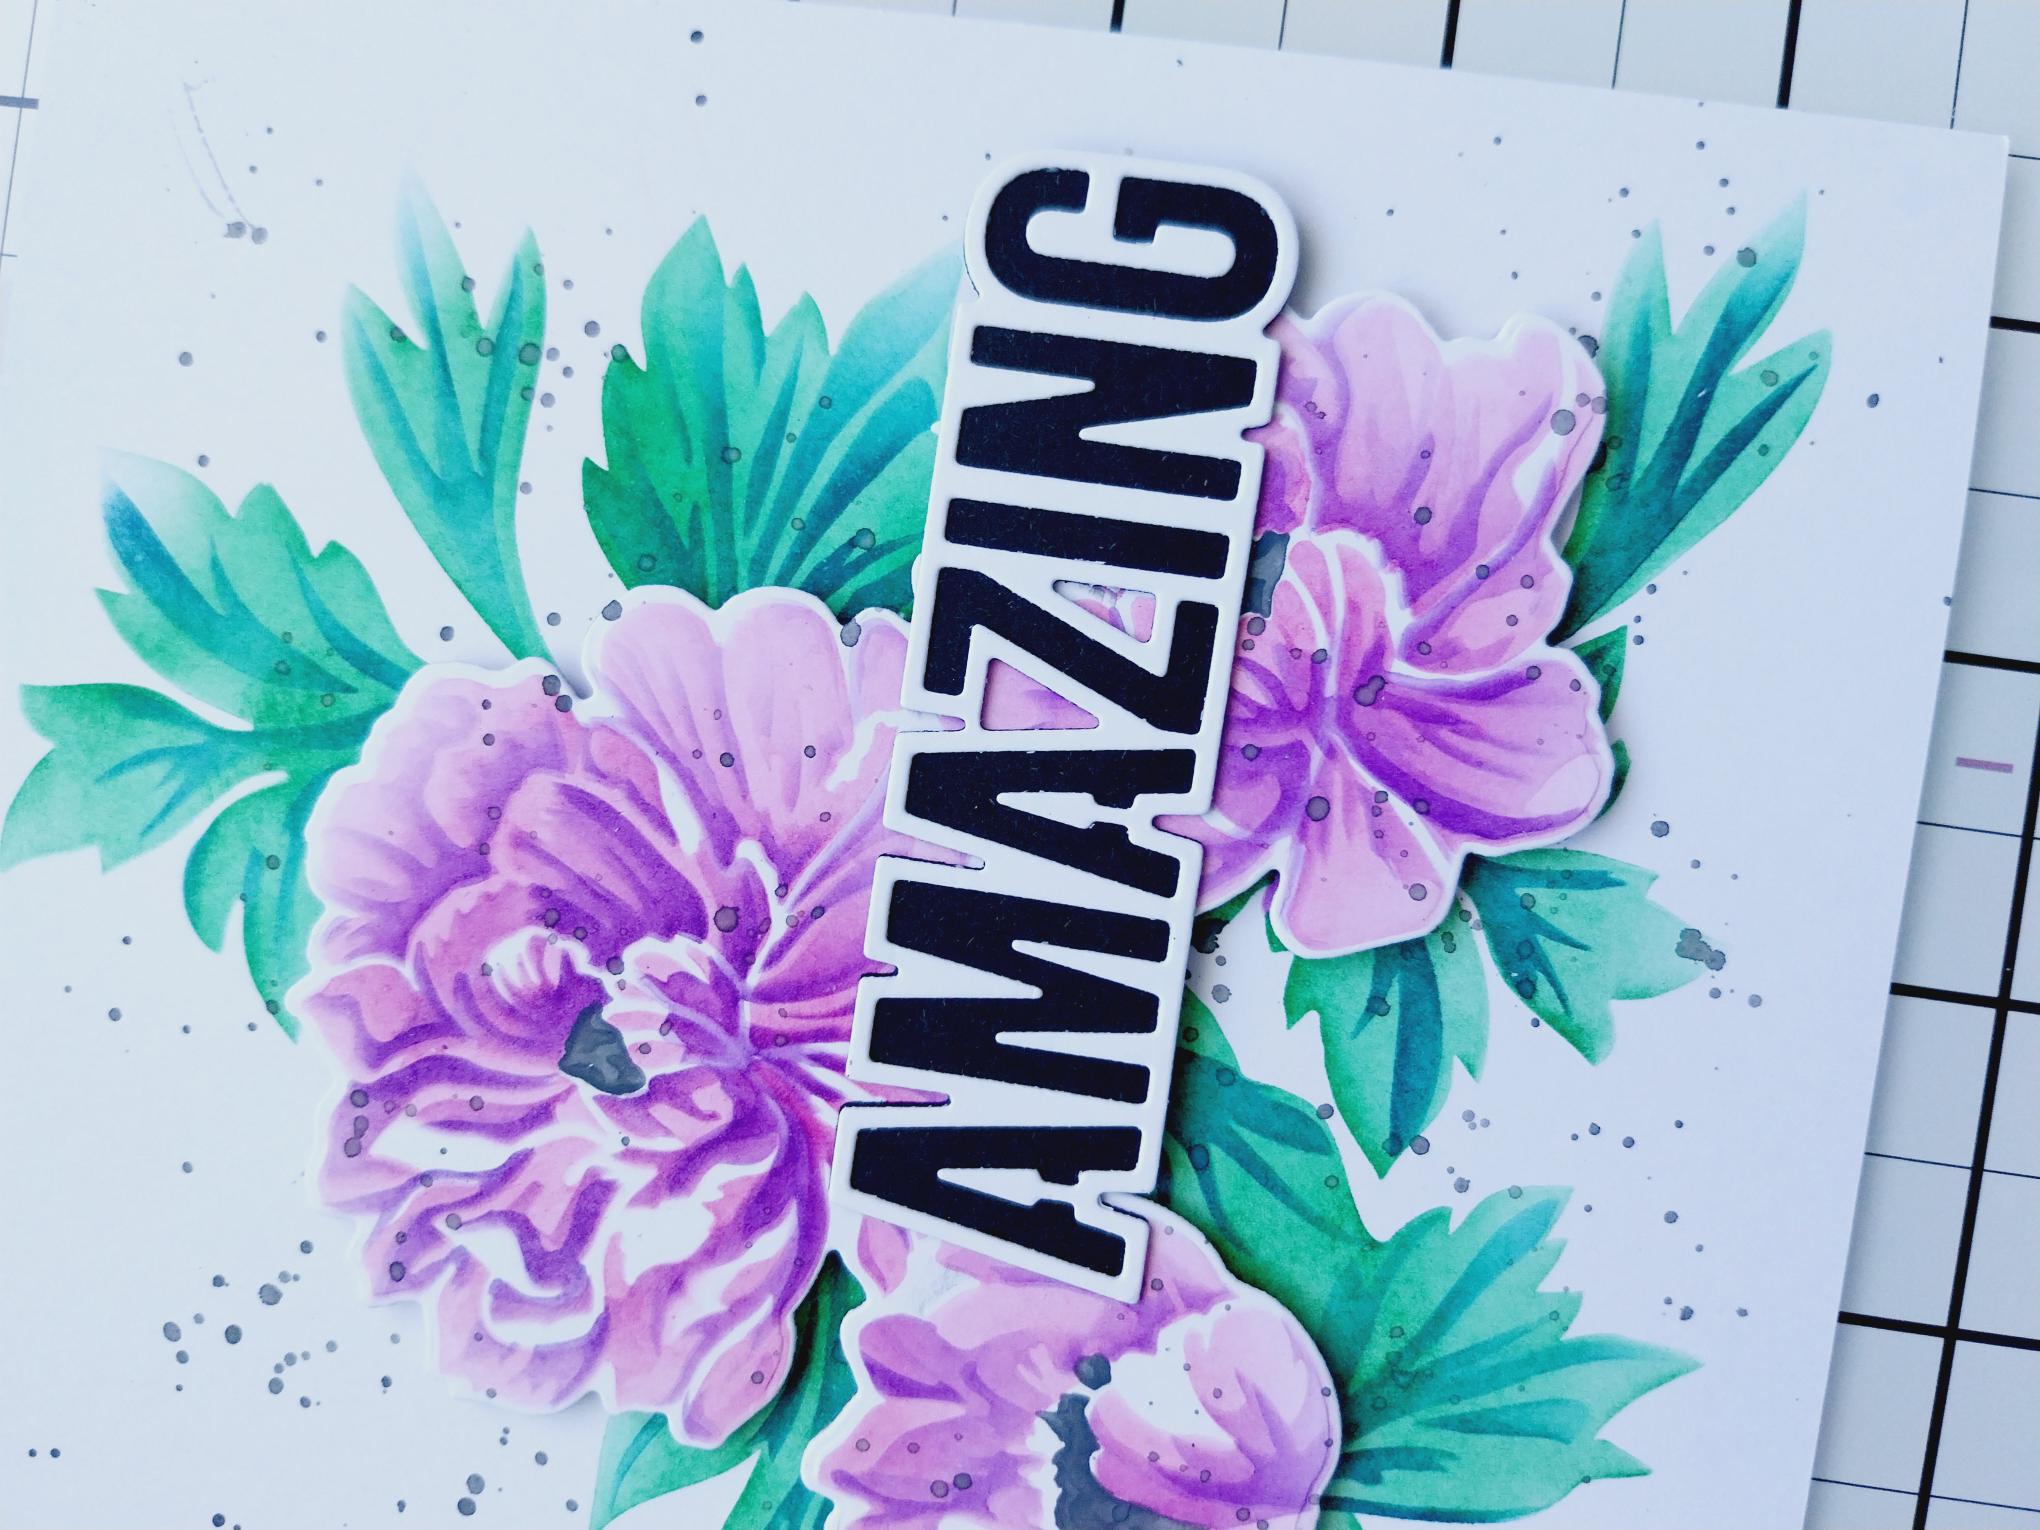
Use foam pads to adhere across your artwork as required. |
|
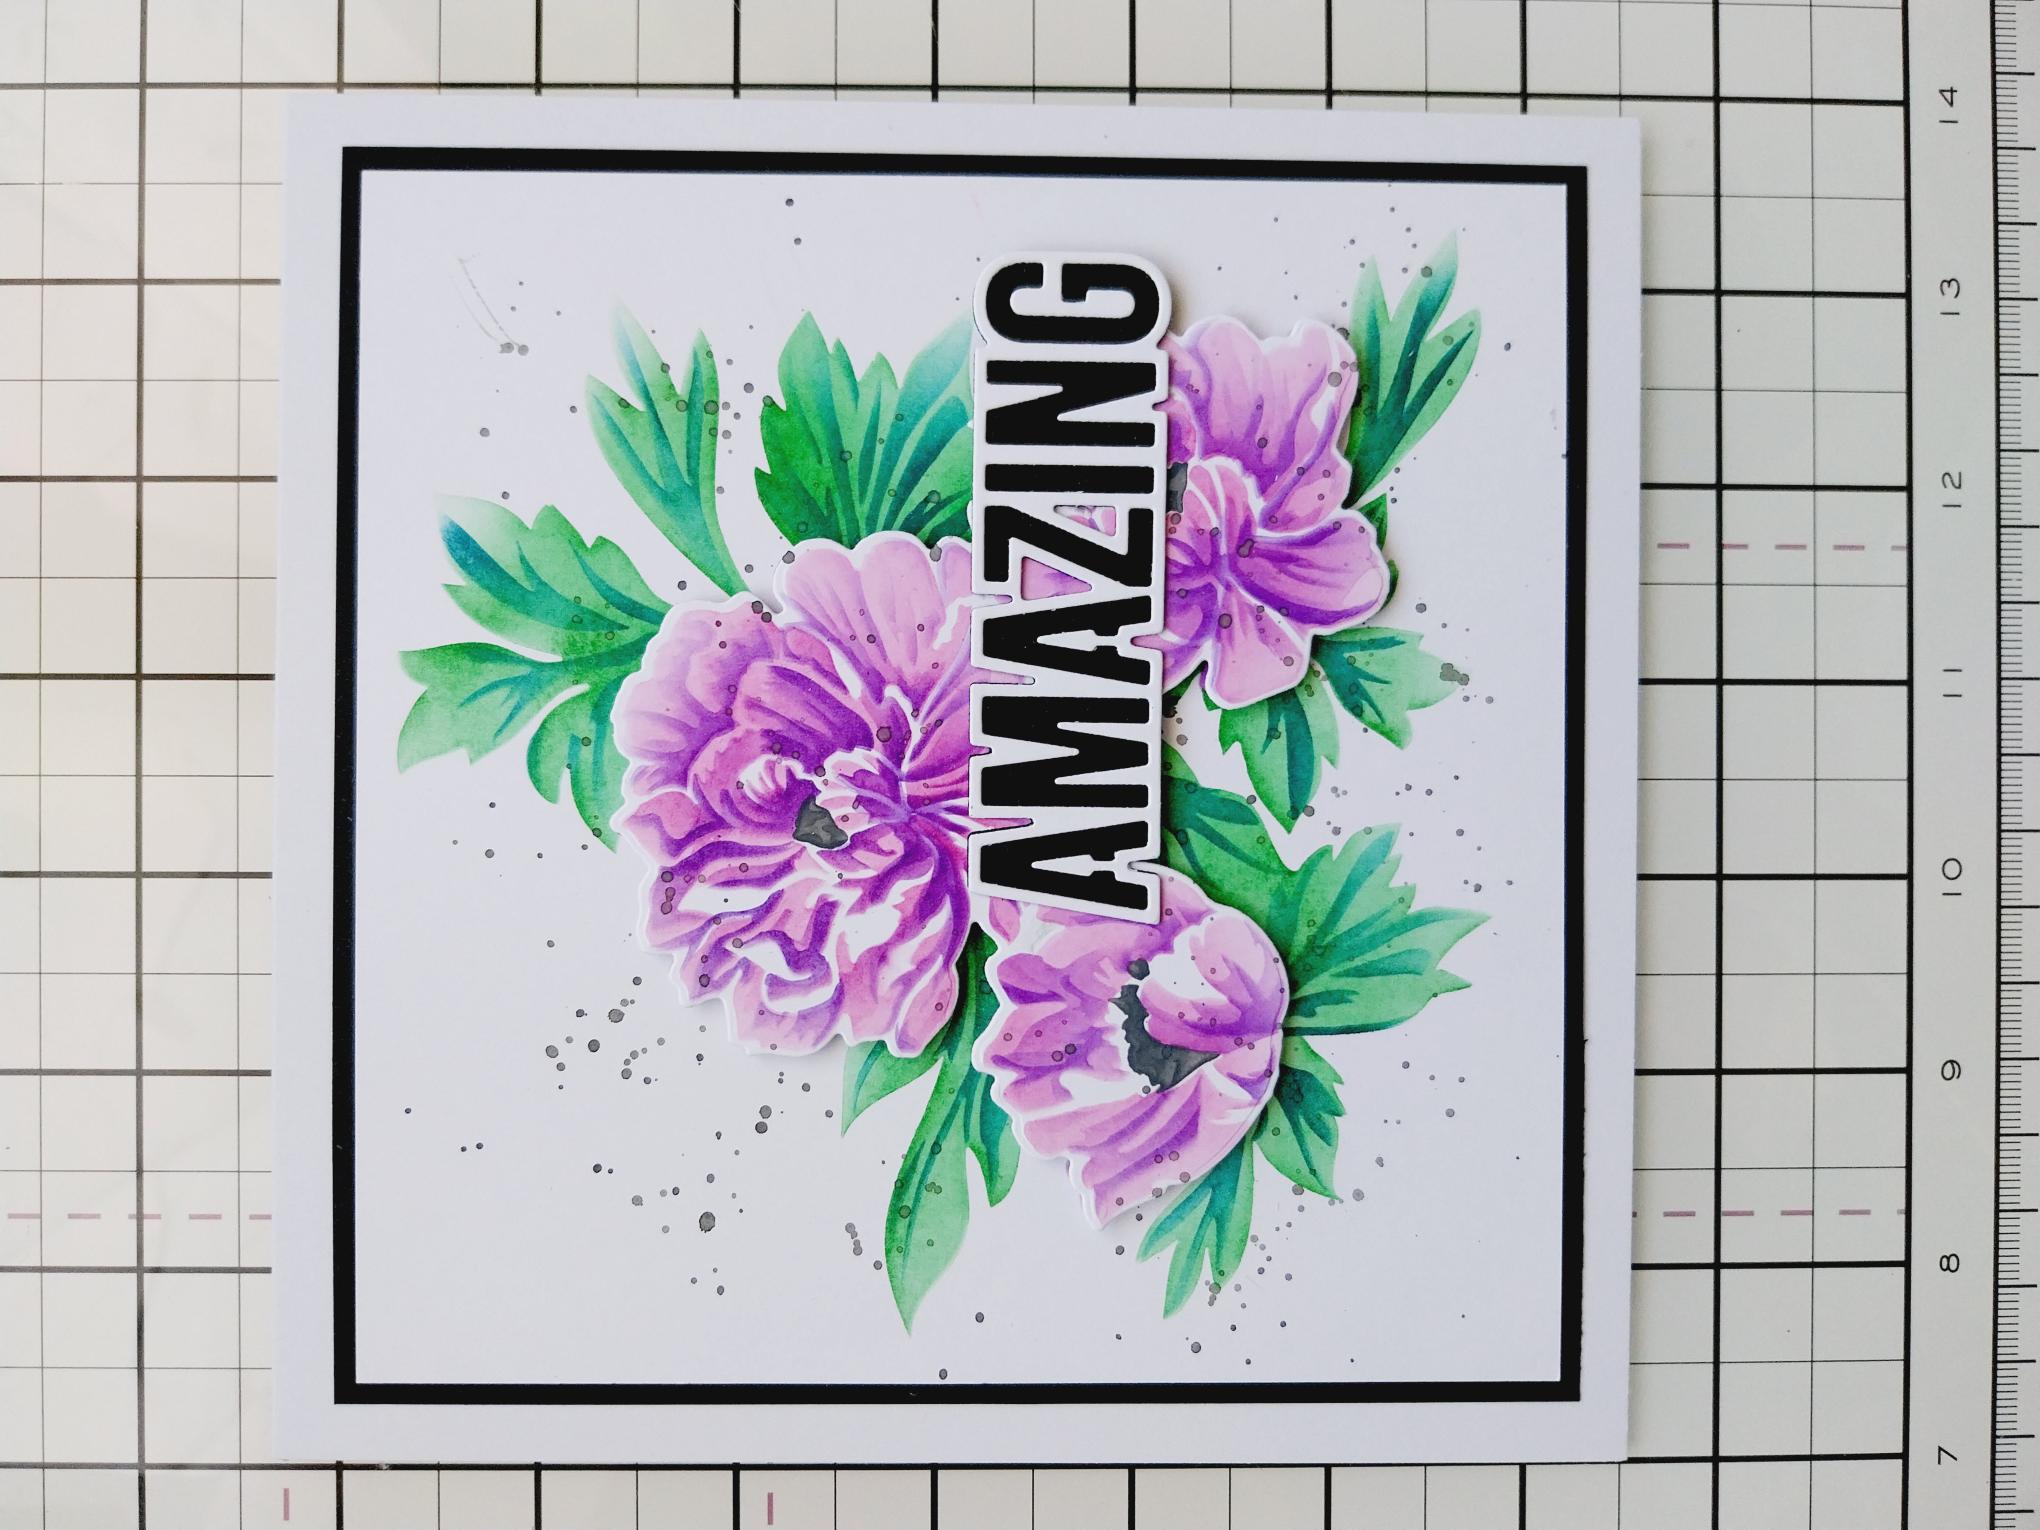
Mat onto black card cut to 6 1/4" square and then onto the front of your 7 x7" card blank. |