Give your friends £10 off their first order!
Refer a FRIEND








Prices change straight away. Every language is our own translation, not Google.
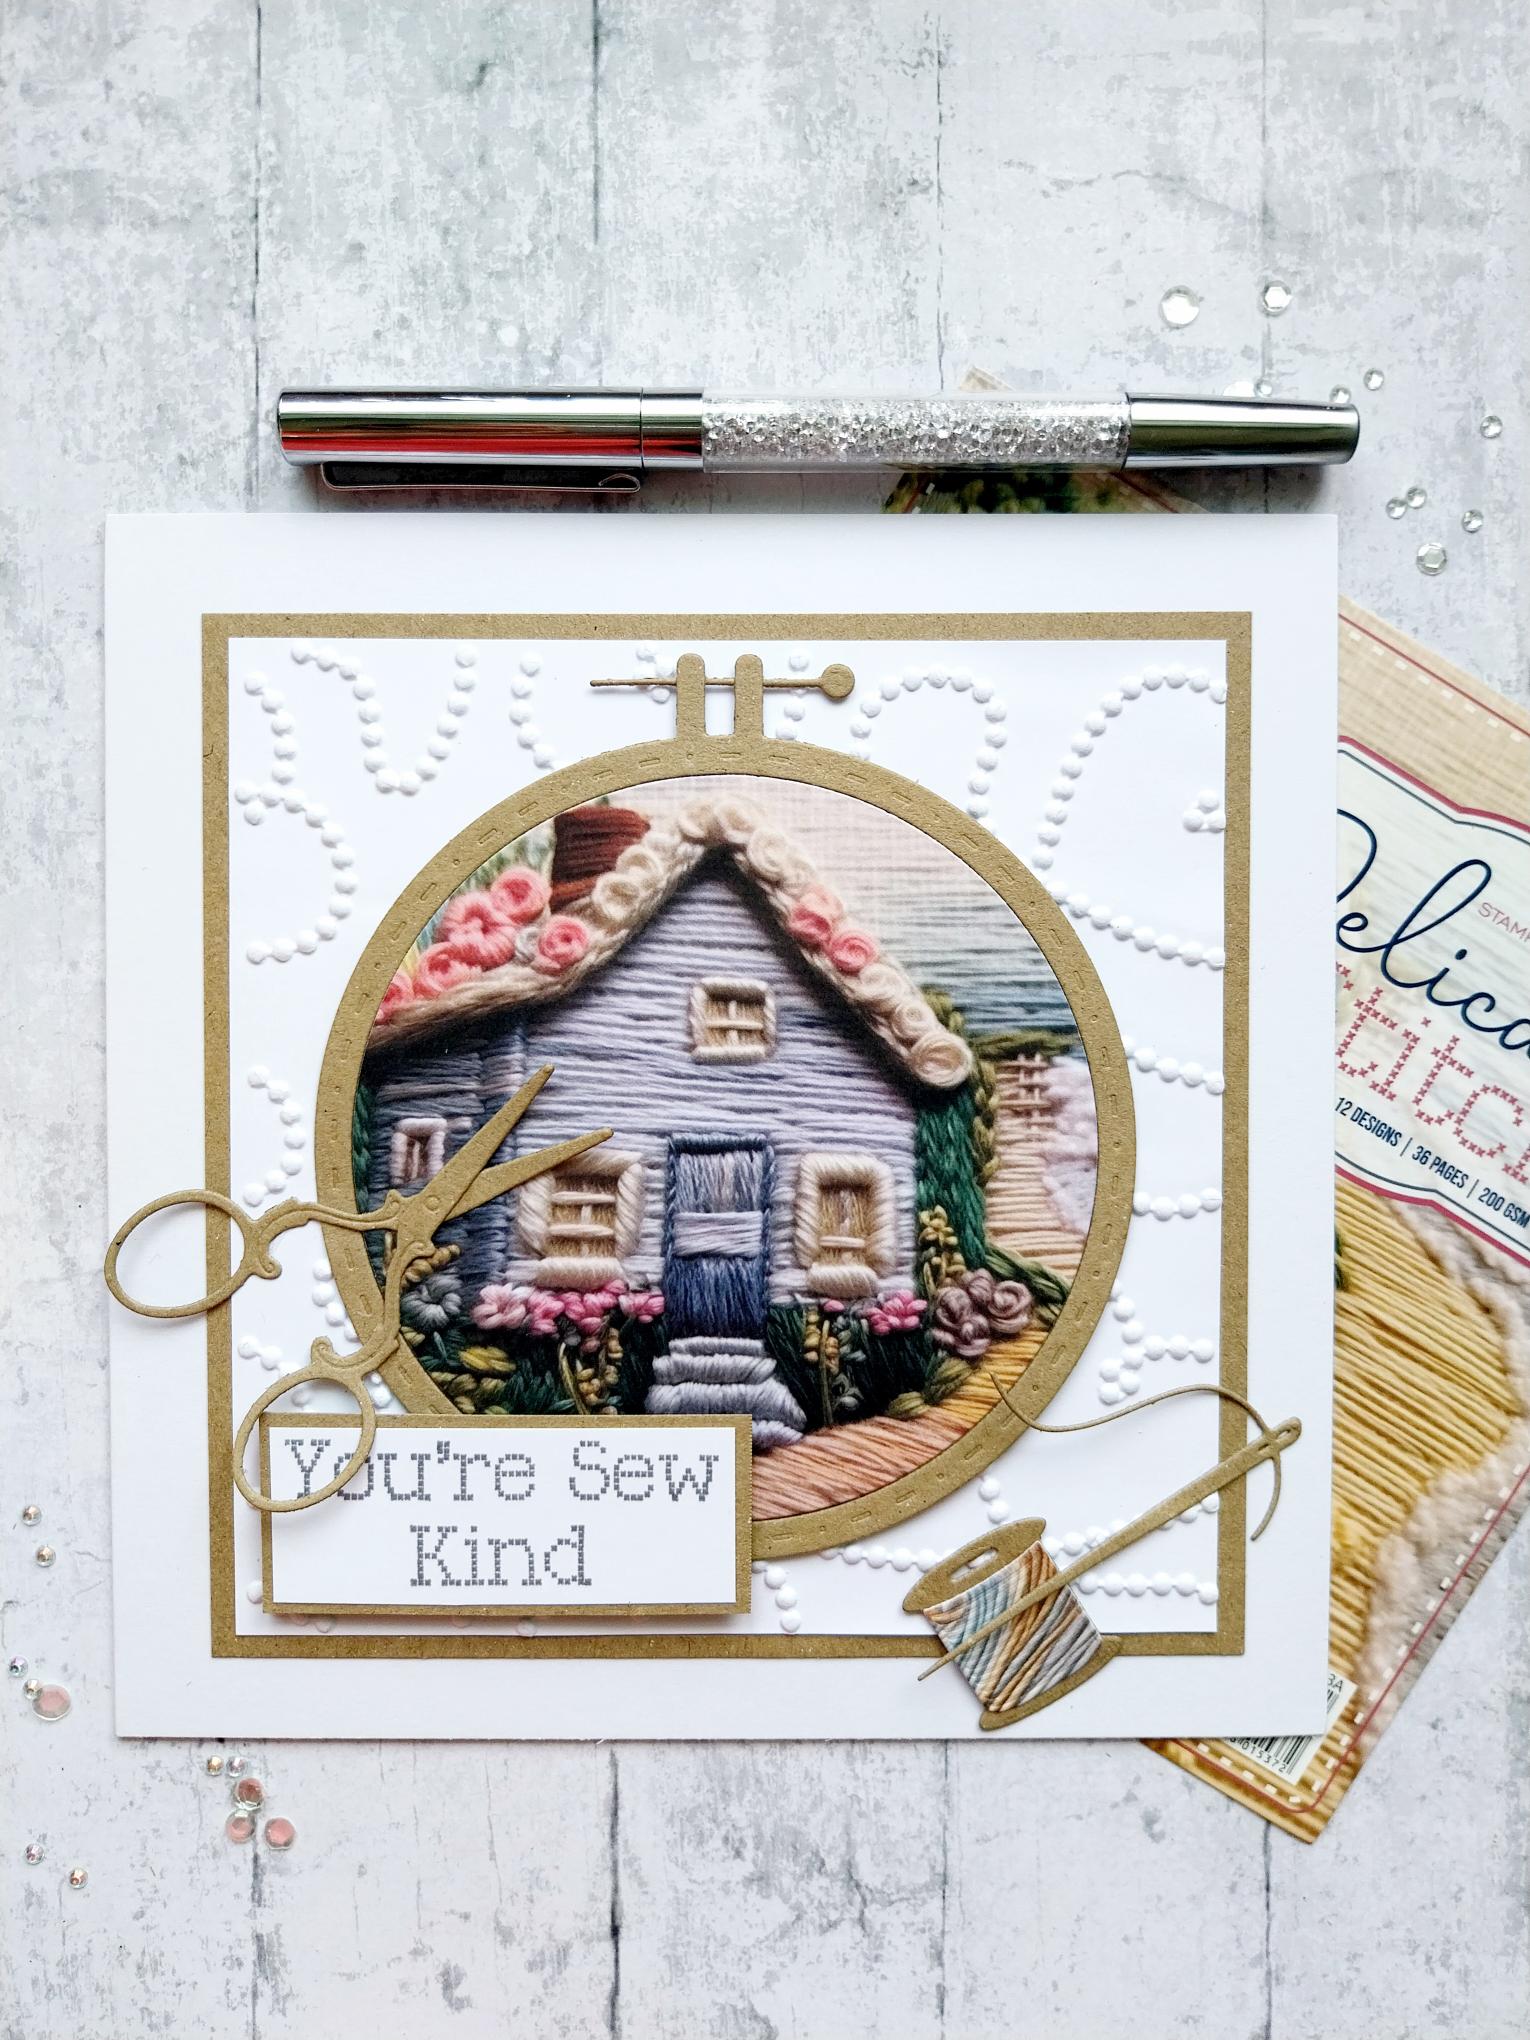
WHAT YOU WILL NEED:
White card blank 7 x 7"
Kraft/white cardstock
Delicate Stitch Paper, Stamp & Die Collection
Beautiful Beads HD3D Embossing Folder
Circle nesting dies
SBM Hybrid Ink Pad: Midnight
Eureka 101 Watercolour Tablet
SBM A3 Magnetic glass mat
Paper Trimmer
Glue
Foam Pads
Die Cutting machine
[click image to enlarge] 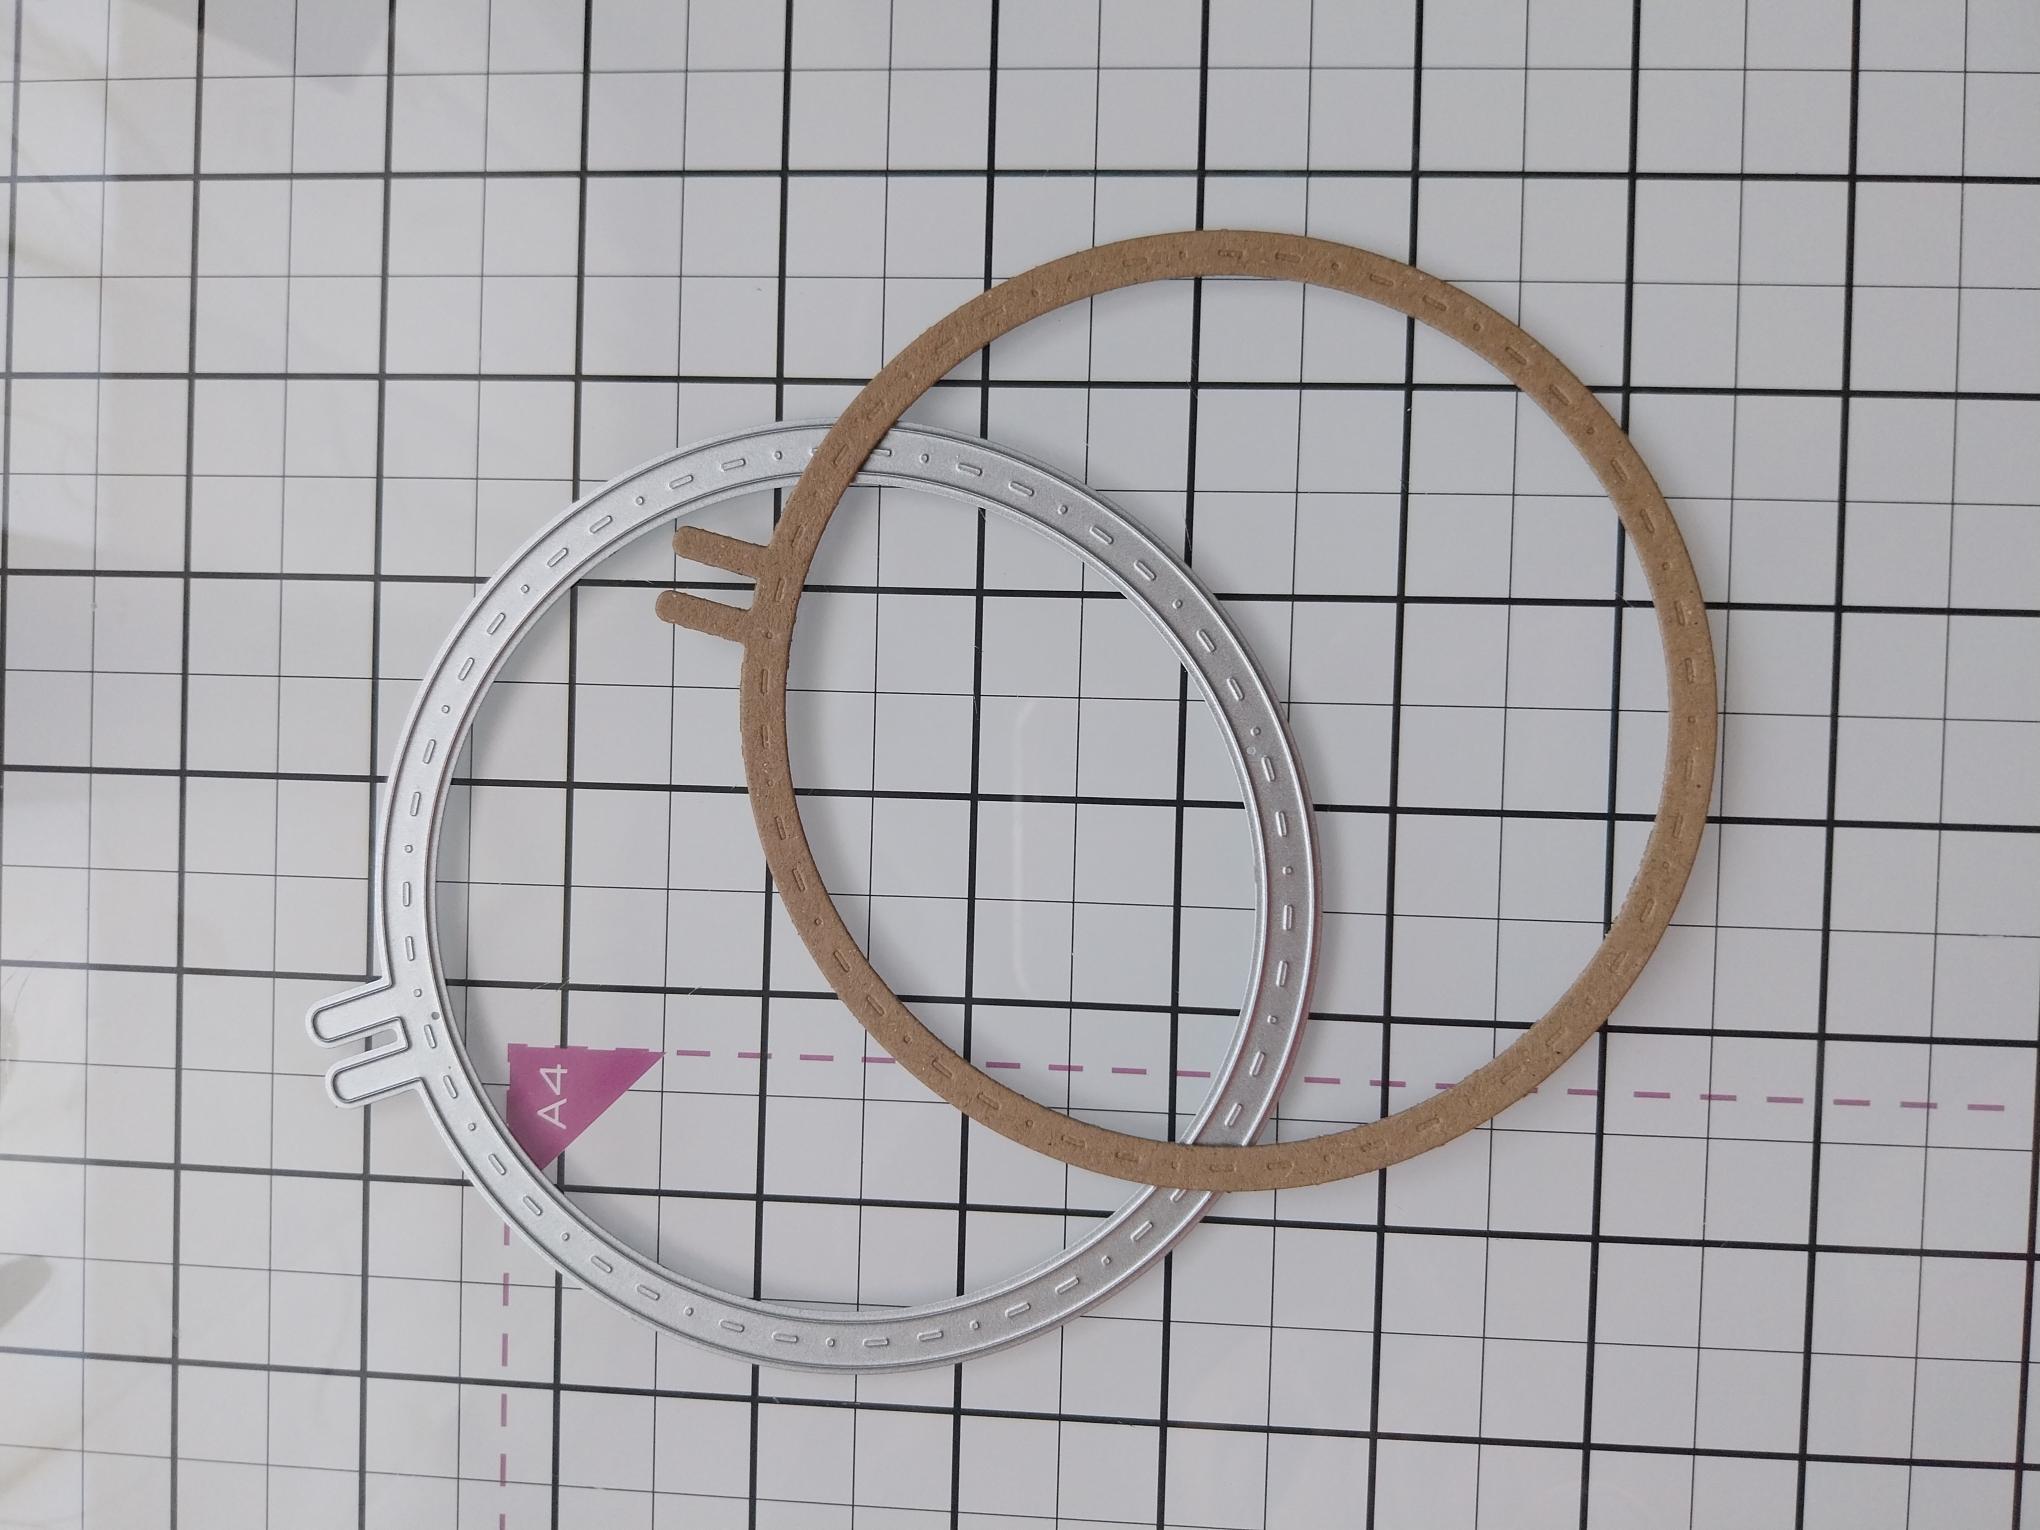
|
Die cut the sewing hoop from kraft card, popping the inner circle to one side for a later step. |
|
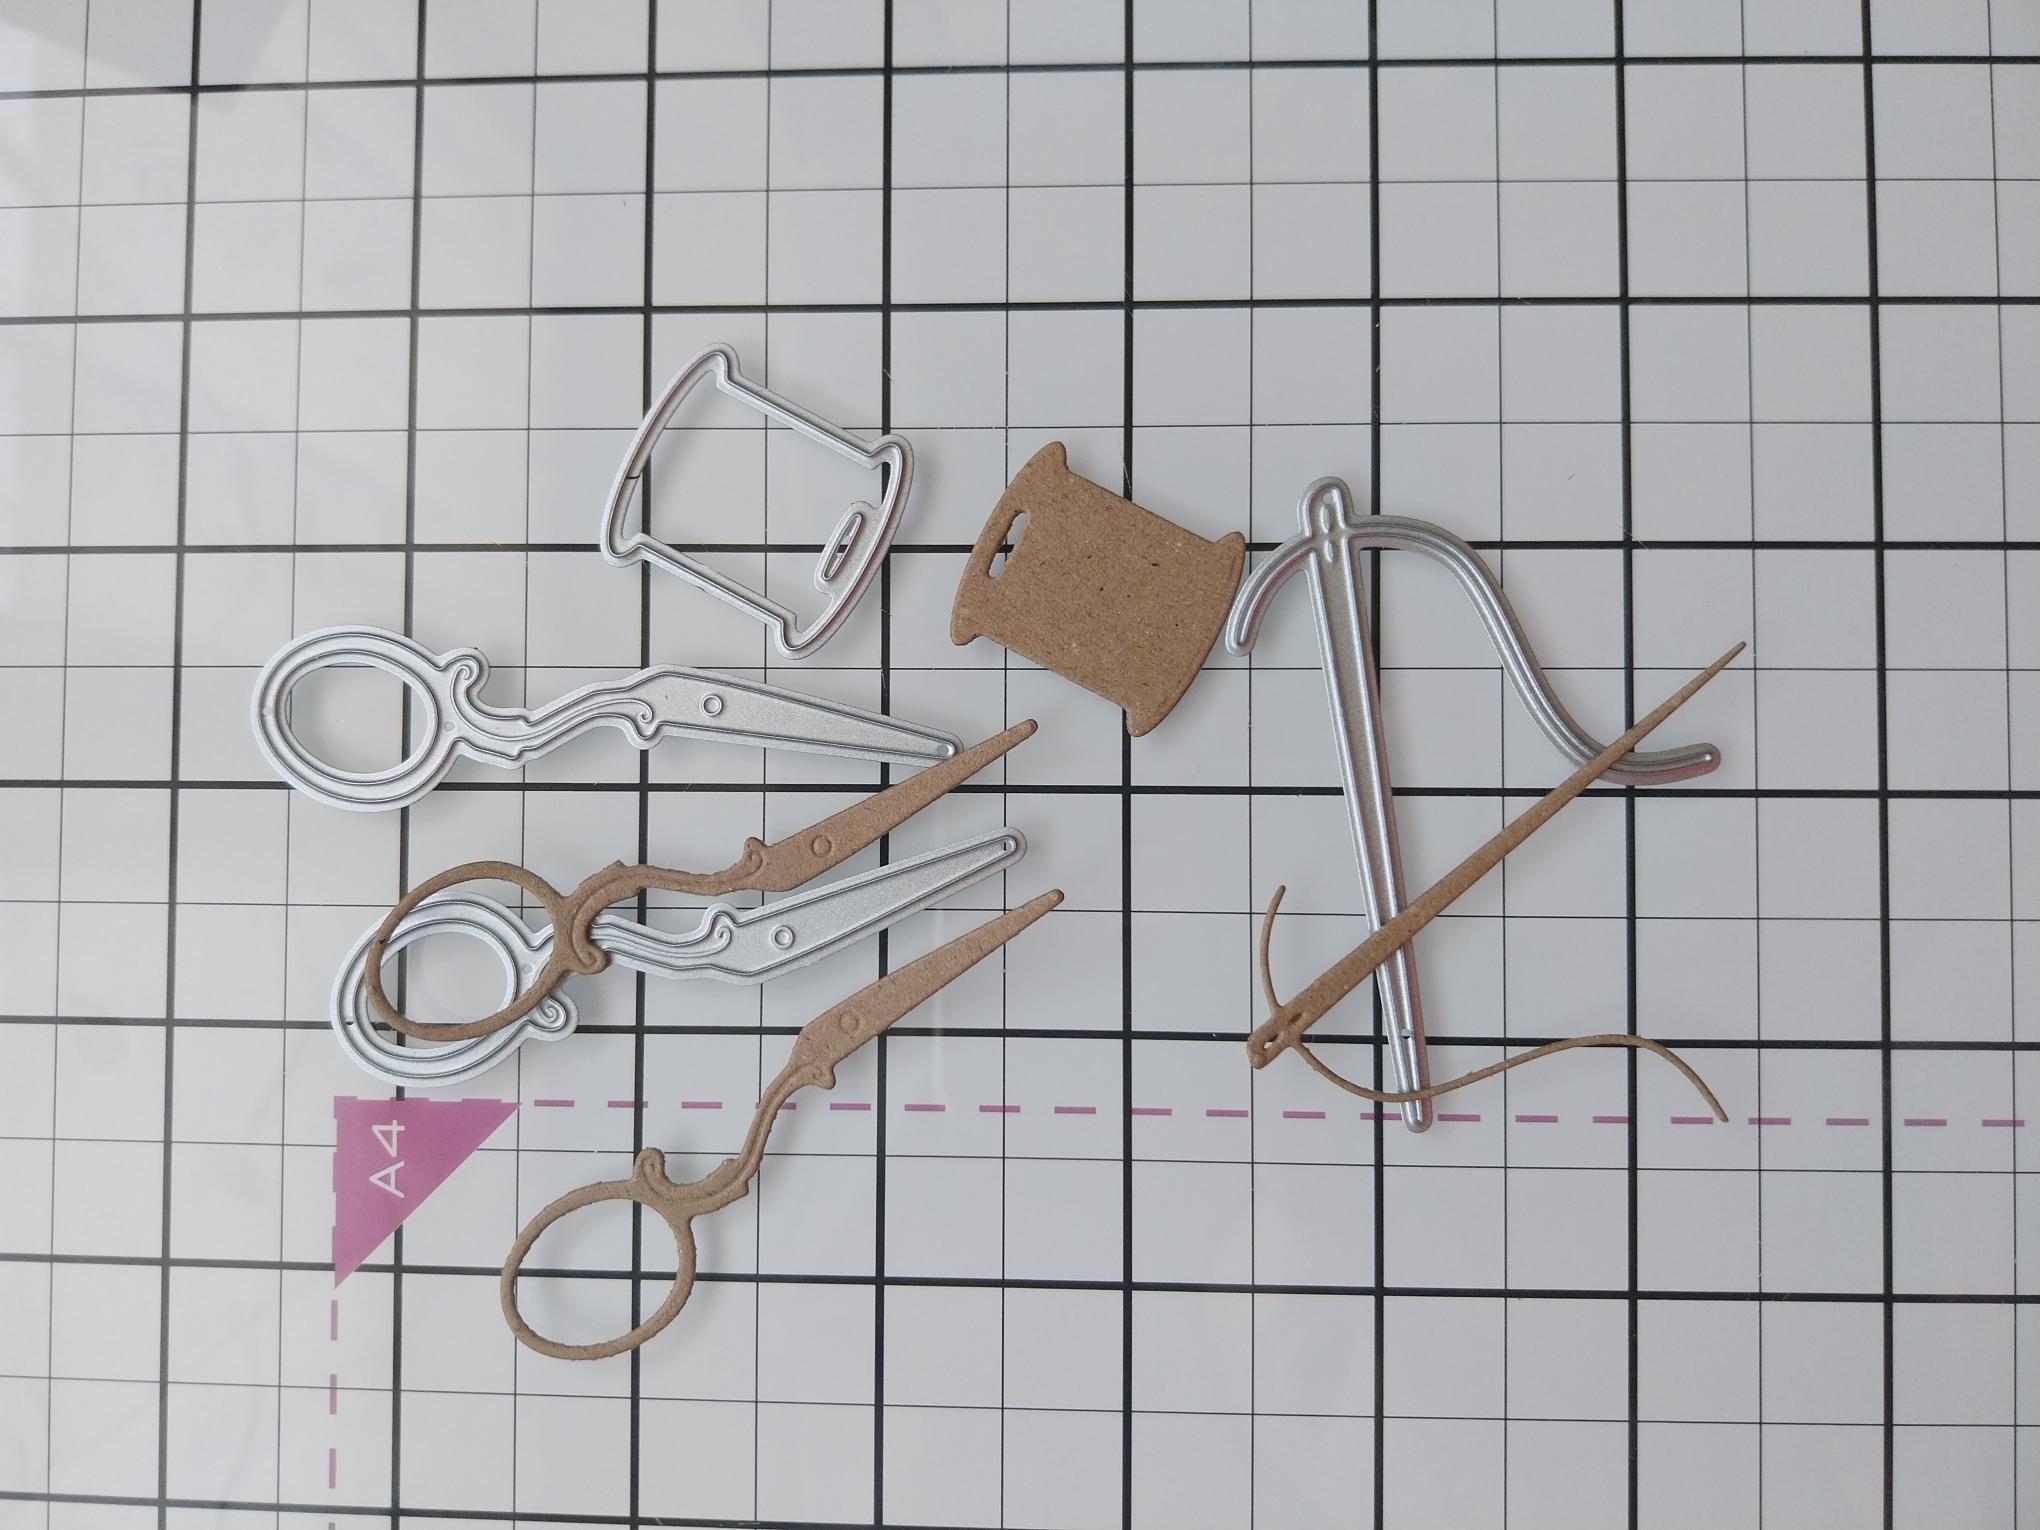
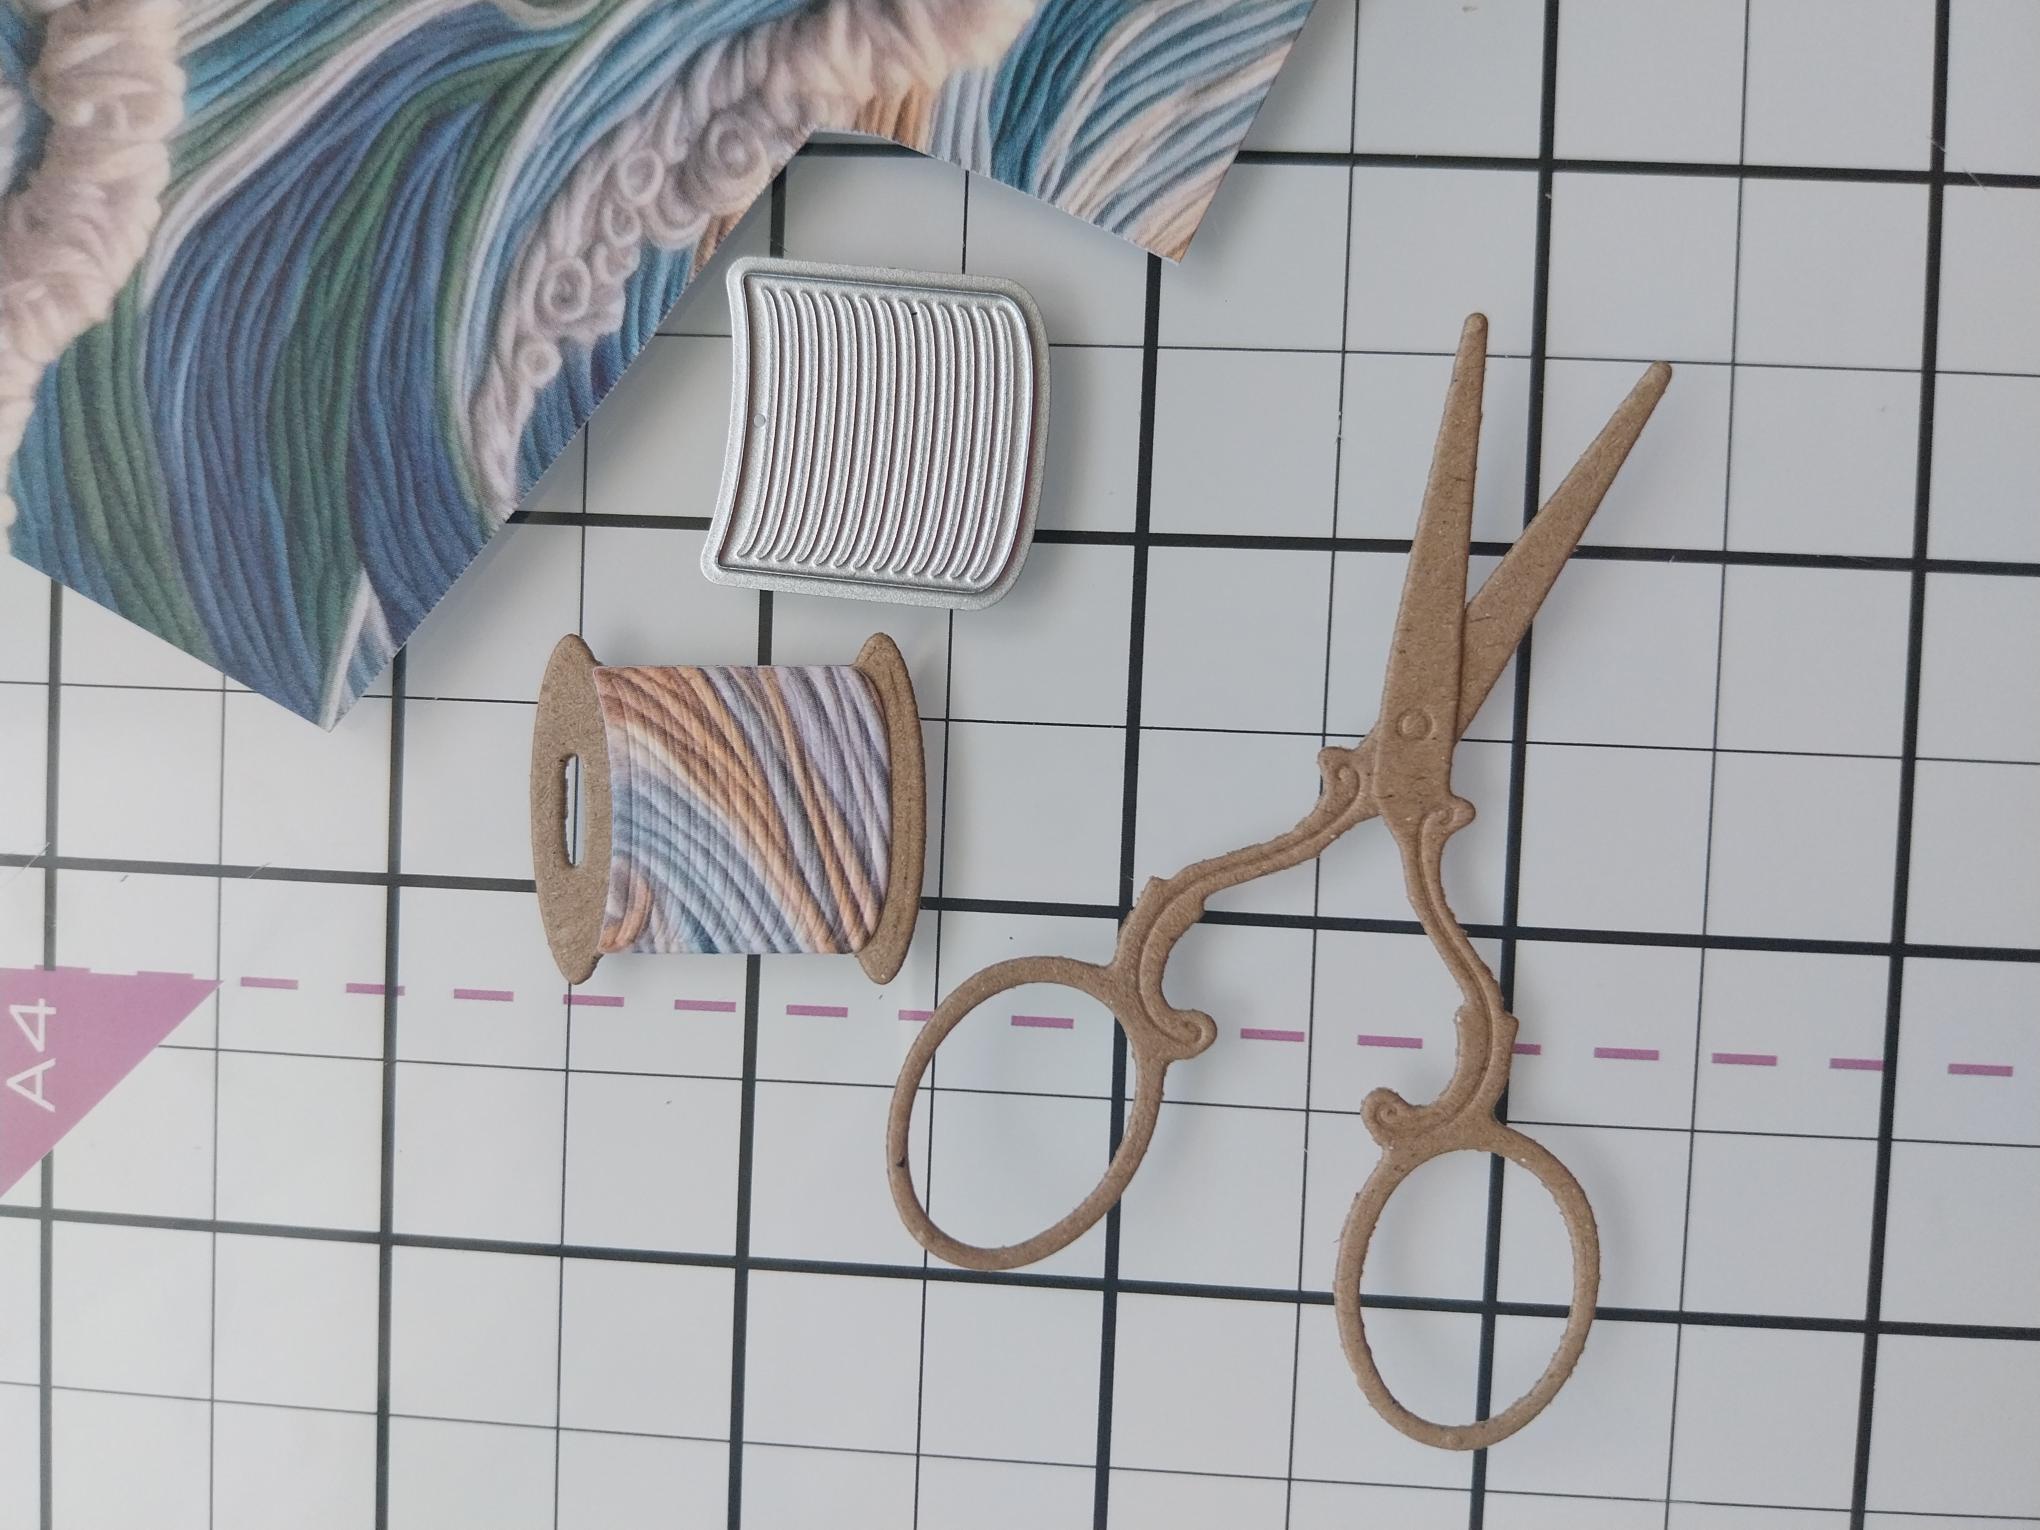
Die cut the scissors, cotton reel, needle and thread from kraft card. You can of course, cut other embellishments if you want to add more. |
|
Die cut the cotton reel "thread" from a scrap of paper out of the Delicate Stitch paper pad. Adhere in position before setting your elements to one side. |
|
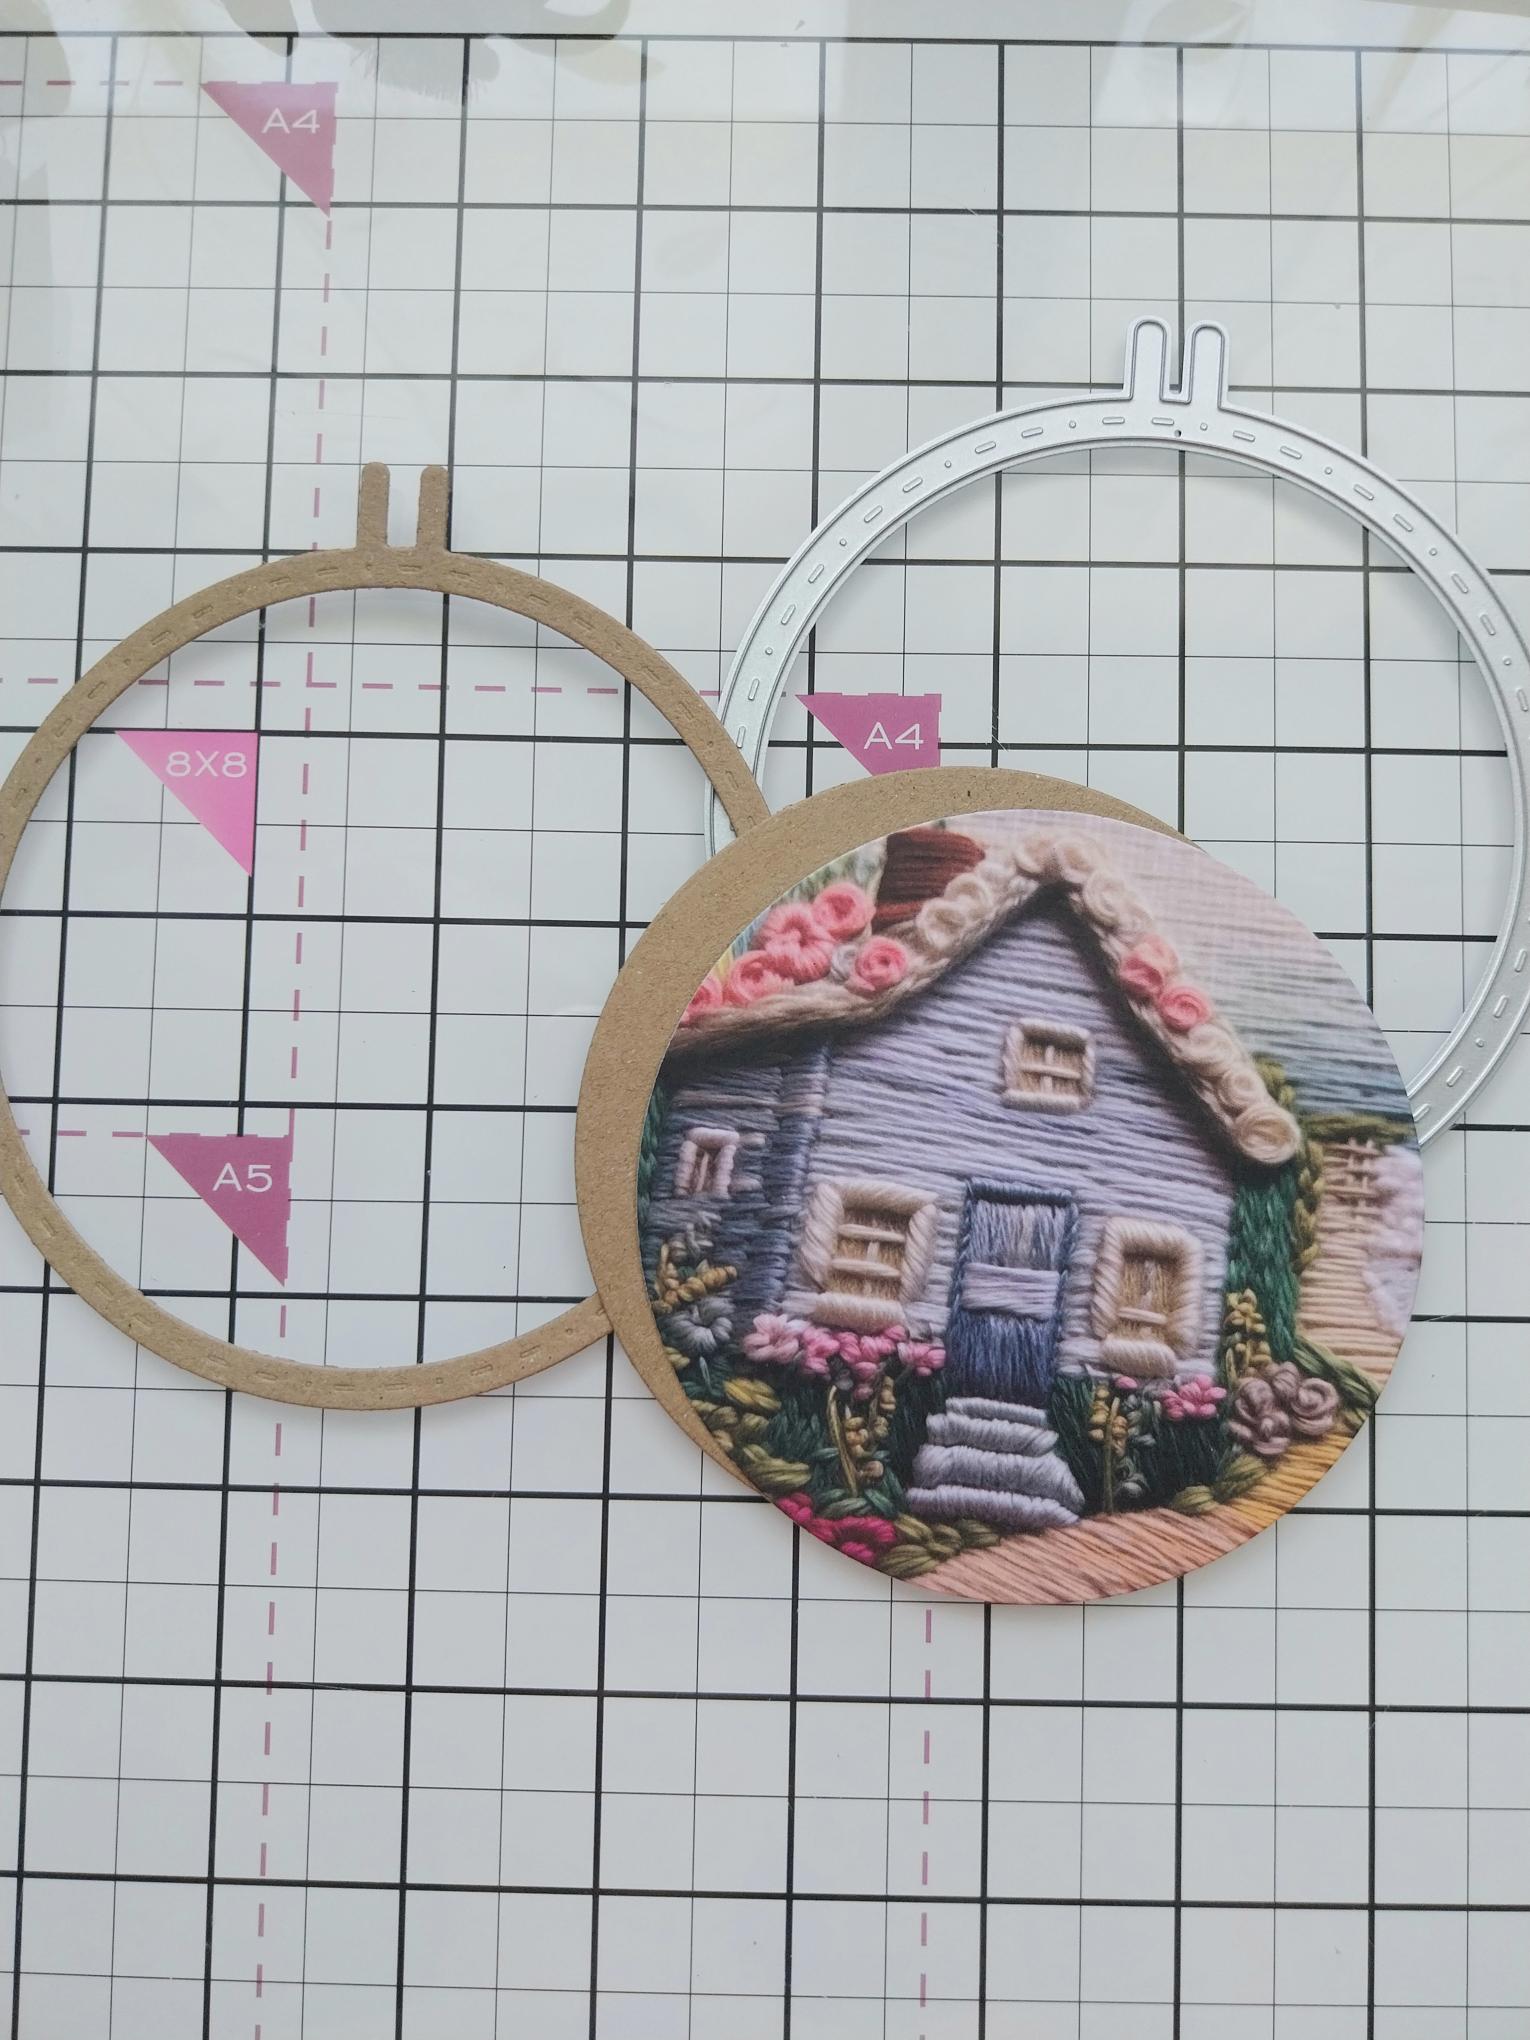
Die cut one of the papers, using your circle nesting dies. You want one the same size as the inner sewing hoop circle you die cut earlier. Adhere the paper to the kraft card circle and pop to one side. |
|
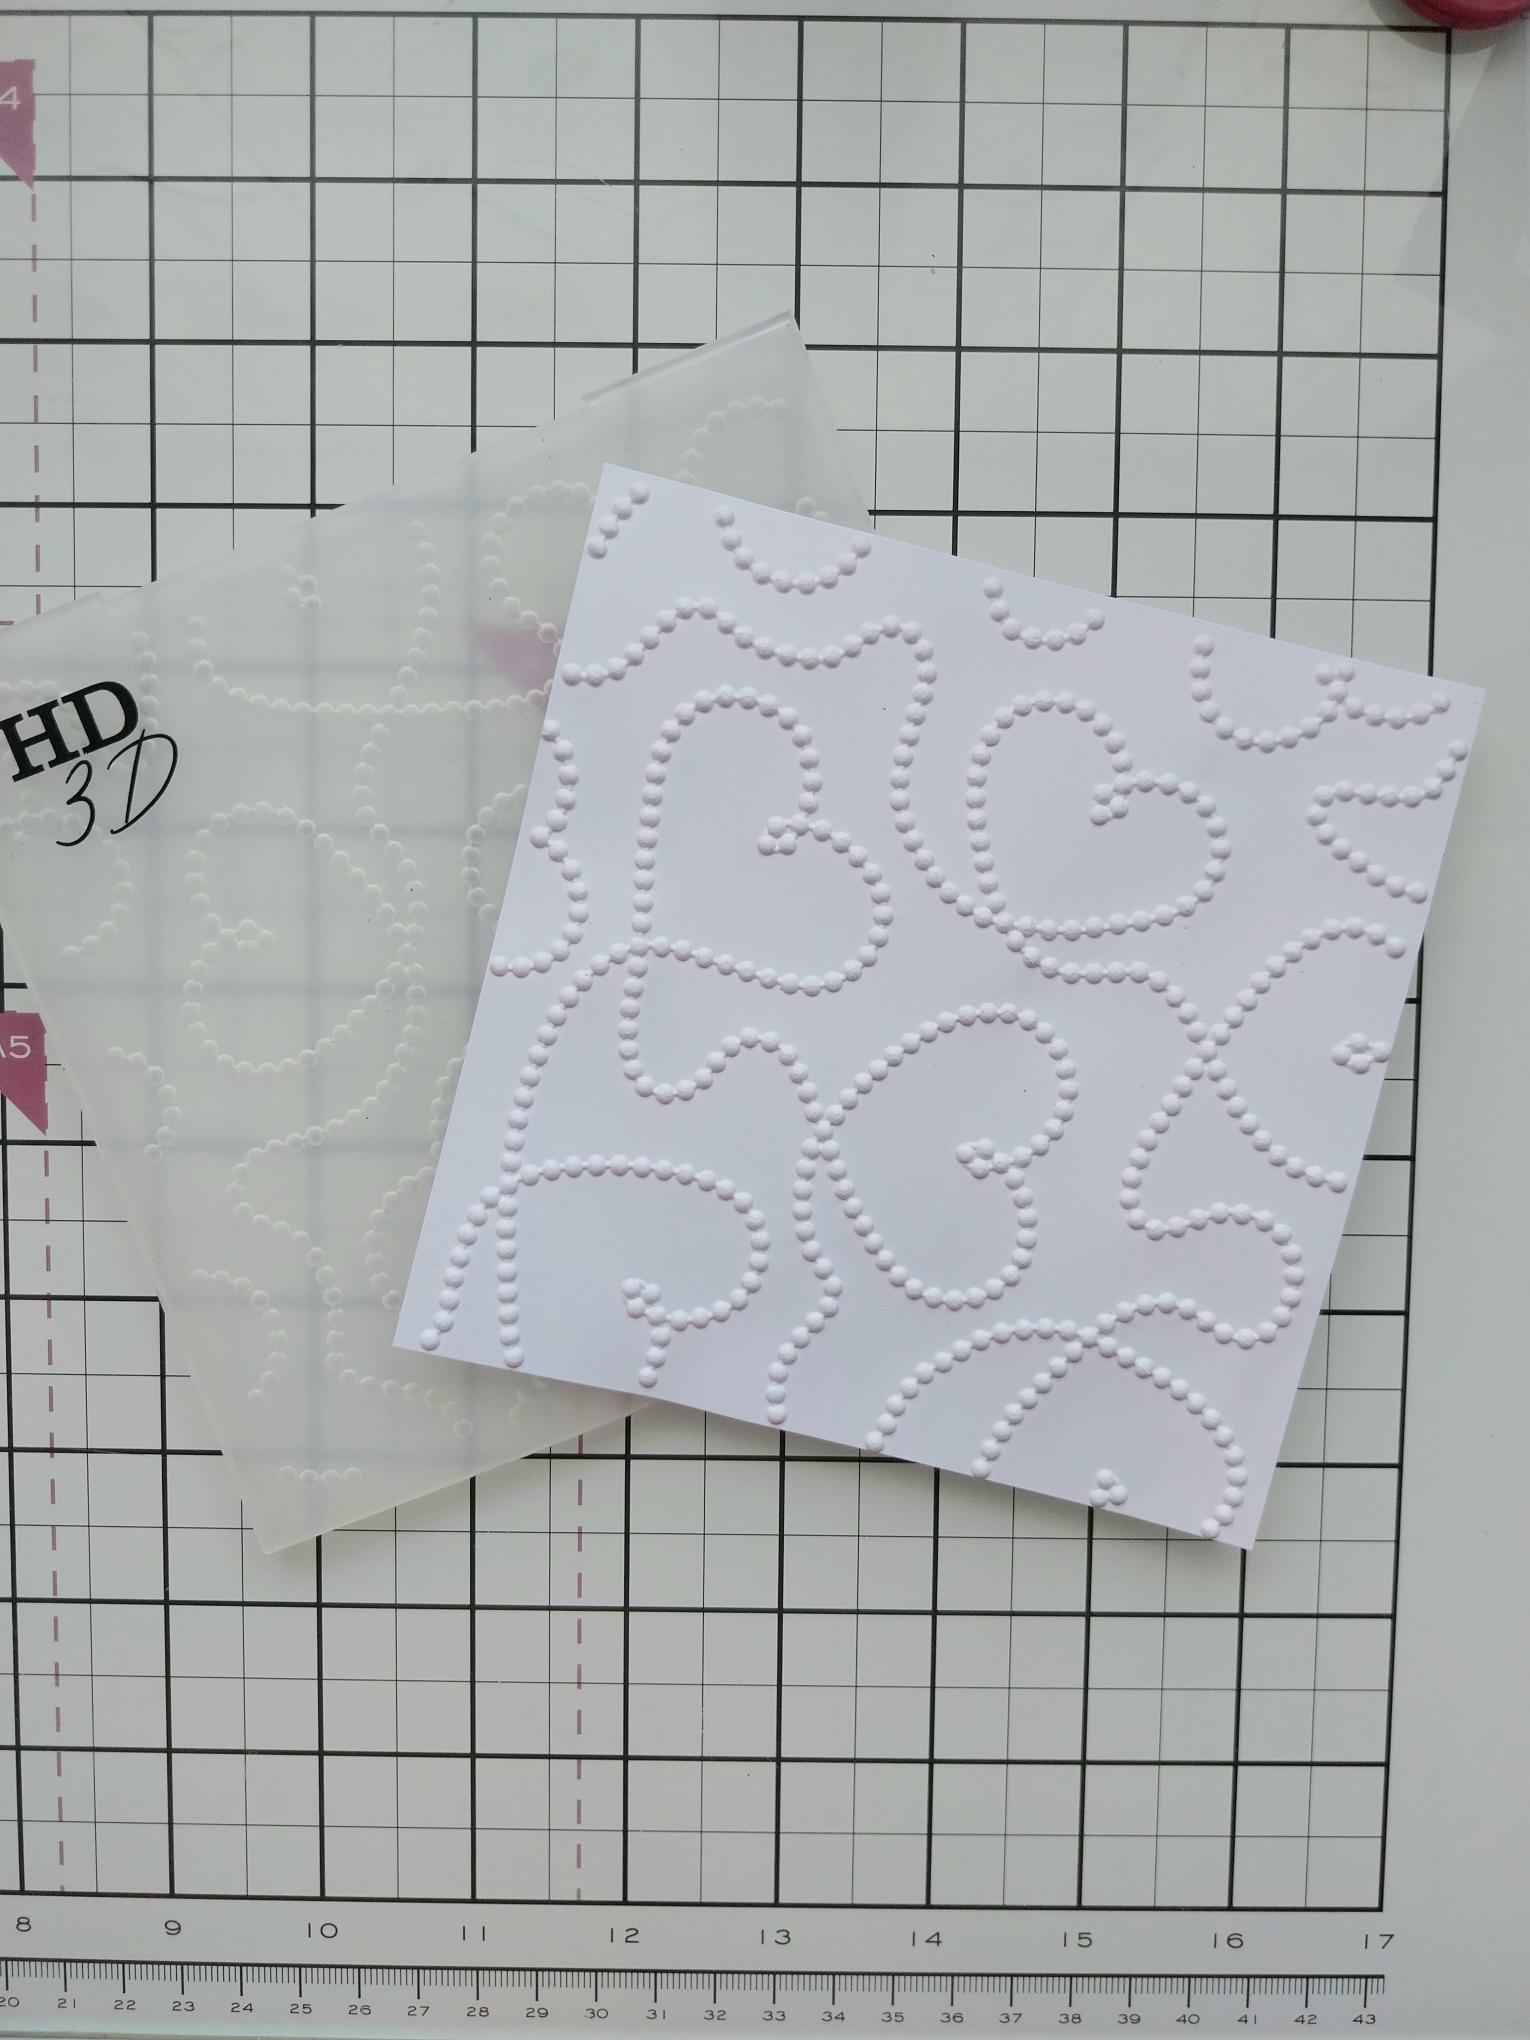
Trim a piece of white card to 5 1/2" square. Place inside the Beautiful Beads embossing folder and run it through your machine. |
|
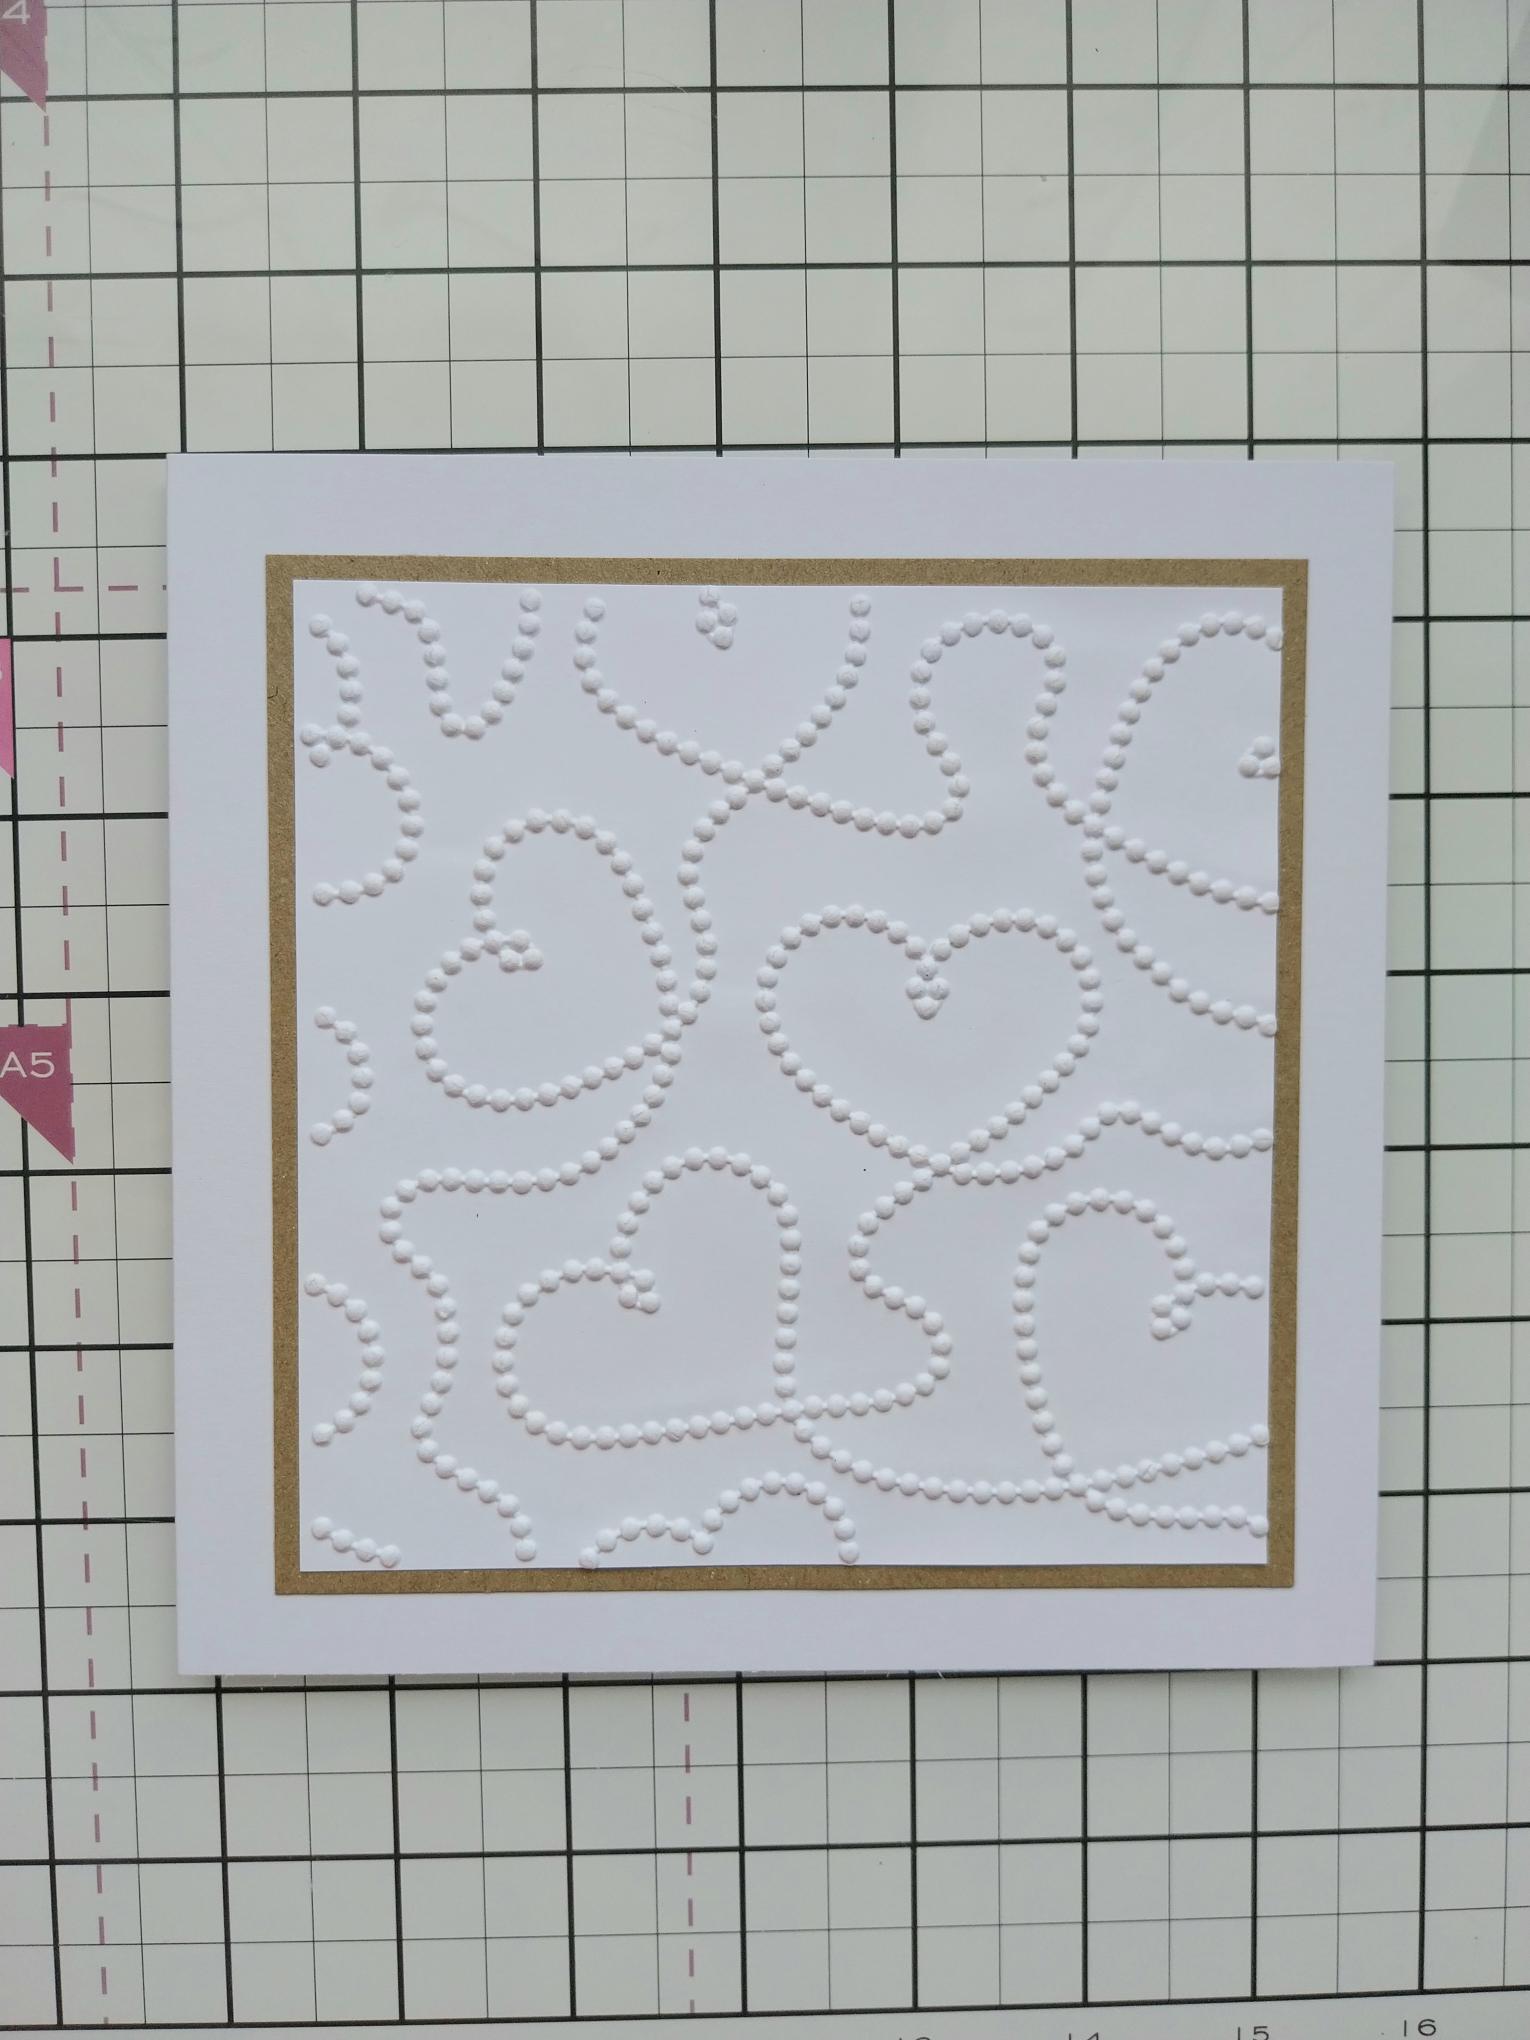
Adhere your embossed card onto kraft card cut to 5 3/4" square and then onto the front of your white card blank. |
|
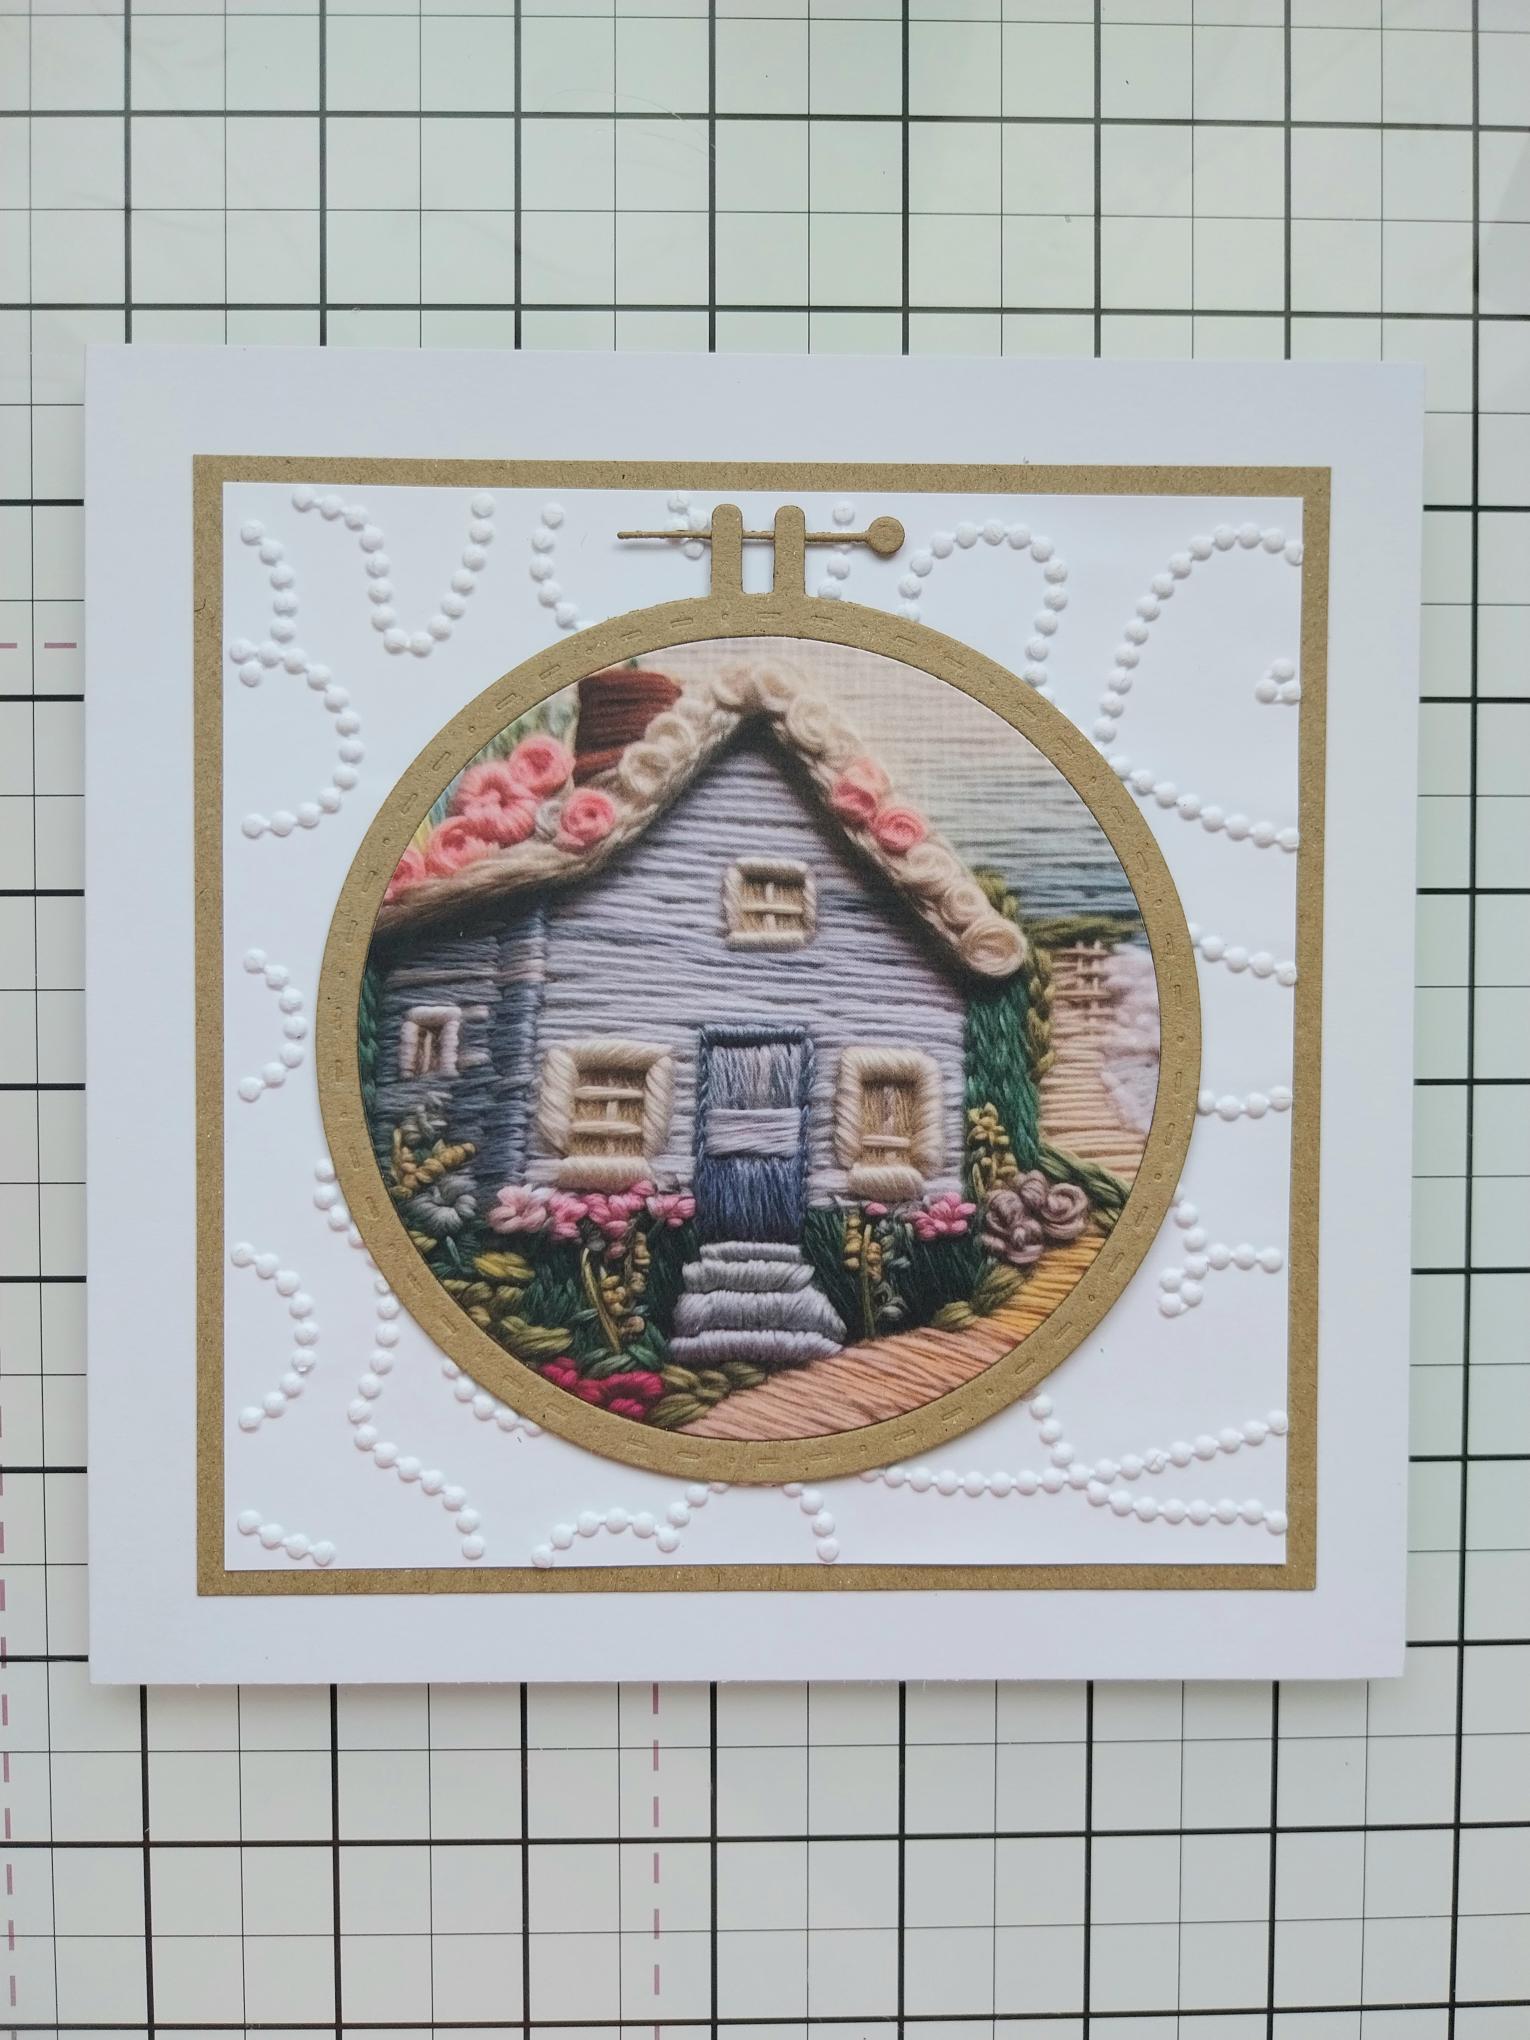
Adhere the elements of your sewing hoop in the centre of your card. |
|
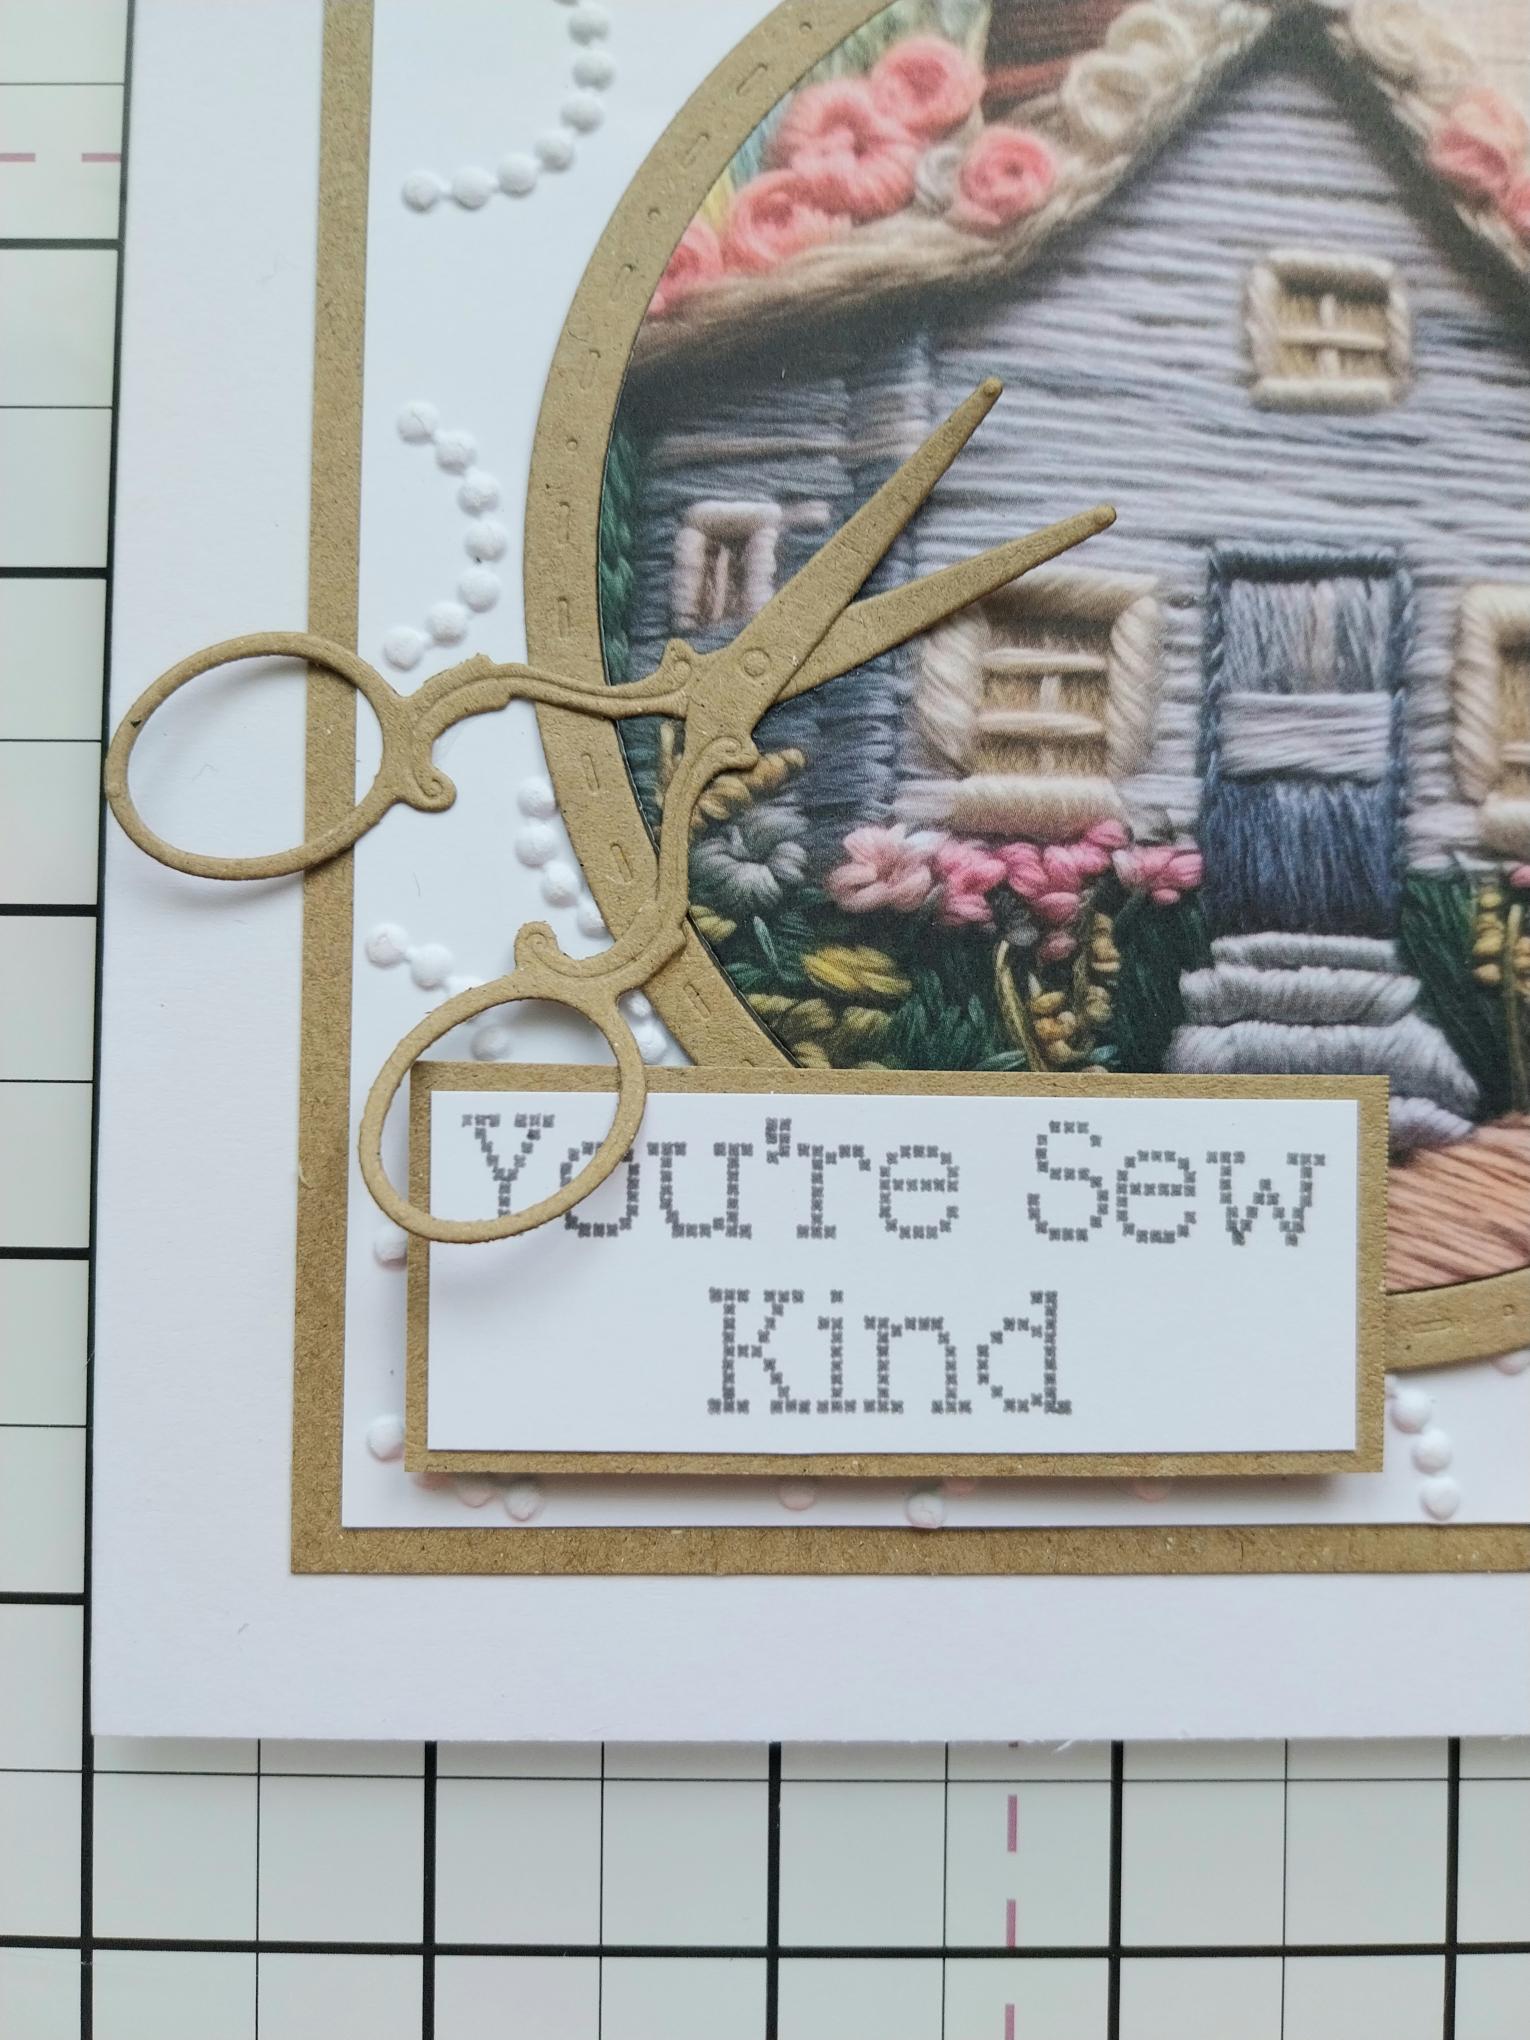
Stamp the sentiment on to white card and trim to size. Mat onto kraft card and trim to size. Adhere to the bottom left of your card, using foam pads. Adhere the die cut scissors across the sentiment, as shown here. |
|
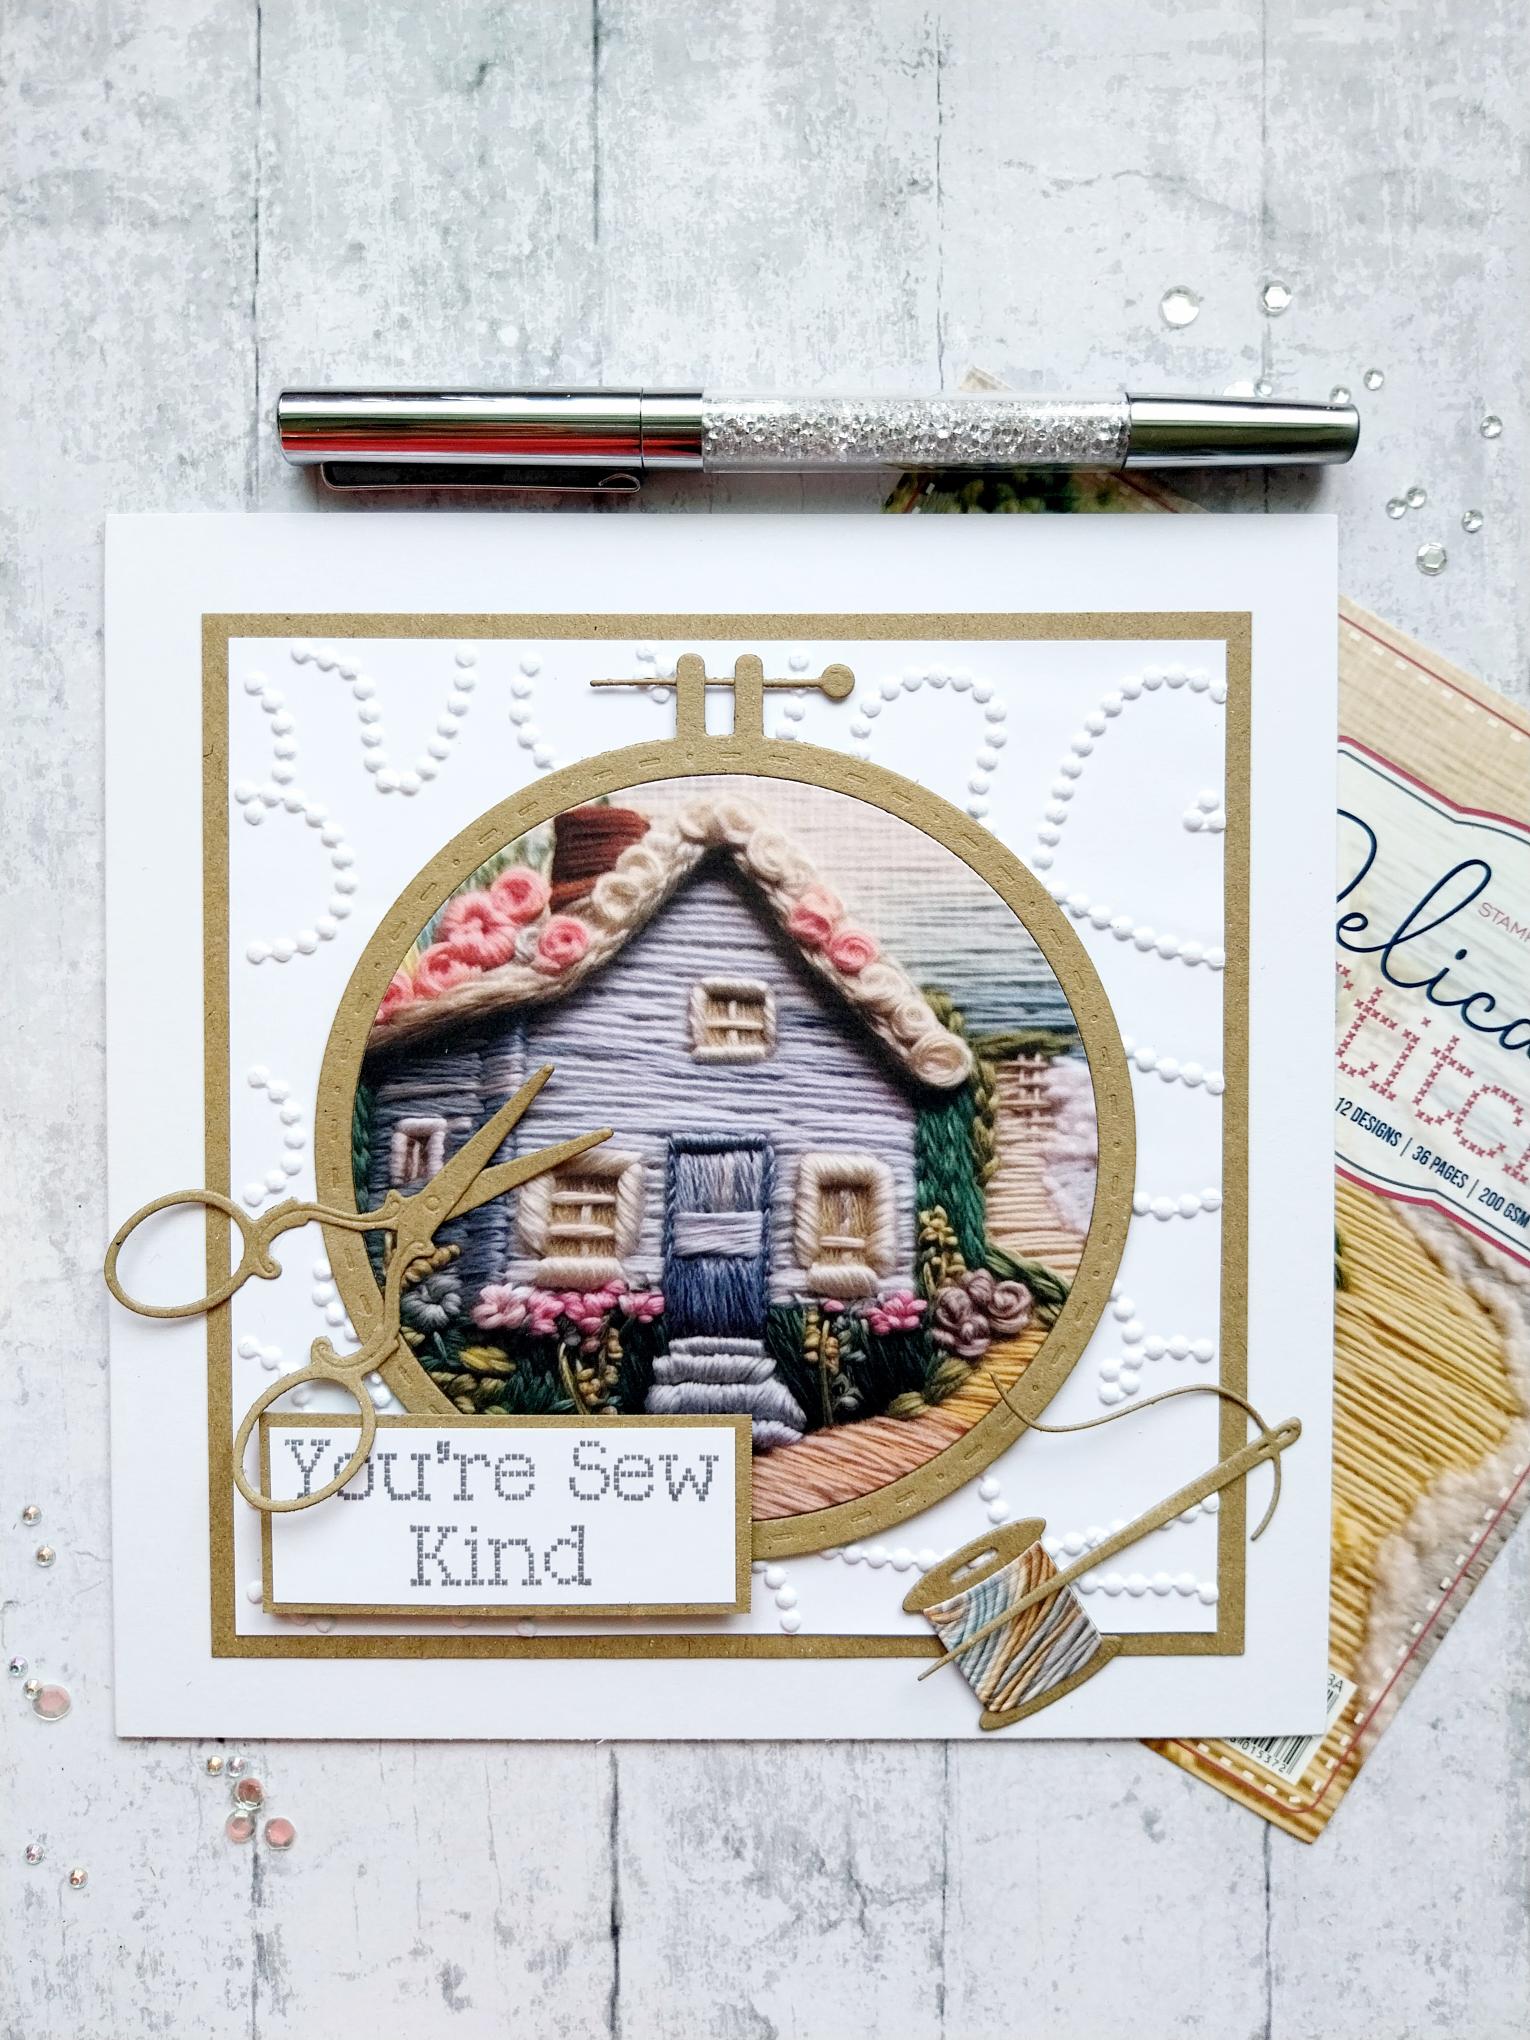
Adhere the cotton reel, needle and thread to the bottom right, to complete your card. |