Give your friends £10 off their first order!
Refer a FRIEND








Prices change straight away. Every language is our own translation, not Google.
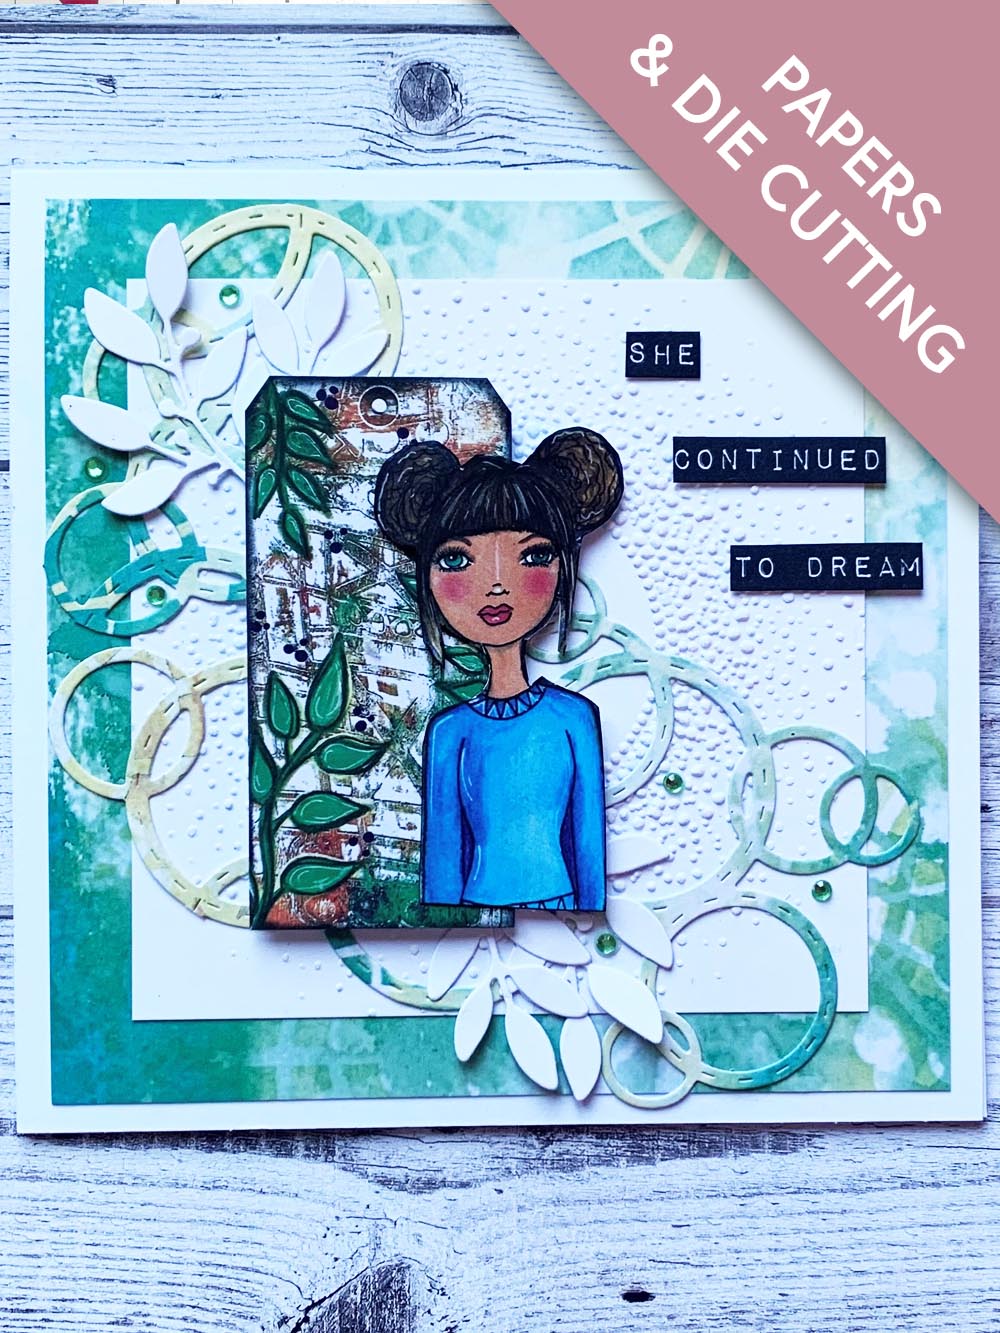
White card blank 6x6
White card 4 1/2 x 4 1/2
White card for die cutting
Thirsty Brush Life In Full Colour paper pad
SBM Bubbles & Fizz die set
SBM Snow Burst embossing folder
SBM Pressed Flowers Die set
SBM Gem Pick Up & Pokey Tool
Sentiments from Bloom & Grow Create Together Celebration Box 2
Gems
Glue
Foam pads
Die cutting machine
Paper trimmer
[click image to enlarge] 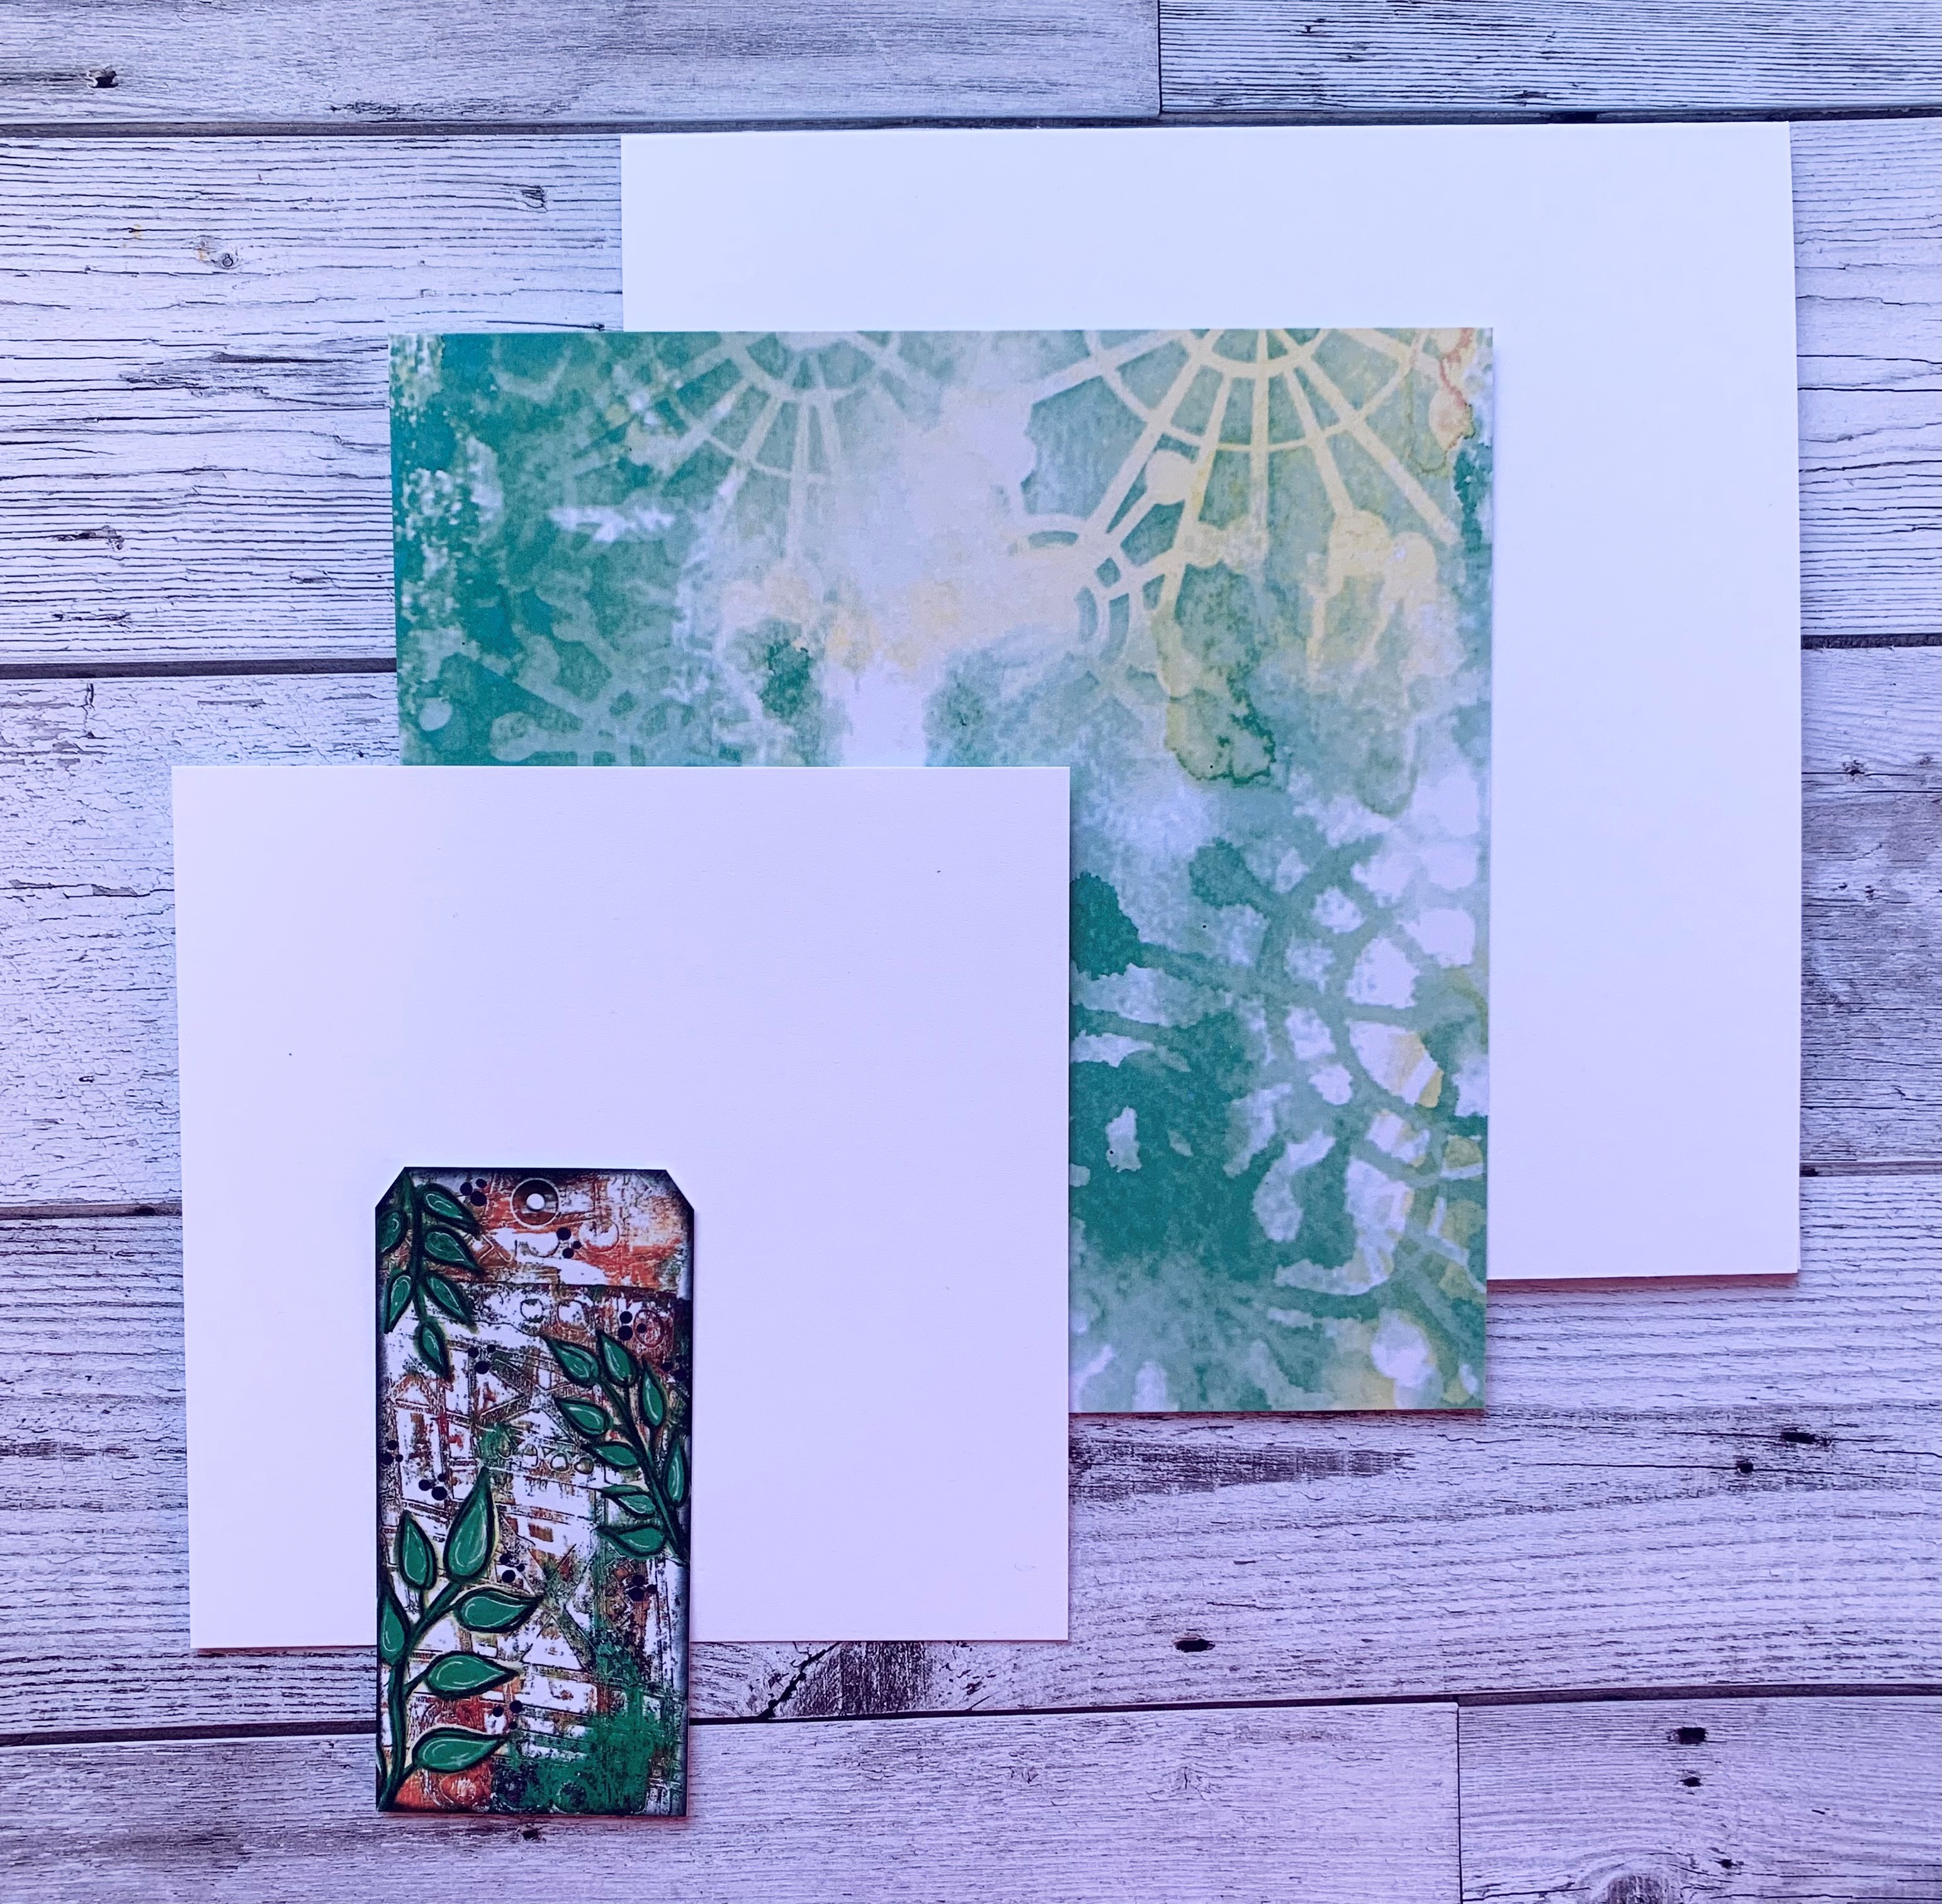
|
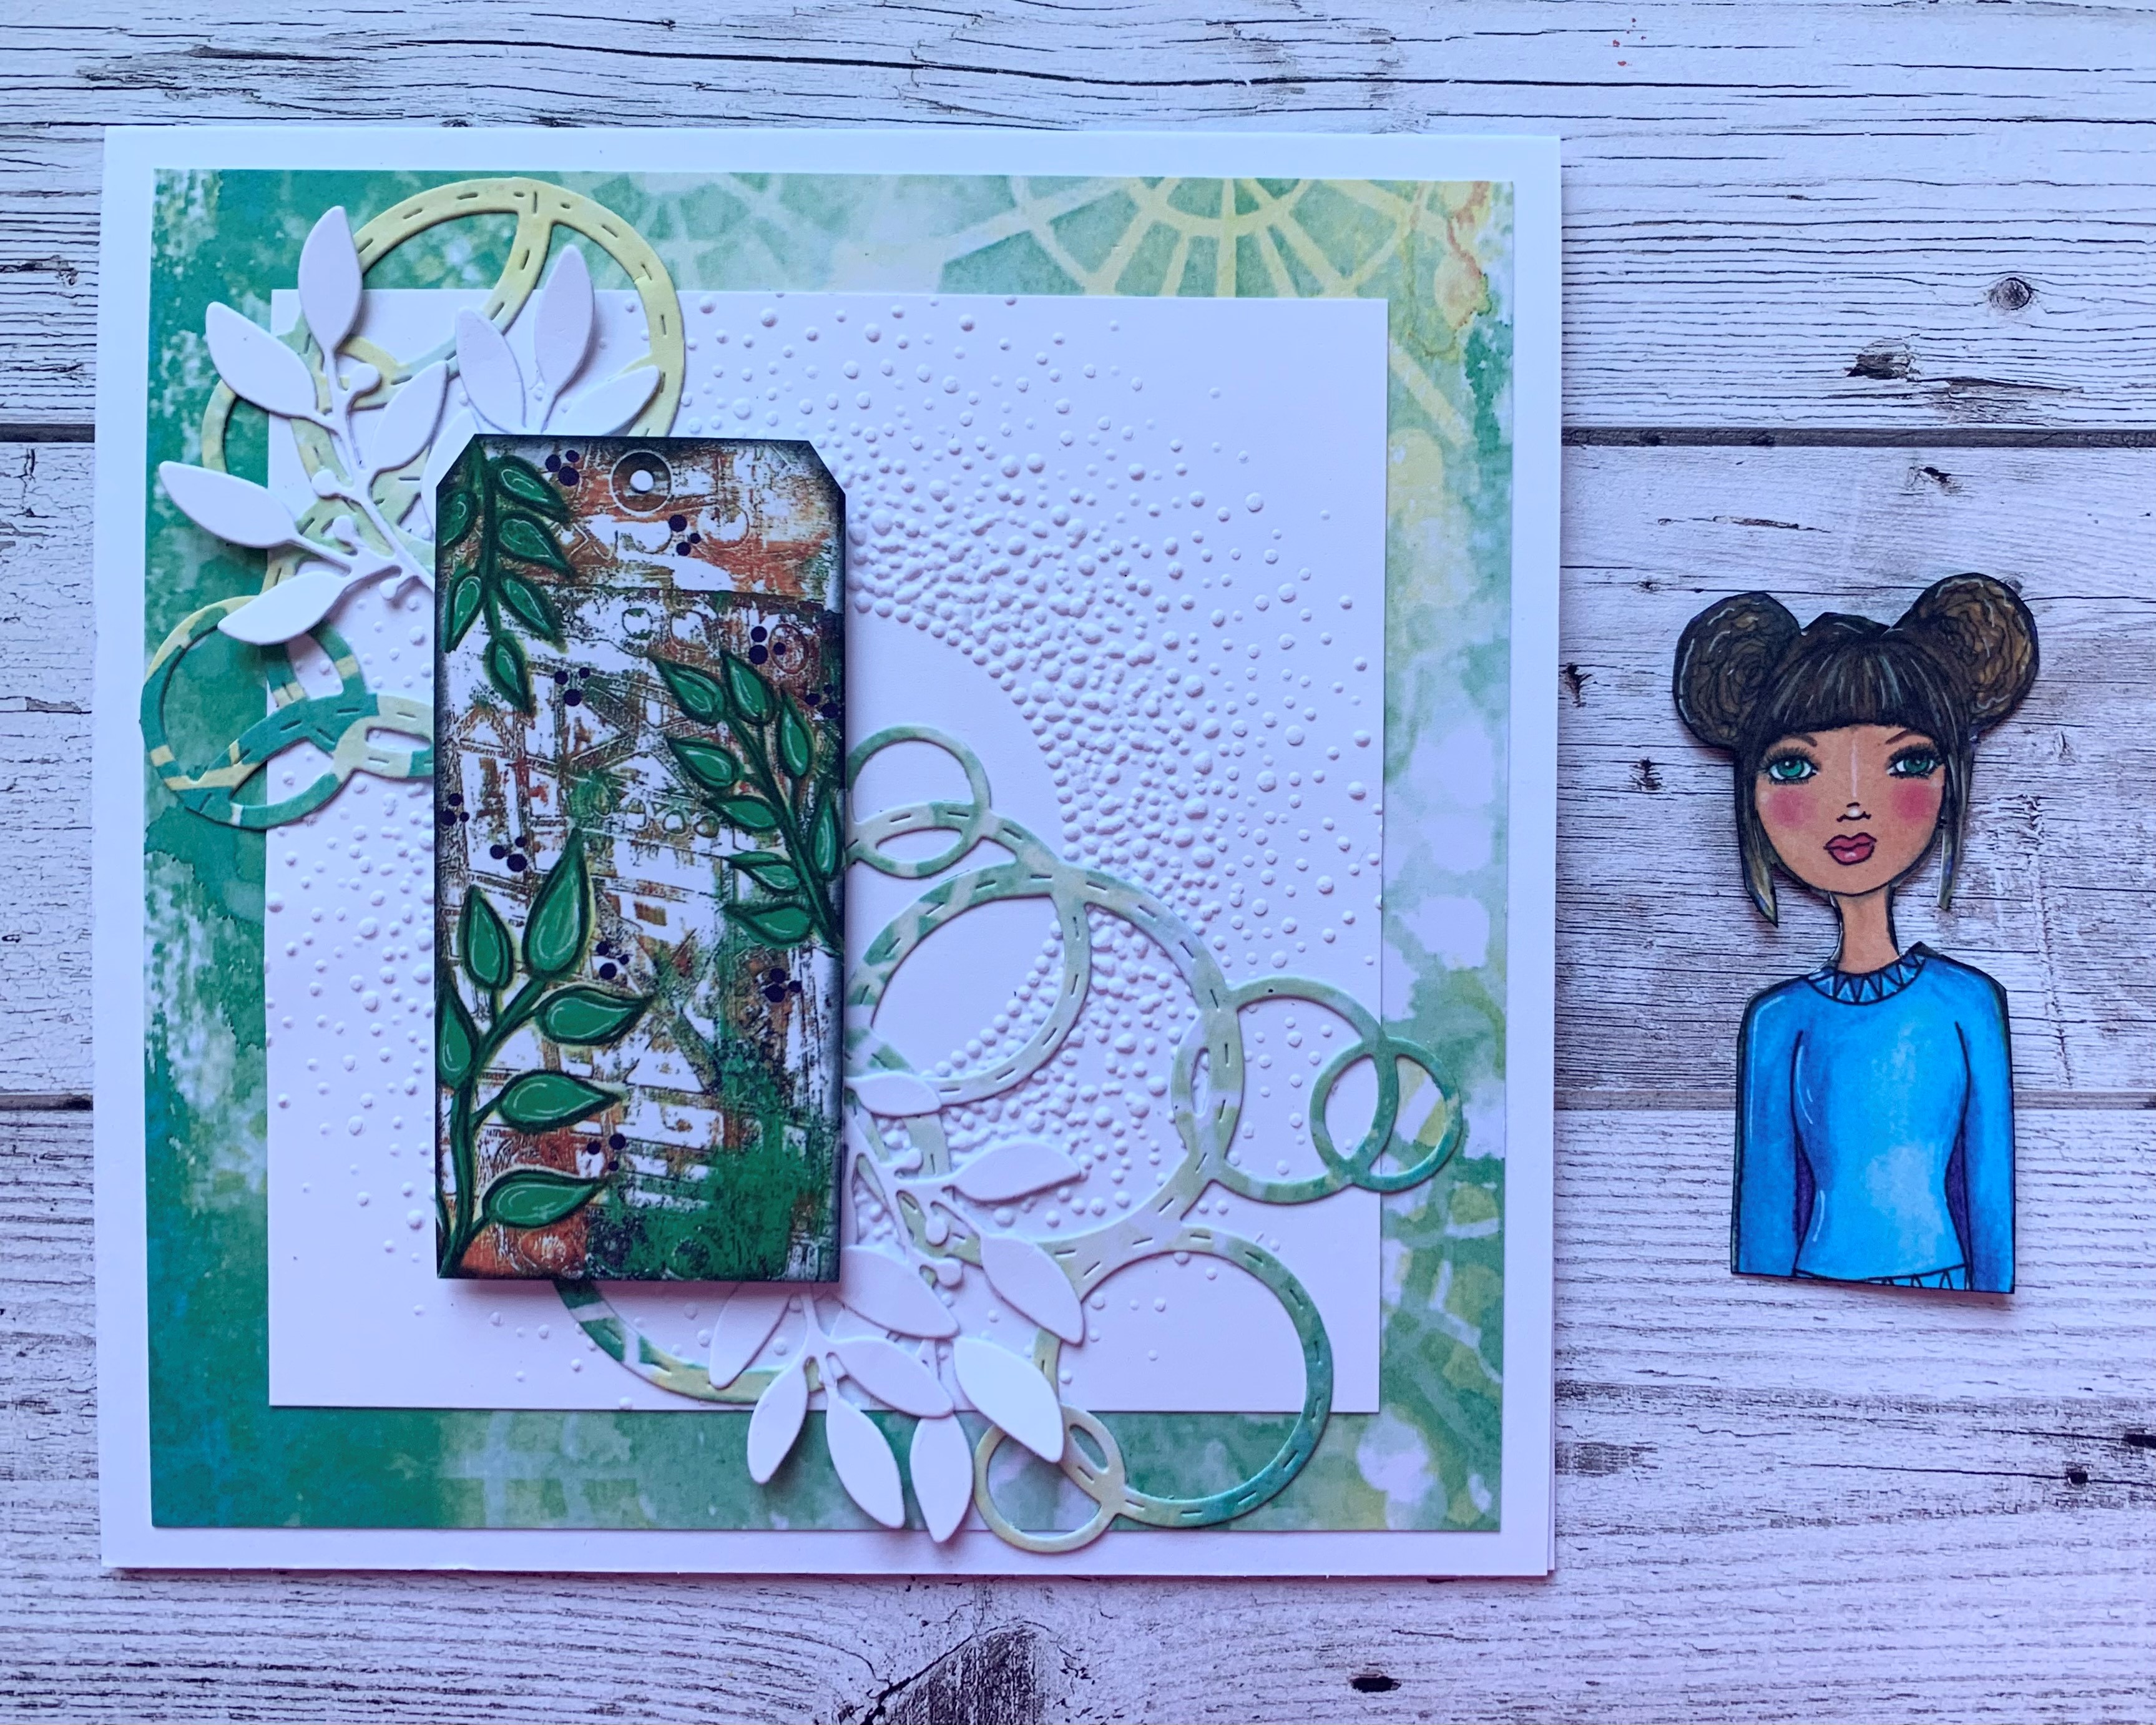
Select a piece of patterned paper from the Life In Full Colour pad. Trim to 5 1/2 x 5 1/2 and also cut out the tag from one of the sheets. |
|
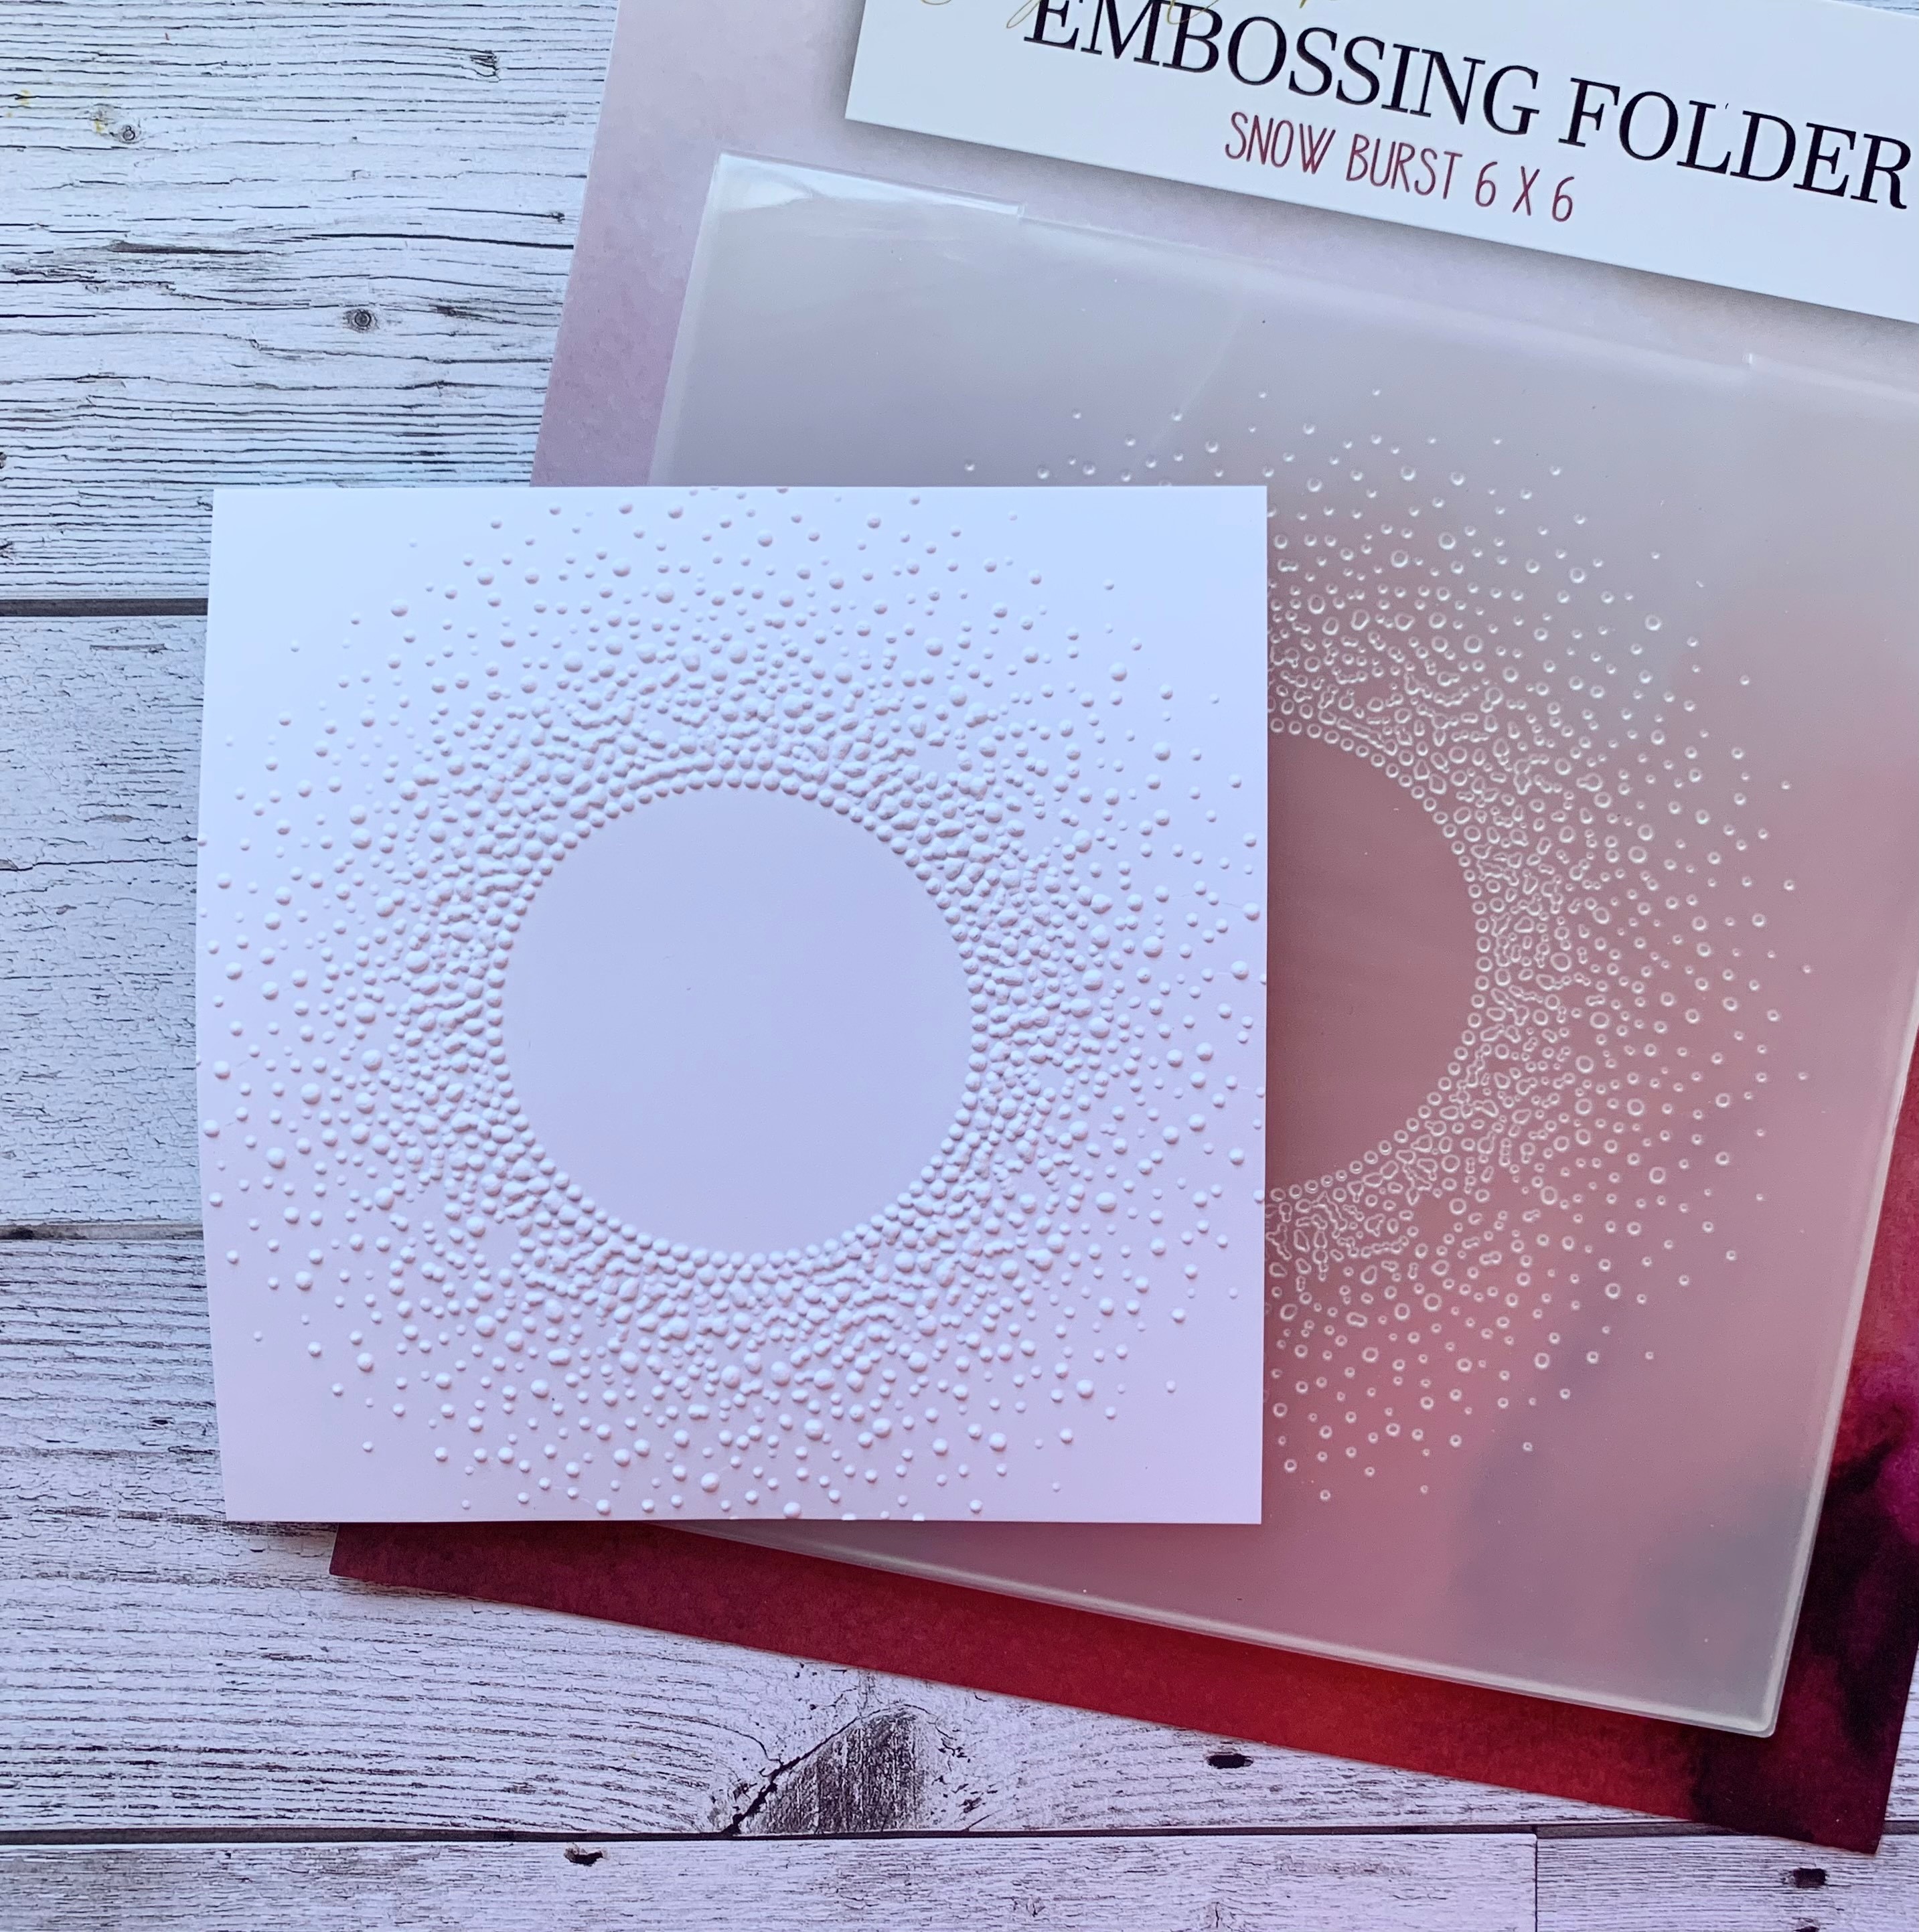
Take the 4 1/2 x 4 1/2 white card and emboss using the Snow Burst embossing folder. |
|
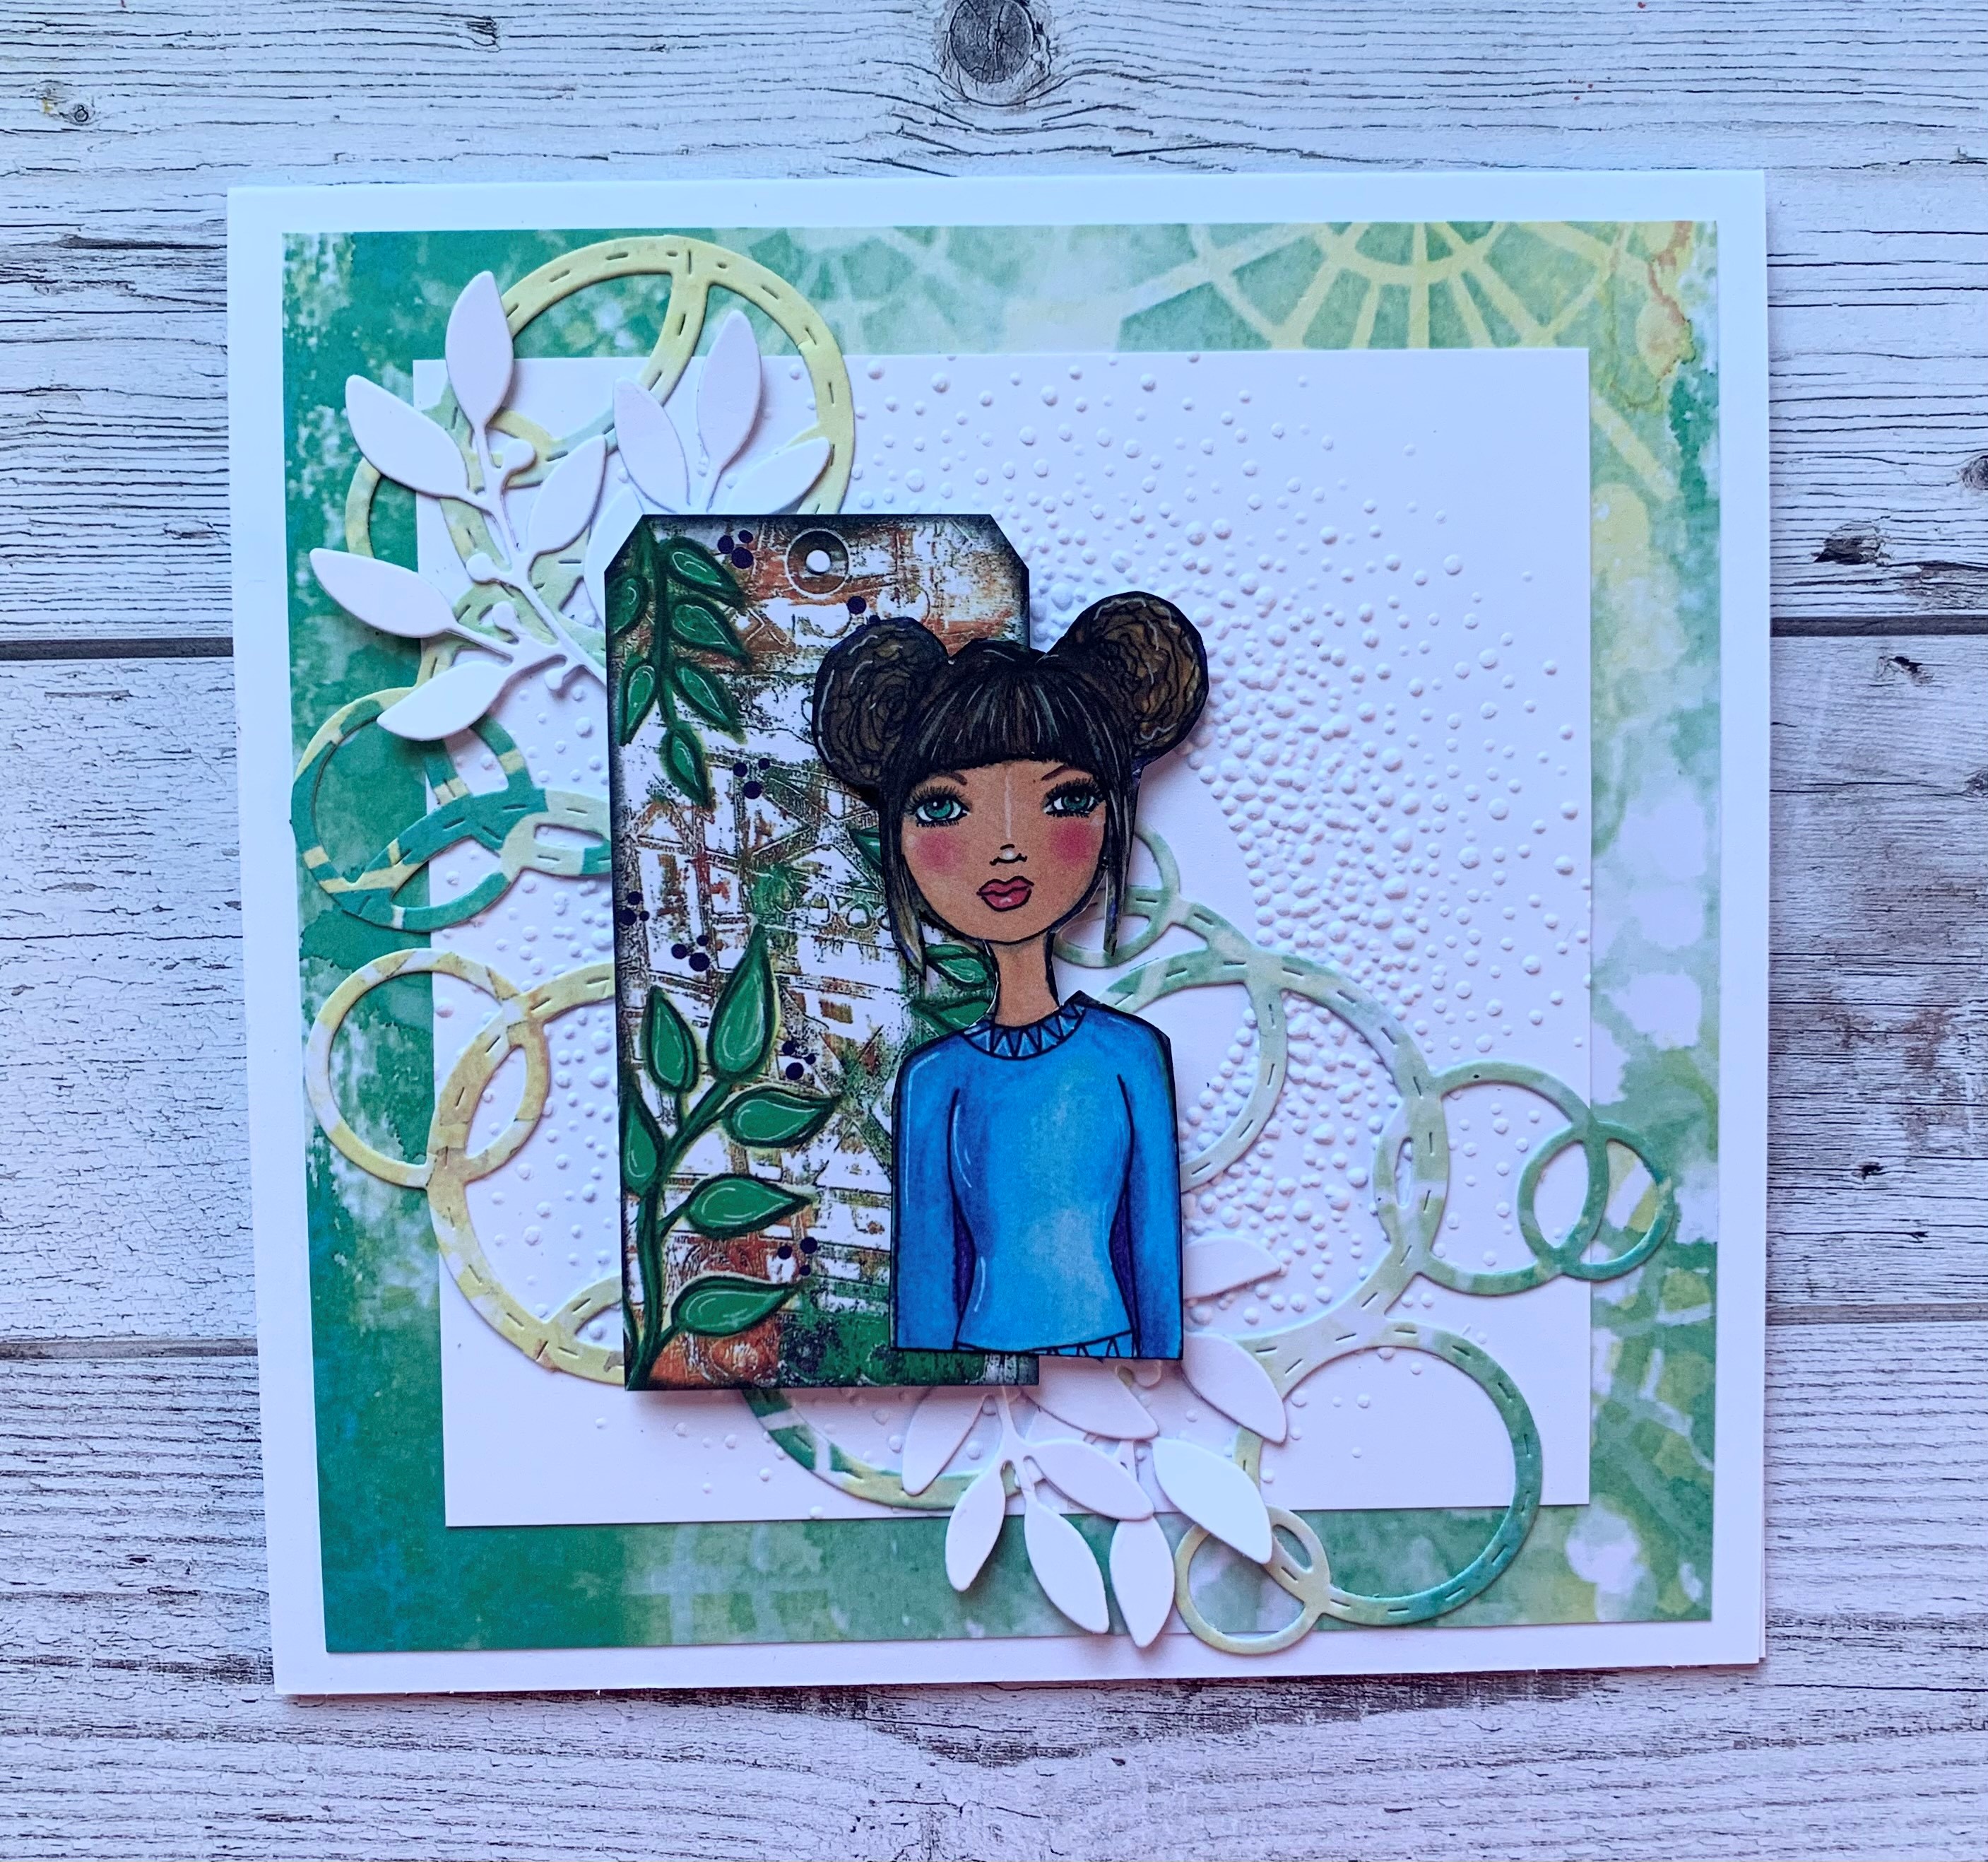
Die cut the Bubbles & Fizz from the same patterned paper, using the left over pieces. Snip into the die cut to create 3 pieces. Cut out one of the girls from paper pad and die cut the leaves from the Pressed Flowers Collection. Stick all the elements down onto the card, as shown here. |
|
Add foam pads to the girl and stick to the right side of the tag. |
|
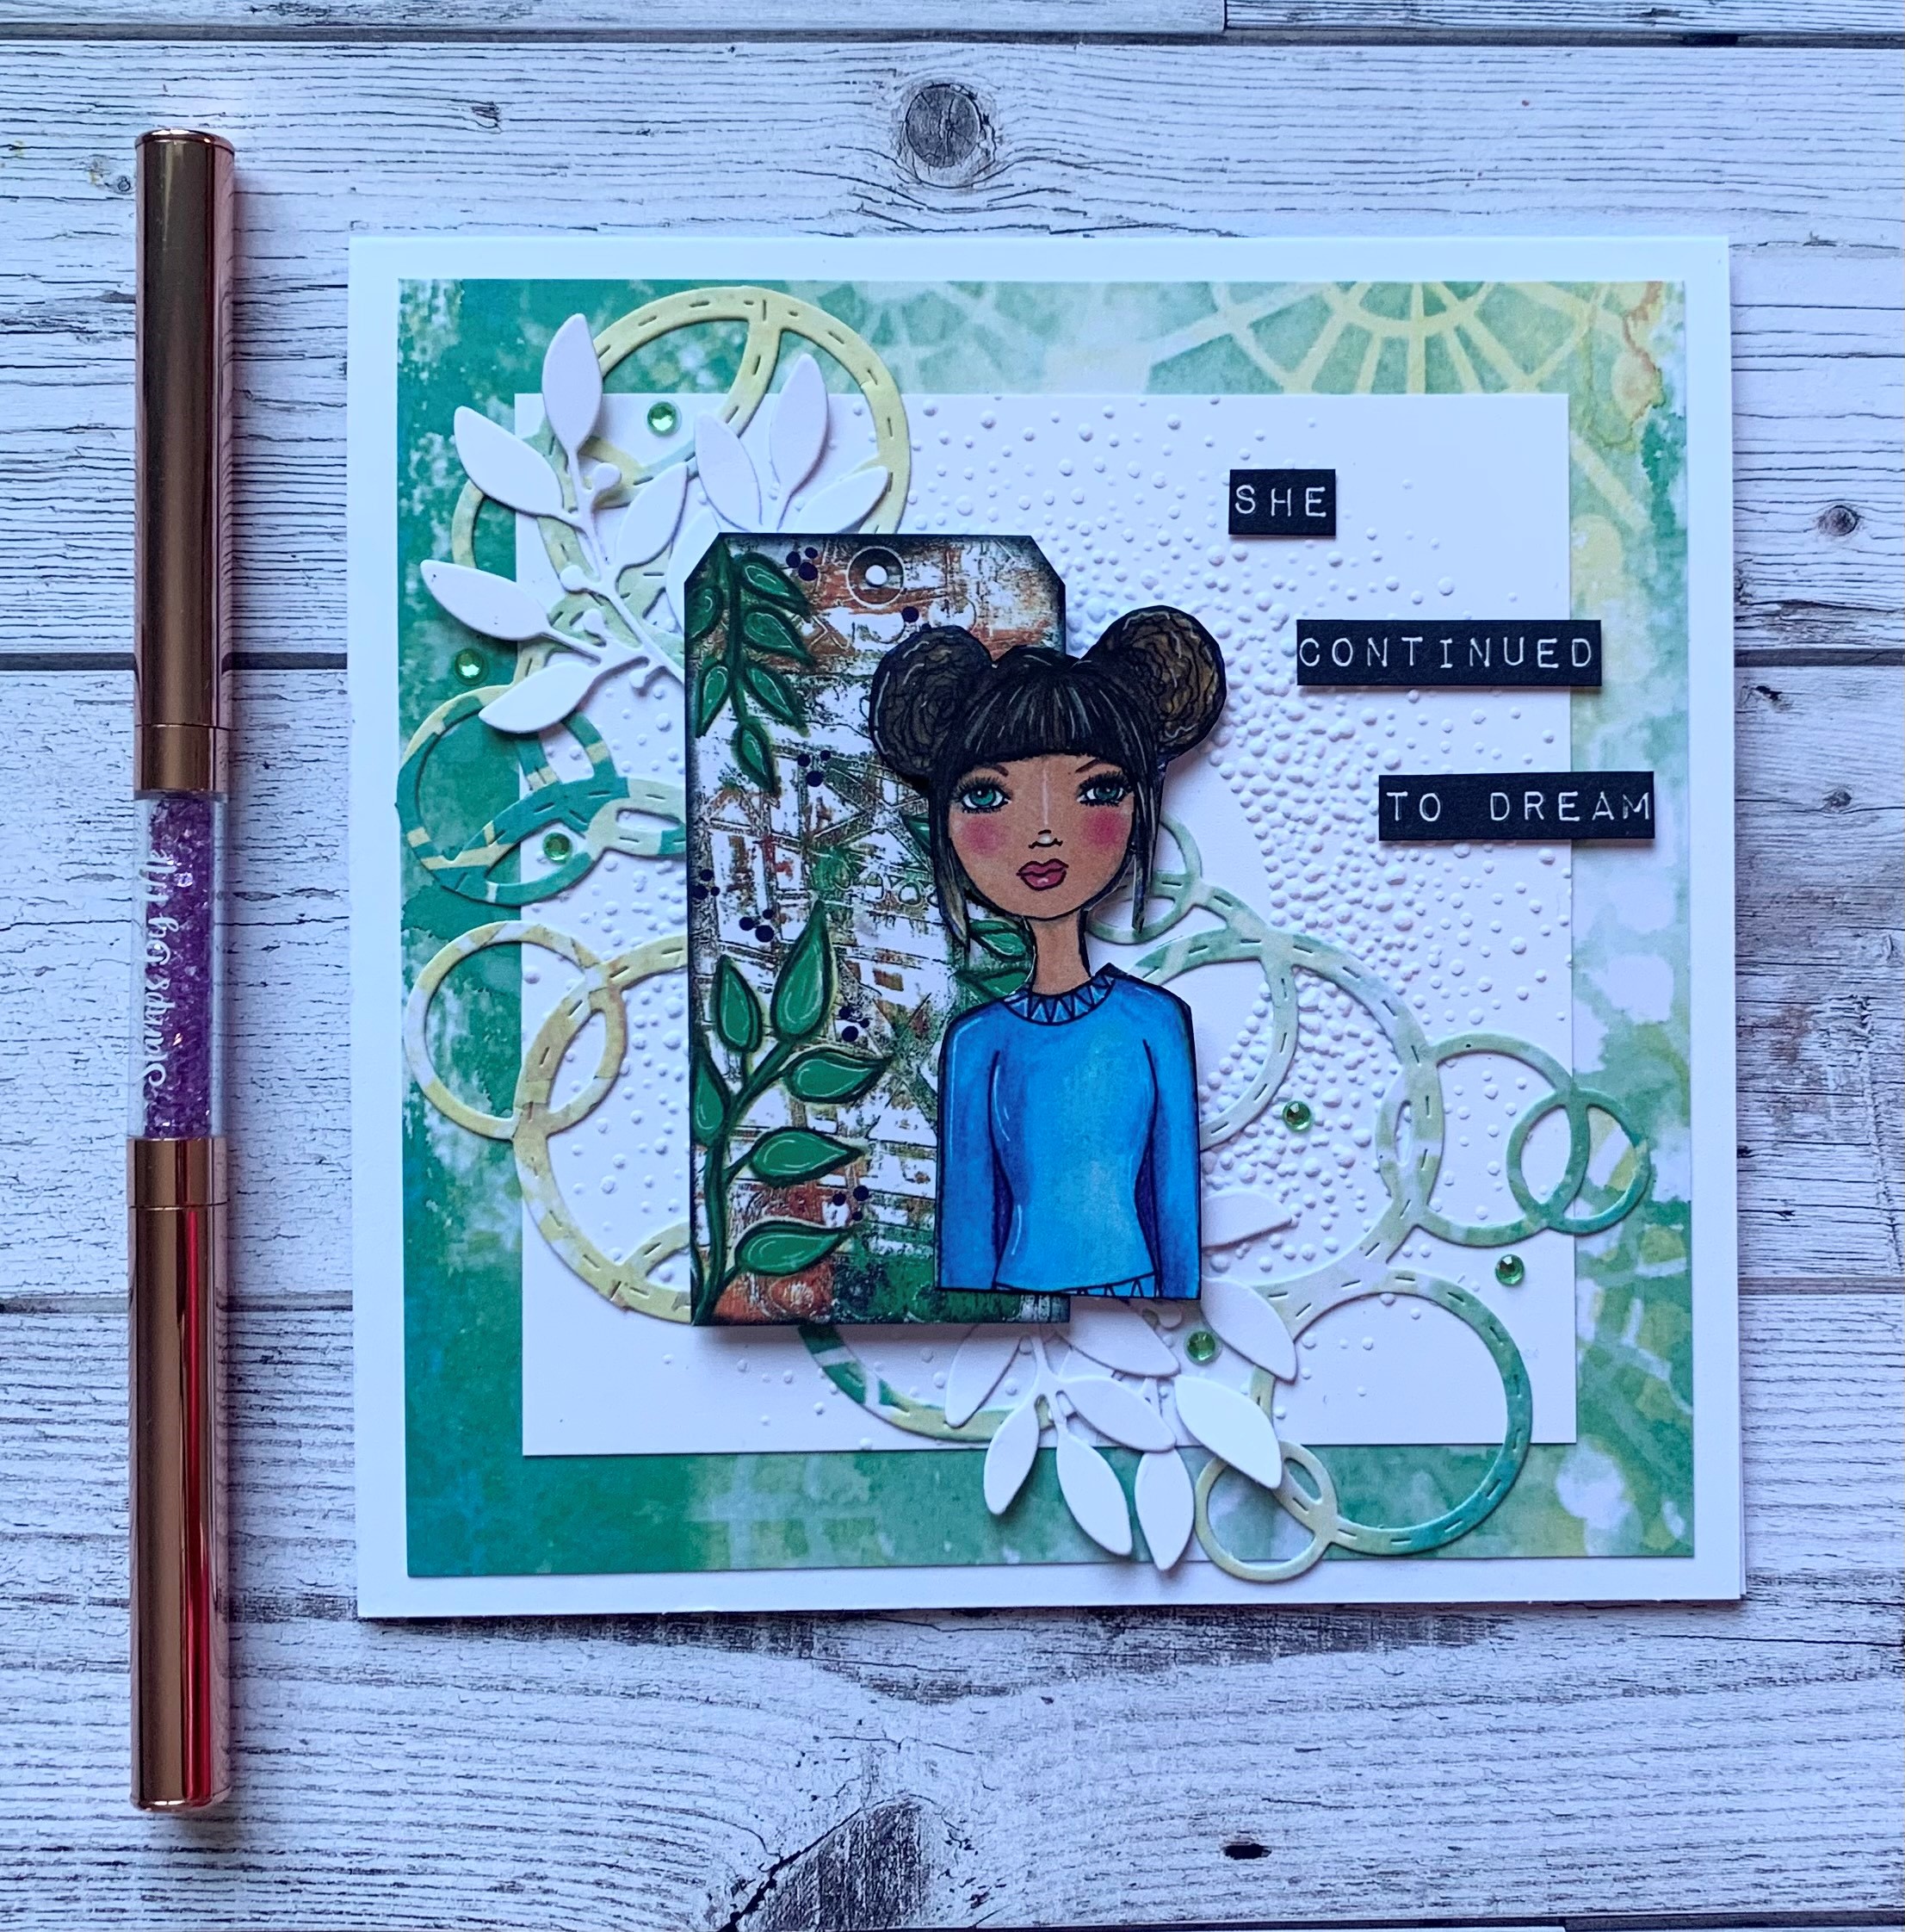
Lastly add sentiments from the Bloom & Grow kit and add gems using the SBM Gem Pick Up & Pokey tool. |