Step 1 of 8
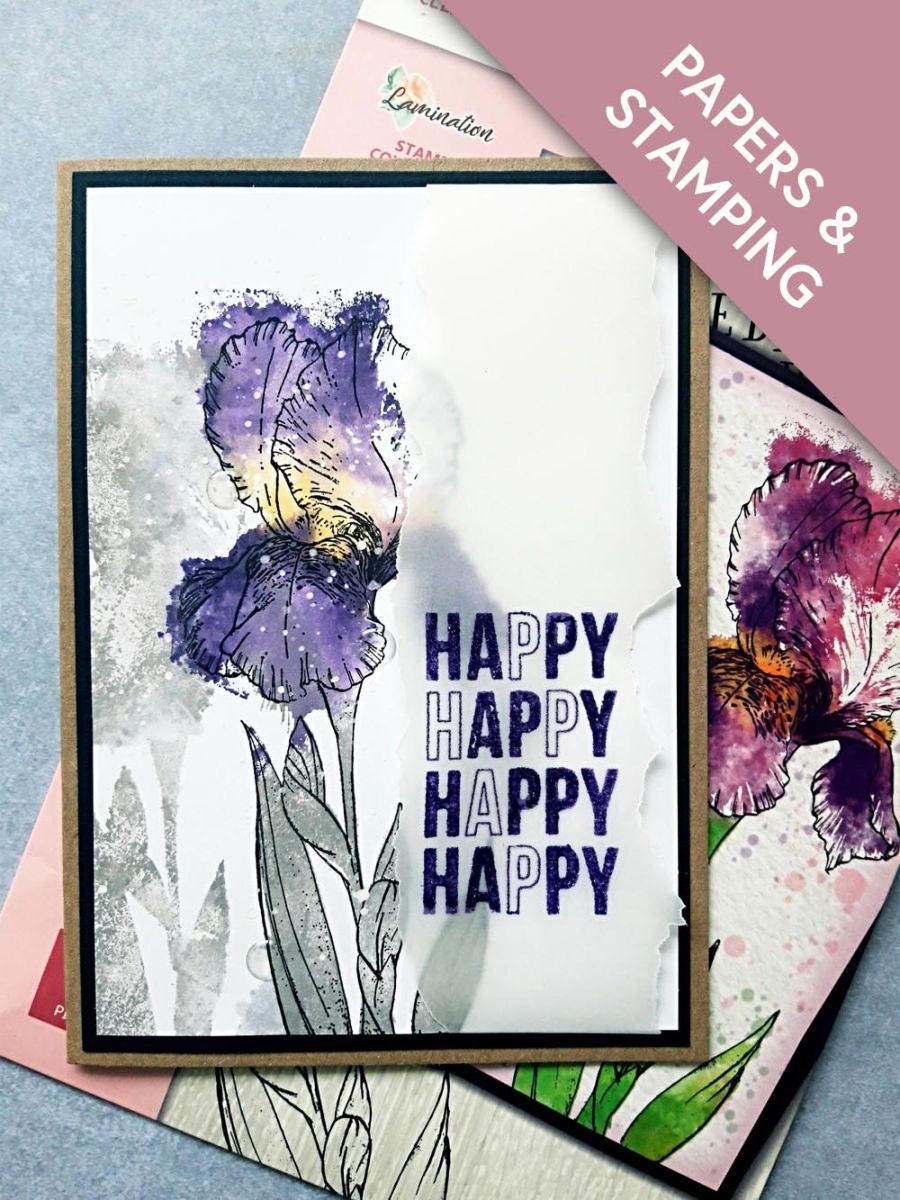
Ink up the solid stamp, from Celebrate Today Lamination Collection, with the Hickory Smoke Oxide. Spritz the stamp with water and stamp off the left edge of the white cardstock.








 The Friday Final CutFri 6 Nov 10am
 Community ShowcaseMon 9 Nov 10am
 Hobbymaker TVMon 9 Nov 2pm
Prices change straight away. Every language is our own translation, not Google.
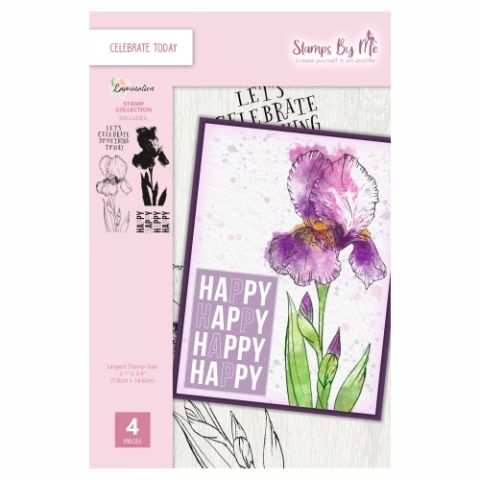 100566 - Htcn - A5 Stamp - Lamination - Celebrate TodayCelebrate Today Lamination Stamp Collection
Ink up the solid stamp, from Celebrate Today Lamination Collection, with the Hickory Smoke Oxide. Spritz the stamp with water and stamp off the left edge of the white cardstock.
Ink up the same stamp with the Hickory Smoke on the foliage, the Fossilized Amber in the centre of the flower and the Villainous Potion on the petals. Spritz the stamp with water and stamp it on top of, but to the right, of your previous stamped image.
Dry your artwork off with your heat tool.
Ink up the coordinating detailed stamp, with the Onyx Black Versafine and stamp over your image. If you are unsure how to line it up, the images on the packaging will help.
Add water to your Confetti Paint and use a paintbrush to splatter your artwork.
Set to one side to dry.
Having decided where you want the sentiment to be stamped, wipe over the vellum with your anti-static bag. Ink up the sentiment stamp with the Indigo Premium ink pad and stamp in postion.
Sprinkle the clear embossing powder over the ink, then getting your heat tool hot first, heat set the powder. Ensure you move the tool as soon as the powder starts to turn, to avoid warping the vellum.
Place the embossed vellum down the right hand side of your artwork, tuck the top and bottom of the vellum over the edges of the card and secure on the back with double sided tape.
Adhere your artwork on to the black cardstock.
Adhere on to the front of your kraft card blank and add clear adhesive gems where required.
Share your make with the Stamps By Me community - and keep this guide for next time.
Prefer the previous layout? Open the old page.



