Offrez à vos amis 10 £ de réduction sur leur première commande !
Parrainez un AMI








 The Friday Final Cutven. 6 nov. 10 h 00
 Community Showcaselun. 9 nov. 10 h 00
 Hobbymaker TVlun. 9 nov. 14 h 00
Les prix sont mis à jour immédiatement. Chaque langue est notre propre traduction, pas Google.
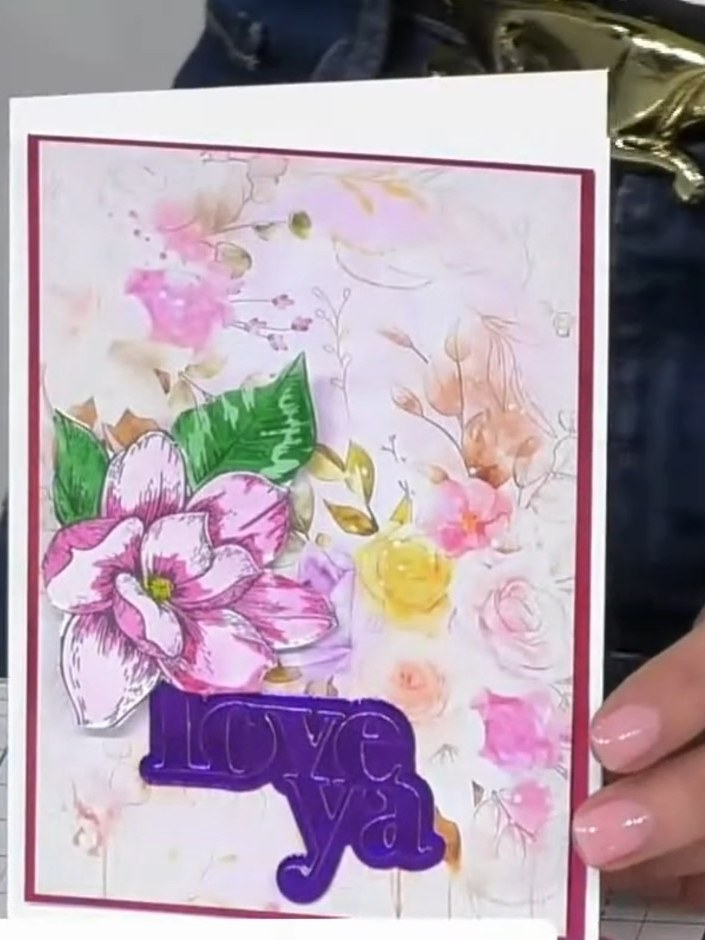
Une création de notre émission en direct CREATE AND CRAFT TV - SPÉCIAL SBM D'UNE JOURNÉE - Retrouvez Toni pour ses derniers produits et ses idées créatives - émission 4 diffusée le 6 mai 23 · 06/05/2023
Réalisez une carte raffinée avec un support blanc texturé posé sur de l'acétate transparent, pour un élégant effet flottant. Le design met en valeur des motifs décoratifs noirs bien affirmés, un texte simple et quelques embellissements discrets pour une esthétique moderne et épurée. Cette technique rapide associe découpe à la matrice de découpe, superposition sur acétate et montage en relief pour une finition professionnelle.
 1
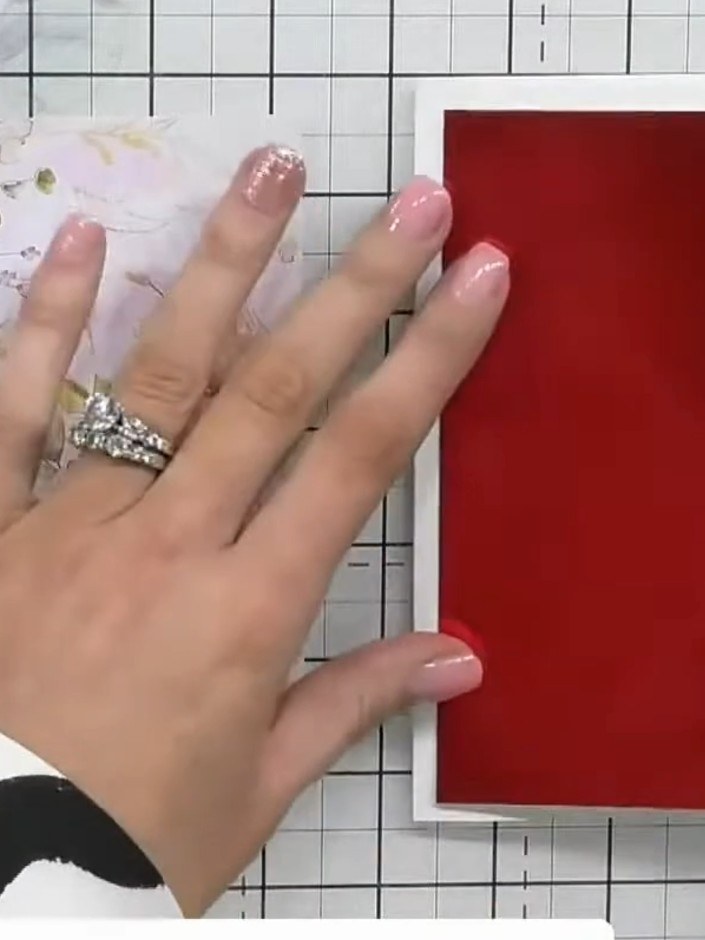
Cut a piece of red mirror card acetate. Score down one side to create a fold line for your card base.
 2
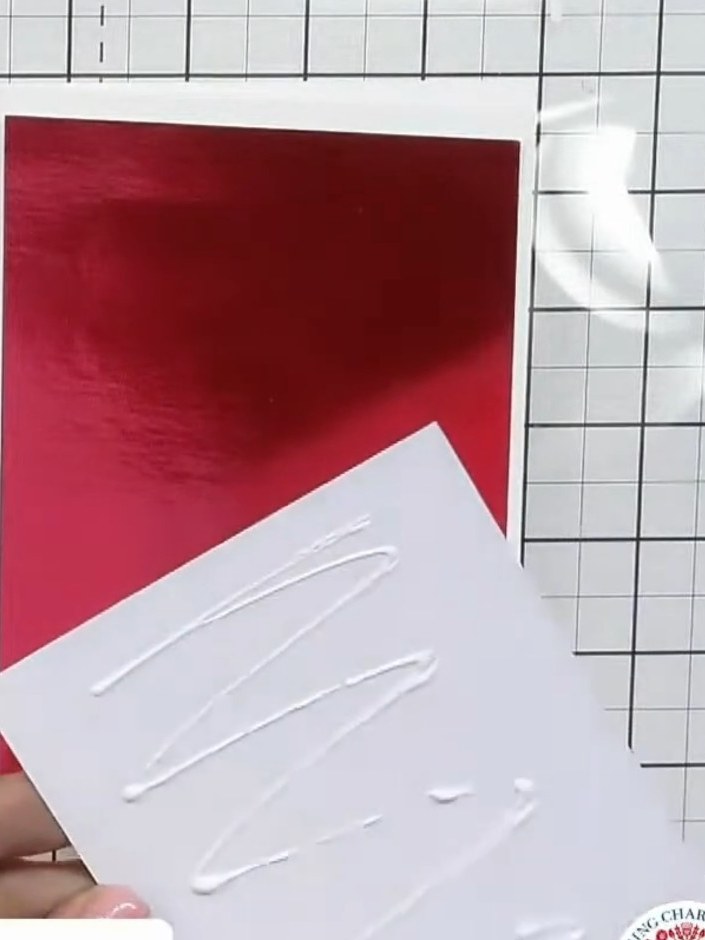
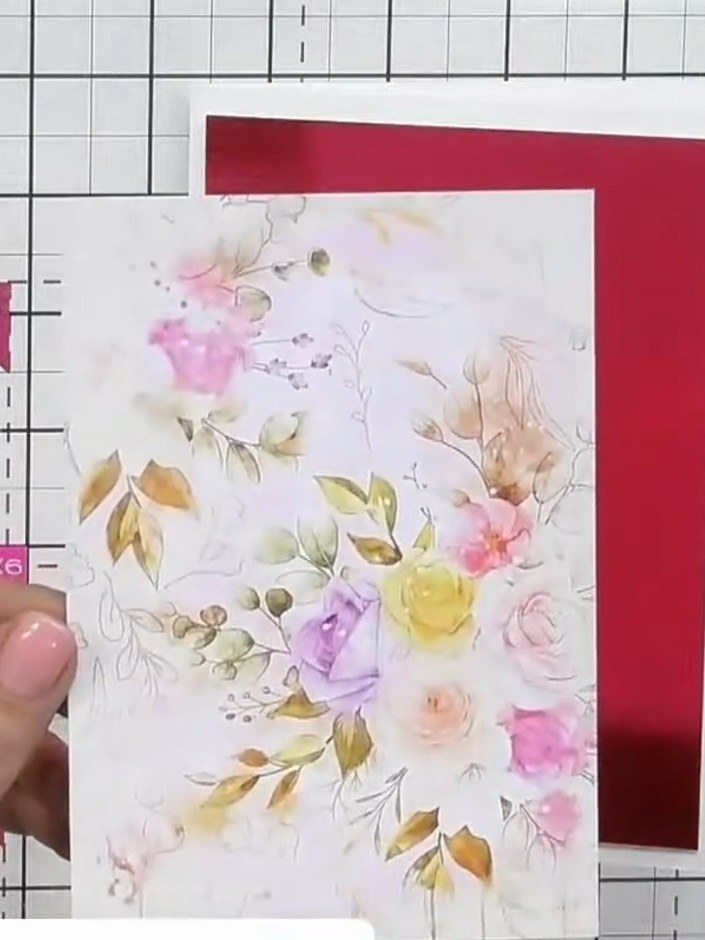
Cut a piece of red metallic cardstock slightly smaller than your acetate piece. This will sit behind the floral panel to provide a coordinating background layer.
 3
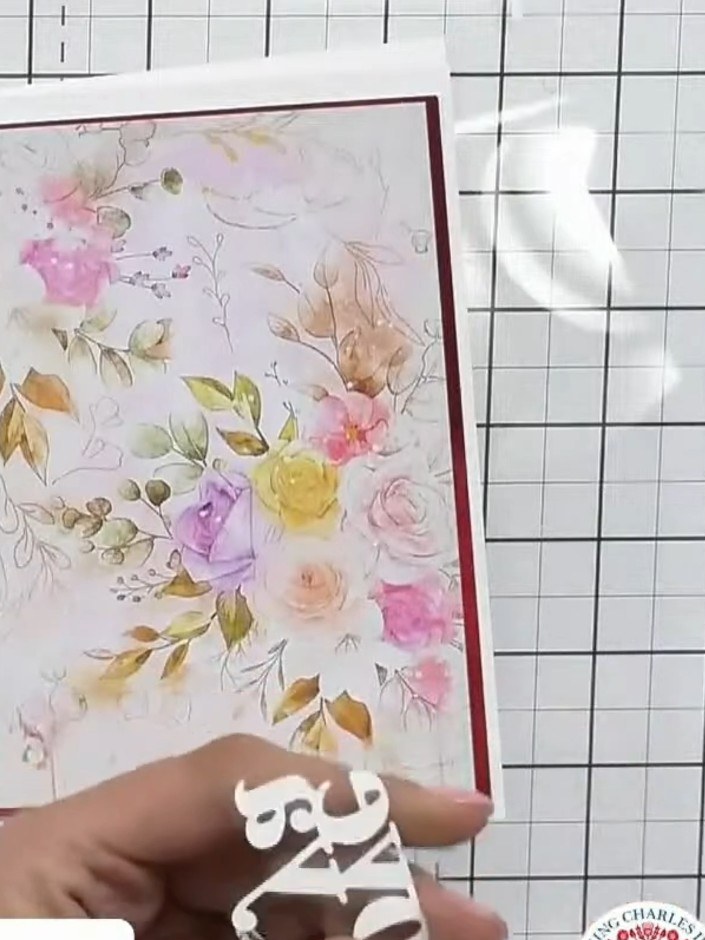
Adhere one of the textured mounts to the front of your acetate panel, positioning it off-centre on the floral patterned surface to create a floating effect.
 4
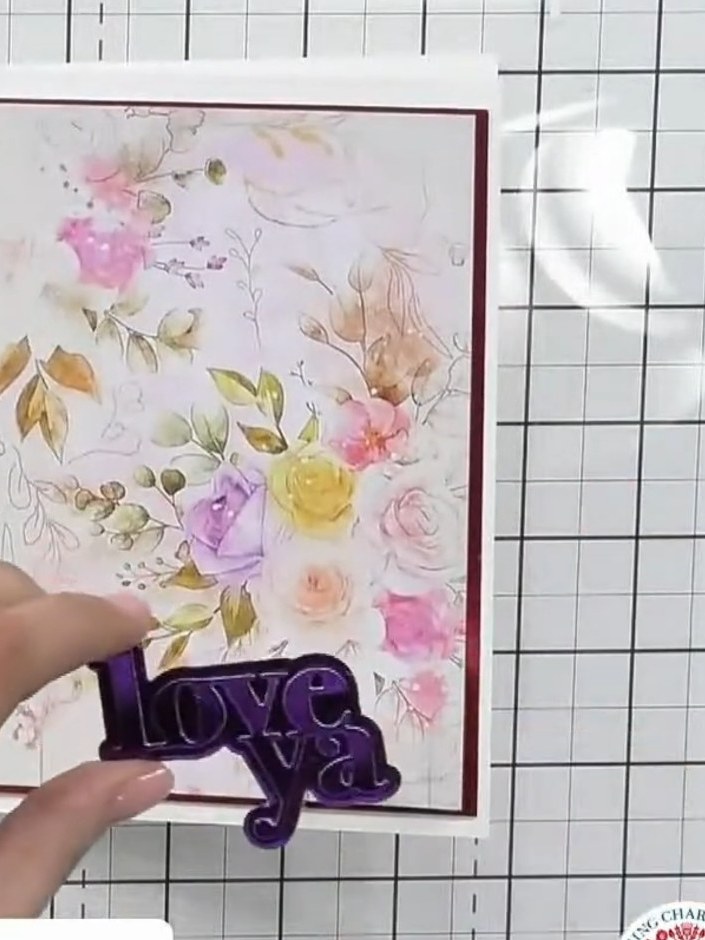
Die-cut your sentiment (such as 'Made with Love') in two colours—one in a metallic shade and one in white—to create a drop shadow effect. Layer the white die-cut slightly offset behind the metallic one to create dimension.
 5
Position the purple metallic 'love' sentiment on the card front near the bottom edge. Offset the white 'love' sentiment slightly behind the metallic one and adhere both pieces together to create a layered effect.
 6
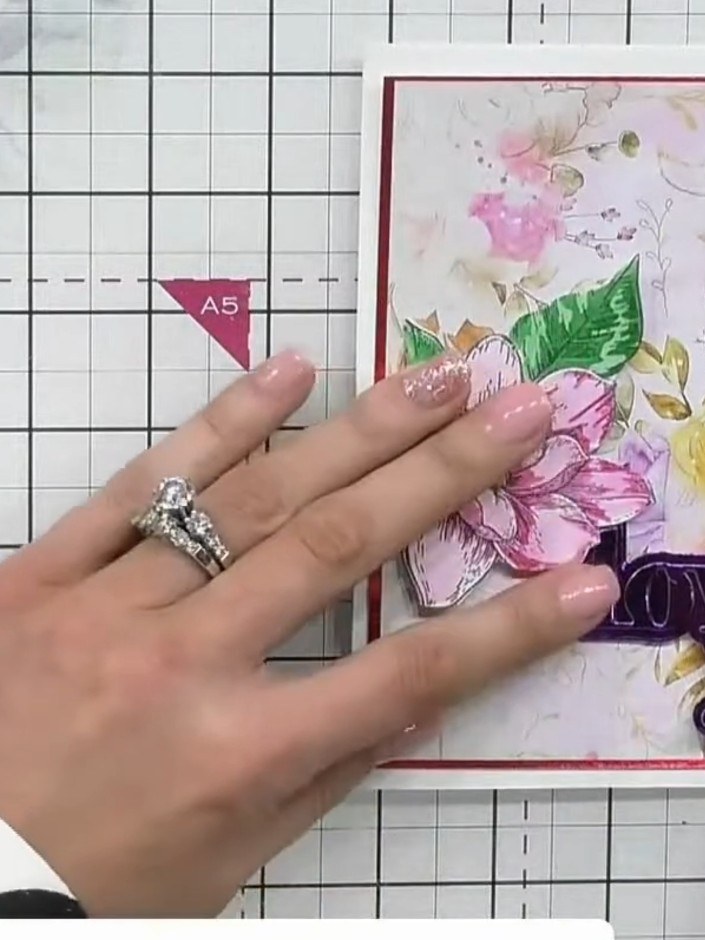
Add two small leaves from your embellishment stash and tuck them under the purple sentiment piece for subtle interest.
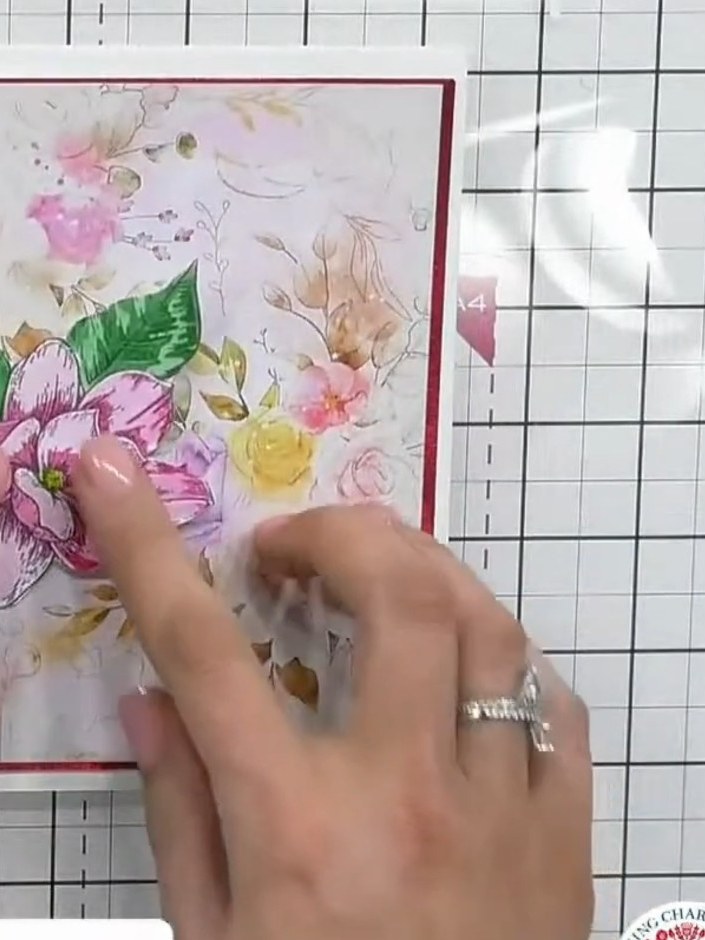 7
Open the card and adhere your coordinating cardstock piece to the inside back panel. This will hide the glue marks showing through from the back of the acetate.
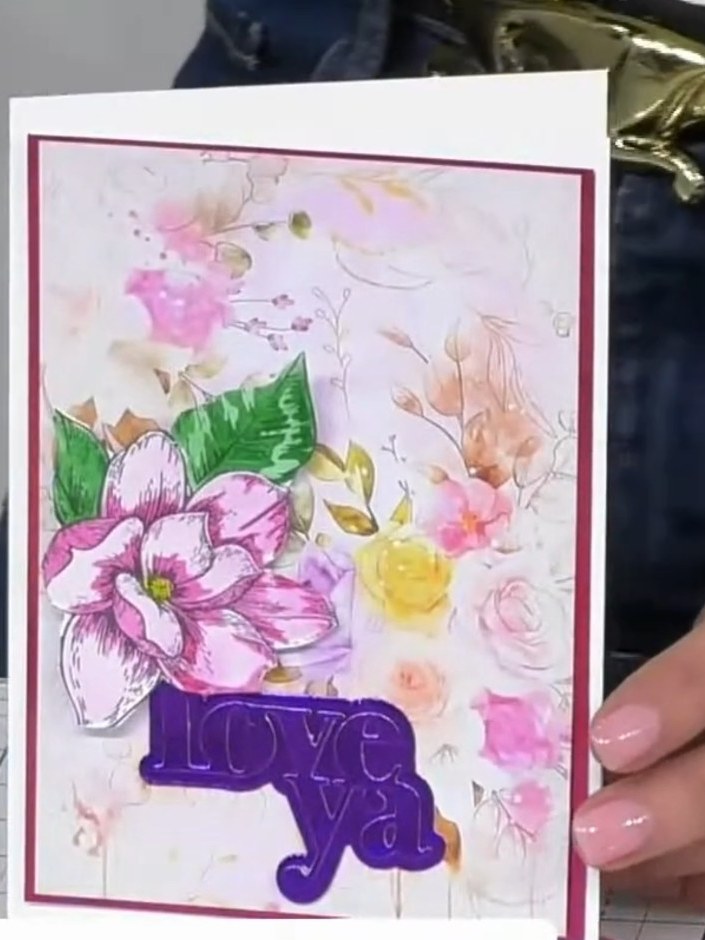 8
Allow the card to dry completely before handling. This ensures all adhesive and any ink or embellishments are fully set. Once dry, your acetate floating card with mount and sentiment is complete.
Partagez votre création avec la communauté Stamps By Me - et gardez ce tutoriel pour la prochaine fois.
Rédigé à partir de l’émission elle-même. Tous les tutoriels de nos émissions · tutoriels gratuits · en direct sur My Telly · l’ancienne présentation