Offrez à vos amis 10 £ de réduction sur leur première commande !
Parrainez un AMI








 The Friday Final Cutven. 6 nov. 10 h 00
 Community Showcaselun. 9 nov. 10 h 00
 Hobbymaker TVlun. 9 nov. 14 h 00
Les prix sont mis à jour immédiatement. Chaque langue est notre propre traduction, pas Google.
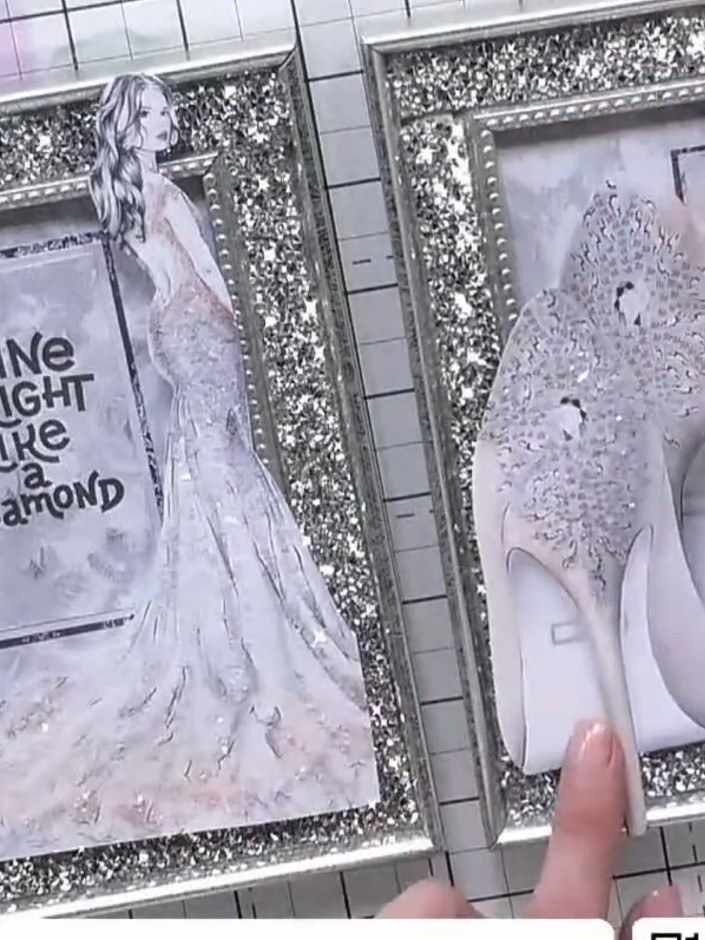
Une création de notre émission en direct CREATE AND CRAFT TV - Retrouvez Toni pour son tout dernier lancement - Diffusé le 19 mai 23 · 19/05/2023
Réalisez deux élégantes déco encadrées mettant en scène des femmes glamour et des messages inspirants. Avec du papier imprimé, des cadres pailletés et des silhouettes découpées avec soin, vous superposerez les éléments pour créer du relief et de l’éclat. Ces pièces raffinées feront des cadeaux parfaits ou de jolies touches déco chez vous !
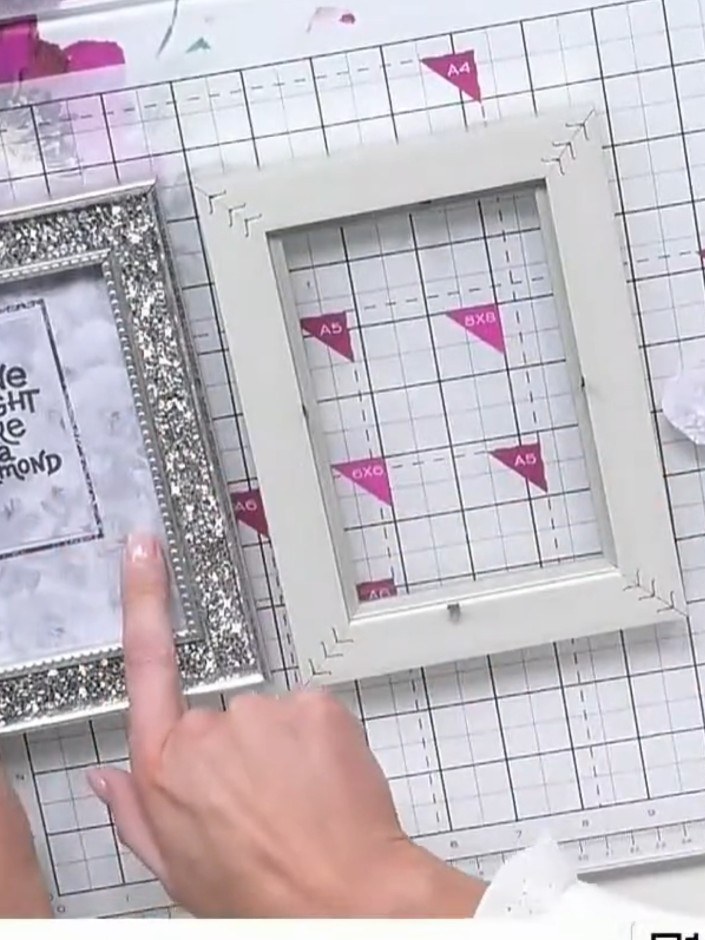 1
Select two inexpensive frames from a local craft or home store. Choose frames that will complement your patterned paper and sentiment stamps.
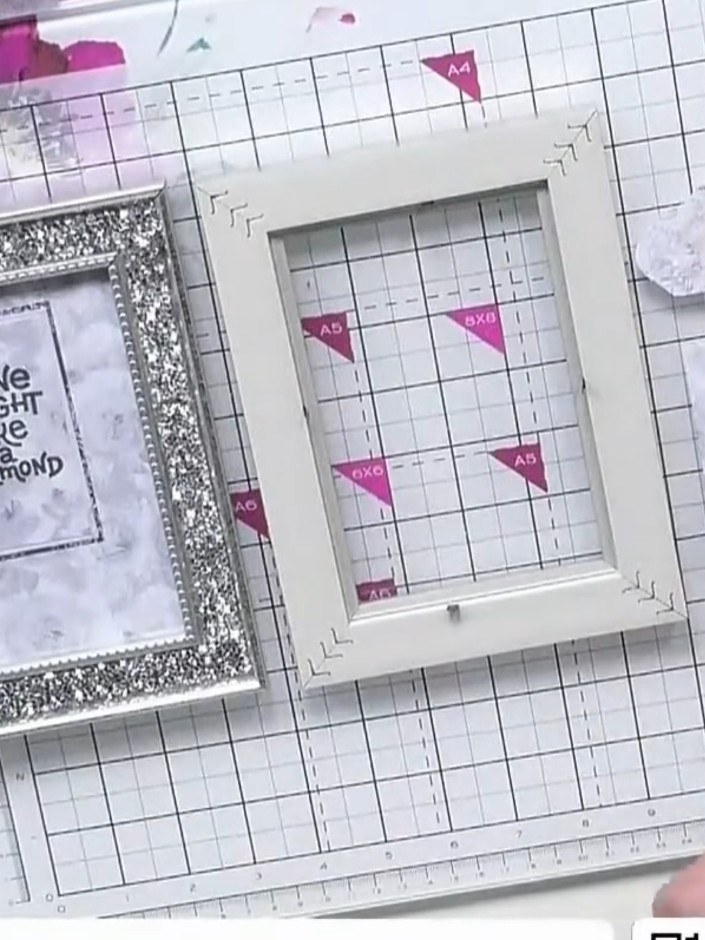 2
Cut patterned paper from the Classic Celebration paper pack to fit inside both frames, using the same pattern for each frame.
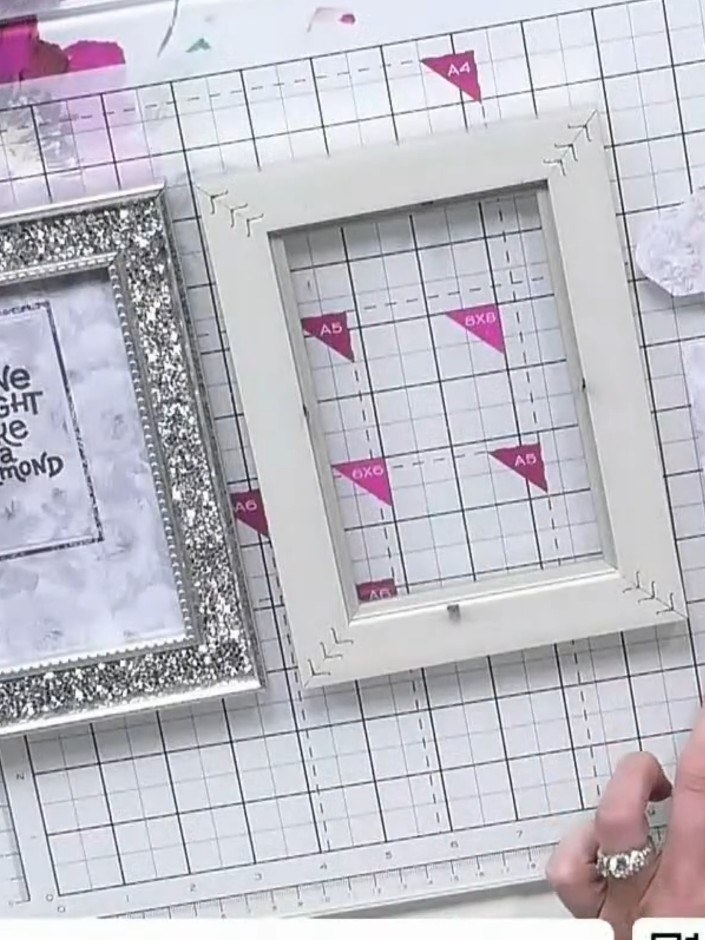 3
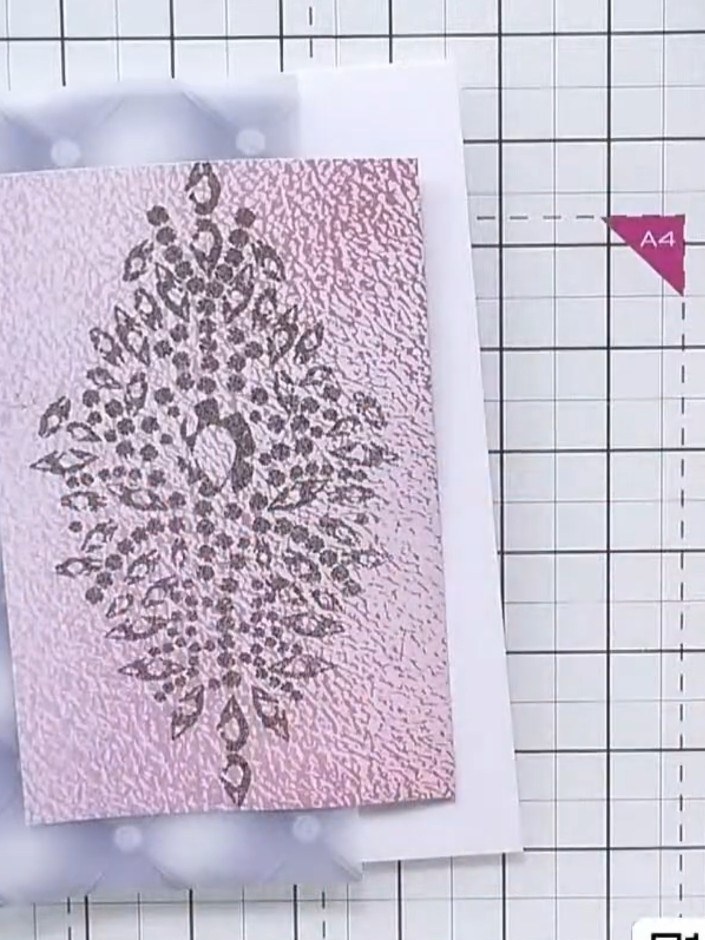
Stamp the 'Shine Bright Like a Diamond' sentiment onto one piece of the patterned paper from the Classic Celebration paper pack. Position the stamp centrally on your chosen paper and press firmly to ensure a clear impression.
 4
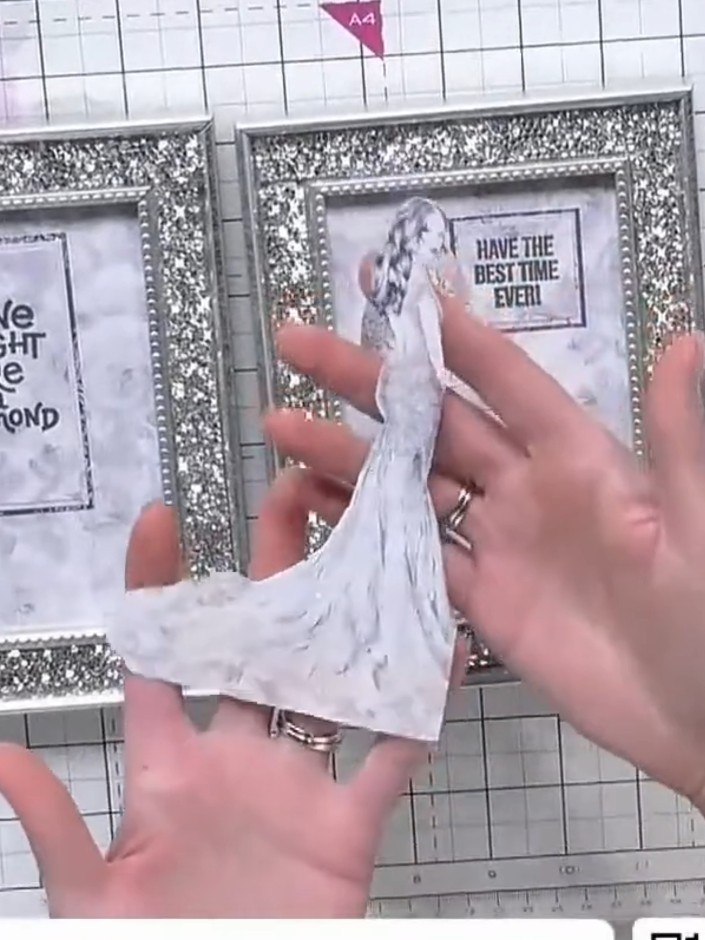
Fussy cut a lady figure from the patterned paper in the Classic Celebration paper pack. Carefully cut around the outline of the figure to separate it from the background.
 5
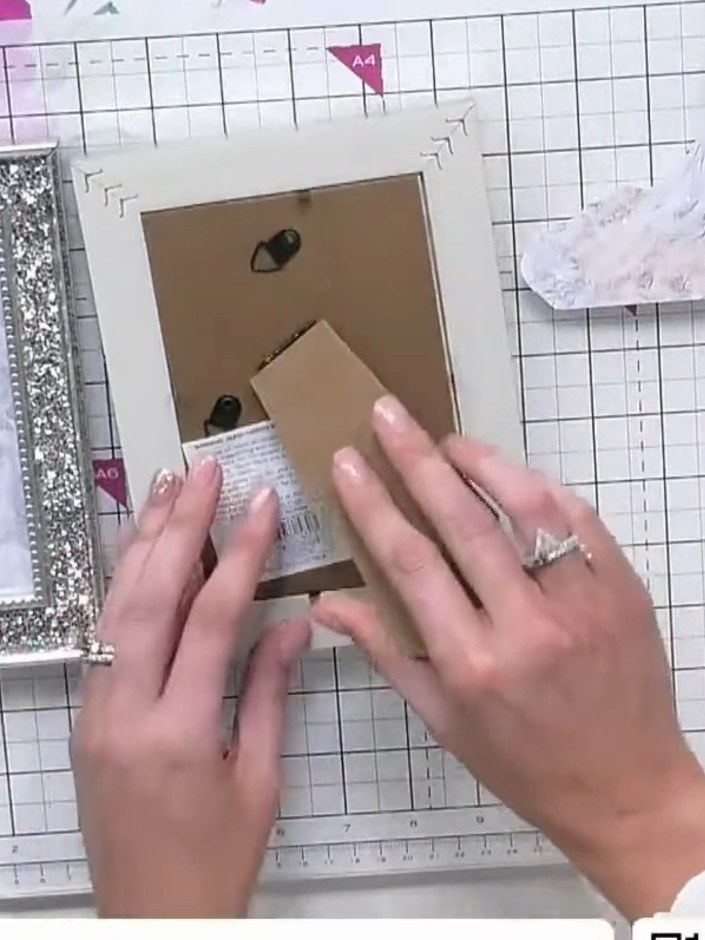
Attach a thick wedge of card or foam pads to the back of the fussy-cut lady figure to add dimension.
 6
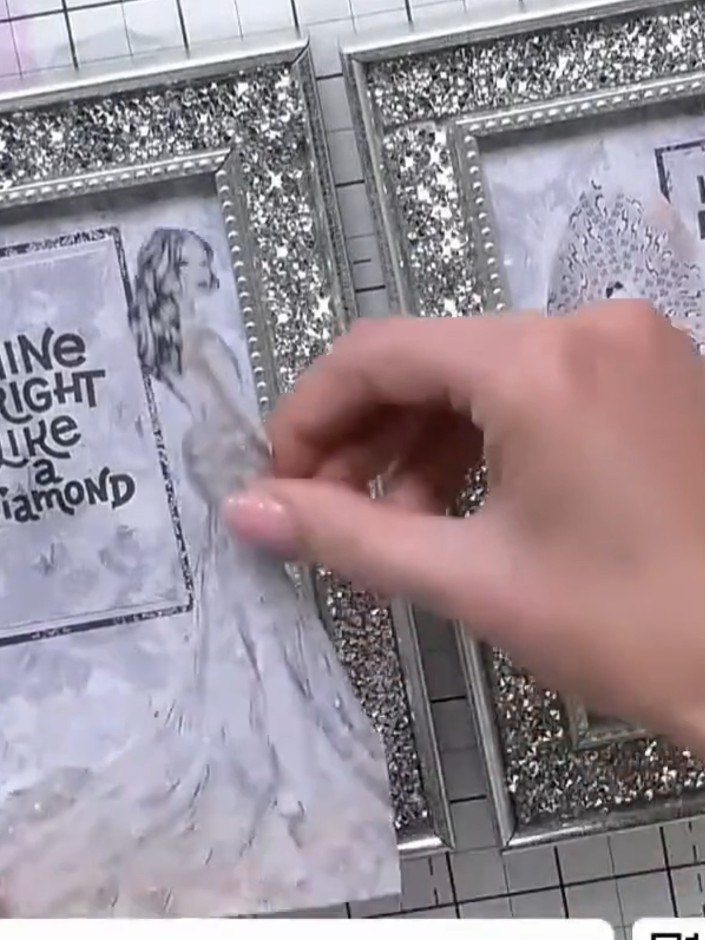
Place the patterned paper with the 'Shine Bright Like A Diamond' sentiment inside the first glitter frame. Position it centrally within the frame opening.
 7
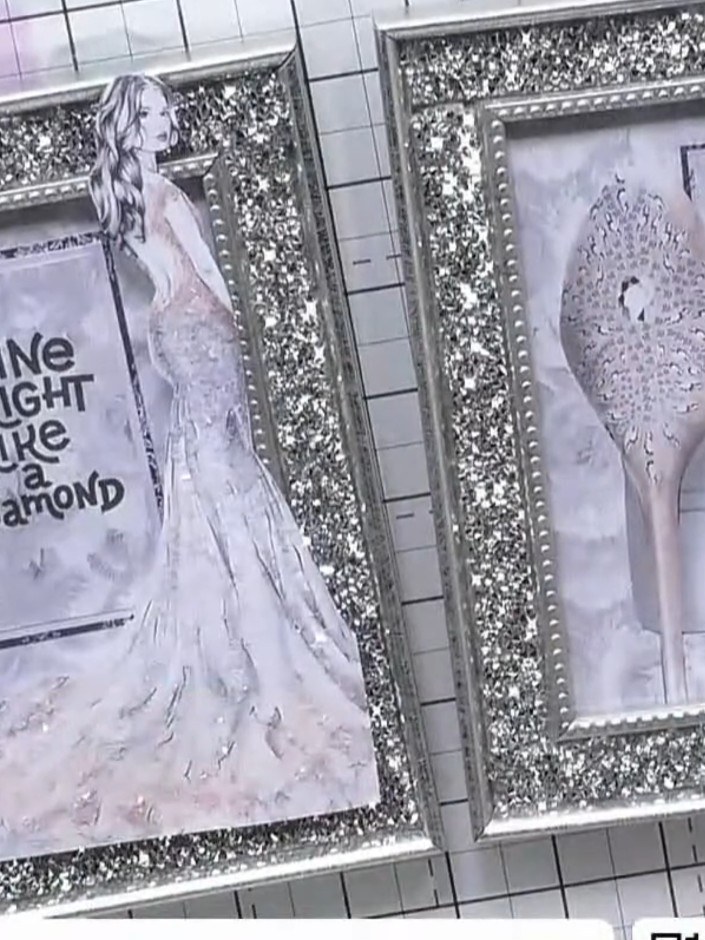
Position the dimensional fussy-cut lady figure inside the left frame window, placing her fully within the aperture to create a 3D layered effect alongside the sentiment frame.
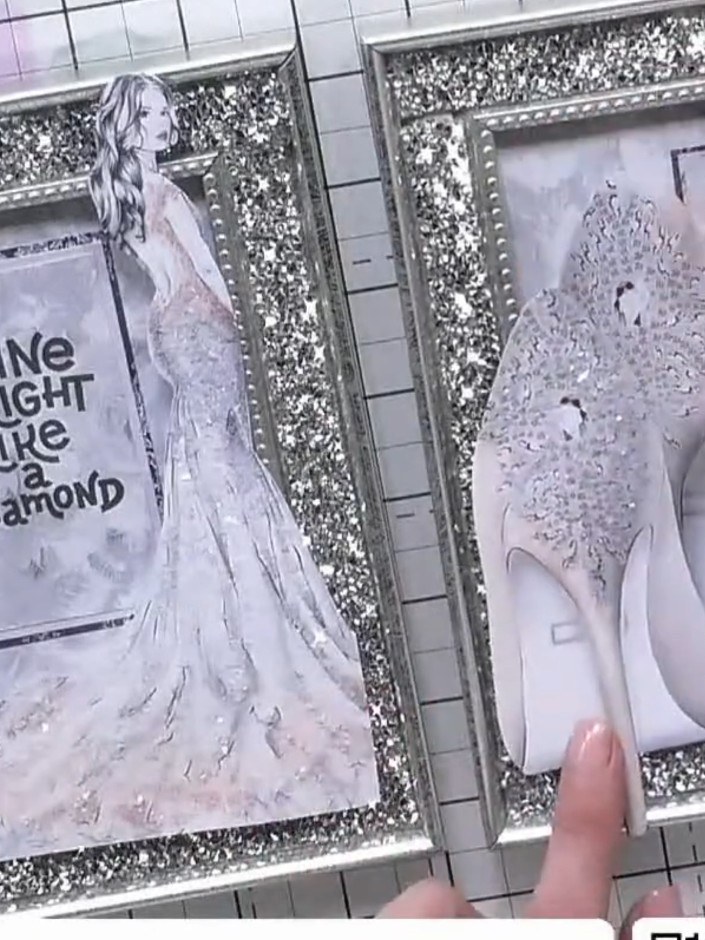 8
Place the acetate sheet over the completed frame design and secure the frame backing in place to seal all elements. This will protect your finished piece and keep everything secure within the glitter frame.
 9
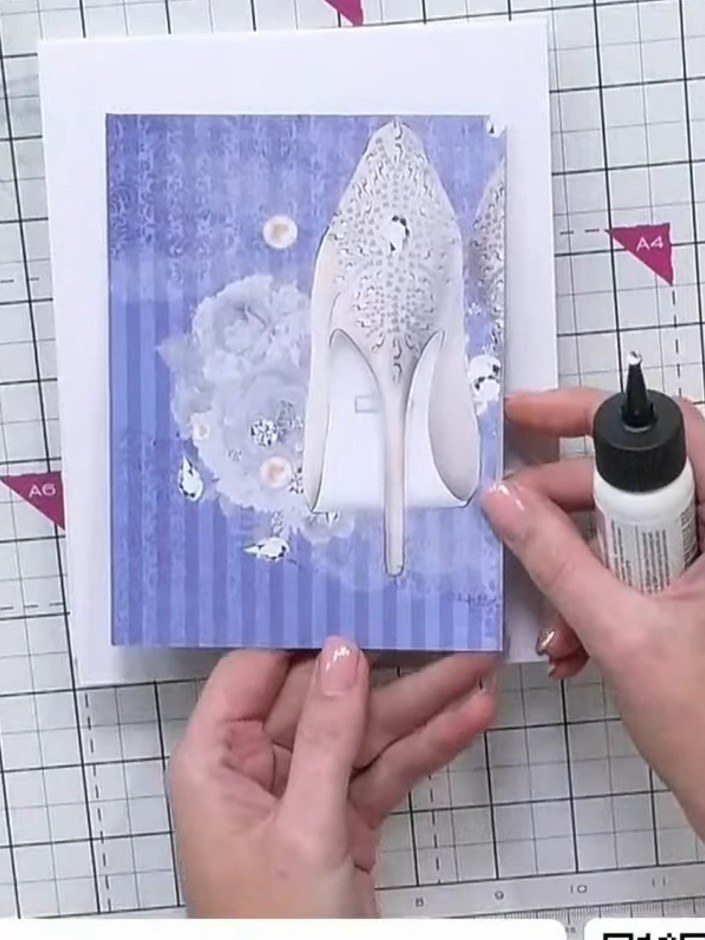
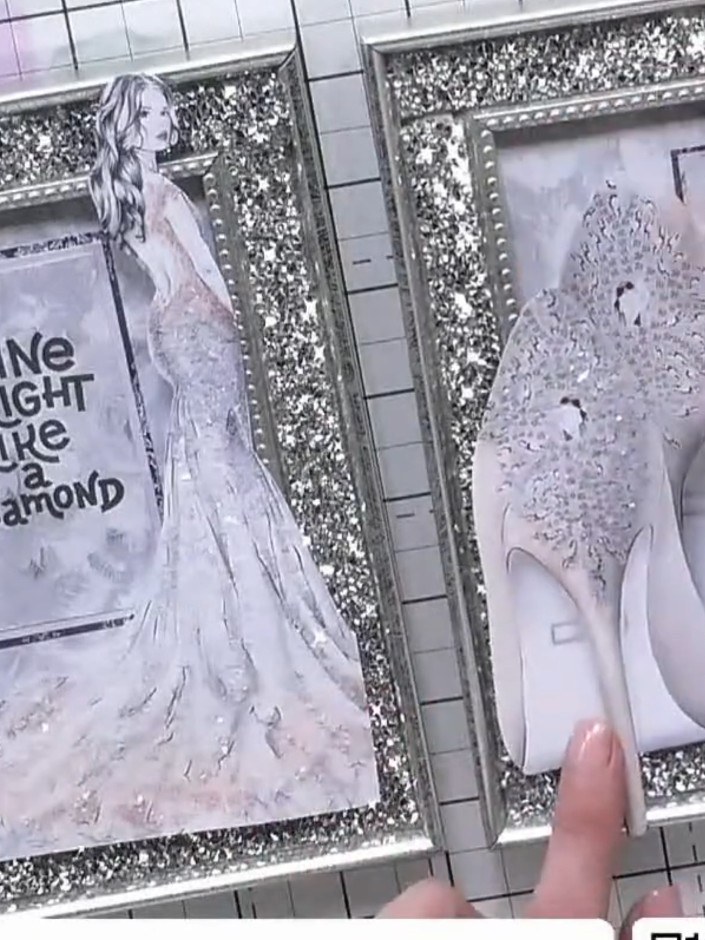
Repeat the process for the second frame using a different fussy-cut element from the paper pack, such as the shoe design. Position it in the frame with a coordinating sentiment stamp.
Partagez votre création avec la communauté Stamps By Me - et gardez ce tutoriel pour la prochaine fois.
Rédigé à partir de l’émission elle-même. Tous les tutoriels de nos émissions · tutoriels gratuits · en direct sur My Telly · l’ancienne présentation