Offrez à vos amis 10 £ de réduction sur leur première commande !
Parrainez un AMI








 The Friday Final Cutven. 6 nov. 10 h 00
 Community Showcaselun. 9 nov. 10 h 00
 Hobbymaker TVlun. 9 nov. 14 h 00
Les prix sont mis à jour immédiatement. Chaque langue est notre propre traduction, pas Google.
Une création de notre émission en direct THE THURSDAY DROP - Les dernières nouveautés de Toni - Diffusion le 28 mai 2026 · 28/05/2026
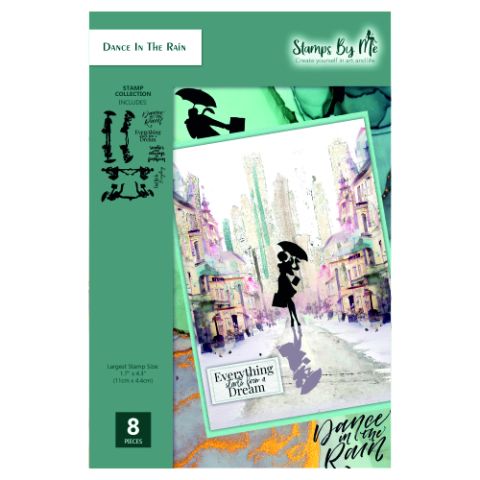
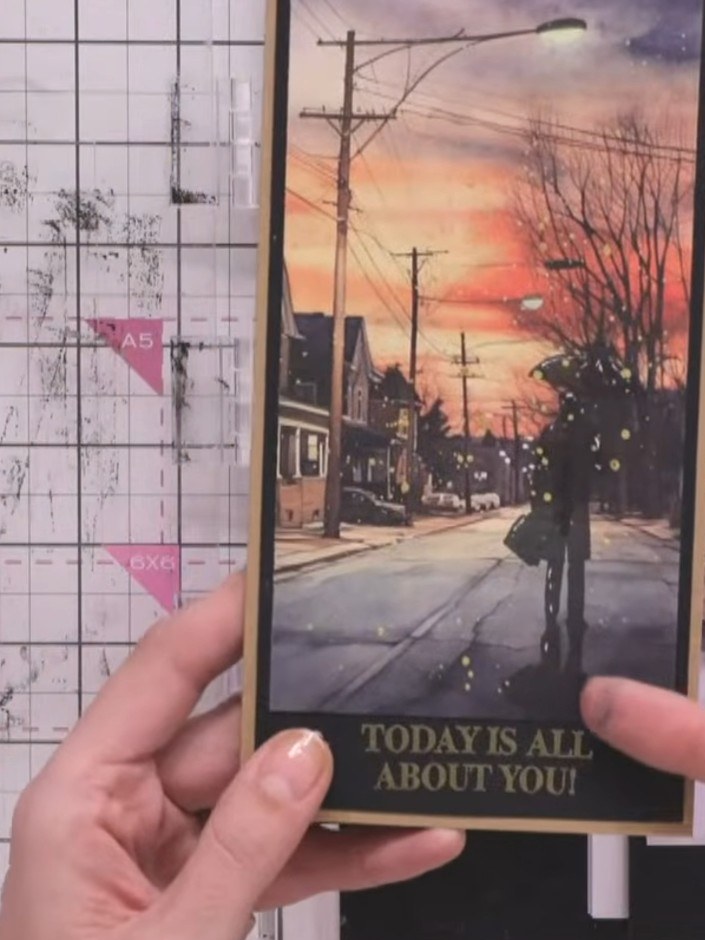
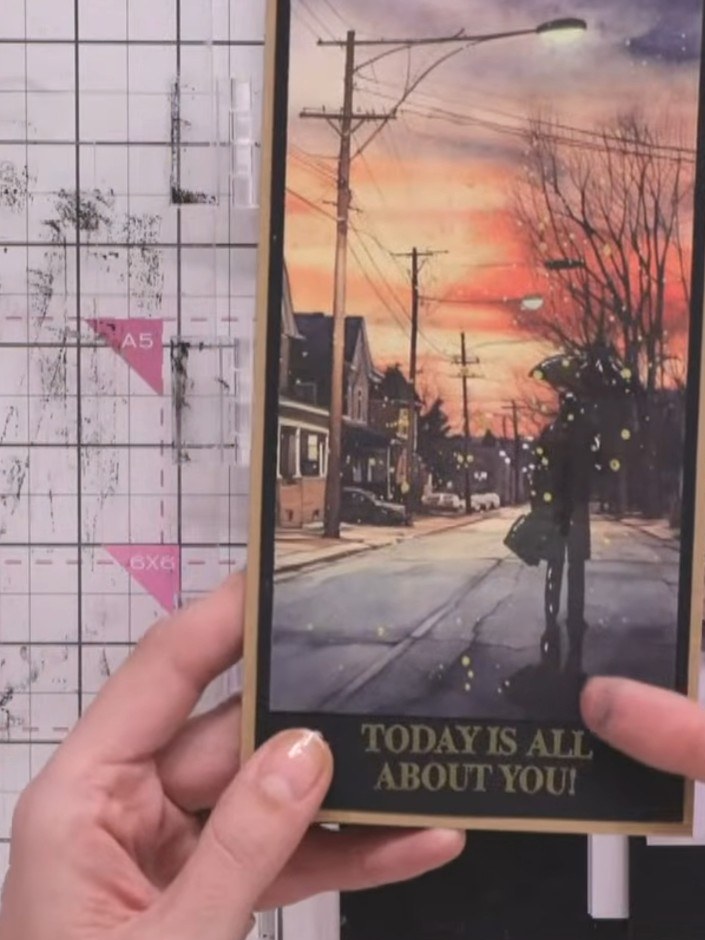
Réalisez une élégante carte de scène de rue urbaine mettant en scène la silhouette d'un personnage avec son parapluie et son reflet juste en dessous. Avec le set de tampons Dance in the Rain et la collection de papiers Urban Life Day, vous créerez un design monochrome raffiné sur un fond de paysage urbain doux et plein d'atmosphère. Cette technique associe tamponnage et poudre à embosser pour obtenir un effet silhouette saisissant, qui capture le mouvement et l'ambiance.
 1
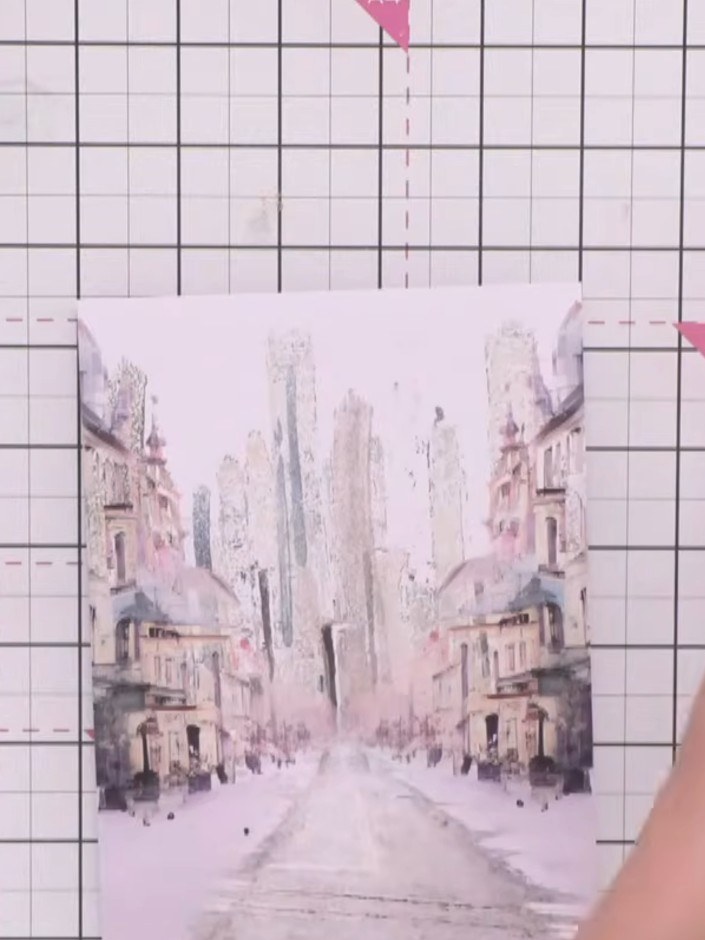
Select a piece from the Urban Life Day paper collection featuring the Parisian street scene as your card base.
 2
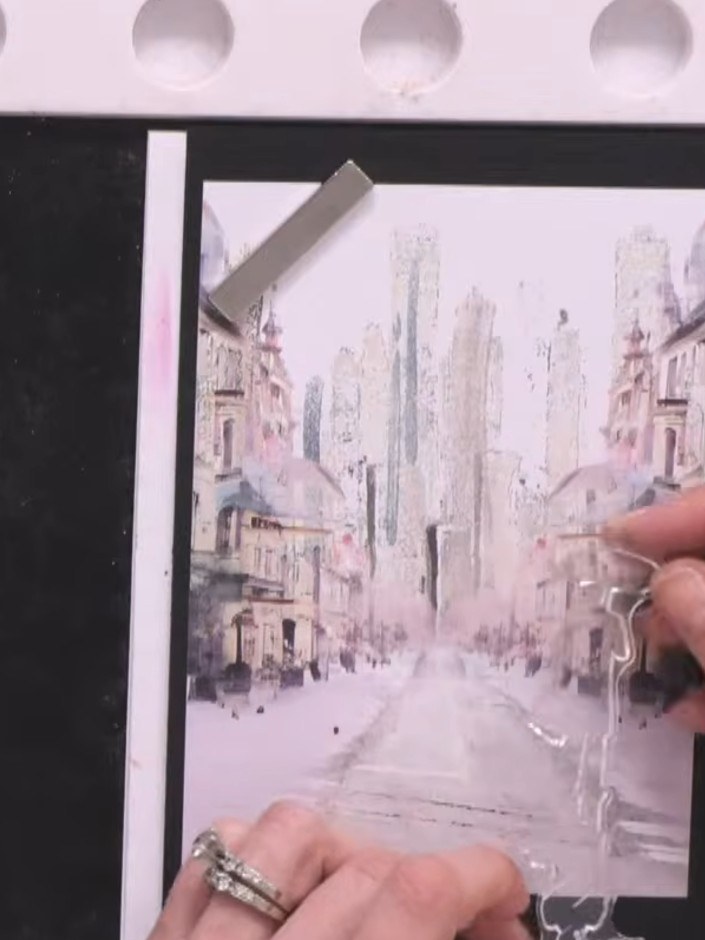
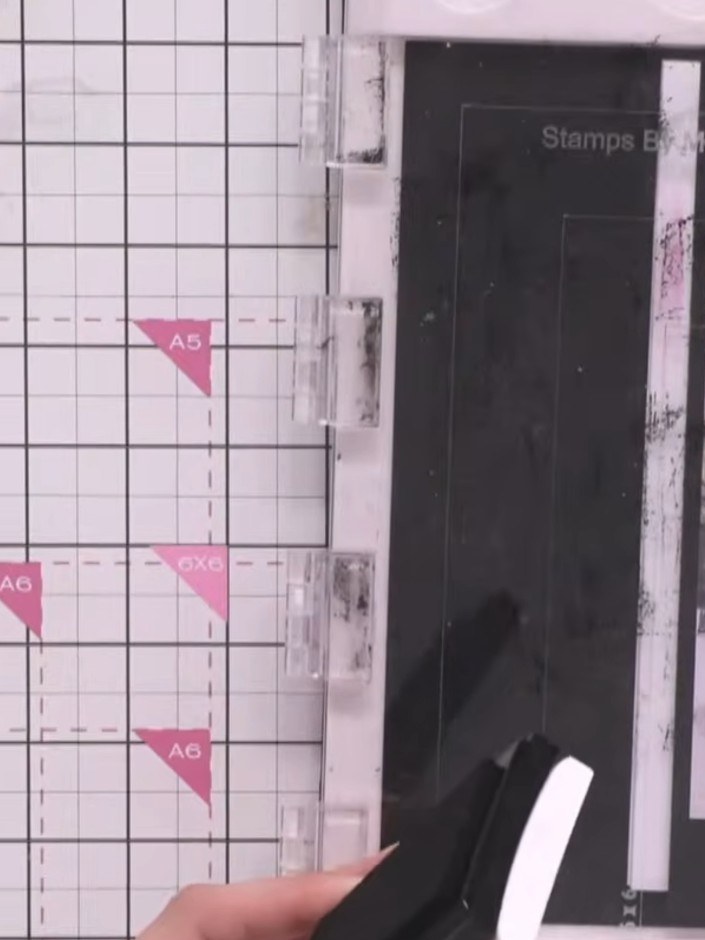
Ink up the entire Dance in the Rain stamp with black ink. Stamp it half on and half off the paper to create a realistic composition, positioning it so part of the image extends beyond the edge of the paper.
 3
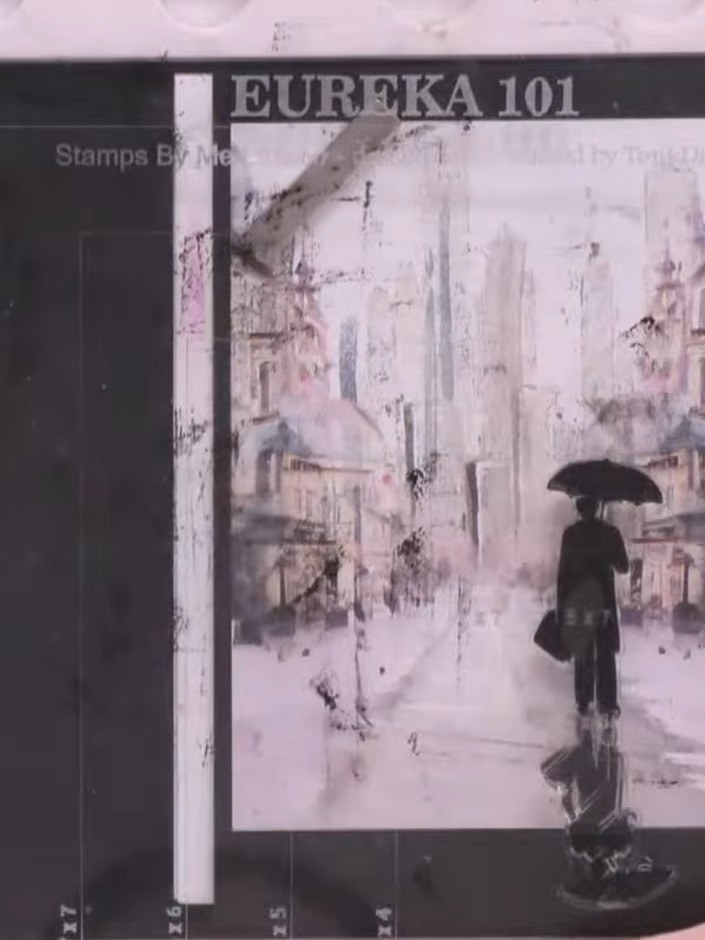
Re-ink just the top portion of the stamp to make the silhouette more solid and defined at the top.
 4
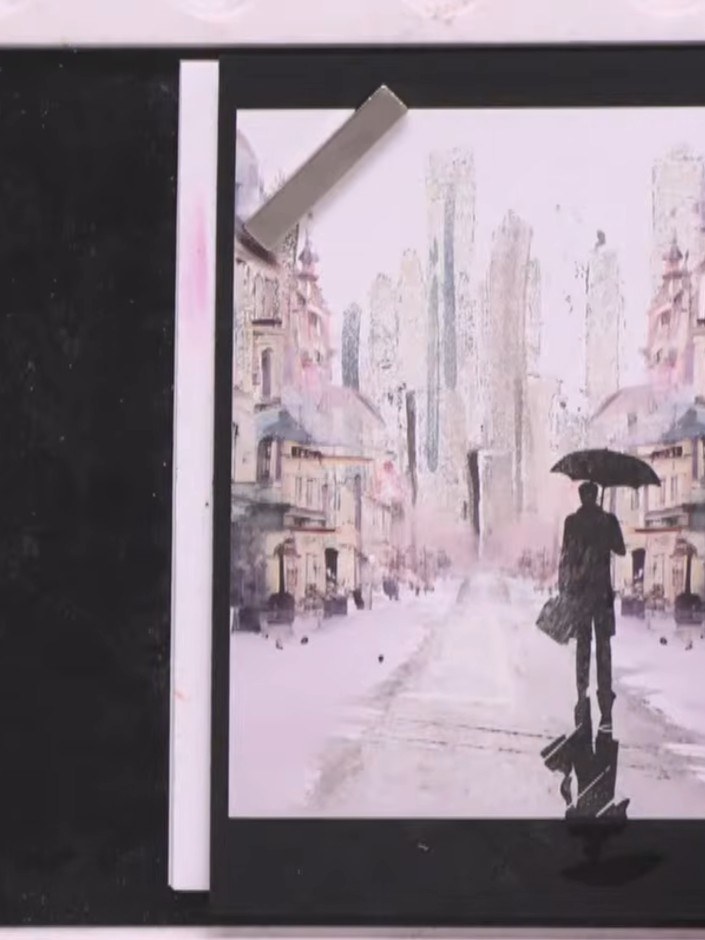
Using a gel pen, work on the reflection area at the bottom of the image. Keep the reflection slightly patchy and jaded to create a realistic water reflection effect.
 5
Optional: Use a gel pen to add highlights and details to your silhouette, such as defining the umbrella or adding subtle colour accents to enhance the design.
 6
Add a sentiment to complete your card. Position the 'Today is all about you' text at the bottom of the street scene card, ensuring it complements the reflection theme.
Partagez votre création avec la communauté Stamps By Me - et gardez ce tutoriel pour la prochaine fois.
Rédigé à partir de l’émission elle-même. Tous les tutoriels de nos émissions · tutoriels gratuits · en direct sur My Telly · l’ancienne présentation