Offrez à vos amis 10 £ de réduction sur leur première commande !
Parrainez un AMI








 Deal Huntersmar. 17 nov. 13 h 00
 Hidden Gemsmer. 18 nov. 10 h 00
 The Thursday Dropjeu. 19 nov. 18 h 00
Les prix sont mis à jour immédiatement. Chaque langue est notre propre traduction, pas Google.
Une création de notre émission en direct HSN PRODUCT INSPIRATION - Rejoignez-moi pour une émission pleine de bonne humeur, diffusée le 18 août 2026 · 18/08/2026
Réalisez une carte de Noël contemporaine avec un fond texturé à l'encre dans des tons de bleus et de gris, ornée de fleurs et de feuillages découpés à la matrice et superposés. Ce projet utilise des blocs acryliques, des encreurs et un vaporisateur d'eau pour créer de la profondeur et du relief visuel, le tout complété par le texte « merry and bright ». Une technique qui offre une alternative moderne aux papiers imprimés traditionnels, tout en créant de magnifiques effets d'ambiance.
 1
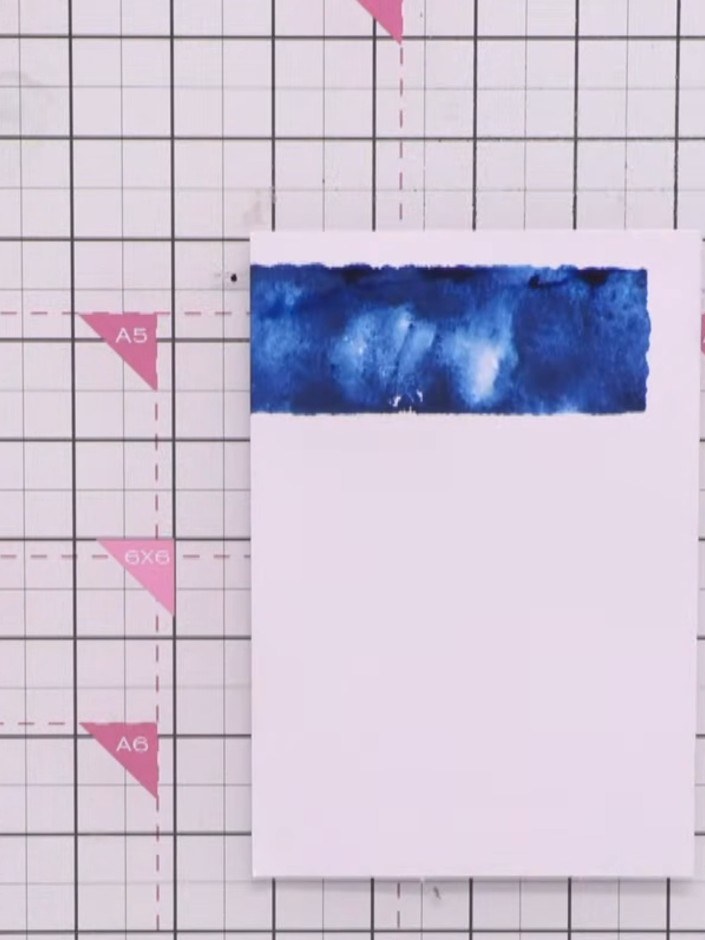
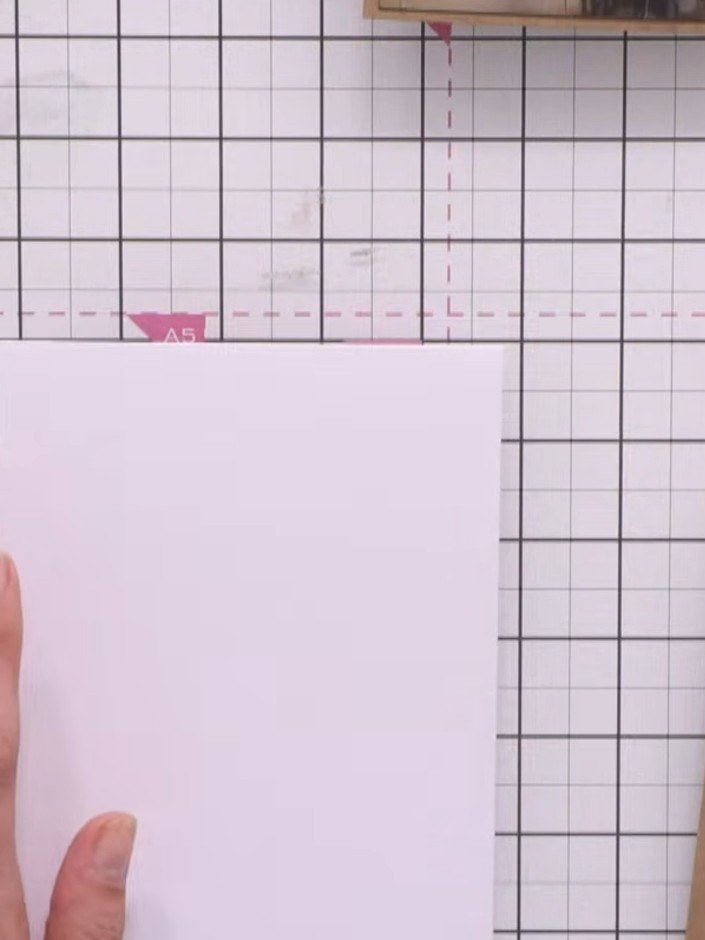
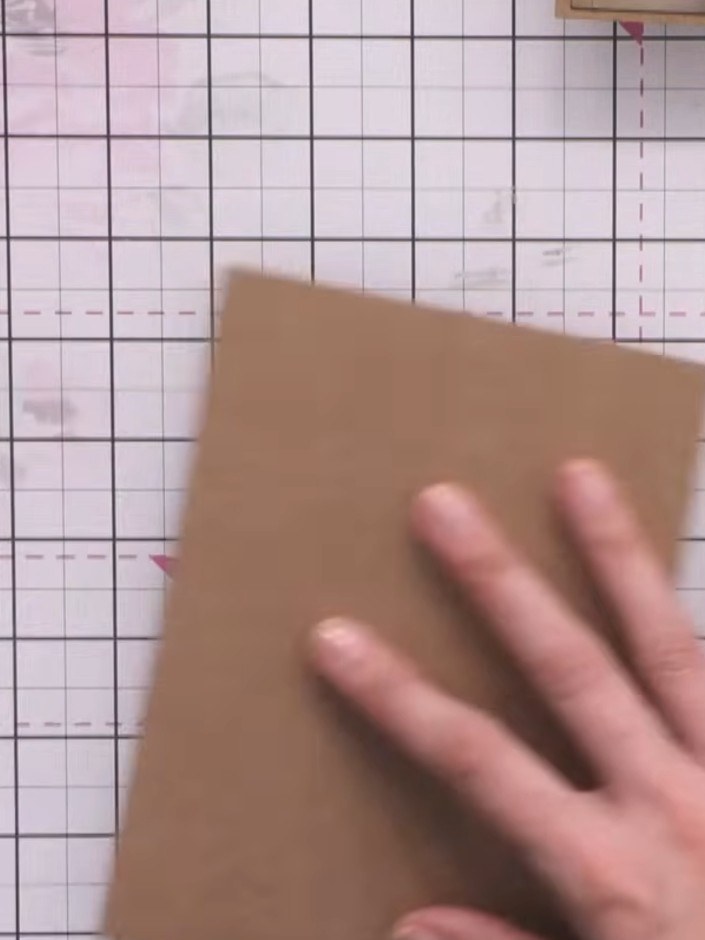
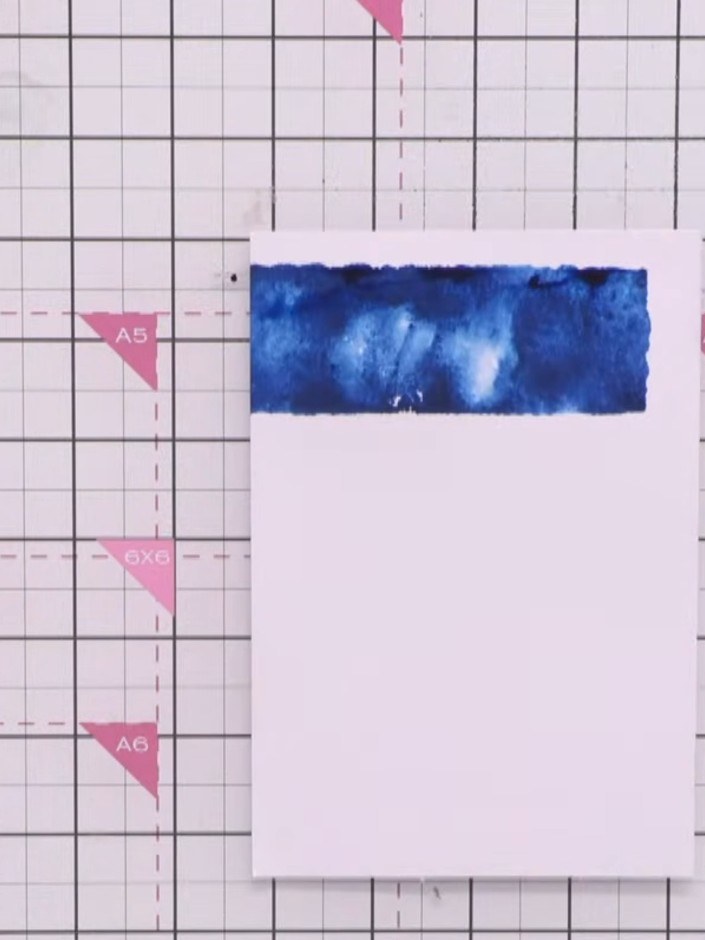
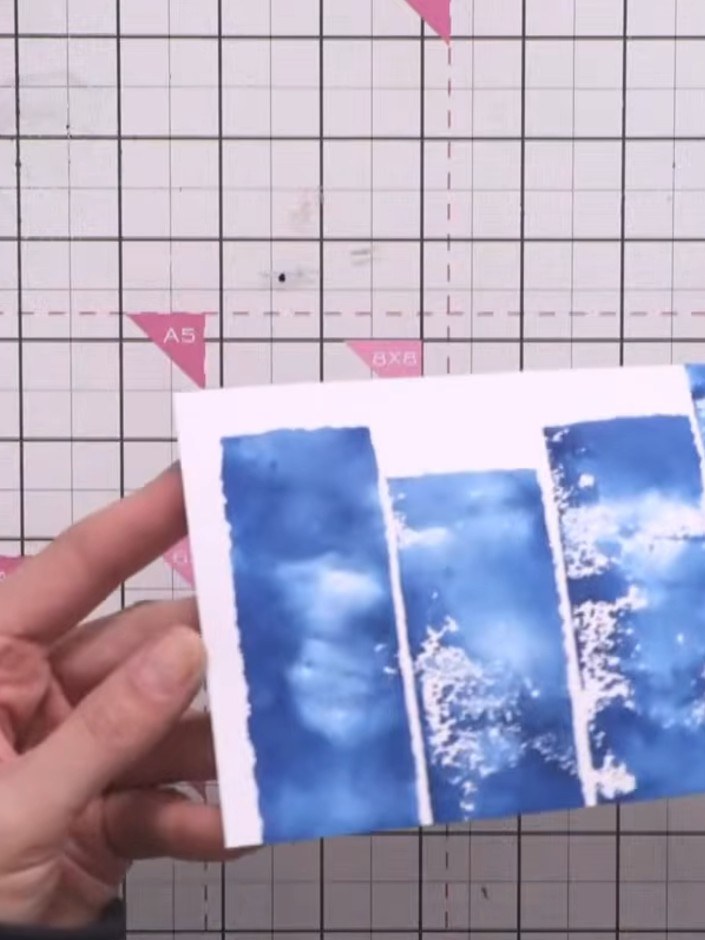
Start with a white A5 card blank and a piece of white cardstock. Position the white cardstock to layer on top of the card blank. Ink up an acrylic block with a teal or blue ink pad. Apply the ink colour to one side of the acrylic block, ensuring even coverage. Spray the inked block lightly with water to activate the ink and create texture.
 2
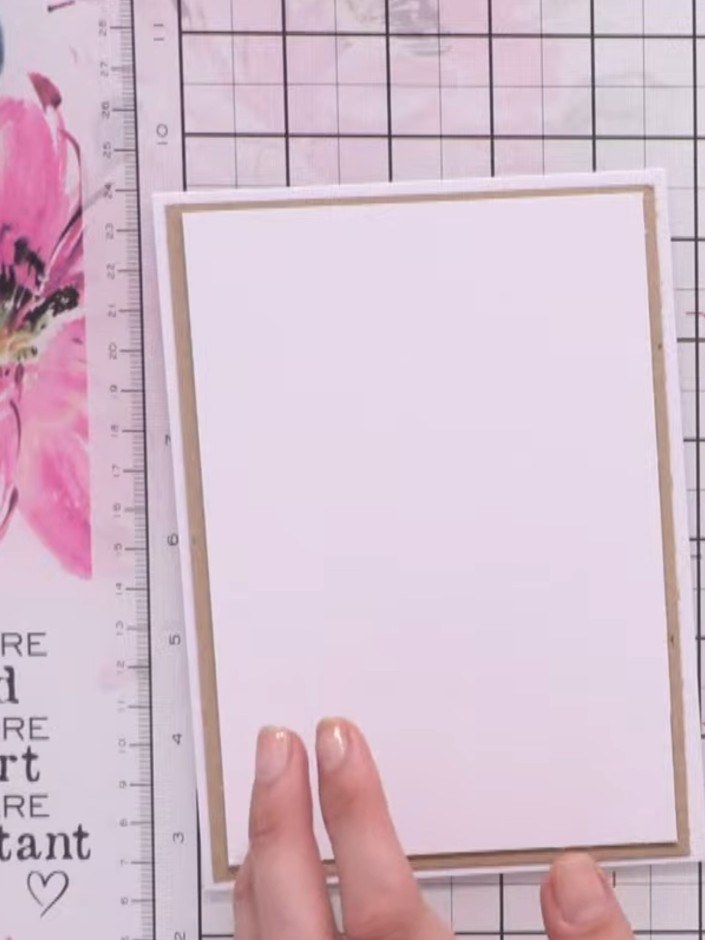
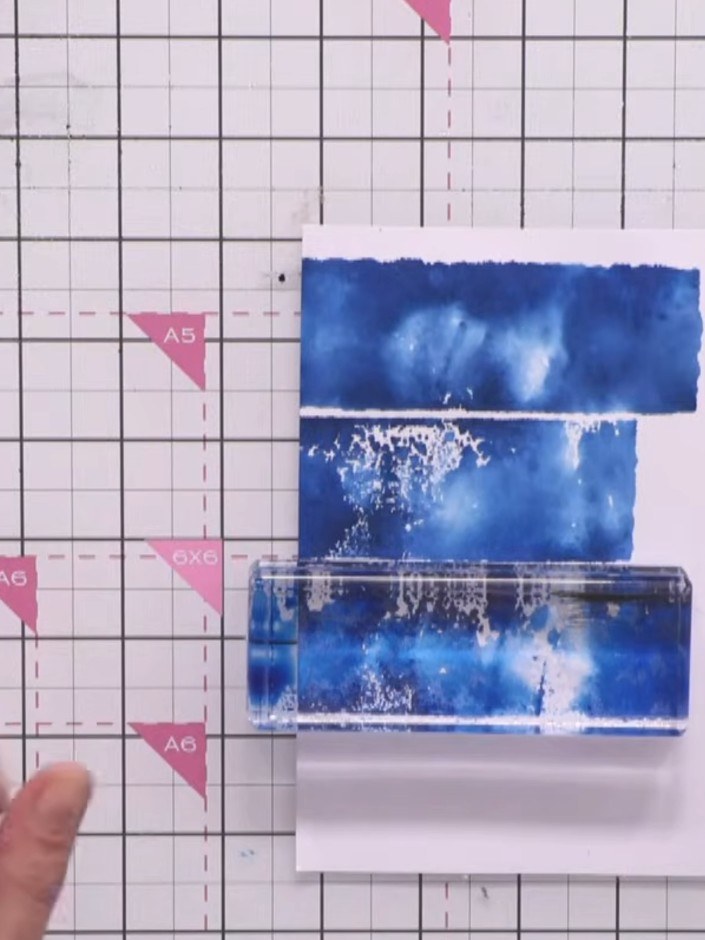
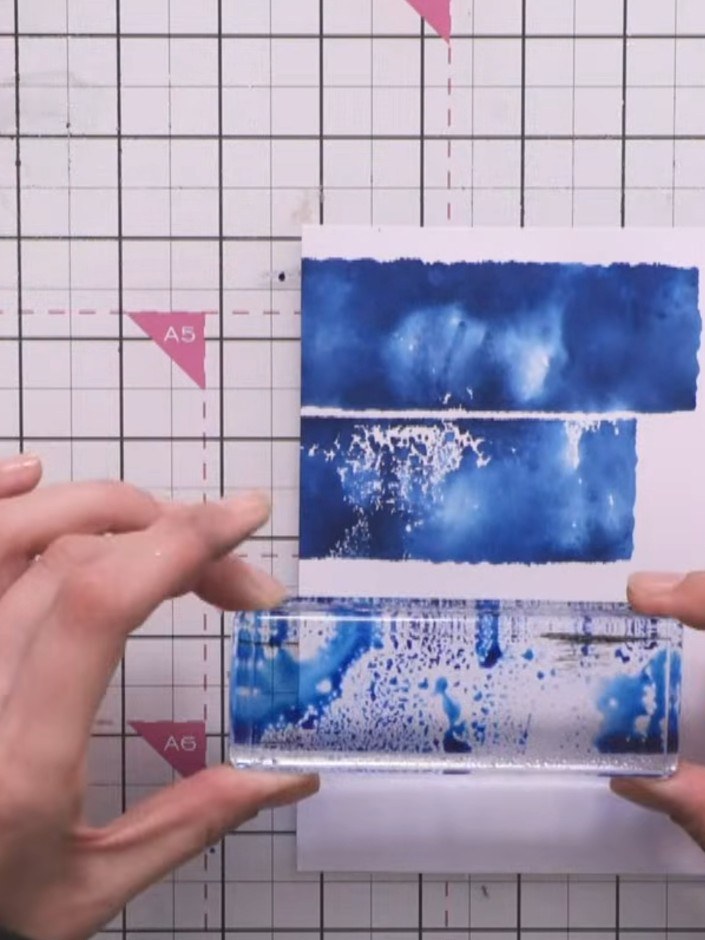
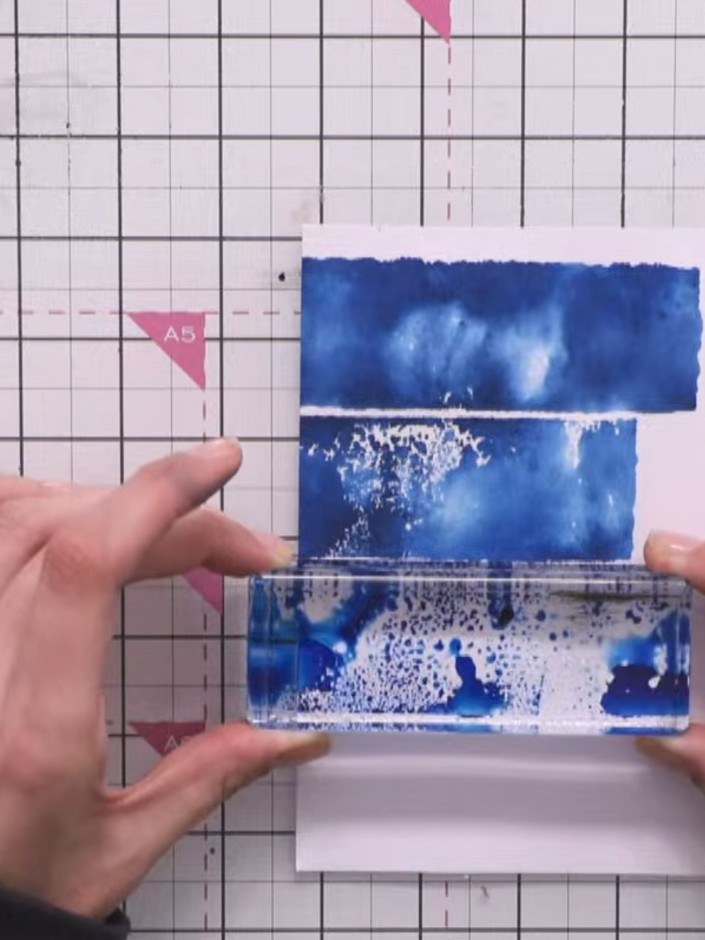
Press the wet inked block onto your white cardstock at an angle. Lift the block away to reveal a textured ink impression on the card. Continue inking, spraying, and pressing the stamp across the kraft cardstock multiple times. Vary the placement of each impression and leave gaps between them to create an interesting textured pattern.
 3
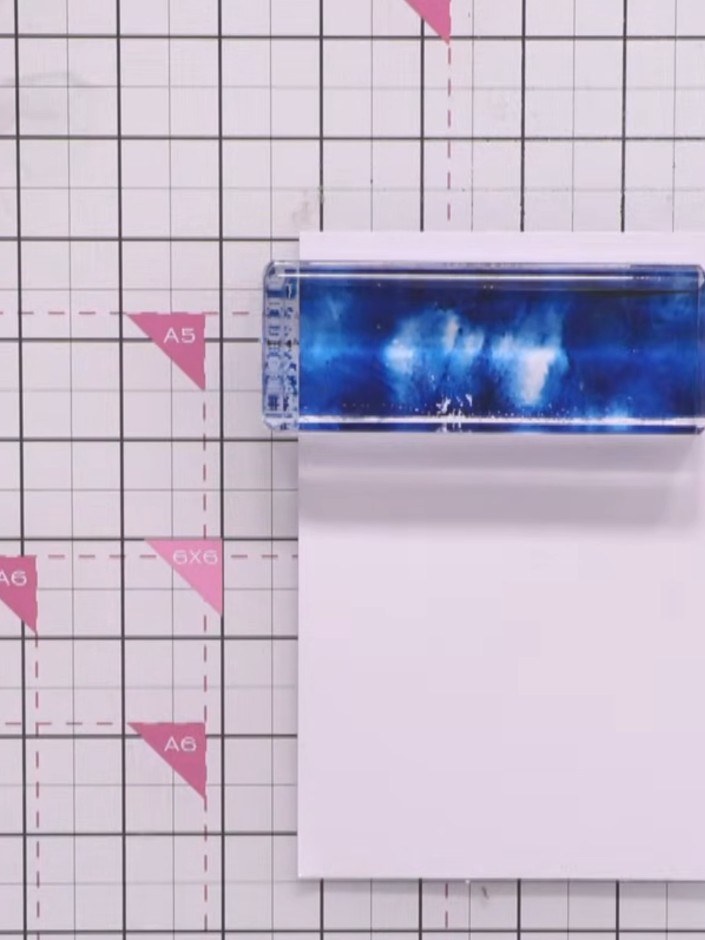
Allow the inked background to dry completely. You can use a heat tool to speed up the drying process, or simply set the card aside whilst working on other elements.
 4
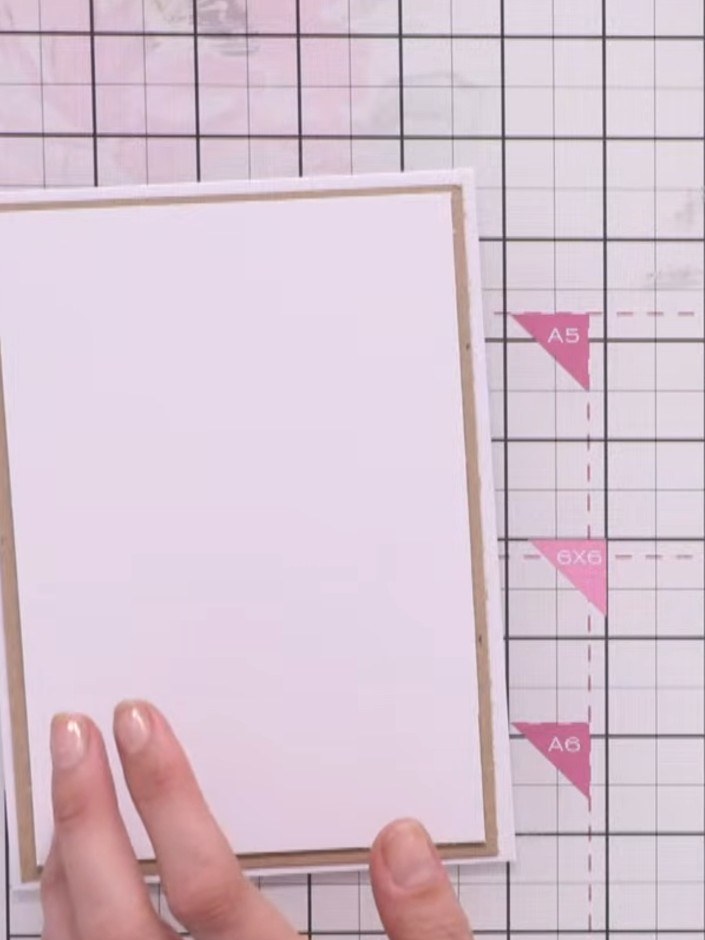
If the background colour appears too bright or dominant, use a white ink pad to gently tap over the surface, pushing back and softening the colour.
 5
Cut a strip of kraft cardstock and adhere it vertically down the centre of your white inked background panel. Die-cut or fussy-cut a tree image from one of the Holly and Berry patterned papers. Select the design you prefer from the paper collection.
 6
Adhere the blue textured foil strip to the top of your white card panel, keeping it straight and aligned.
 7
Cut a thin strip of black cardstock and adhere it to one edge of the kraft panel to add definition and make it stand proud. Cut out a pre-printed sentiment such as 'Merry and Bright' from your paper collection. Gently distress the edges of the sentiment piece to give it a softer, worn appearance.
 8
Edge the white sentiment panel with a vintage ink pad to soften its appearance and give it a subtle aged effect.
 9
Adhere the sentiment panel to the bottom of your card front, positioning it below the layered tree panels to complete the composition. If desired, add small die-cut foliage or tree elements to cover any large areas of the bright blue background colour that show through. Position these decorative elements where needed to balance the composition.
 10
Allow all glue to dry completely before your card is finished. Your inky textured background Christmas card is now complete.
Partagez votre création avec la communauté Stamps By Me - et gardez ce tutoriel pour la prochaine fois.
Rédigé à partir de l’émission elle-même. Tous les tutoriels de nos émissions · tutoriels gratuits · en direct sur My Telly · l’ancienne présentation