Offrez à vos amis 10 £ de réduction sur leur première commande !
Parrainez un AMI








 The Friday Final Cutven. 6 nov. 10 h 00
 Community Showcaselun. 9 nov. 10 h 00
 Hobbymaker TVlun. 9 nov. 14 h 00
Les prix sont mis à jour immédiatement. Chaque langue est notre propre traduction, pas Google.
Une création de notre émission en direct CREATE TOGETHER CLUB - Émission 2 - Rejoignez Toni - Diffusion du 29 mars 22 · 29/03/2022
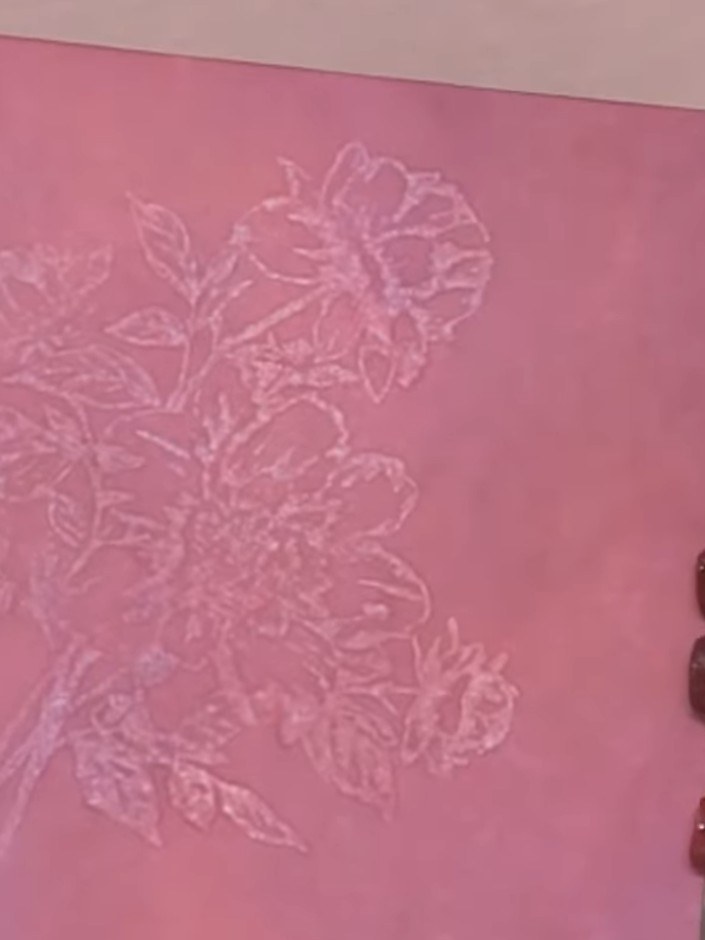
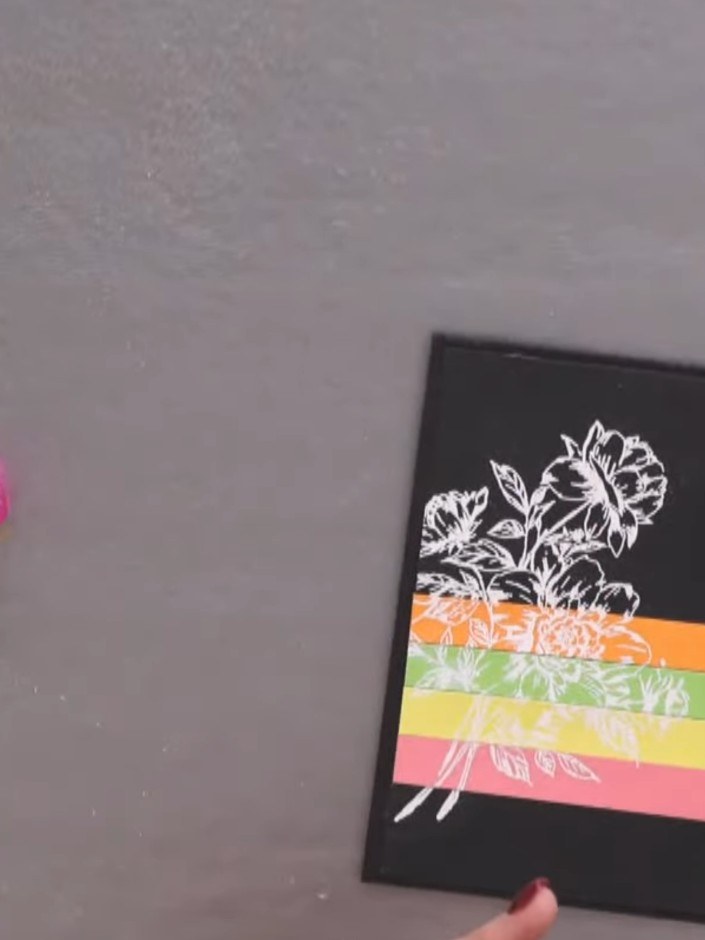
Create a striking card featuring a beautiful floral design with a vibrant rainbow effect. White heat-embossed flowers are stamped onto strips of pink, yellow, green, and orange cardstock, then layered horizontally across a black card base. The repeated stamping technique ensures the floral pattern aligns seamlessly across the coloured bands, creating a continuous and eye-catching design.
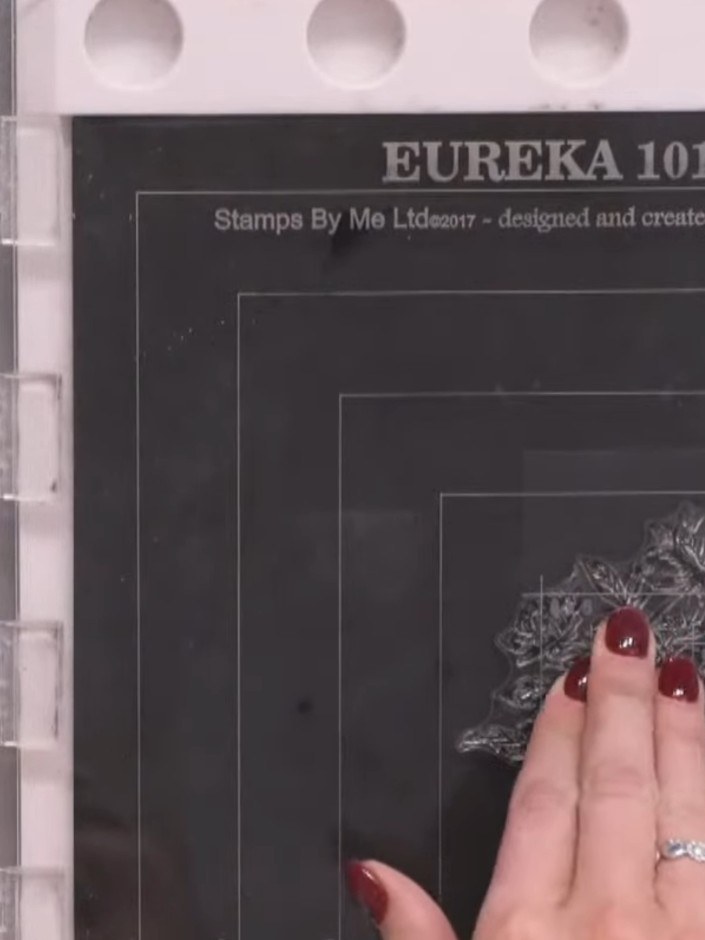
Prepare a black top-folding note card as your base. Cut a black matte layer to fit inside the card.
 2
Cut several pieces of coloured cardstock in approximately 4 colours plus black, all to exactly the same size.
 3
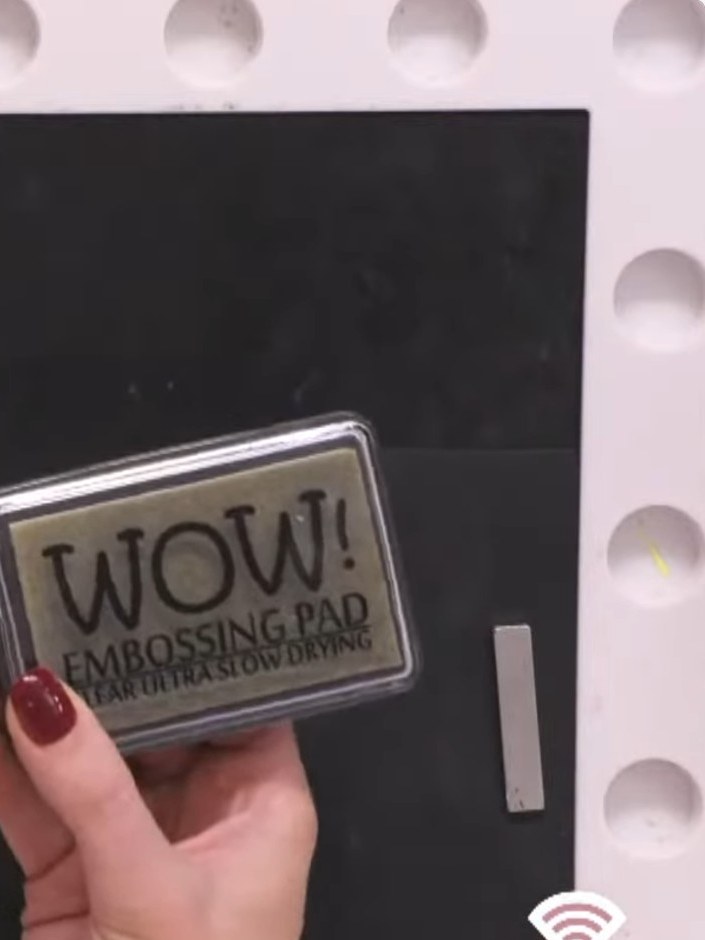
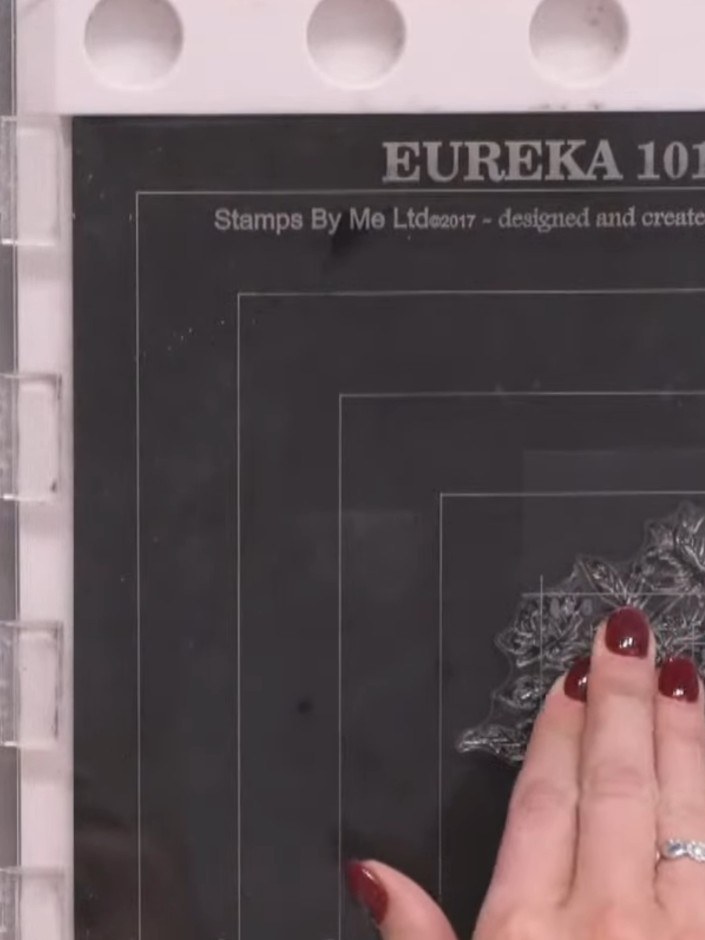
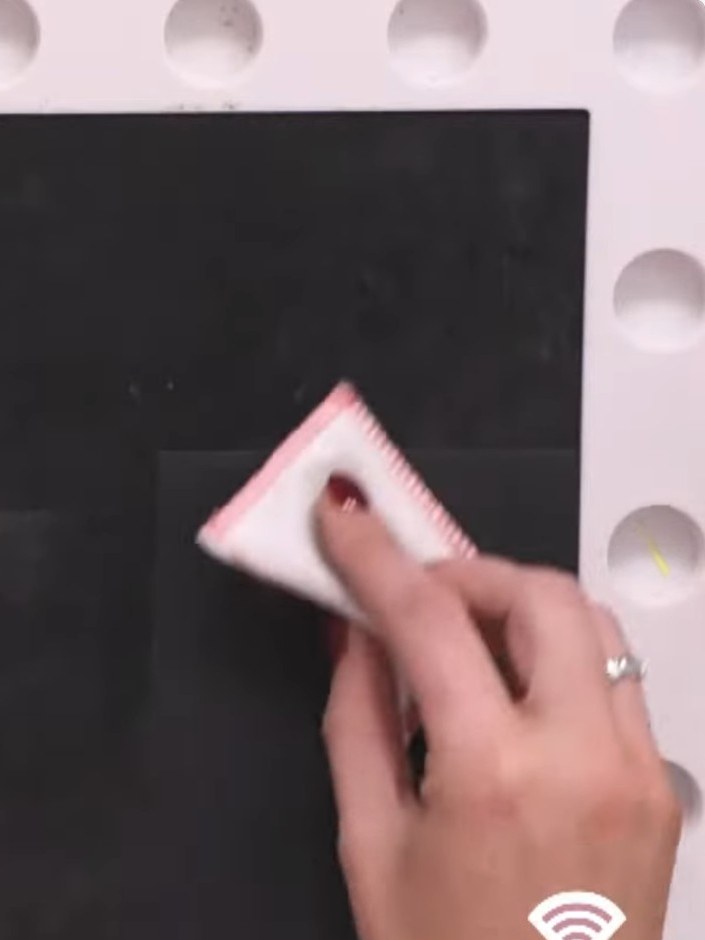
Prepare your black card panel by wiping it with an anti-static bag. Apply the WOW! embossing sticky ink pad to your floral stamp, ensuring even coverage.
 4
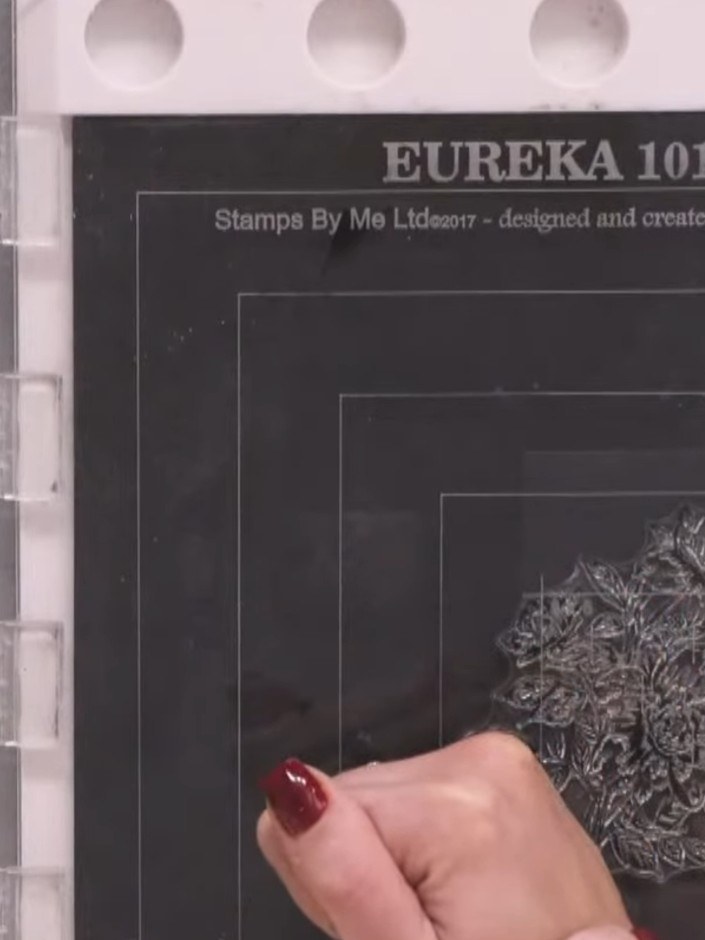
Stamp the floral image onto the black cardstock panel using the sticky ink pad. Position the stamp slightly off-centre on the panel.
 5
Sprinkle white embossing powder over the wet ink on the black card panel. Tap off the excess powder back into the container or onto an anti-static bag.
 6
Heat-set the embossed image with a heat gun, holding it over the panel until the embossing powder melts and sets to a shiny finish.
 7
Repeat the stamping, powdering and heat-setting process on each of the remaining coloured cardstock pieces, keeping the stamp in the same position each time to ensure consistent placement across all panels.
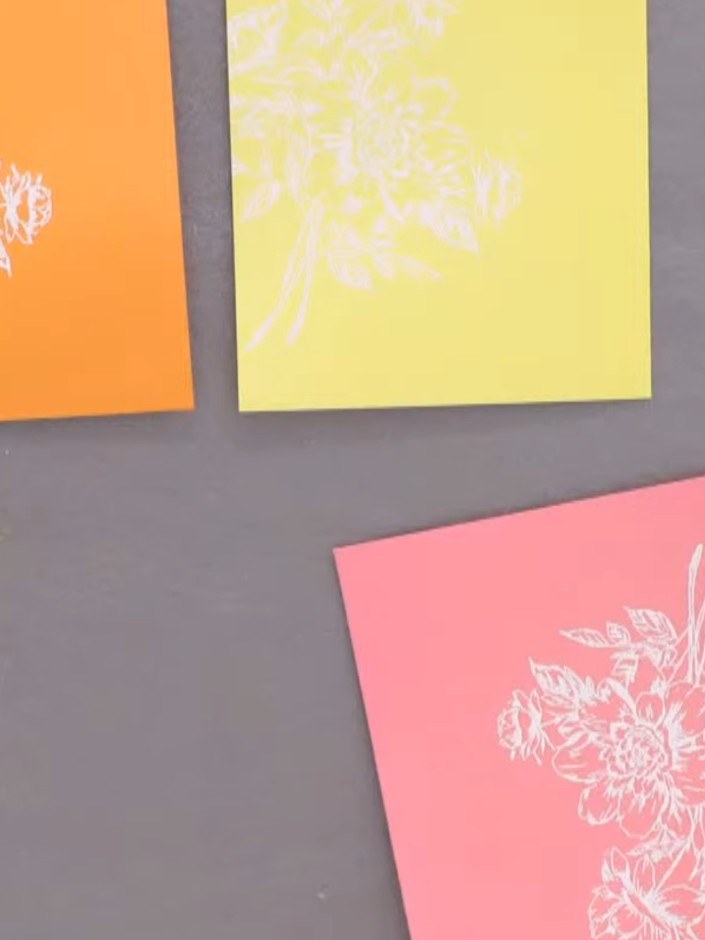 8
Using a guillotine or paper trimmer, cut all the heat-embossed stamped pieces into strips approximately 1 to 1.5 cm wide, cutting only through the image area of each panel.
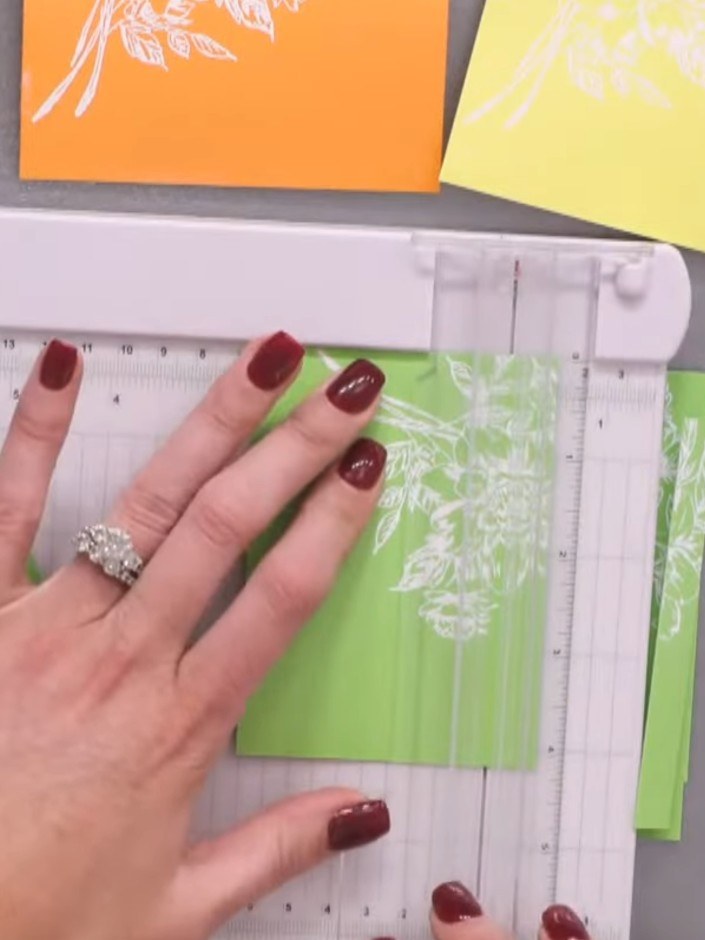 9
Arrange the stamped green strips on your black base card, aligning them so the white floral design flows continuously across the card front.
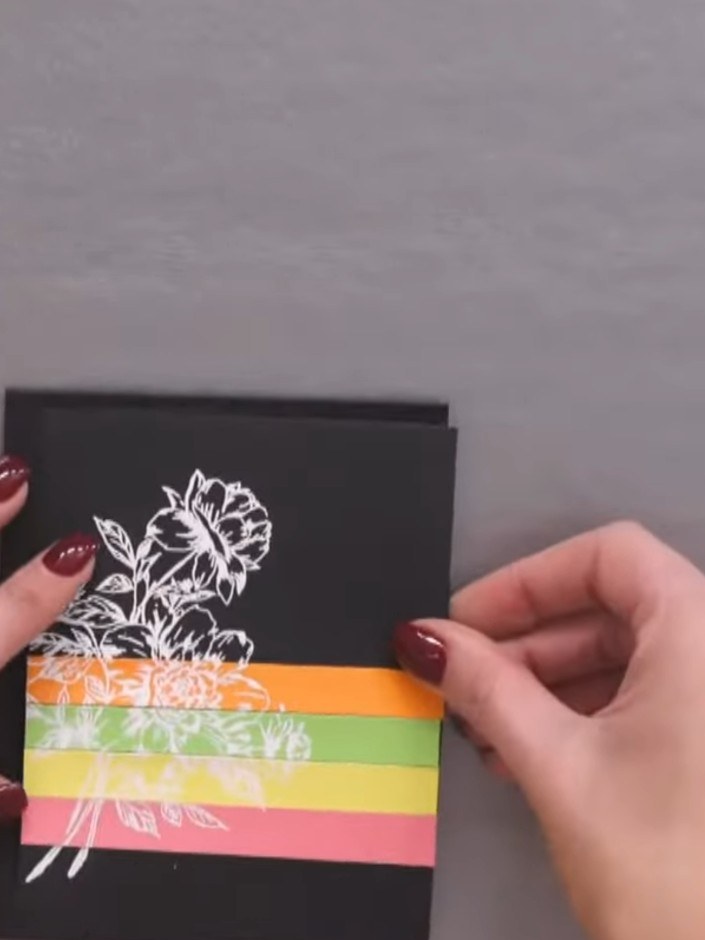 10
Glue each coloured strip down in sequence (orange, green, yellow, pink) onto the black card base, ensuring they are positioned as straight as possible to create even horizontal stripes.
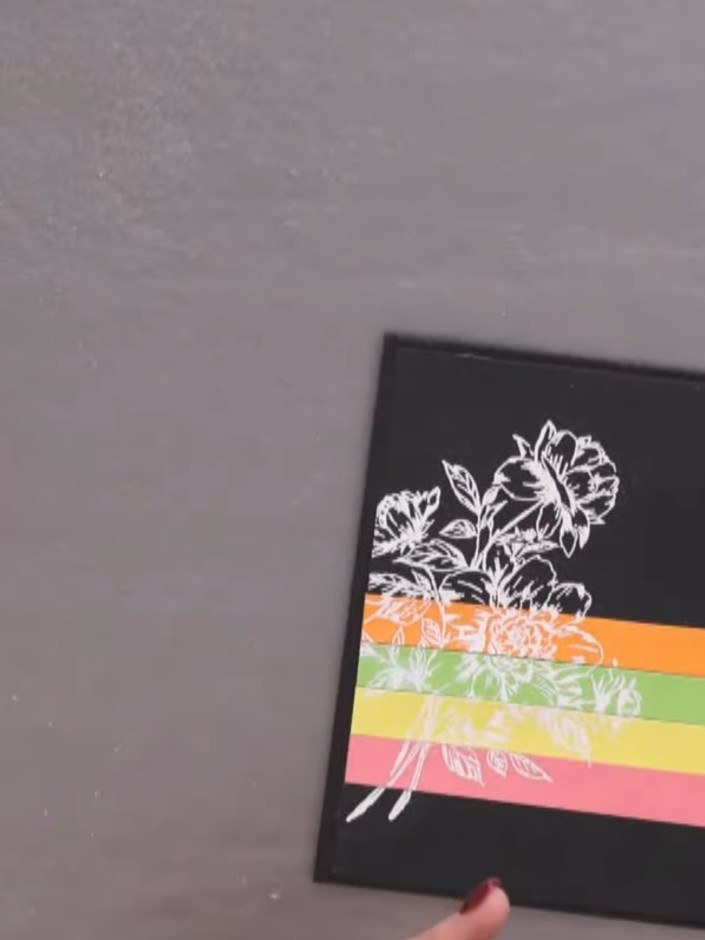 11
Turn the card over to the reverse side to complete the back of your card.
Partagez votre création avec la communauté Stamps By Me - et gardez ce tutoriel pour la prochaine fois.
Rédigé à partir de l’émission elle-même. Tous les tutoriels de nos émissions · tutoriels gratuits · en direct sur My Telly · l’ancienne présentation