Offrez à vos amis 10 £ de réduction sur leur première commande !
Parrainez un AMI








 The Friday Final Cutven. 6 nov. 10 h 00
 Community Showcaselun. 9 nov. 10 h 00
 Hobbymaker TVlun. 9 nov. 14 h 00
Les prix sont mis à jour immédiatement. Chaque langue est notre propre traduction, pas Google.
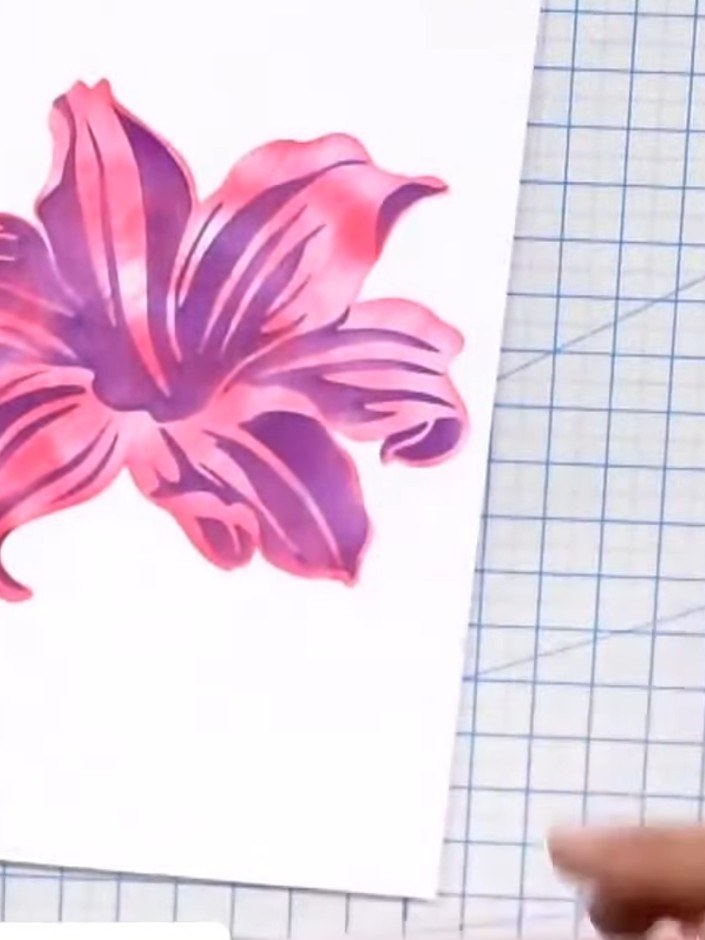
Une création de notre émission en direct CREATE AND CRAFT - ONE DAY SPECIAL - Retrouvez Toni pour sa première heure - Diffusée le 3 juin 22 · 03/06/2022
Create a stunning layered lily card featuring vibrant pink and purple tones with a three-dimensional effect. Using the Lovely Lily stencil set, you'll build up three layers of colour to create depth and dimension. This technique demonstrates how strategic colour placement and layering can transform a simple stencil into a dynamic, eye-catching floral design that appears to leap from the card.
 1
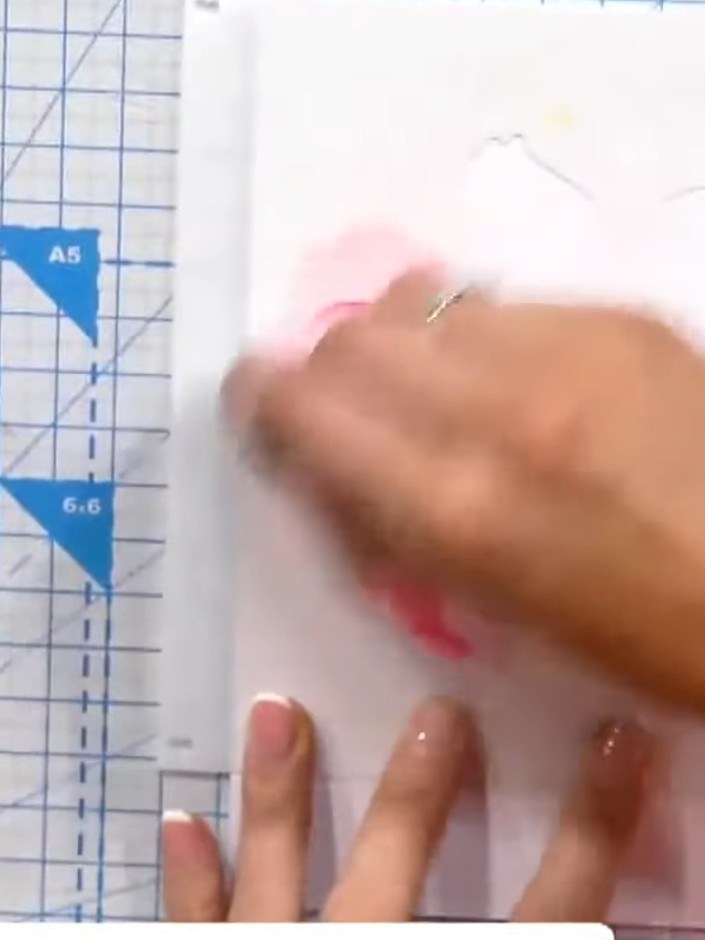
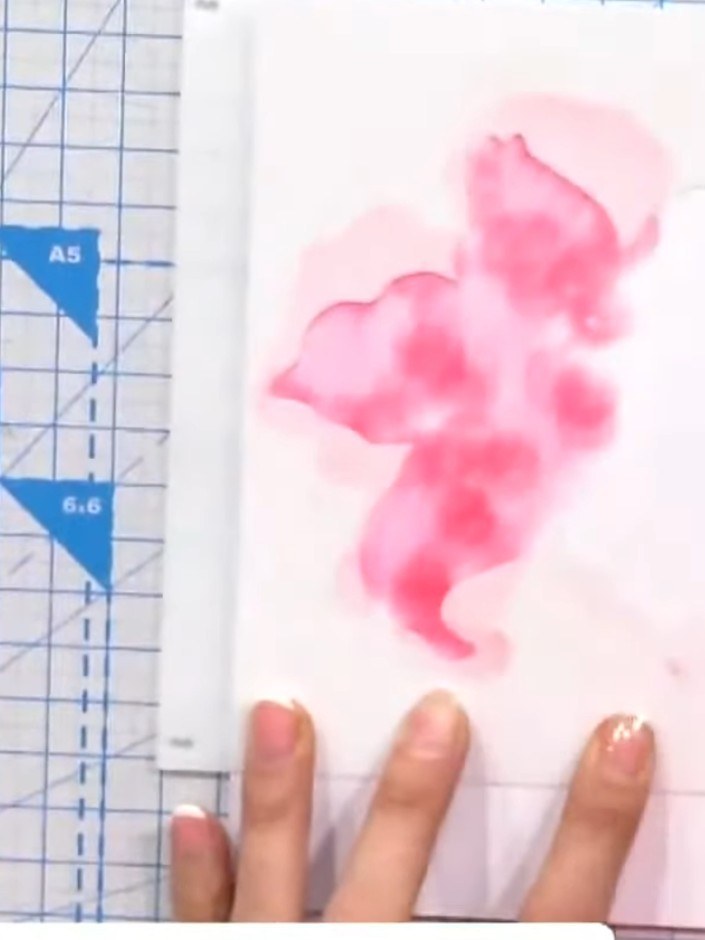
Position the first Lovely Lily stencil onto your white cardstock. Apply pink ink through the stencil using a blending tool, building up the colour gradually.
 2
Pounce pink ink through the stencil using a sponge dauber, working across all the petal areas to build up colour and texture.
 3
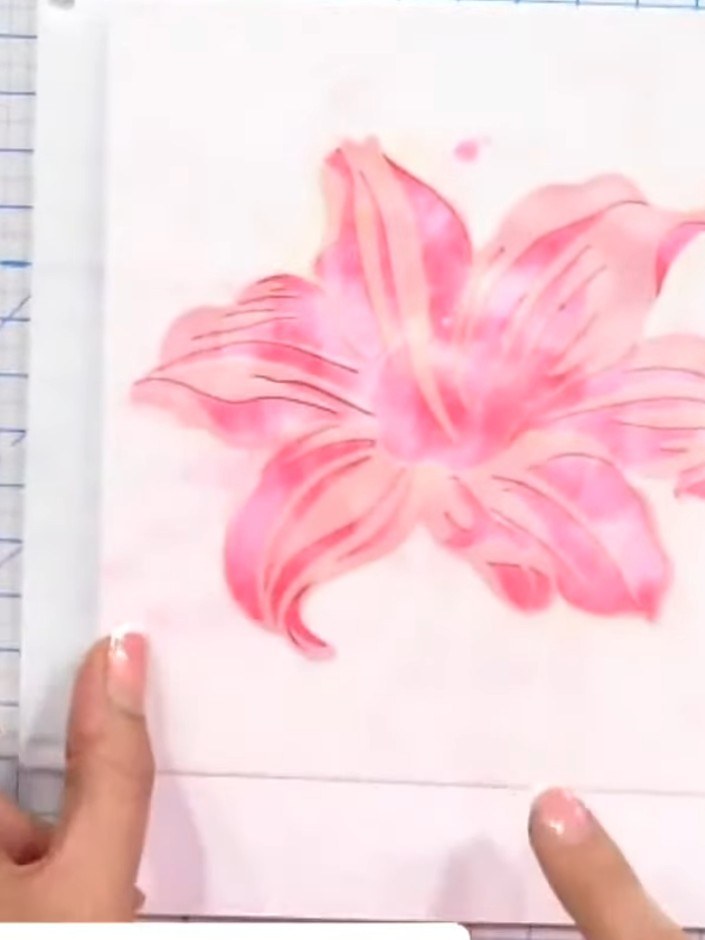
Remove the stencil carefully and observe the textured pink base layer. Don't worry if it looks uneven, as the subsequent layers will cover any imperfections.
 4
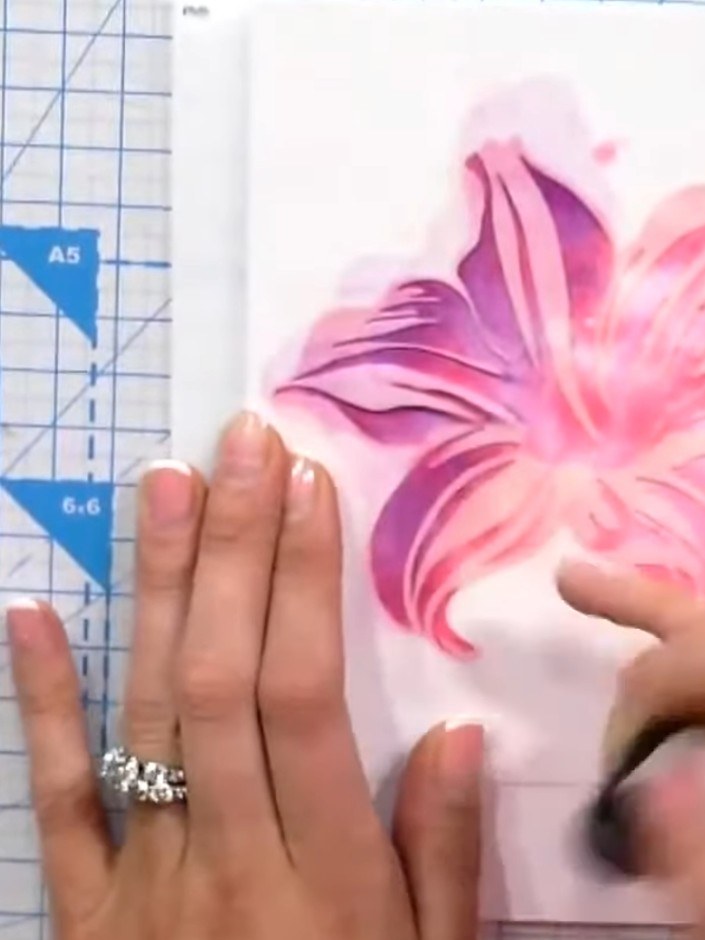
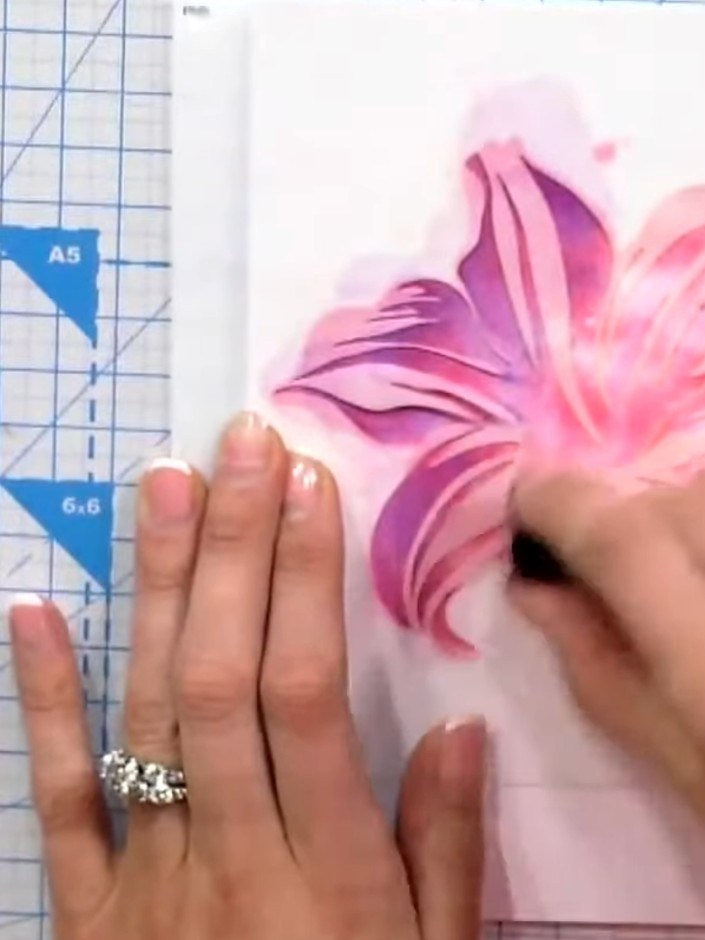
Align the second stencil layer over your first stamped image. Pounce purple ink through the stencil to add darker shading and dimension to the lily petals.
 5
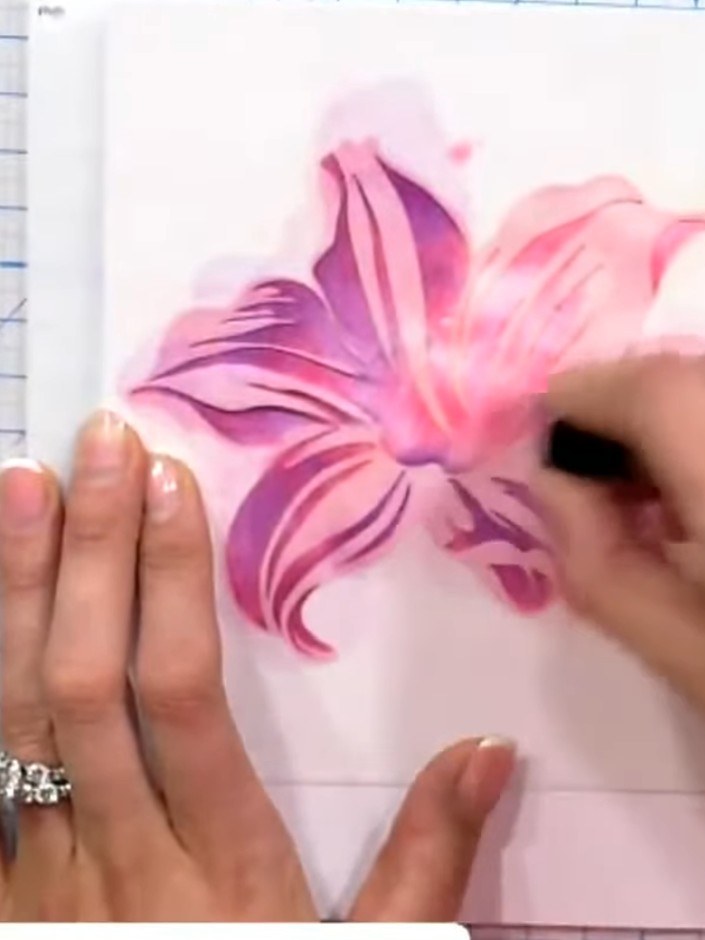
Remove the second stencil and position the third stencil over the lily design. This stencil contains the delicate stamen centres that will add fine detail to your flower.
 6
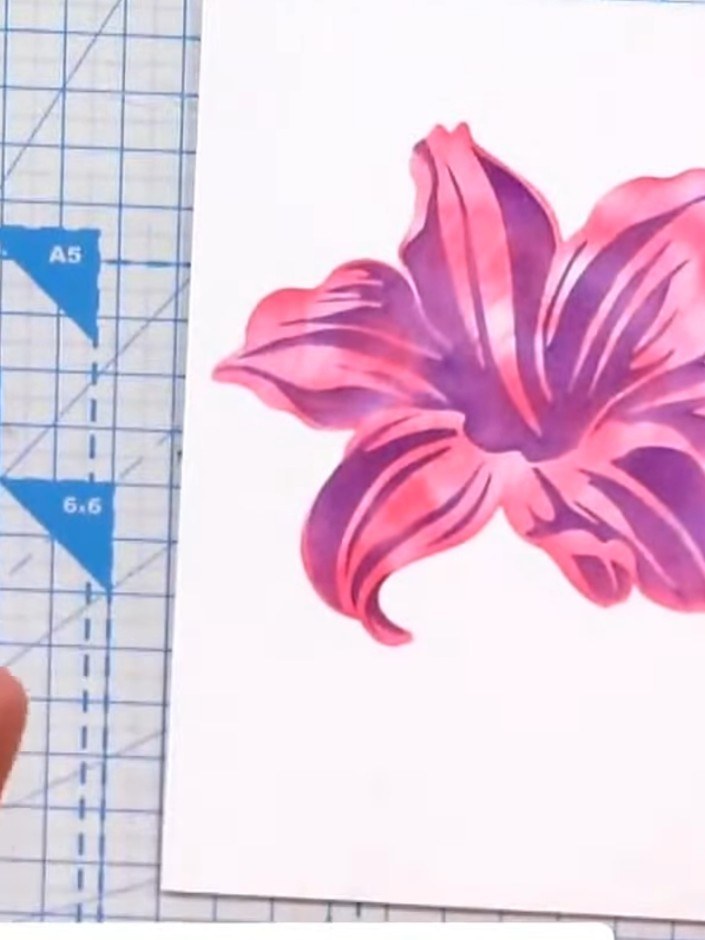
Pounce a third colour through the centre stencil layer, working carefully around the delicate detail areas. Use a darker shade such as purple or brown to add depth to the lily design.
 7
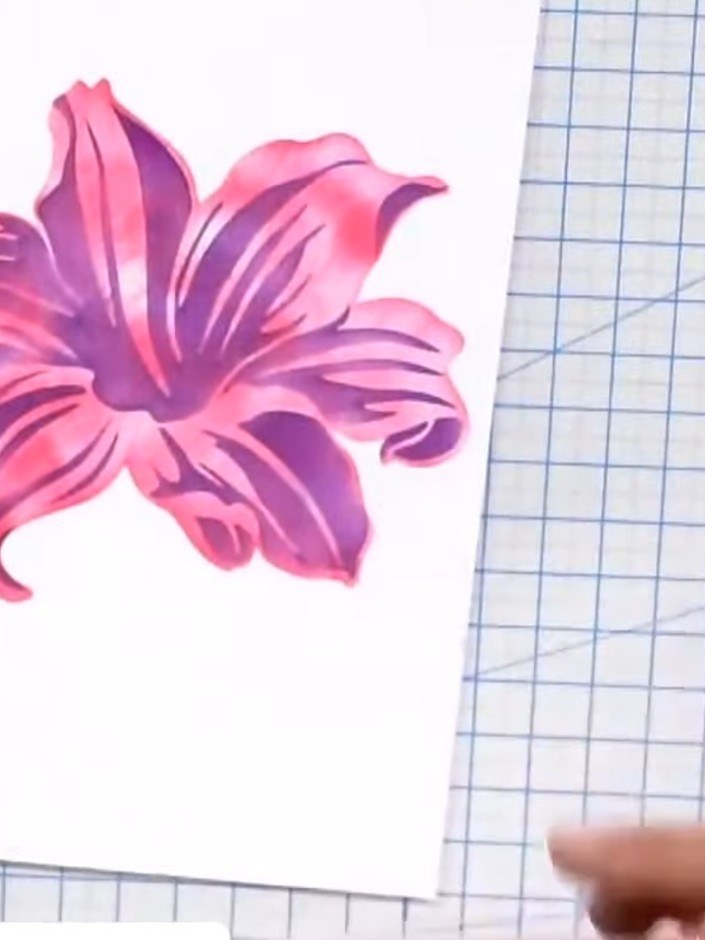
For variation, position the stamen stencil in different locations on the same flower to create multiple centres or different formations. Experiment with placement to achieve your desired effect.
 8
Once all the stencilled layers are completely dry, use the coordinating die to cut out the finished lily. This will add dimension to your card and allow the layered flower to pop from the page.
Partagez votre création avec la communauté Stamps By Me - et gardez ce tutoriel pour la prochaine fois.
Rédigé à partir de l’émission elle-même. Tous les tutoriels de nos émissions · tutoriels gratuits · en direct sur My Telly · l’ancienne présentation