Offrez à vos amis 10 £ de réduction sur leur première commande !
Parrainez un AMI








 The Friday Final Cutven. 6 nov. 10 h 00
 Community Showcaselun. 9 nov. 10 h 00
 Hobbymaker Tvlun. 9 nov. 14 h 00
Les prix sont mis à jour immédiatement. Chaque langue est notre propre traduction, pas Google.
Un projet de notre émission en direct CREATE AND CRAFT - ONE DAY SPECIAL - Retrouvez Toni pour sa première heure - Diffusée le 3 juin 22 · 03/06/2022 · à voir dès 22:30
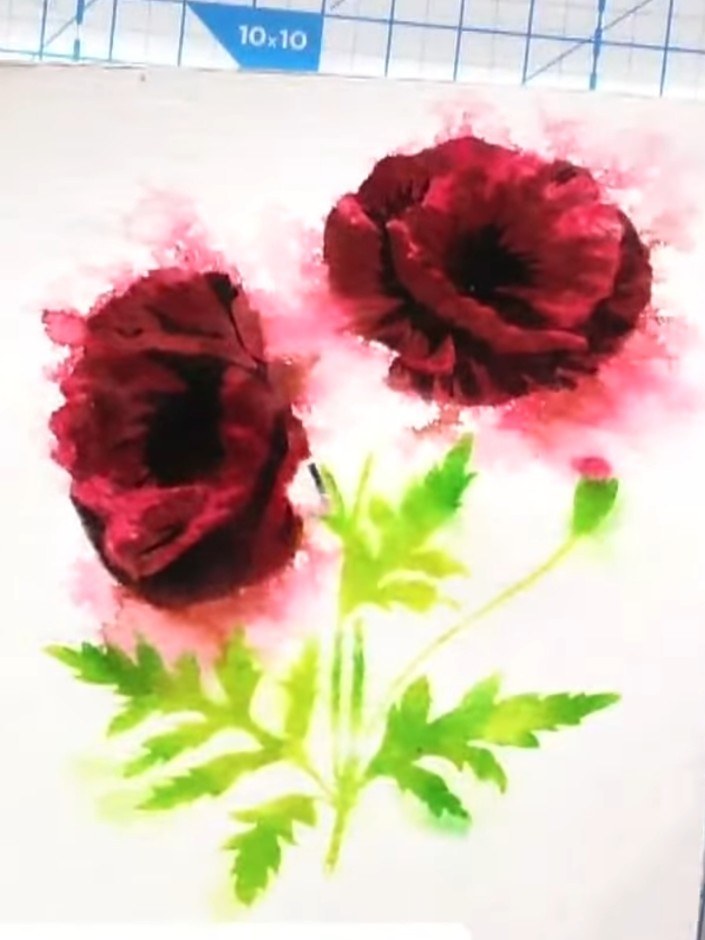
Create a beautiful watercolour poppy bouquet card featuring vibrant red poppies with delicate green foliage. Using a layered stencilling technique with ink pads and water spray, you'll achieve a soft, artistic watercolour effect with natural colour bleeding. The result is an expressive, painterly card perfect for any occasion.
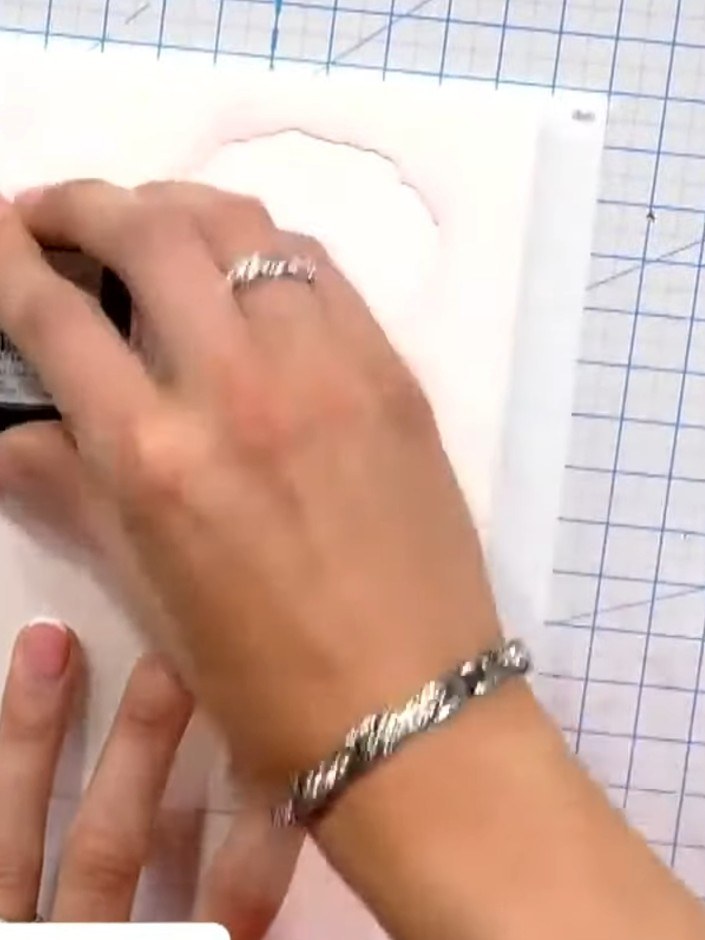
Place the Poppy Bouquet stencil onto white watercolour cardstock. Use an ink pad to pounce red ink through the stencil, creating the poppy shapes.
▶ voir cette étape (22:30)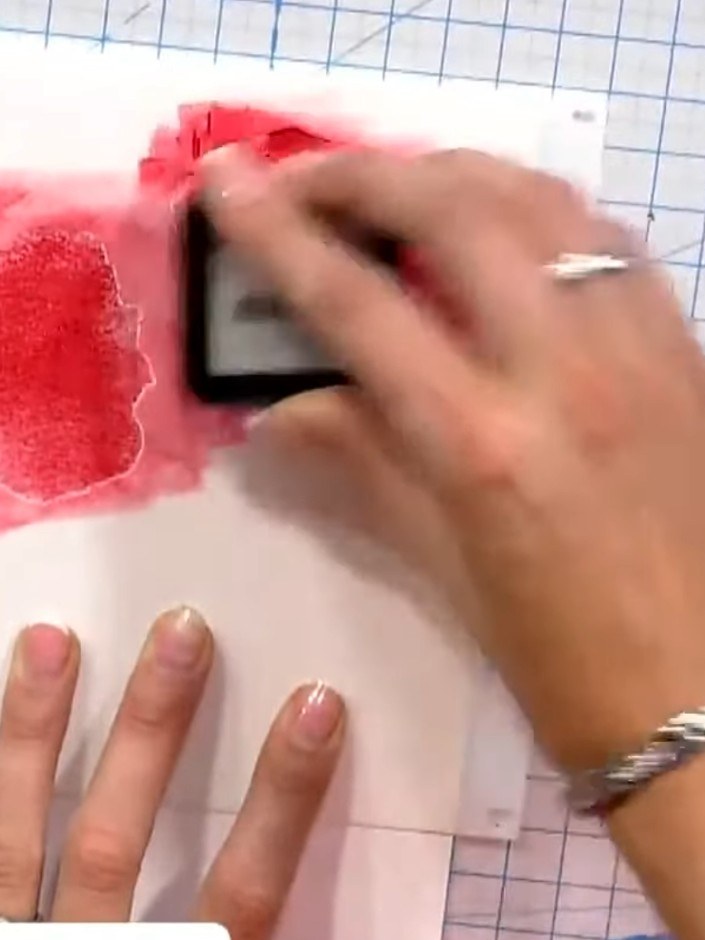
Pounce the red ink pad directly through the poppy stencil onto white card, pushing the ink down rather than dragging it. Create multiple poppy shapes on the card.
▶ voir cette étape (22:45)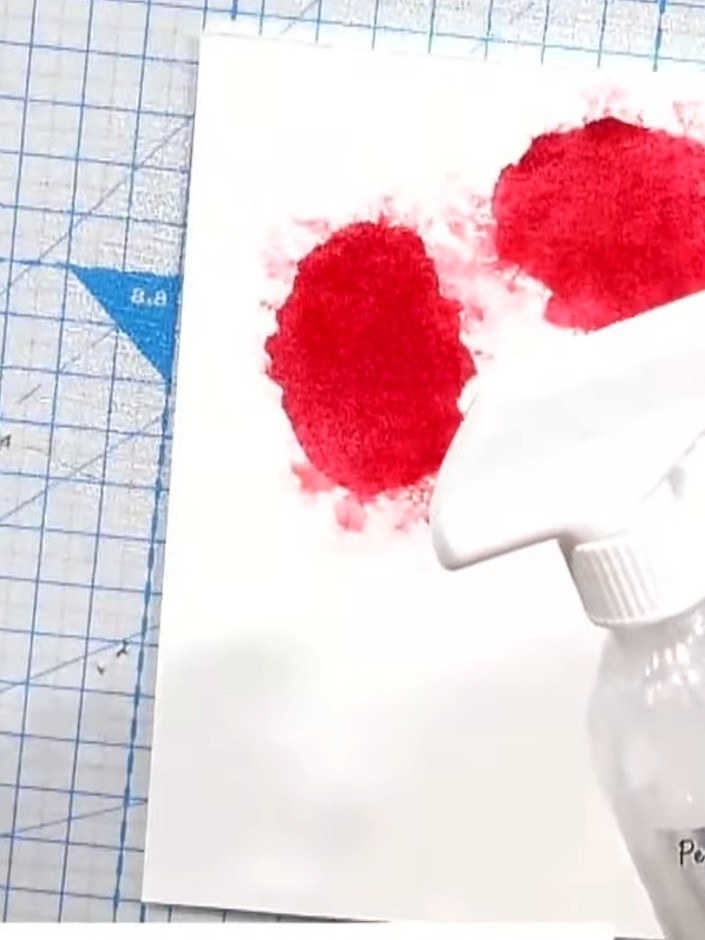
Retirez le pochoir et vaporisez légèrement de l'eau sur la zone encrée pour laisser l'encre diffuser et créer un effet aquarelle.
▶ voir cette étape (23:00)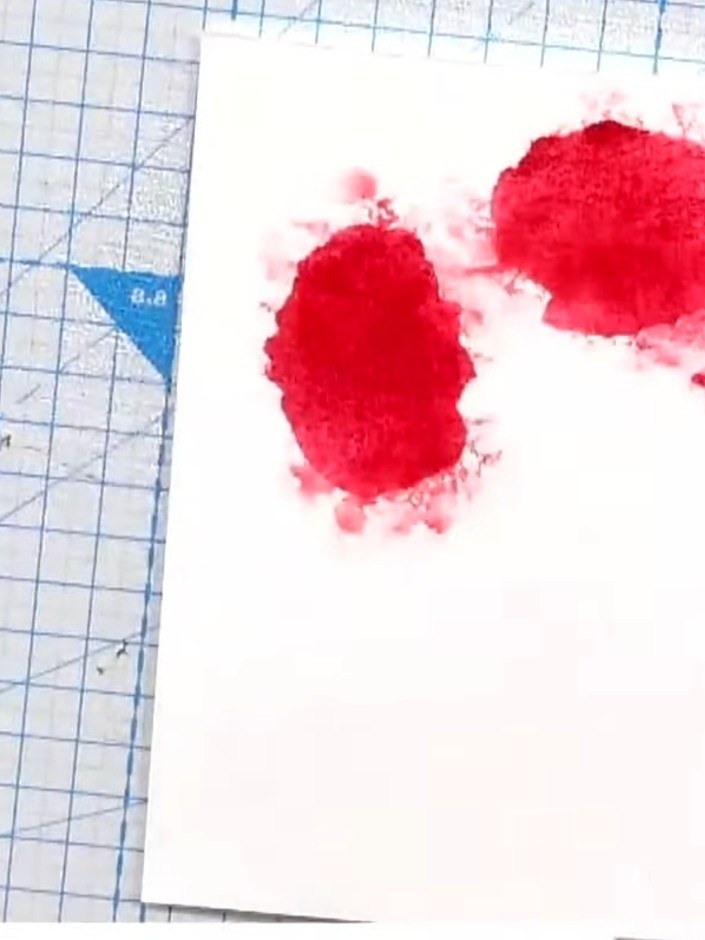
For a sparkly finish, spray the wet ink with glitter spray instead of water and allow to dry.
▶ voir cette étape (23:15)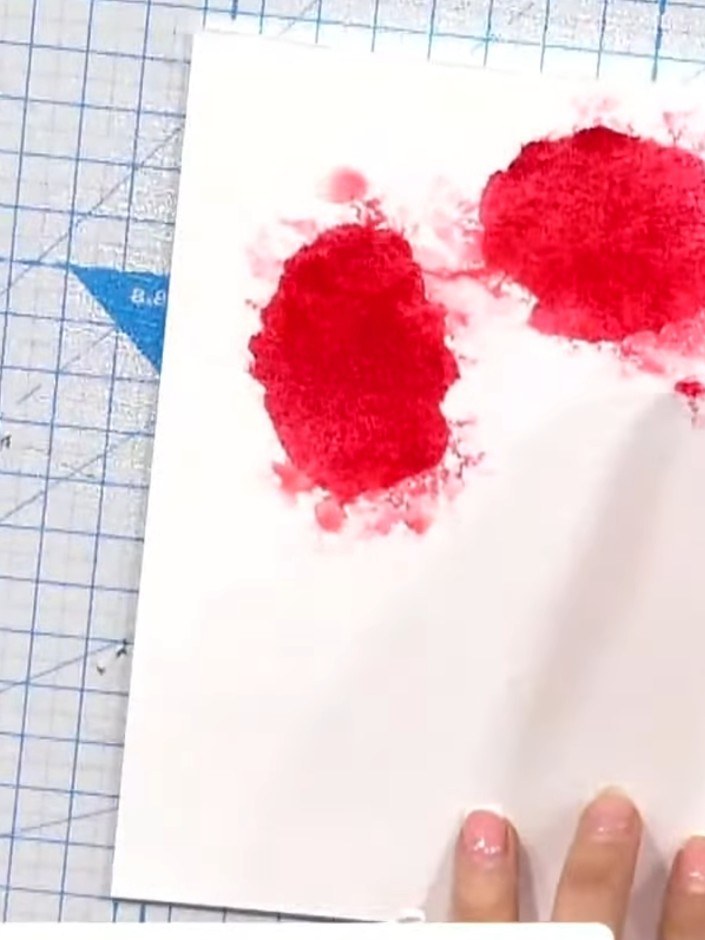
Dry the card with a heat gun, working quickly to set the red ink. Move the heat gun over all the stamped areas until the ink is completely dry.
▶ voir cette étape (23:30)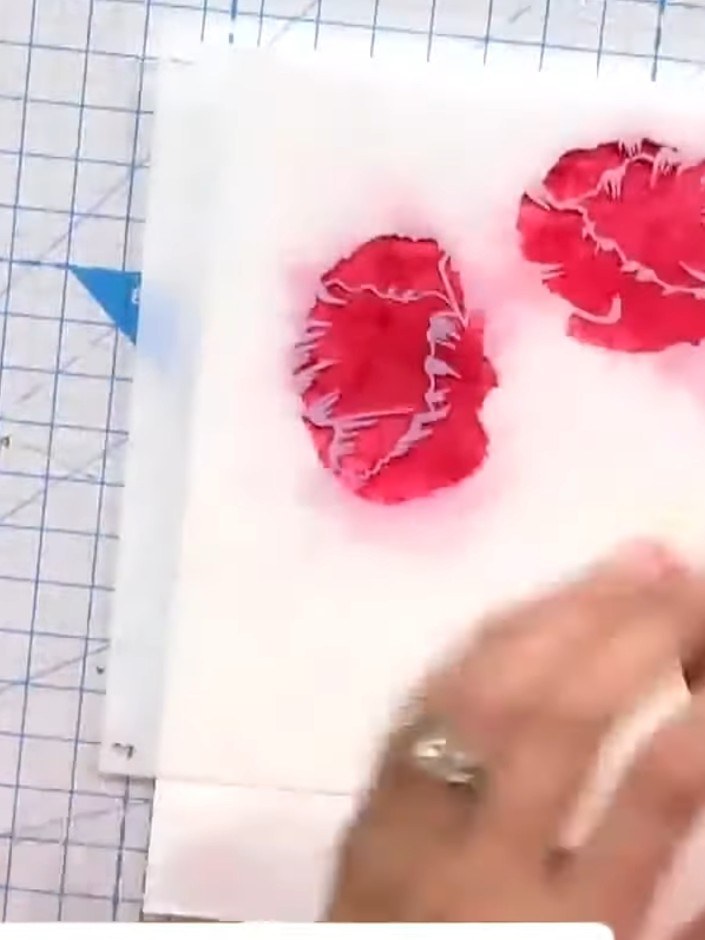
Position the second layer of the poppy stencil over the first stamped images. Use a darker red ink pad to add definition and depth to the petals, creating dimension in the bouquet.
▶ voir cette étape (24:00)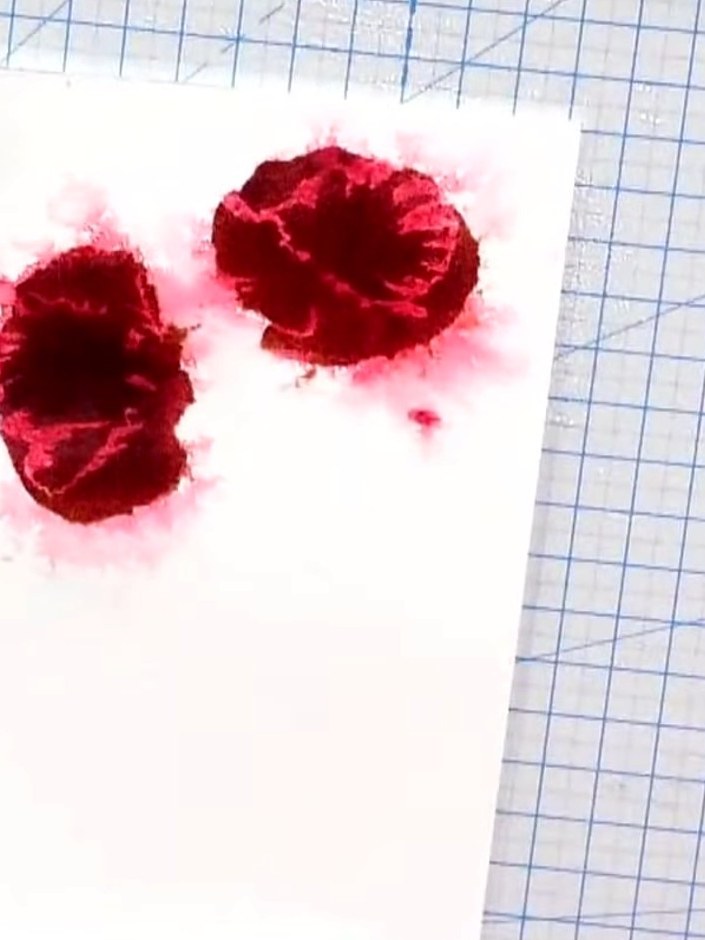
Pounce the second layer of red ink through the stencil onto the poppies. Lightly spray with water again to blend the colours together.
▶ voir cette étape (24:30)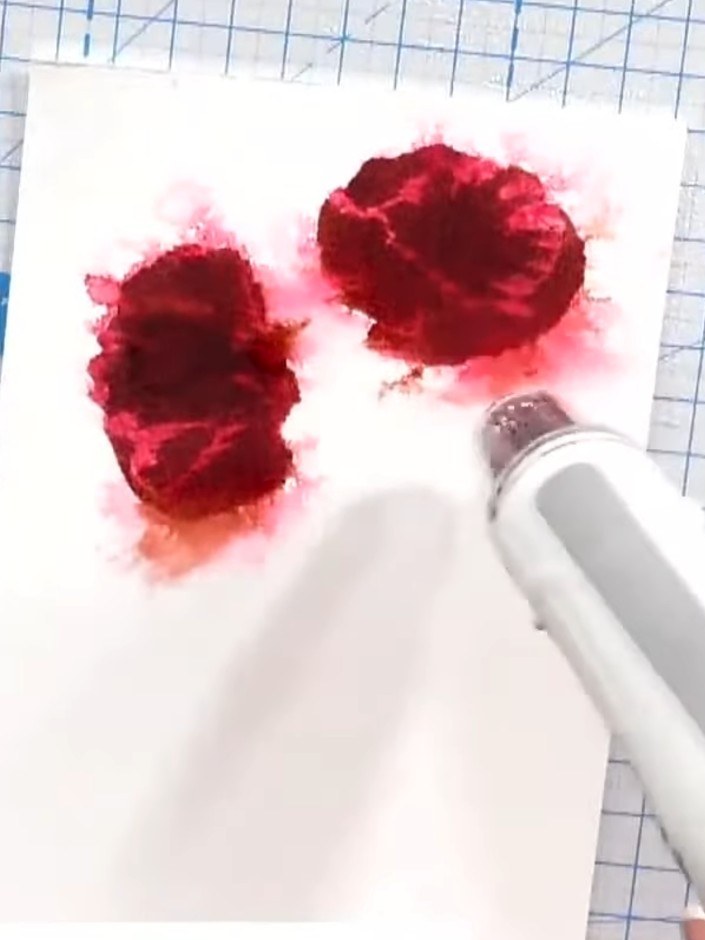
Dry the stencilled poppies thoroughly with the heat gun to set the ink before proceeding to the next layer.
▶ voir cette étape (25:00)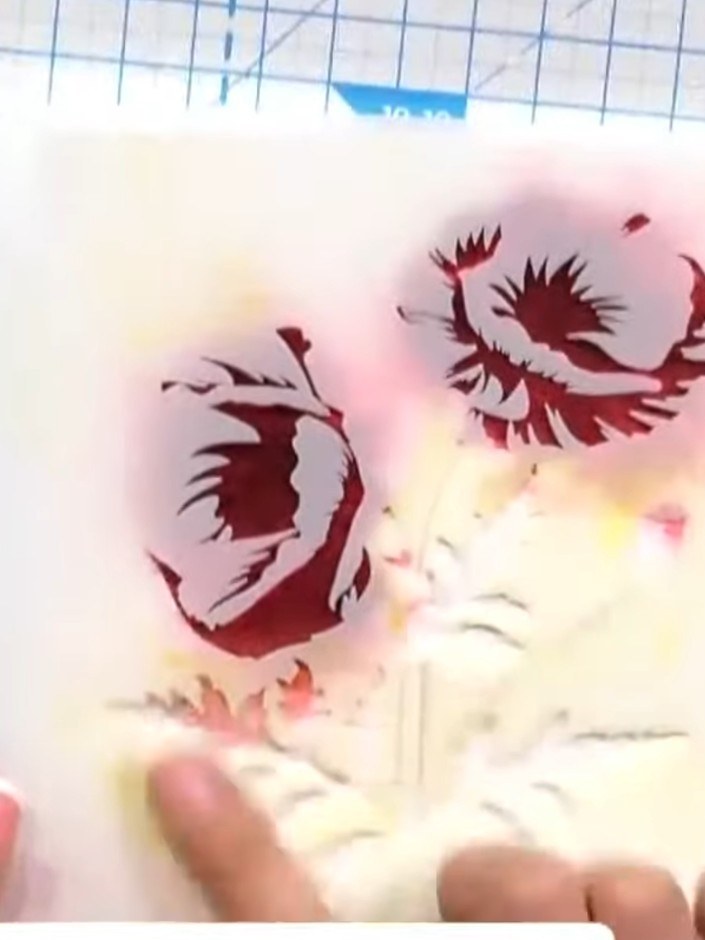
Position the third stencil layer over your card and apply black or dark ink using a pouncing motion to add the leaf and stem details to complete the poppy design.
▶ voir cette étape (25:30)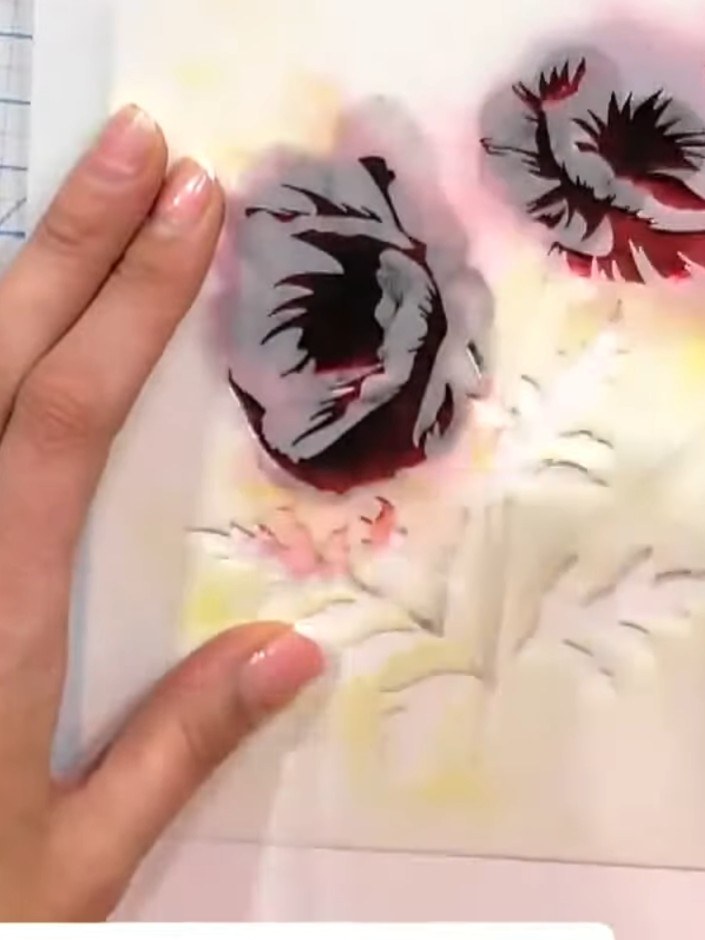
Use a heat gun to completely dry the card. Move the heat gun over all areas of the watercoloured design until fully dry.
▶ voir cette étape (26:00)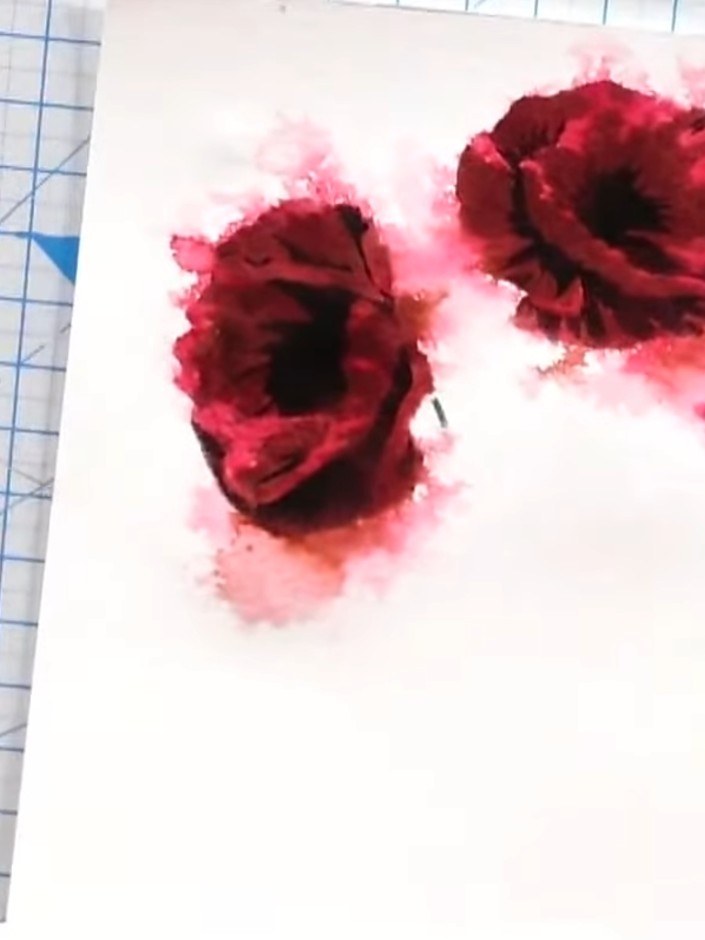
Use the IZINK Touch Mini Ink Pad Sticks in gold or metallic colours to add accents to the flower centres for extra impact.
▶ voir cette étape (26:30)Rédigé à partir de l'émission elle-même. Découvrez tous les guides de nos émissions · tutoriels gratuits · regarder en direct sur My Telly
