Offrez à vos amis 10 £ de réduction sur leur première commande !
Parrainez un AMI








 The Friday Final Cutven. 6 nov. 10 h 00
 Community Showcaselun. 9 nov. 10 h 00
 Hobbymaker TVlun. 9 nov. 14 h 00
Les prix sont mis à jour immédiatement. Chaque langue est notre propre traduction, pas Google.
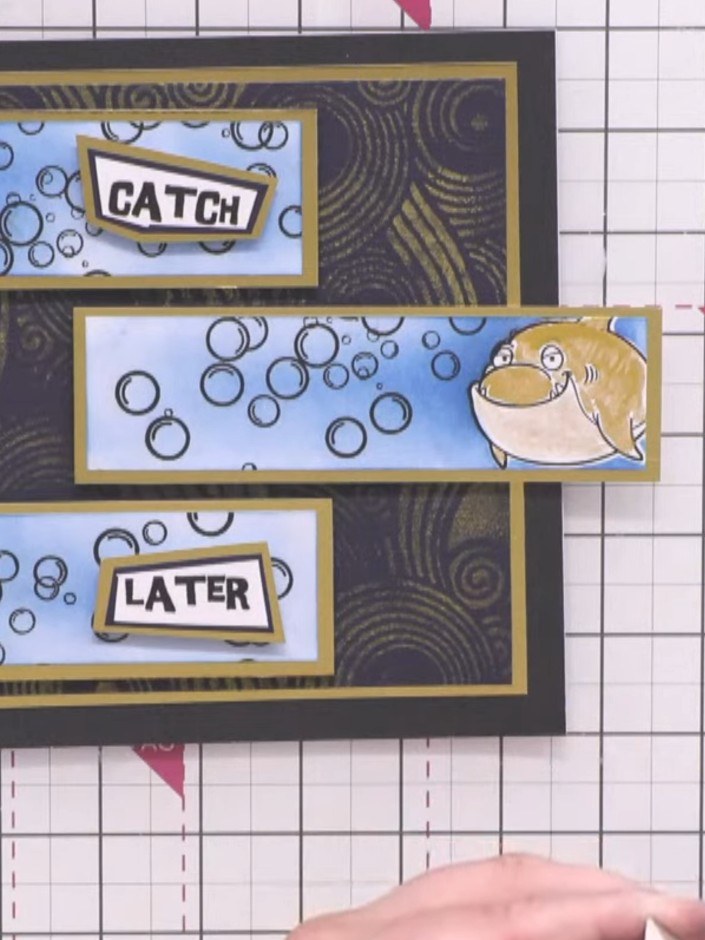
Une création de notre émission en direct MONDAY MADNESS - Rejoignez Simon d'AVAGO-INK pour ses derniers produits et ses idées créatives - Diffusé le 8 août 22 · 08/08/2022
Réalisez une superbe carte carrée en plusieurs couches, avec trois adorables créatures marines sur un fond bleu orné d'algues dorées au pochoir. Ce projet associe tamponnage, masquage, peinture à l'aquarelle et pochoir pour créer une carte pleine de fantaisie, avec un texte en plusieurs parties « CATCH » et « LATER », et un joyeux trio poisson, pieuvre et requin.
 1
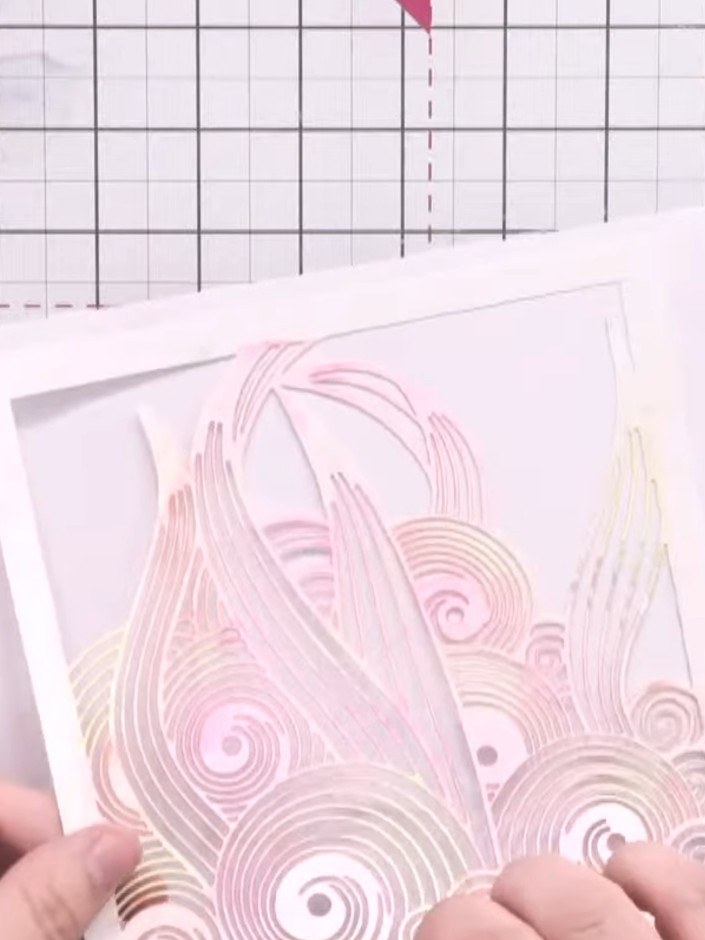
Secure a piece of blue cardstock to your work surface with low-tack tape. Position the seaweed swirls stencil over the cardstock, ensuring it is centred and secure.
 2
Add a small amount of water to the gold confetti ink to activate it and create a creamy texture.
 3
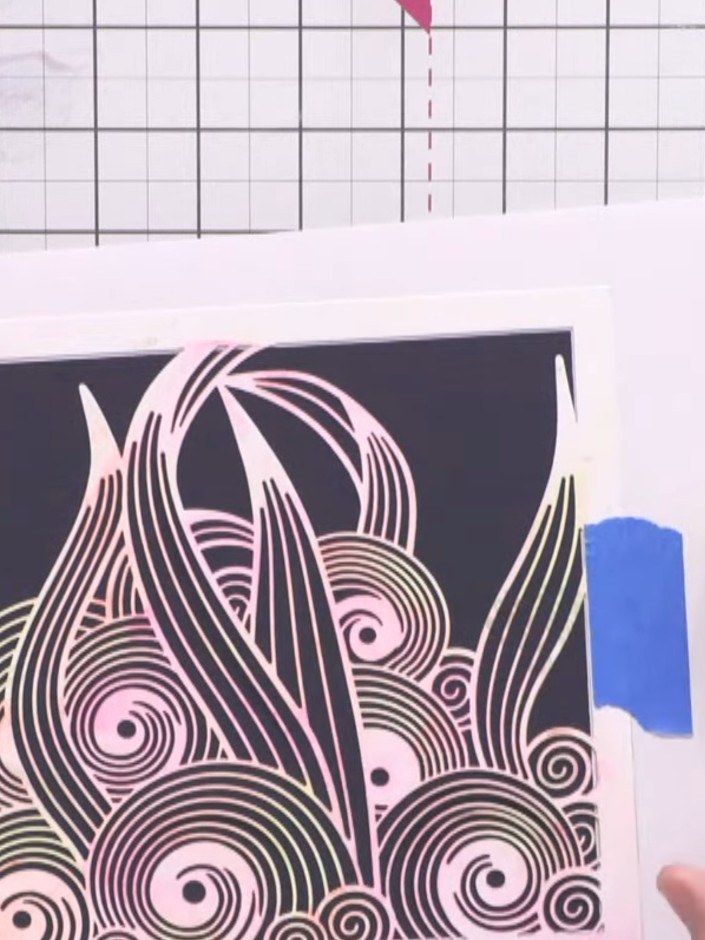
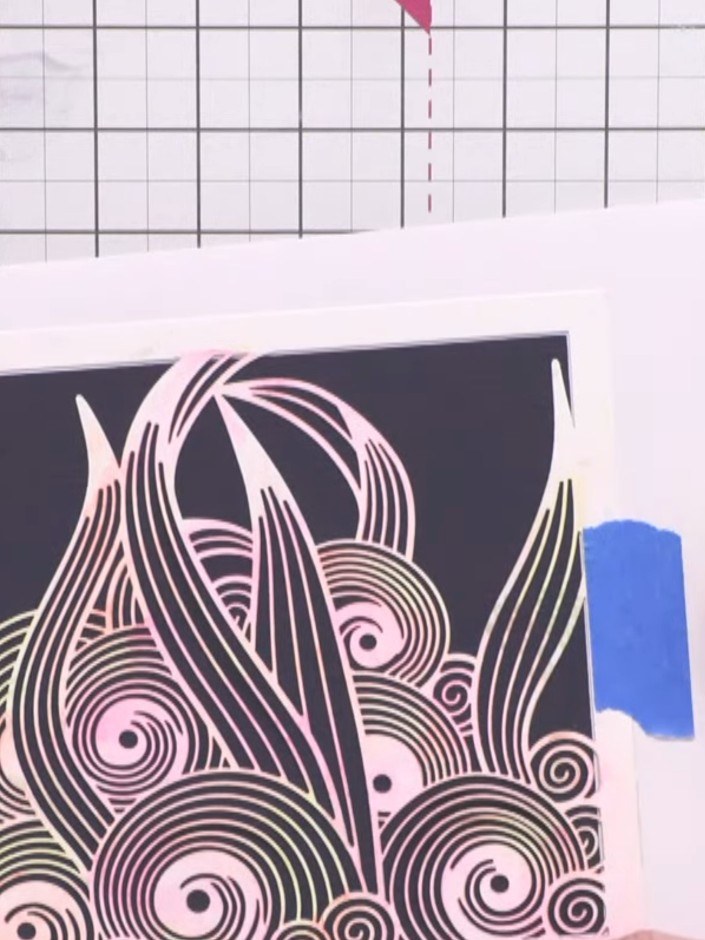
Use a damp sponge to apply the metallic gold paint through the seaweed stencil. Work from the edges towards the centre, rotating the card to build up the pattern across the surface.
 4
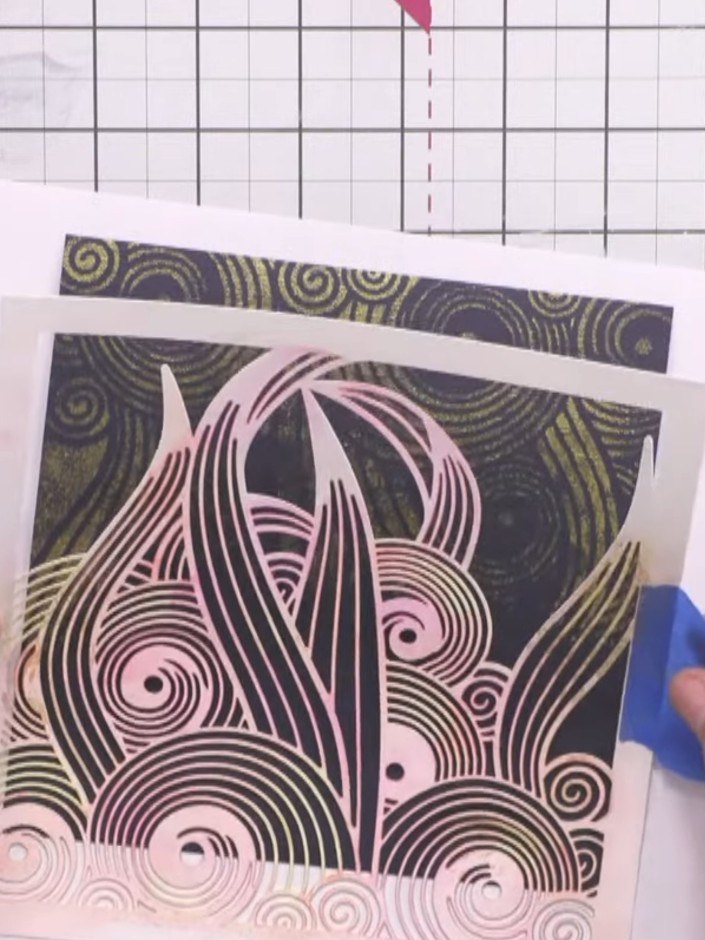
Carefully remove the stencil from the black card and set aside to allow the gold ink to dry completely. Once dry, mount the decorated panel onto a white card base.
 5
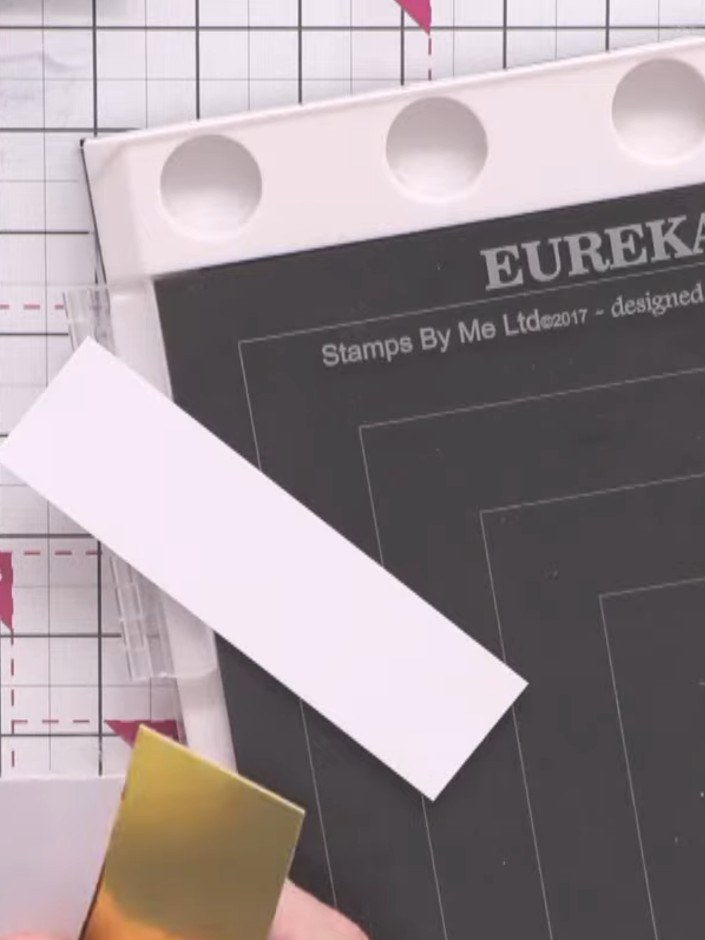
Cut three white card strips measuring 5.5 by 1.5 inches. Prepare matching gold backing strips slightly larger than the white strips.
 6
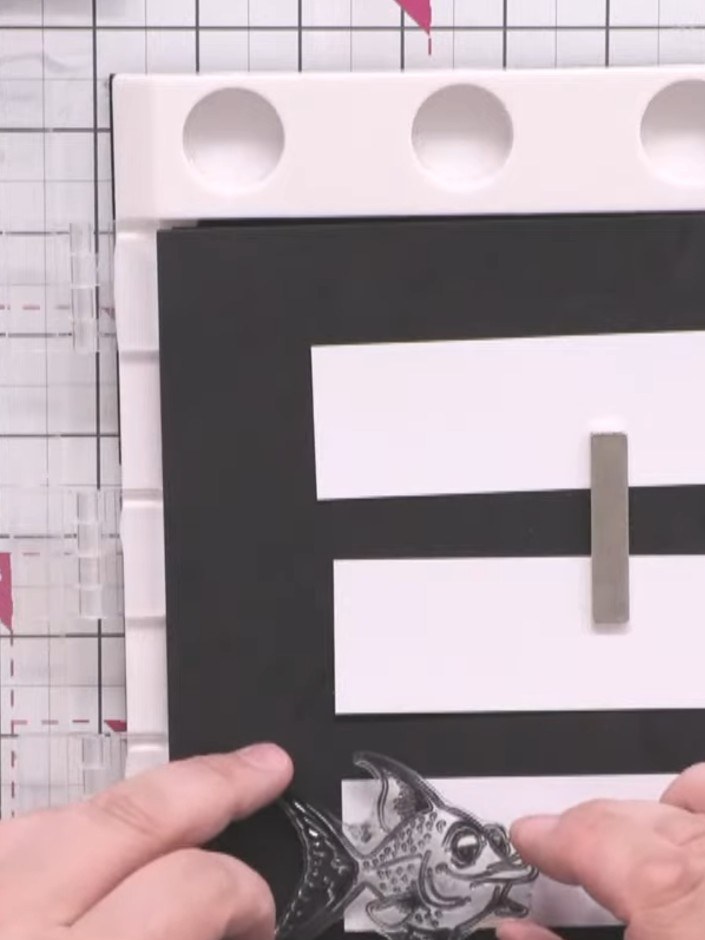
Stamp the fish and octopus images onto the white strips using Versafine Onyx Black ink. Position the stamps so the characters face inwards towards each other to create visual interest across the card.
 7
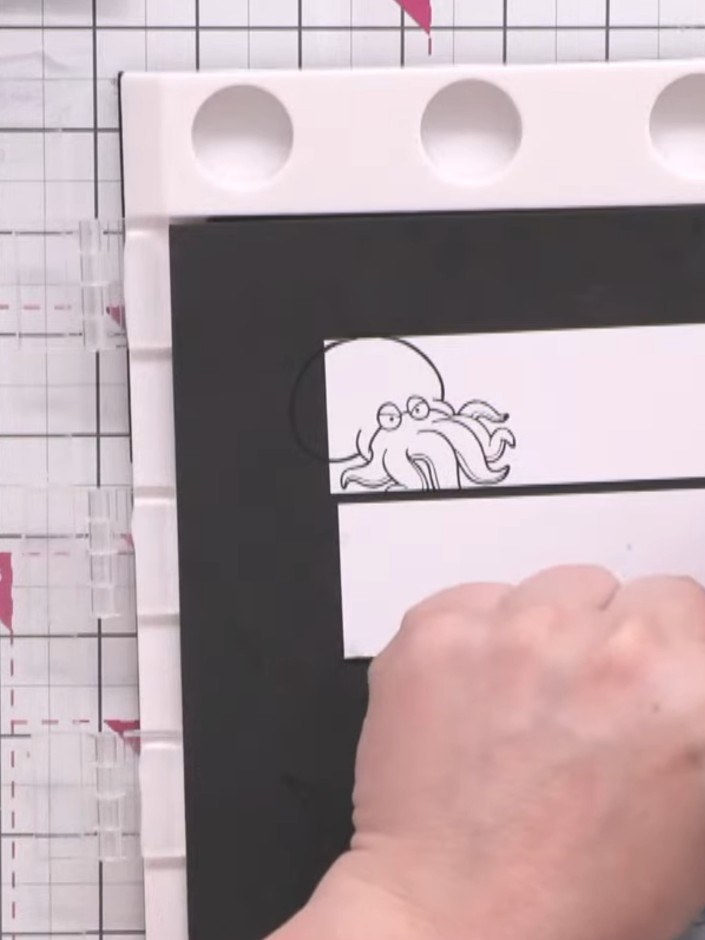
Cut out paper masks in the same shapes as your stamped fish characters. Position the masks over the stamped images on your card to protect them during the next steps.
 8
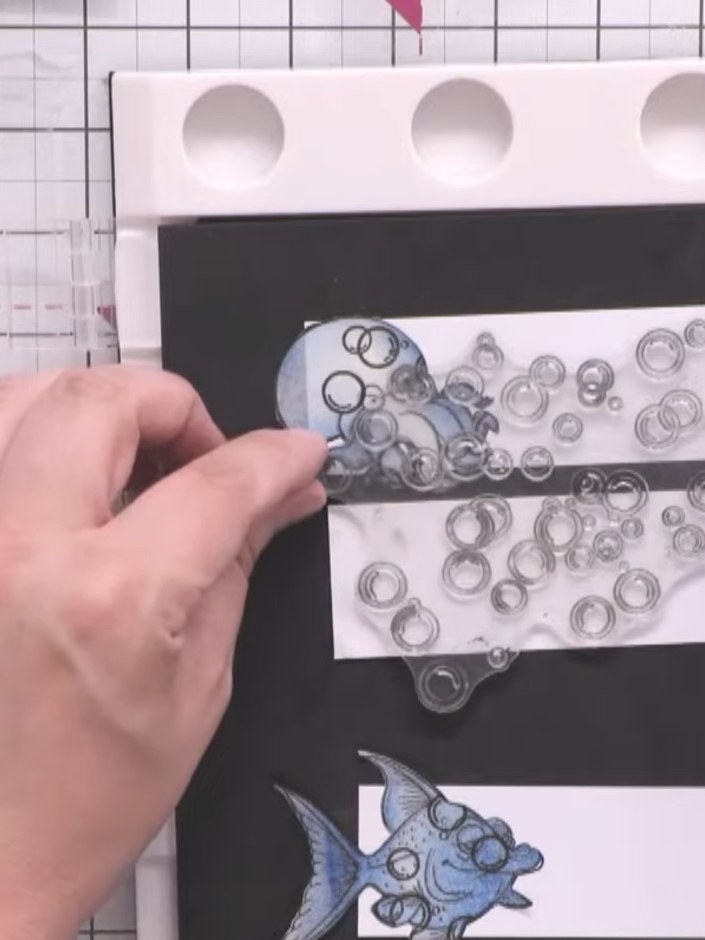
Stamp large bubble clusters from the bubble and twine collection over the masked characters using black Versafine ink to break up the white areas.
 9
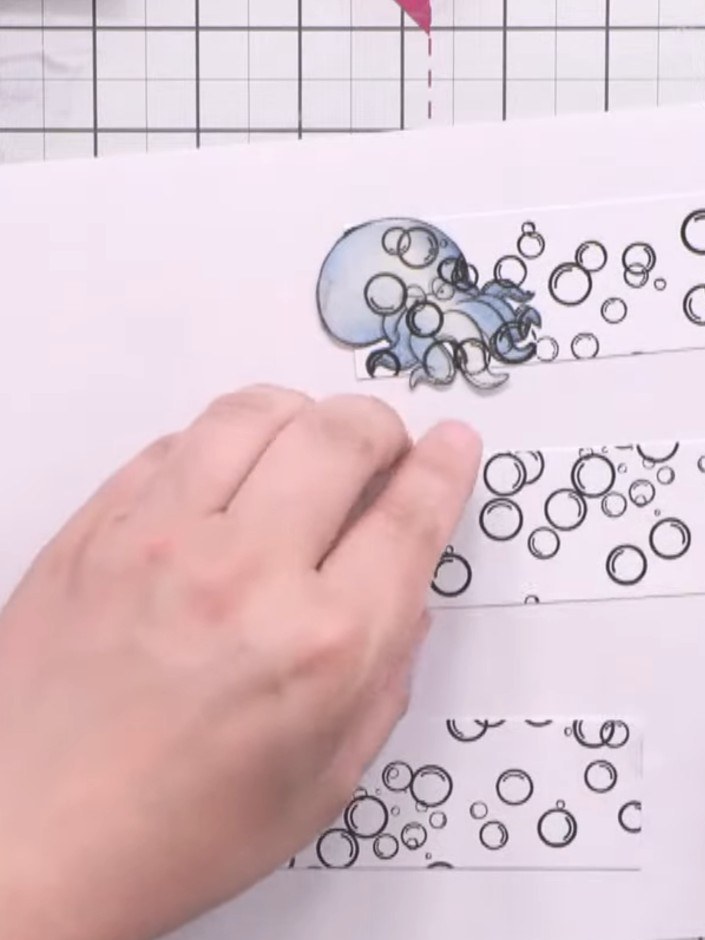
Apply blue pigment ink around the masked fish characters using a blending tool, working from the edges inward. Darken the edges and fade the colour towards the centre for a soft, graduated effect.
 10
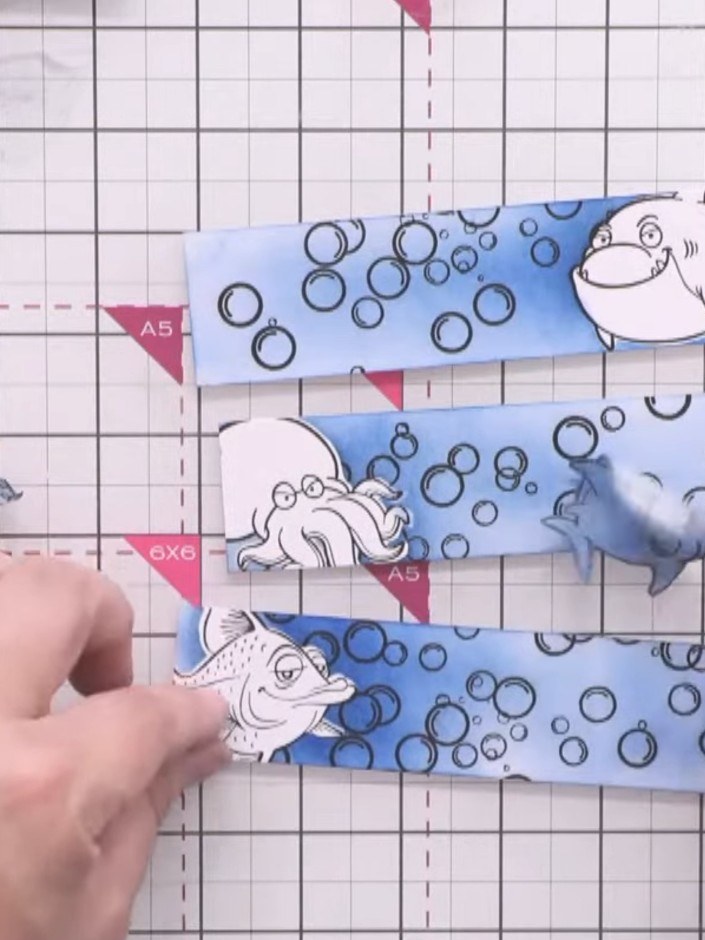
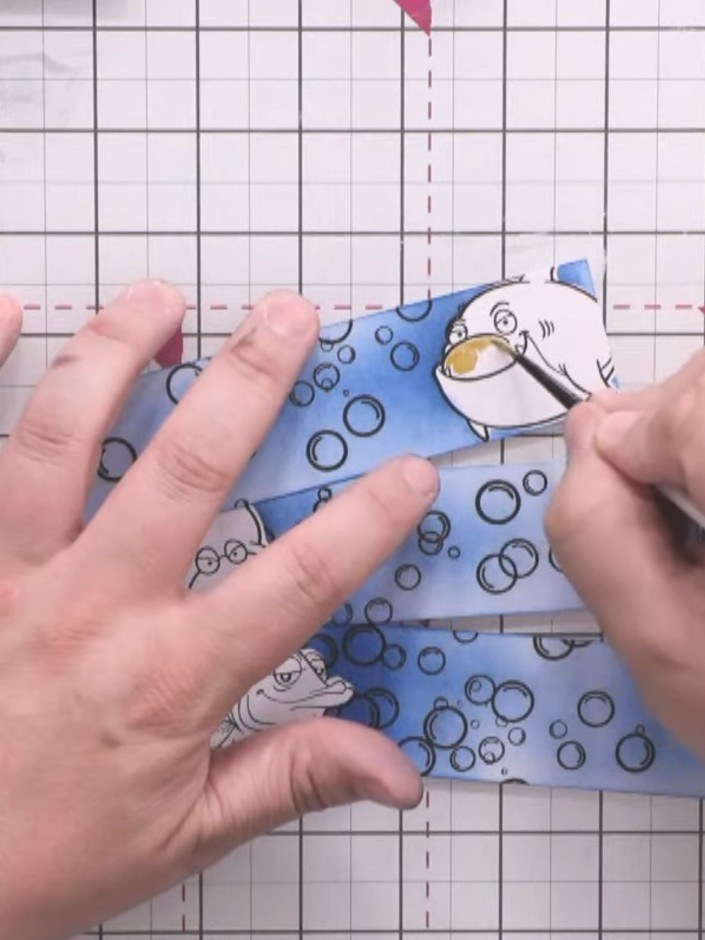
Remove the masks from the stamped images to reveal crisp white character outlines against the blue stencilled background. Using a wet brush, add gold metallic paint highlights to selected areas of the design.
 11
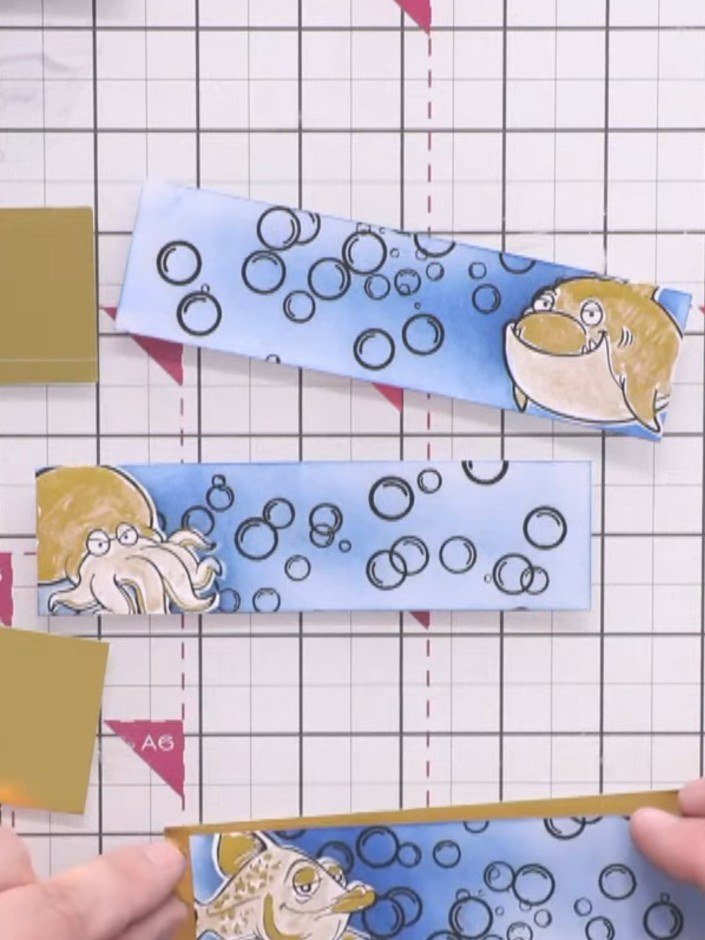
Heat set the painted elements using a heat gun to prevent the paint from smudging. Hold the heat gun over each painted piece until the paint is completely dry.
 12
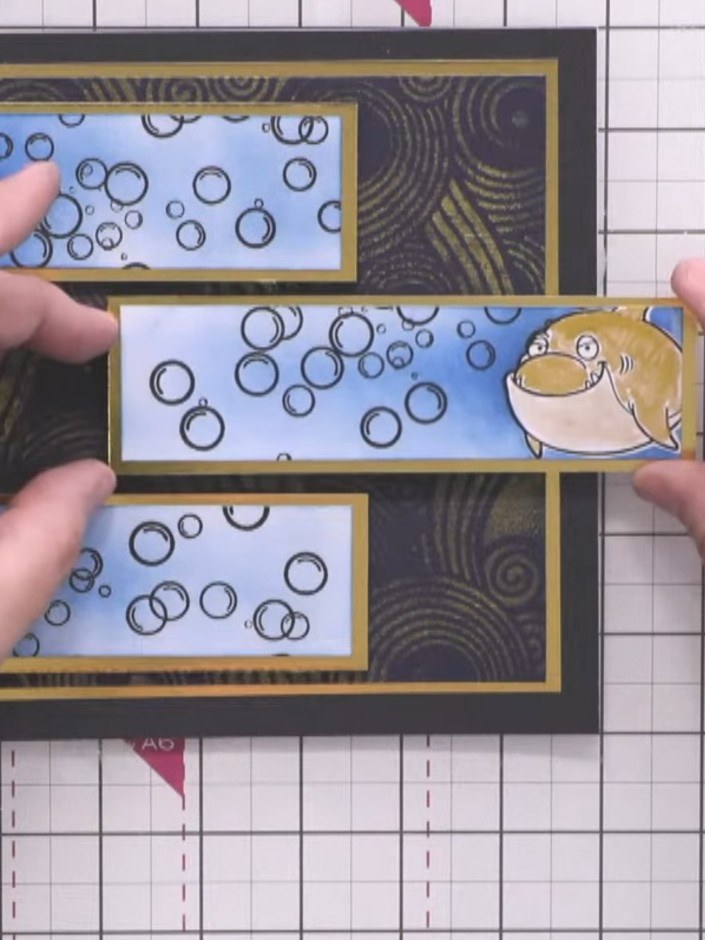
Mount each decorated blue strip onto its corresponding gold backing card. Attach all three mounted strips to the stencilled background using foam pads for dimension.
 13
Stamp the 'Catch You Later' sentiment onto white card using black ink. Cut the sentiment into two pieces and mount each onto blue card with gold backing. Position the sentiment pieces down the centre of the card.
Partagez votre création avec la communauté Stamps By Me - et gardez ce tutoriel pour la prochaine fois.
Rédigé à partir de l’émission elle-même. Tous les tutoriels de nos émissions · tutoriels gratuits · en direct sur My Telly · l’ancienne présentation