Offrez à vos amis 10 £ de réduction sur leur première commande !
Parrainez un AMI








 The Friday Final Cutven. 6 nov. 10 h 00
 Community Showcaselun. 9 nov. 10 h 00
 Hobbymaker TVlun. 9 nov. 14 h 00
Les prix sont mis à jour immédiatement. Chaque langue est notre propre traduction, pas Google.
Une création de notre émission en direct QUATTRO-D ATELIER GRATUIT - Retrouvez Toni pour un moment RIEN QU'À VOUS, à la découverte du merveilleux univers de Q-D - Diffusion : 24 août 22 · 24/08/2022
Create a beautiful textured peony card with bold, vibrant colours and dimensional detail. This quick and elegant design combines stamped floral imagery with confetti ink colouring and 3D embossing folder texture for a raised surface effect. The result is a striking card perfect for any occasion, featuring rich tones and eye-catching depth.
 1
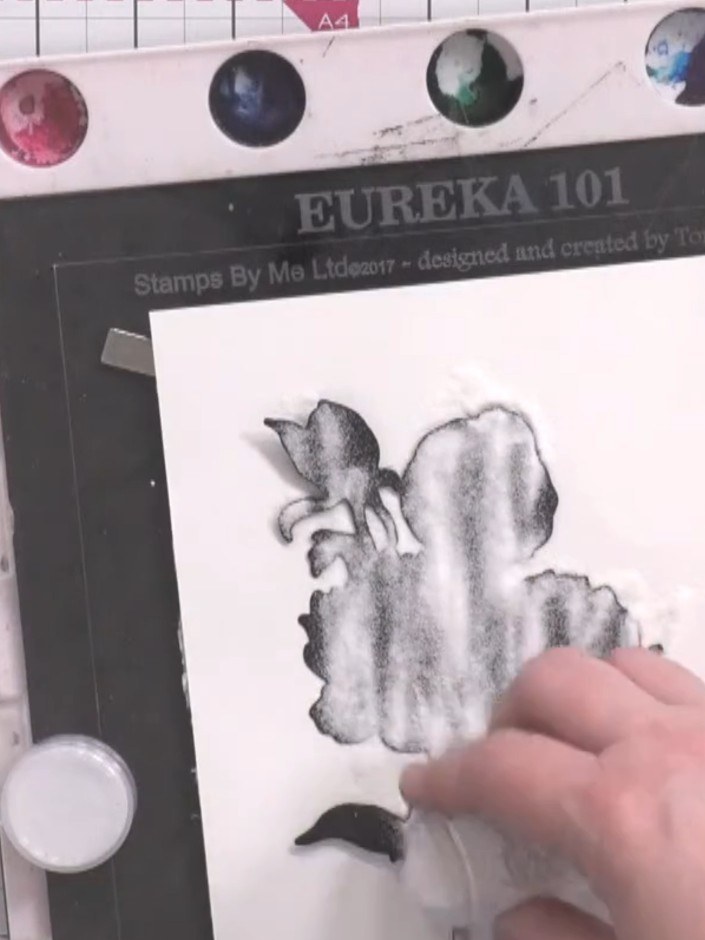
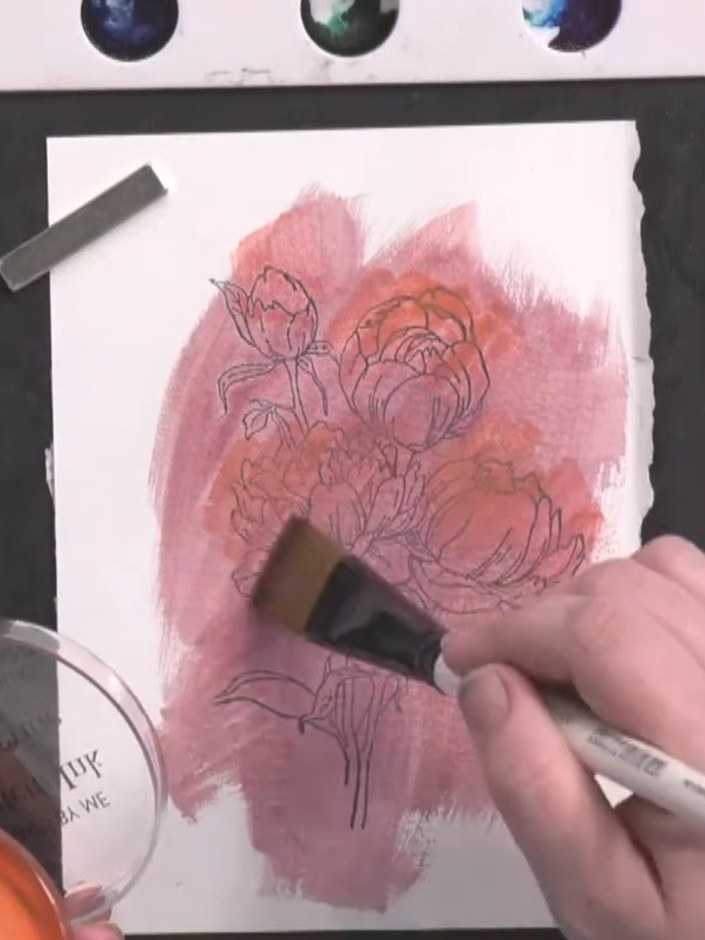
Stamp the peony image onto white card stock using black ink. Secure the stamp to the card and press firmly to transfer the design. Position the stamped image on your work surface ready for colouring.
 2
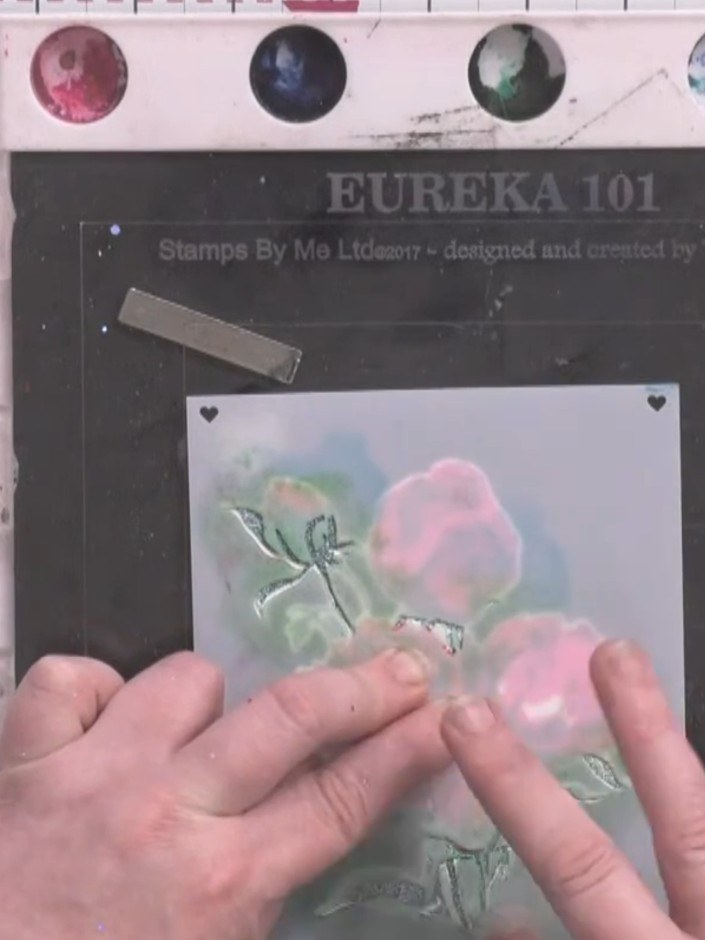
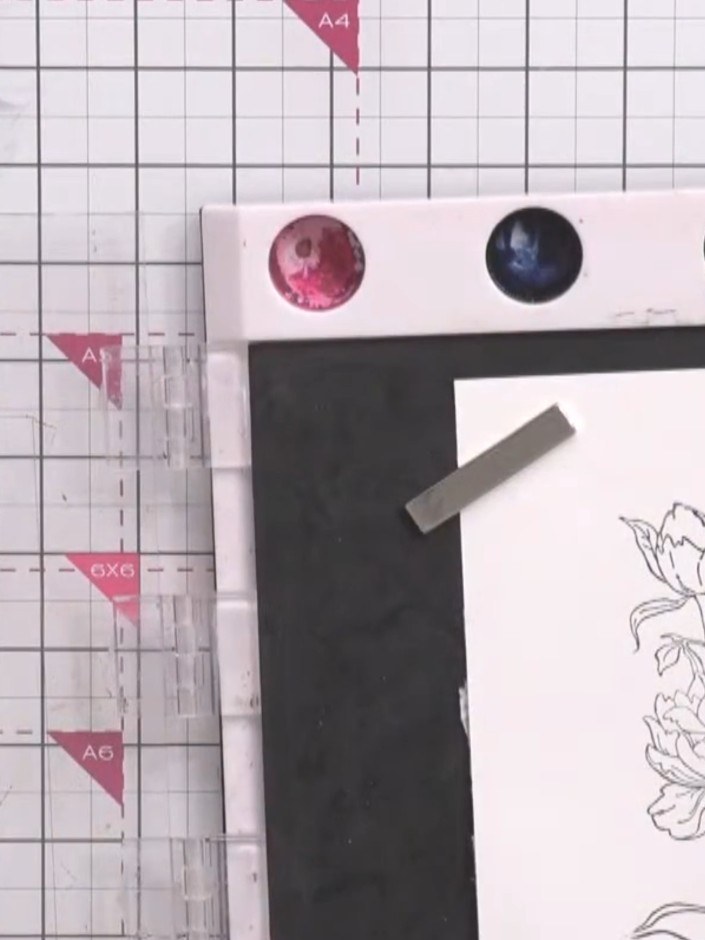
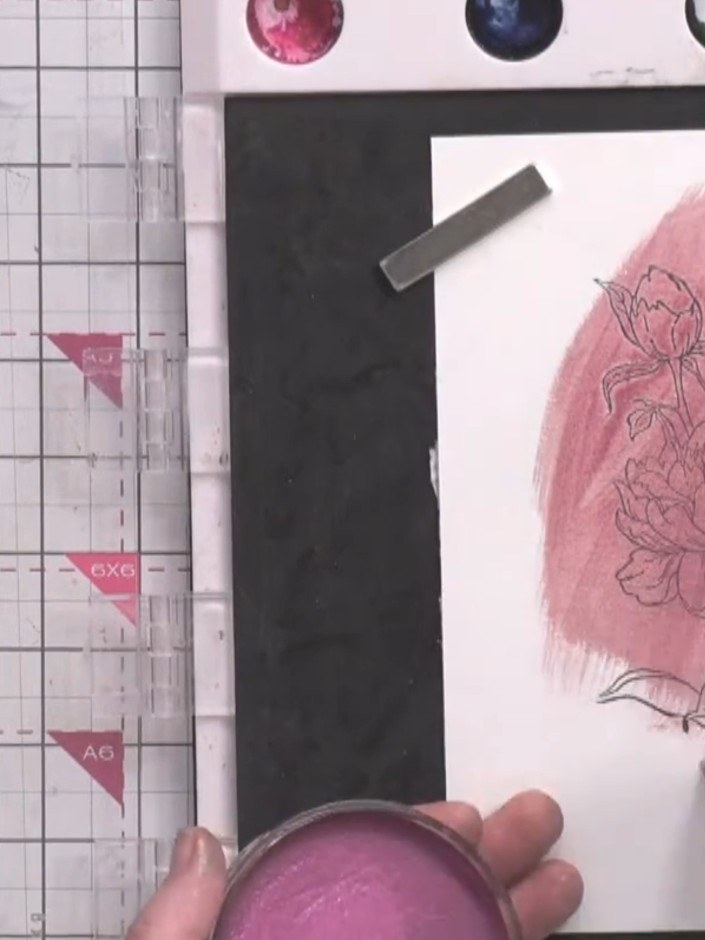
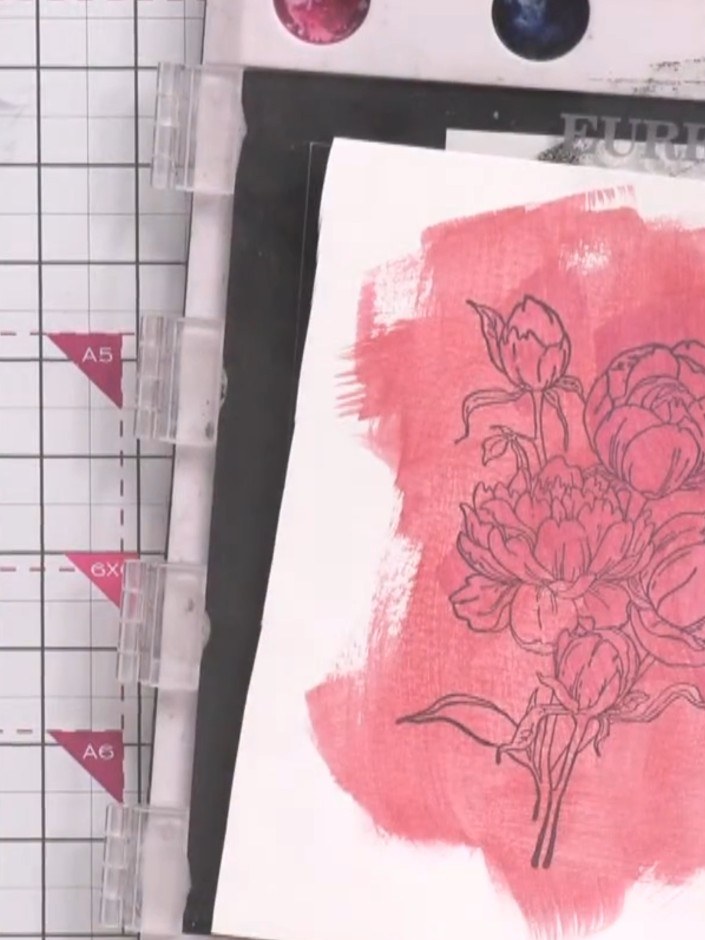
Apply Confetti Ink colours directly to the stamped peony image using a brush. Add Blush and Grape tones to build up colour on the flowers and background.
 3
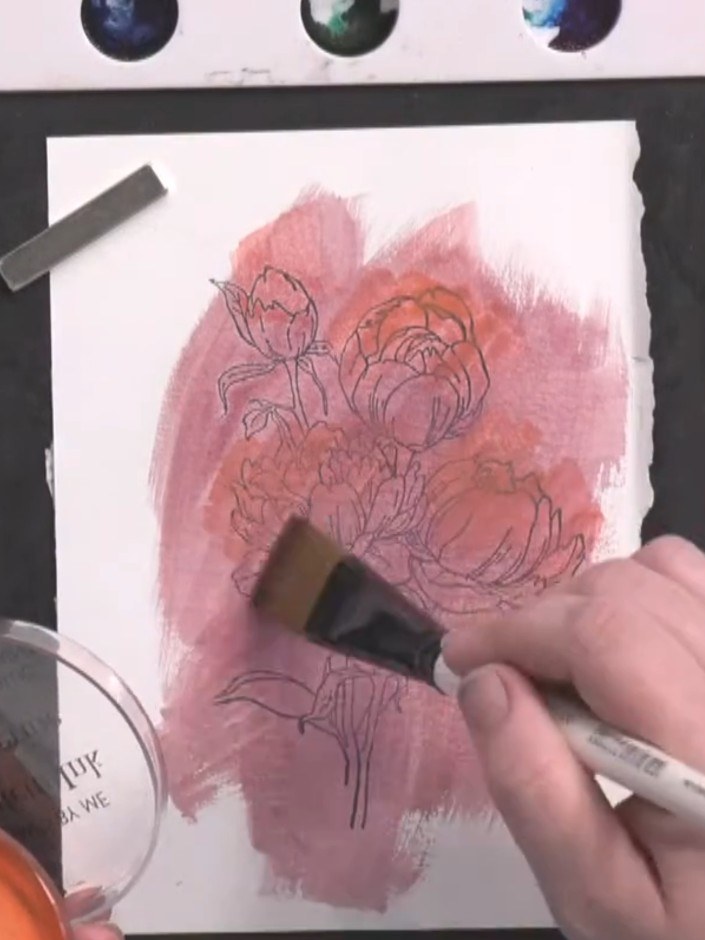
Using a blending brush, add tangerine confetti ink to selected areas of the stamped image for additional colour variation. Apply the ink lightly over the pink background to create depth and warmth.
 4
Allow the inks to dry completely before proceeding to the next step.
 5
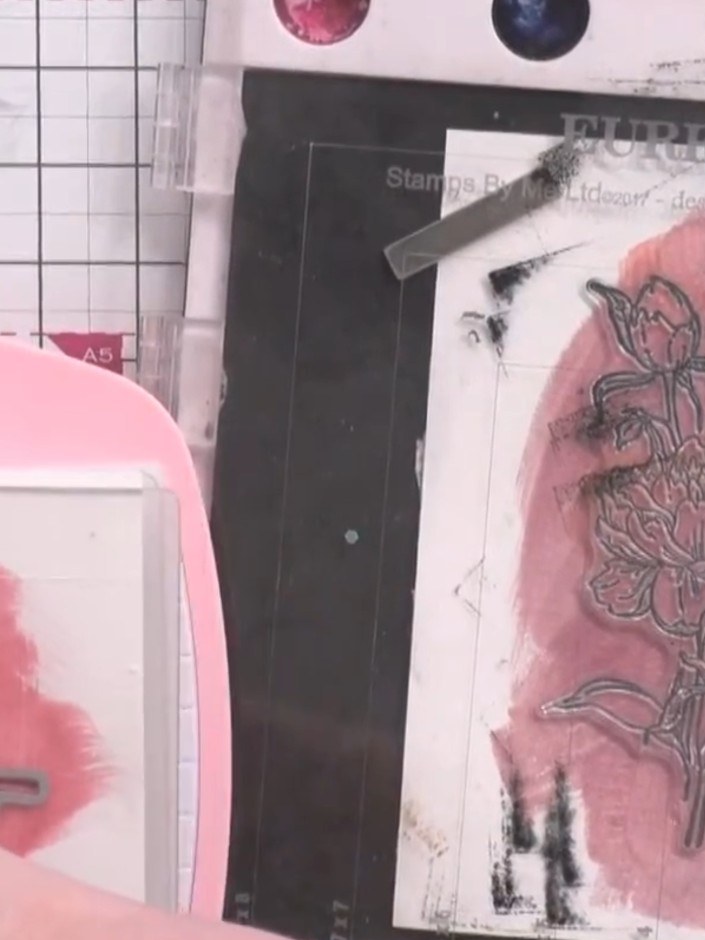
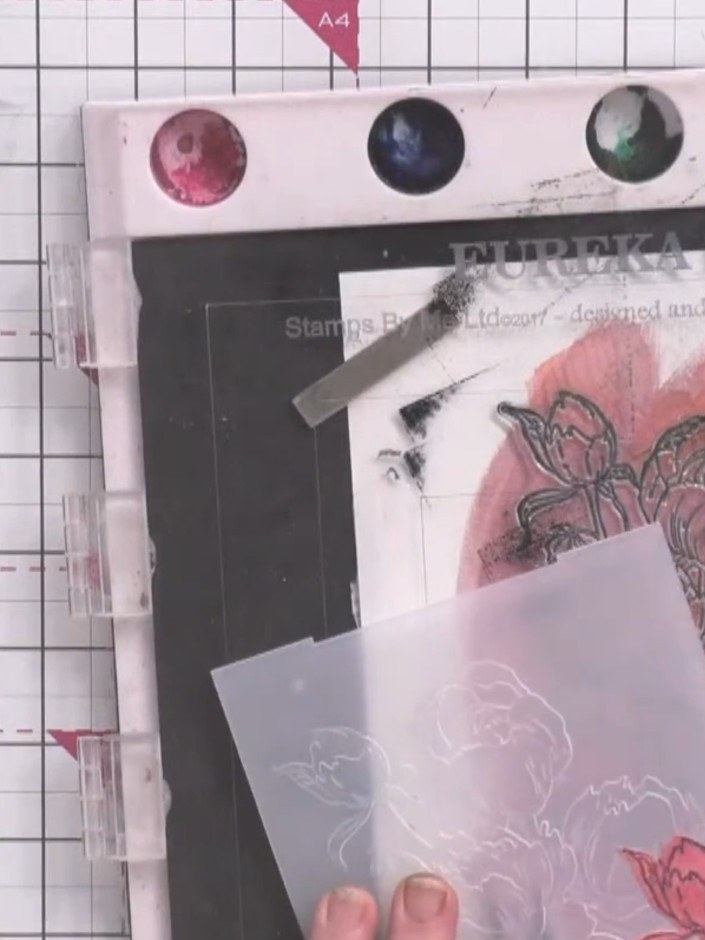
Place the coloured card into the 3D embossing folder. Run it through the embossing machine to add texture and dimension to the peony design.
 6
Remove the card from the die-cutting machine and carefully peel away the embossing folder. Admire the raised, textured effect that brings dimension and life to your peony design.
Partagez votre création avec la communauté Stamps By Me - et gardez ce tutoriel pour la prochaine fois.
Rédigé à partir de l’émission elle-même. Tous les tutoriels de nos émissions · tutoriels gratuits · en direct sur My Telly · l’ancienne présentation