Offrez à vos amis 10 £ de réduction sur leur première commande !
Parrainez un AMI








 The Thursday DropDemain 18 h 00
 The Friday Final Cutven. 6 nov. 10 h 00
 Community Showcaselun. 9 nov. 10 h 00
Les prix sont mis à jour immédiatement. Chaque langue est notre propre traduction, pas Google.
Une création de notre émission en direct HSN PRODUCT INSPIRATION - Rejoignez-moi pour une émission pleine de bonne humeur, diffusée le 8 septembre 2026 · 08/09/2026
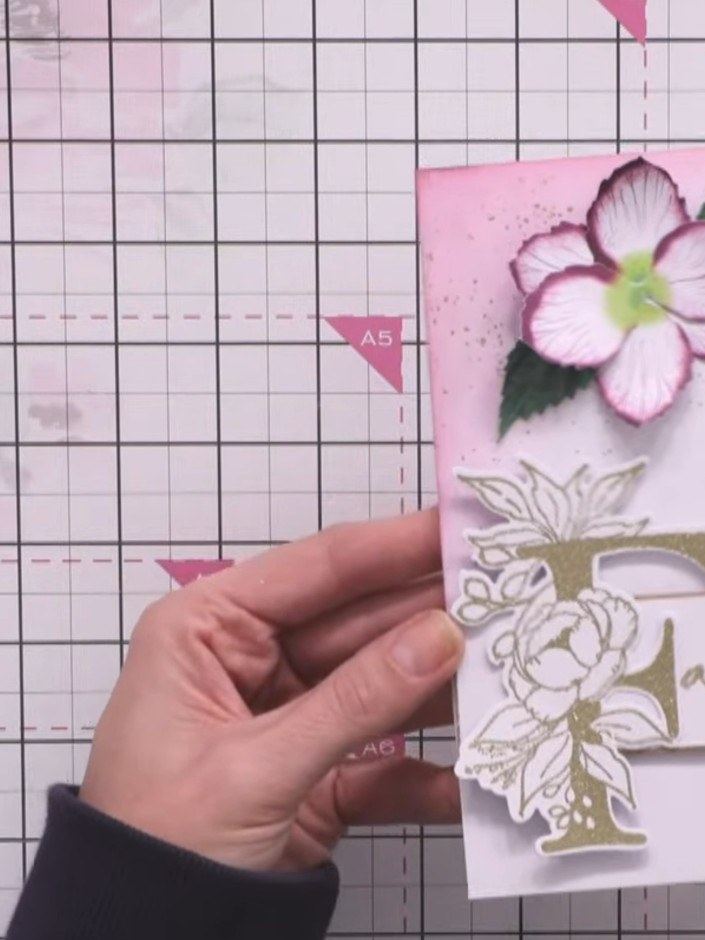
Réalisez une carte qui fait son effet avec une grande initiale « F » embossée à l'or, associée à une jolie fleur de chrysanthème en plusieurs couches. Ce modèle marie l'élégance d'une lettre en embossage à chaud et le relief d'éléments floraux dans de doux tons roses et blancs, sur un délicat fond aquarellé. Ce projet raffiné fait appel à la découpe, à l'embossage à chaud et à la superposition en relief pour créer une carte de vœux personnalisée, parfaite pour toutes les grandes occasions.
 1
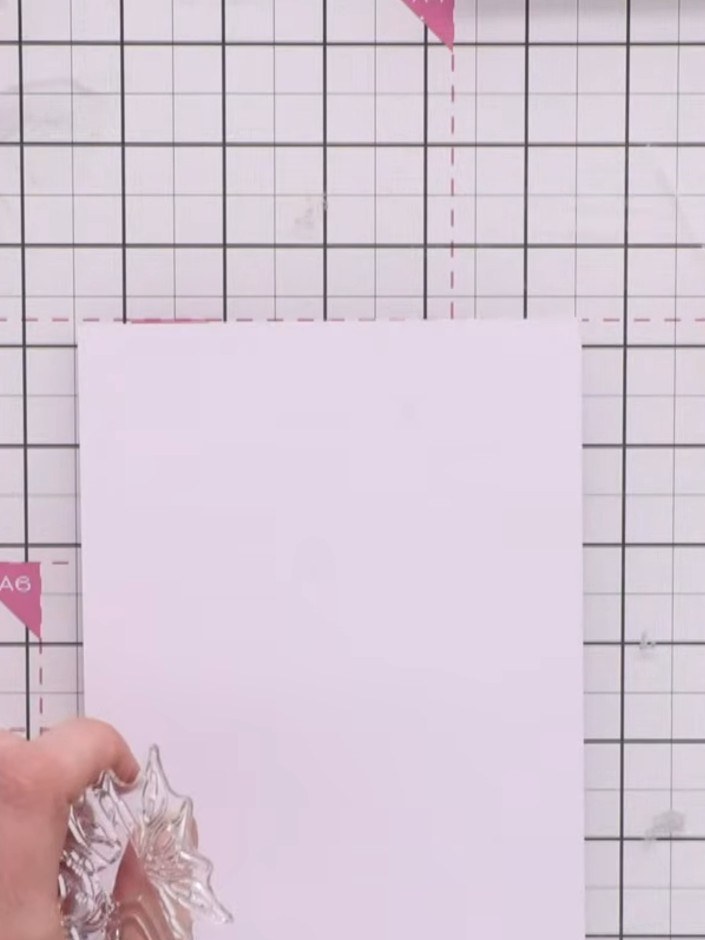
Select a white card stock as your base. Prepare your anti-static bag to prevent embossing powder from scattering across your work surface.
 2
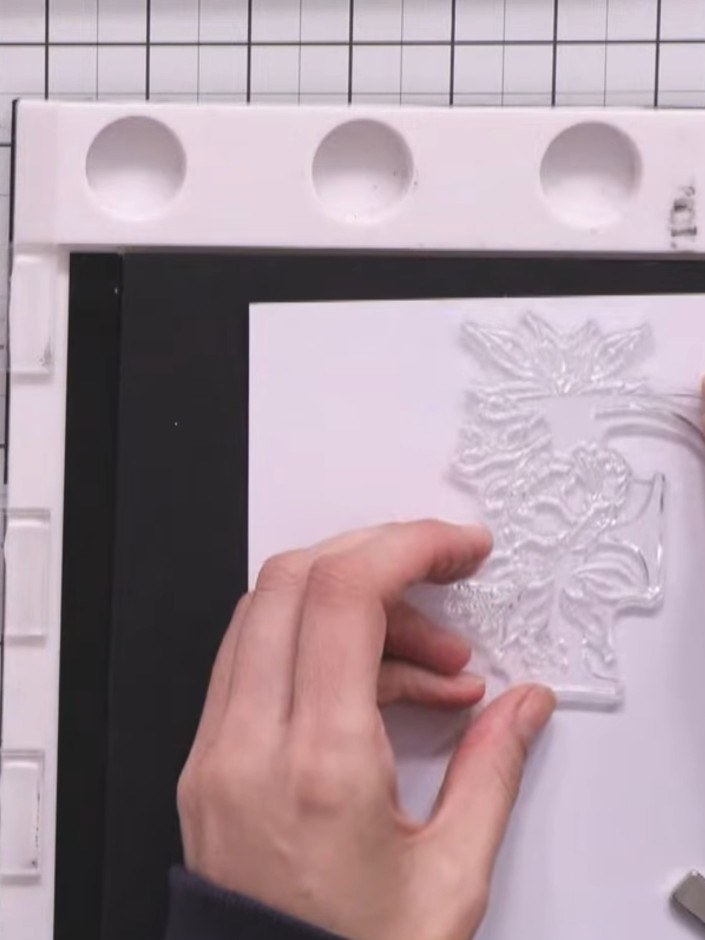
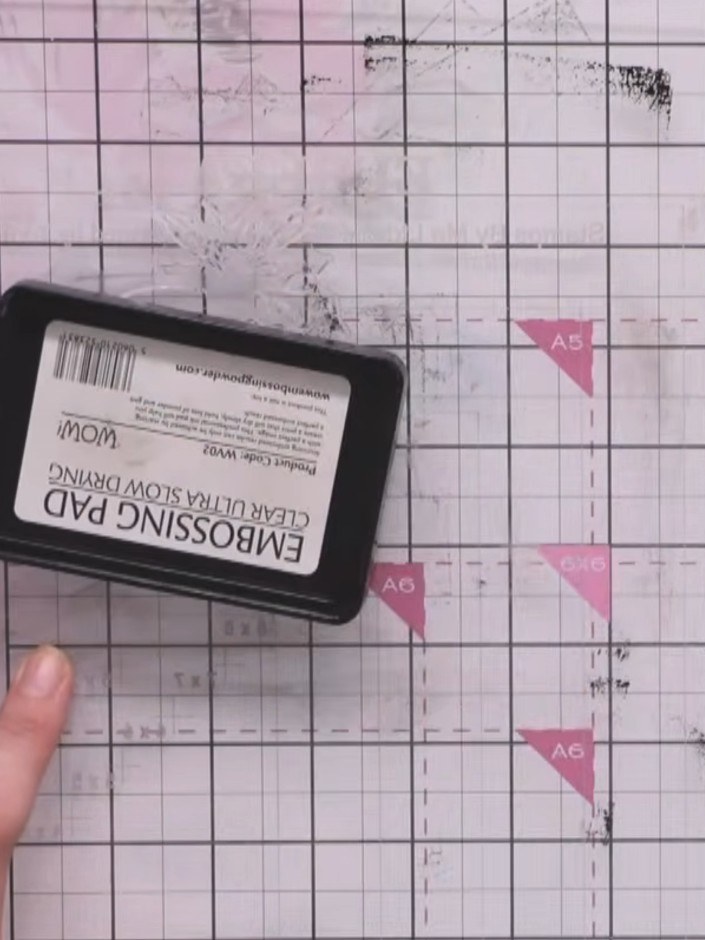
Place your large F stamp face-up on the Eureka 101 stamping tool. Apply sticky ink evenly across the entire stamp surface, ensuring full coverage of the design.
 3
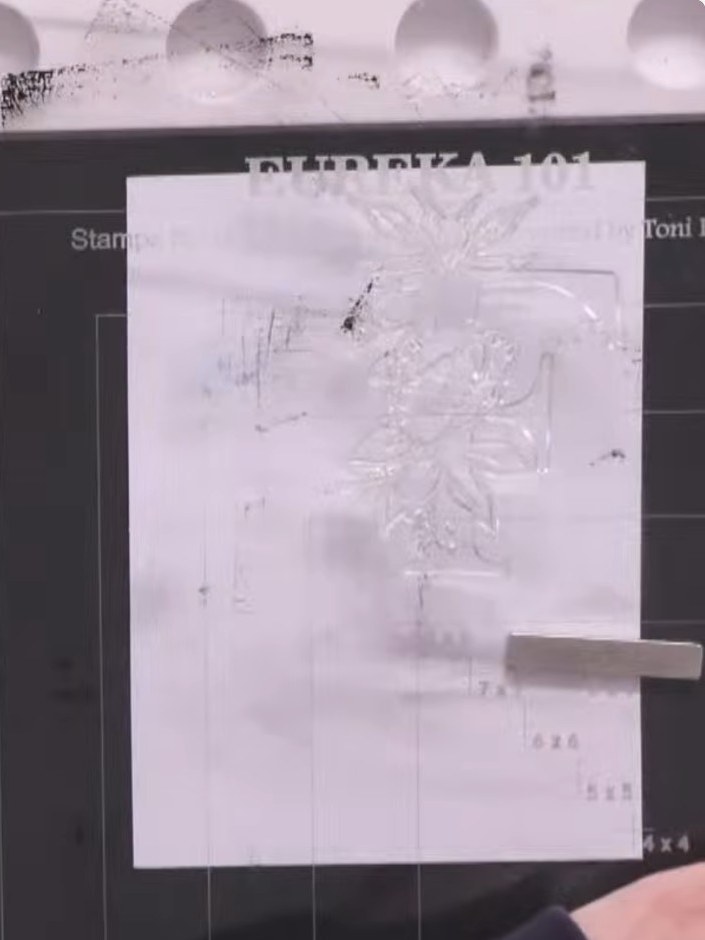
Stamp the letter F onto white card stock using the embossing pad. Press firmly to transfer the complete image, including the chrysanthemum flower detail in the centre.
 4
Apply metallic gold embossing powder over the wet ink, coating the entire stamped design. Tap off any excess powder back into the container.
 5
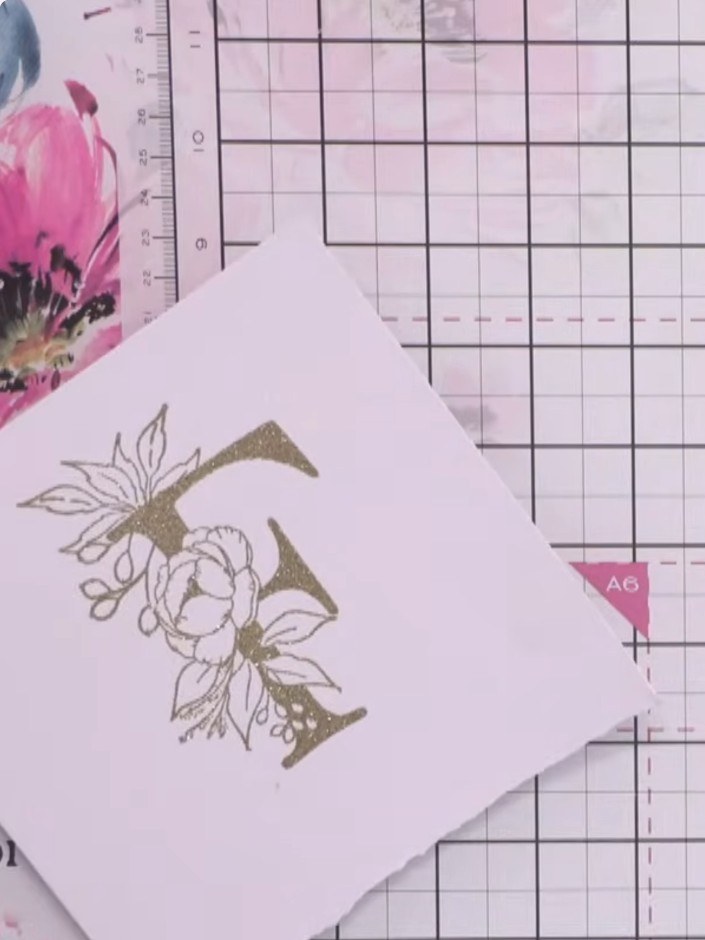
Heat set the embossed gold F using a heat gun, holding it at a safe distance from the card until the embossing powder melts and becomes glossy.
 6
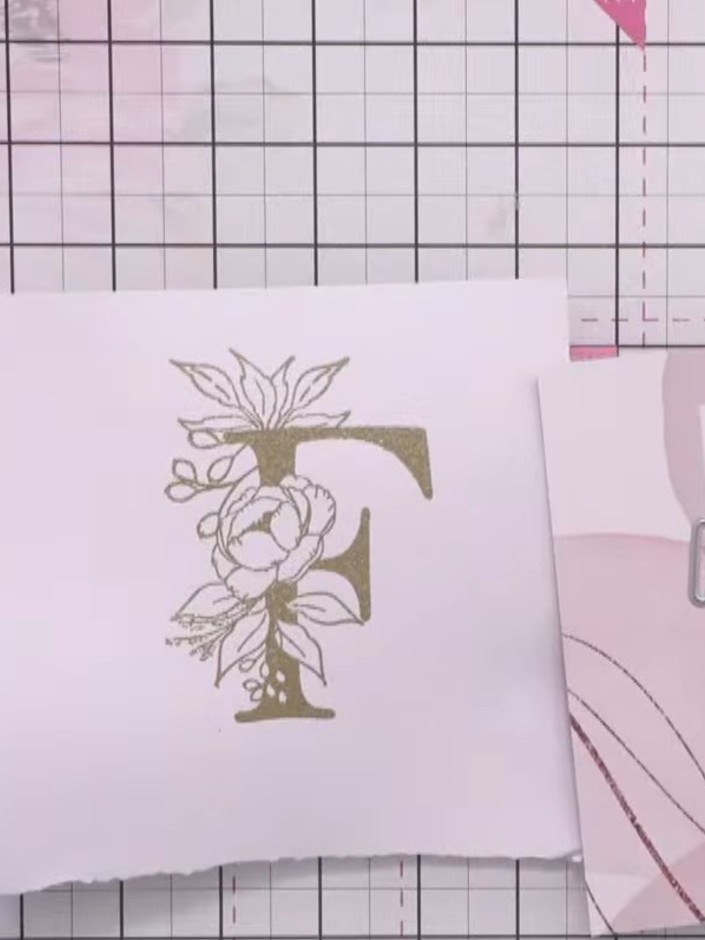
Die cut the embossed F using the coordinating die. Run it through your die-cutting machine to create a clean, precise shape with the floral design.
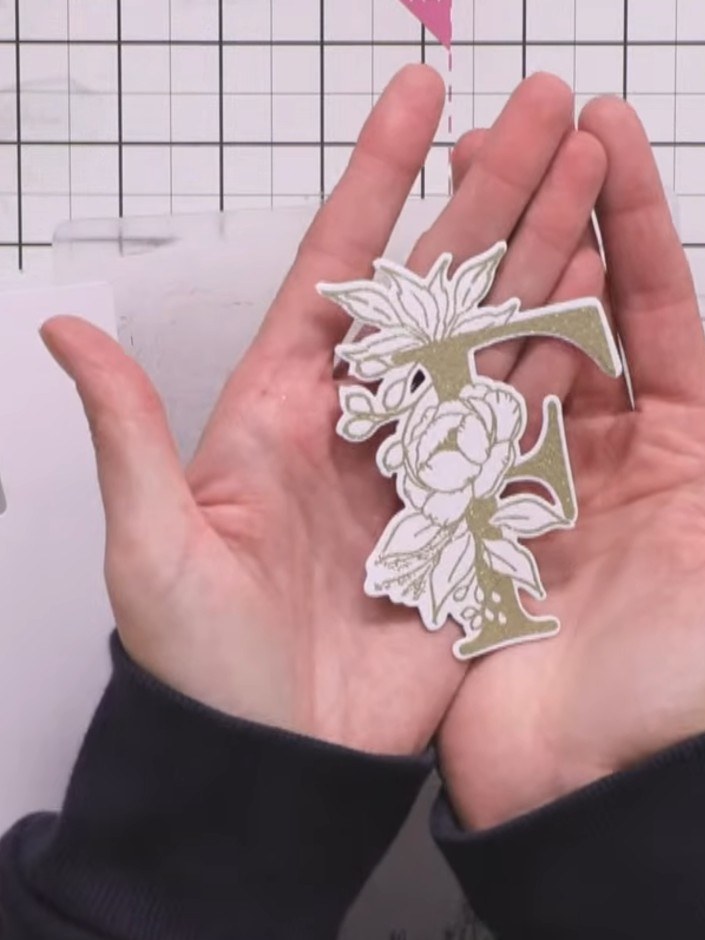 7
Cut a white card panel and a thin craft card border. Layer the craft card border beneath the embossed letter F to create dimension and contrast.
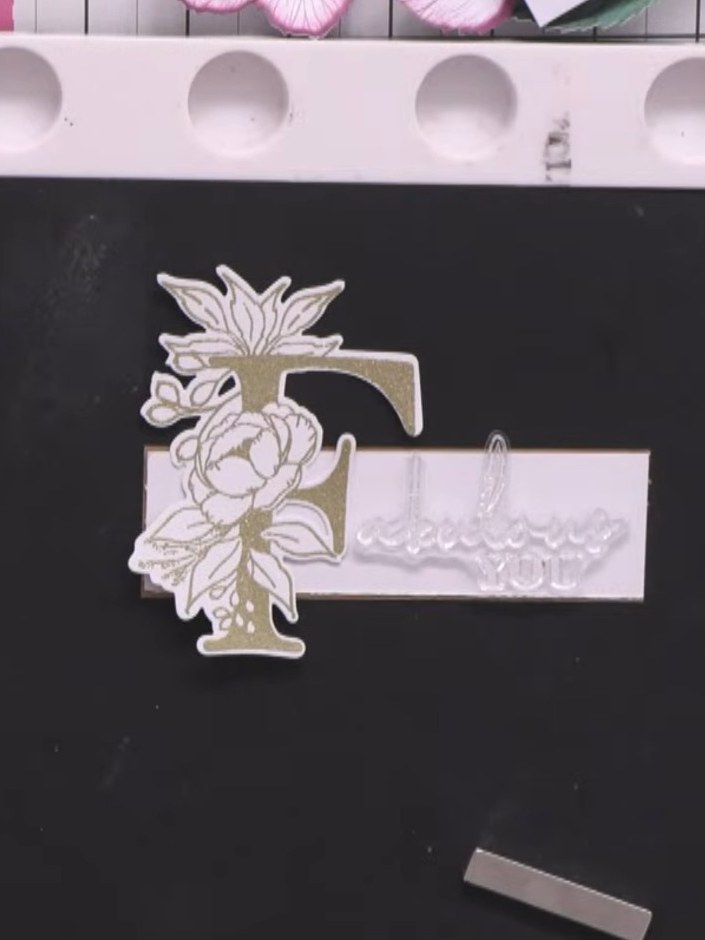 8
Stamp the word 'Fabulous' in gold embossing powder at the top of the white craft border strip, positioning the 'F' upwards. Stamp the 'U' at the bottom of the strip, positioning it downwards to frame the floral arrangement.
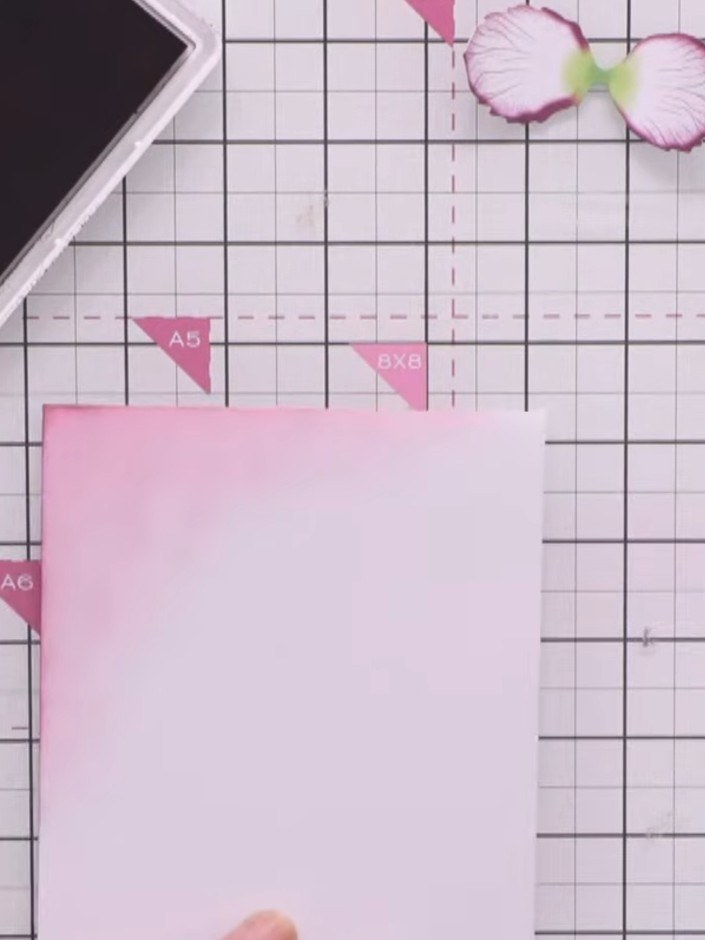 9
Adhere the pink craft border panel to the white card base, ensuring a thin white border is visible around the edges.
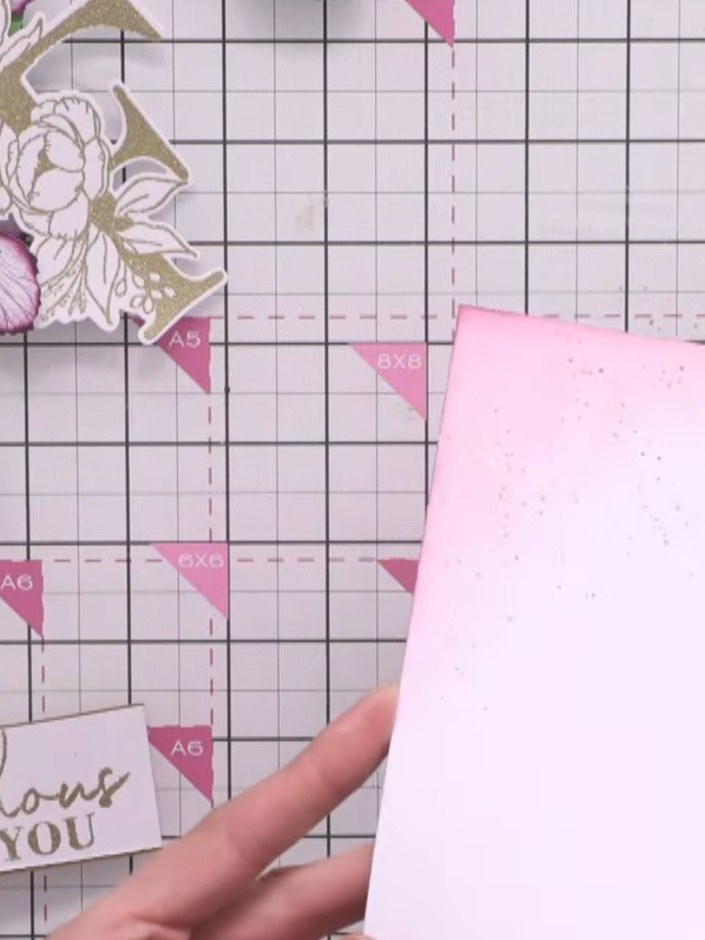 10
Position and adhere the embossed gold F panel onto the pink speckled card base, placing it towards the upper portion to leave space below for the floral embellishment.
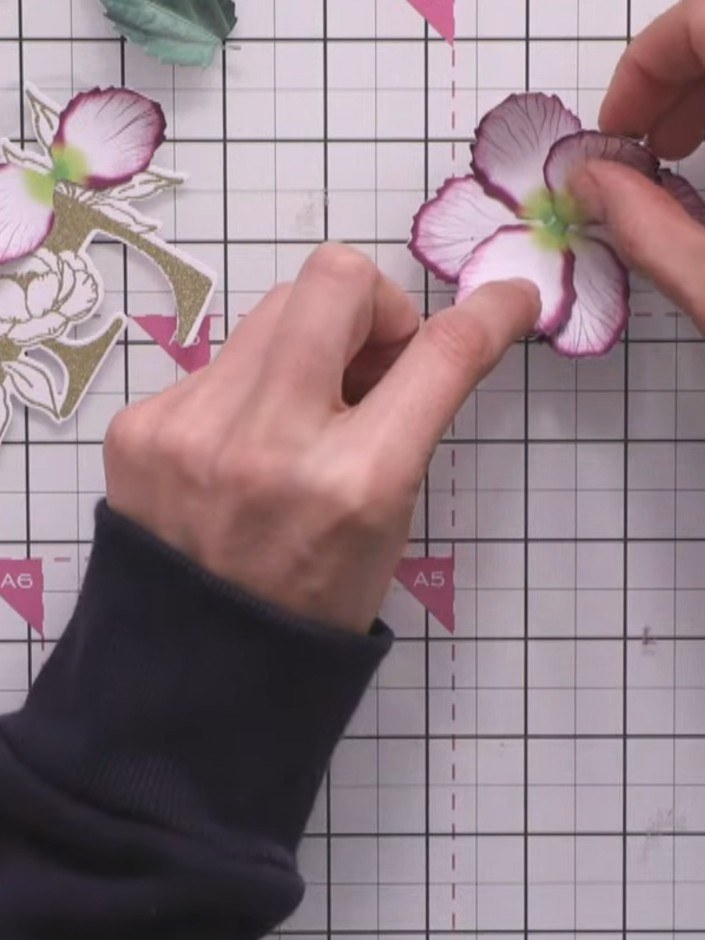 11
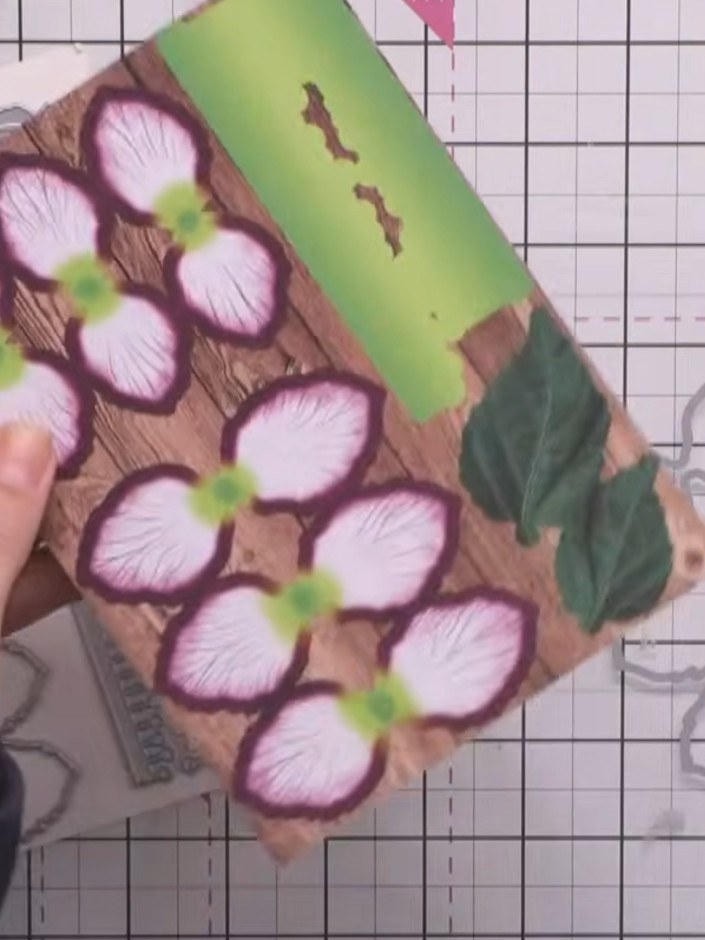
Glue a small pink and white chrysanthemum flower into the lower portion of the card. Gently curl and twizzle the petals to add dimension and create a natural, three-dimensional appearance.
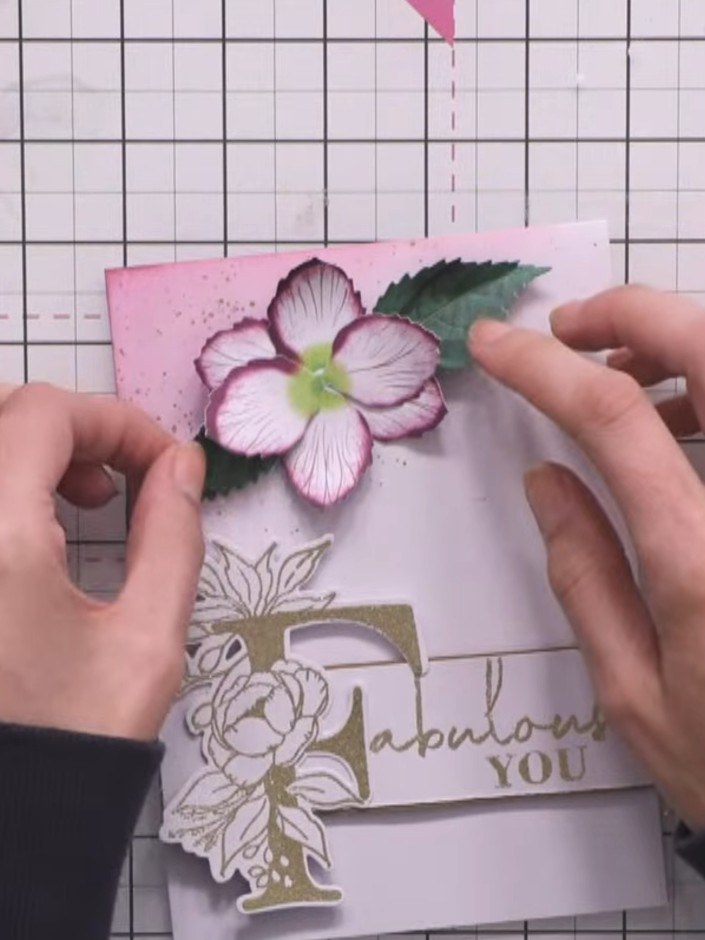 12
Add a small sparkly gem or jewel to the centre of the flower to complete the card.
Partagez votre création avec la communauté Stamps By Me - et gardez ce tutoriel pour la prochaine fois.
Rédigé à partir de l’émission elle-même. Tous les tutoriels de nos émissions · tutoriels gratuits · en direct sur My Telly · l’ancienne présentation