Offrez à vos amis 10 £ de réduction sur leur première commande !
Parrainez un AMI








 The Friday Final Cutven. 6 nov. 10 h 00
 Community Showcaselun. 9 nov. 10 h 00
 Hobbymaker TVlun. 9 nov. 14 h 00
Les prix sont mis à jour immédiatement. Chaque langue est notre propre traduction, pas Google.
Une création de notre émission en direct MONDAY MADNESS - Rejoignez Simon d'AVAGO-INK pour découvrir ses derniers produits - Diffusion du 5 déc. 22 · 05/12/2022
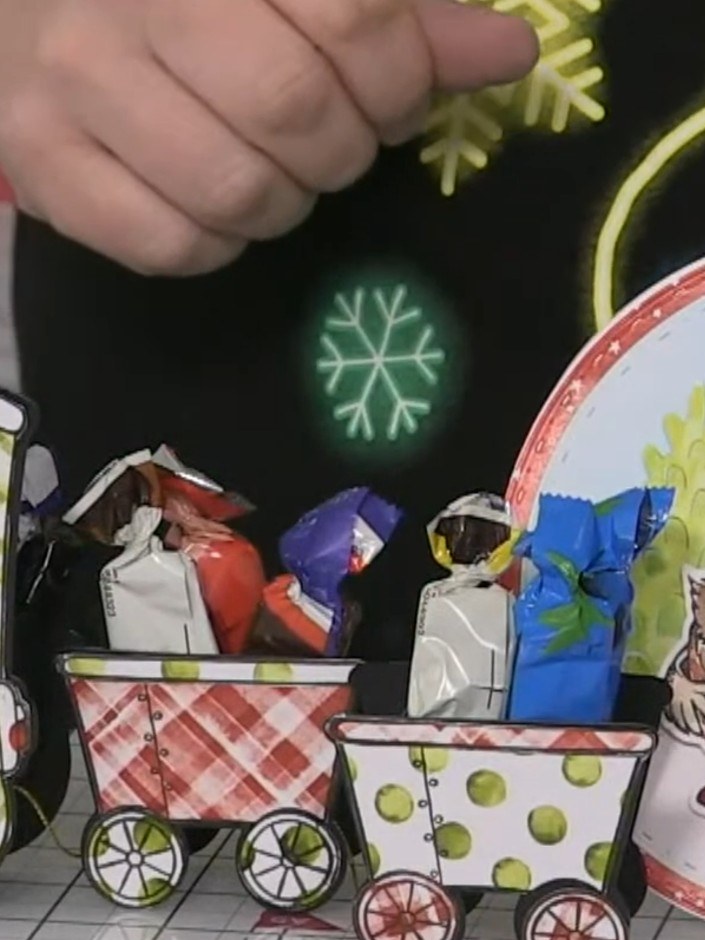
Réalisez une superbe carte bulle de Noël avec une boule ronde en relief qui se déploie à l'ouverture. La carte met en scène un magnifique ciel d'hiver à l'aquarelle, de délicats sapins et un adorable hibou qui tient une boisson chaude bien de saison. Grâce à l'aquarelle, à la découpe et à la superposition, vous créerez une carte 3D impressionnante, avec un cadre de boule rouge à pois et le texte « Merry Christmas ».
 1
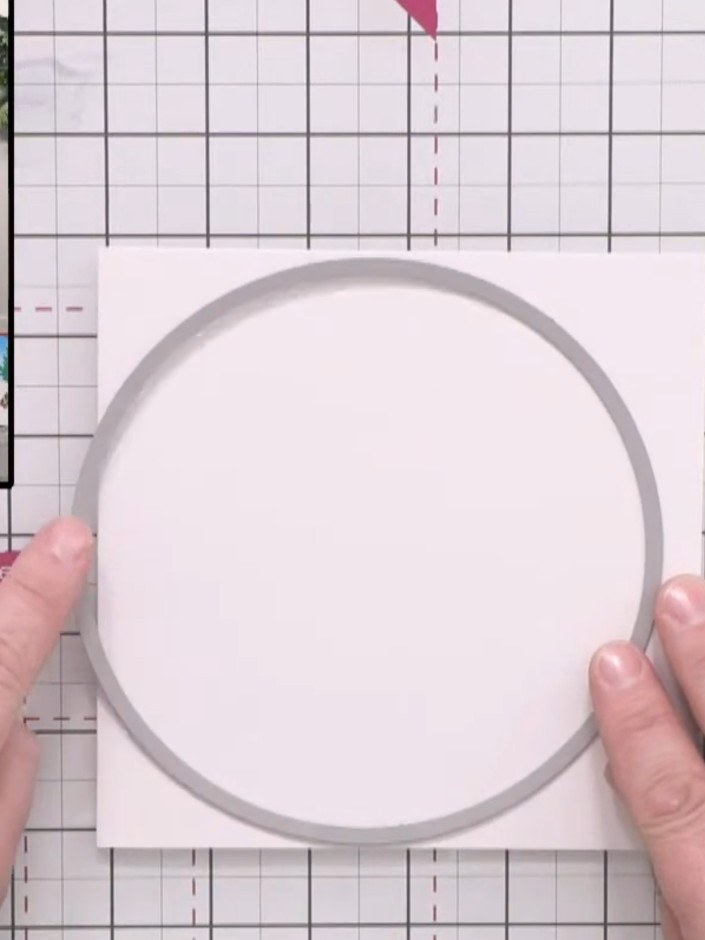
Take a 6x6 inch card blank and position a circular die over the centre crease, overlapping slightly so the card will fold and operate as a bubble mechanism.
 2
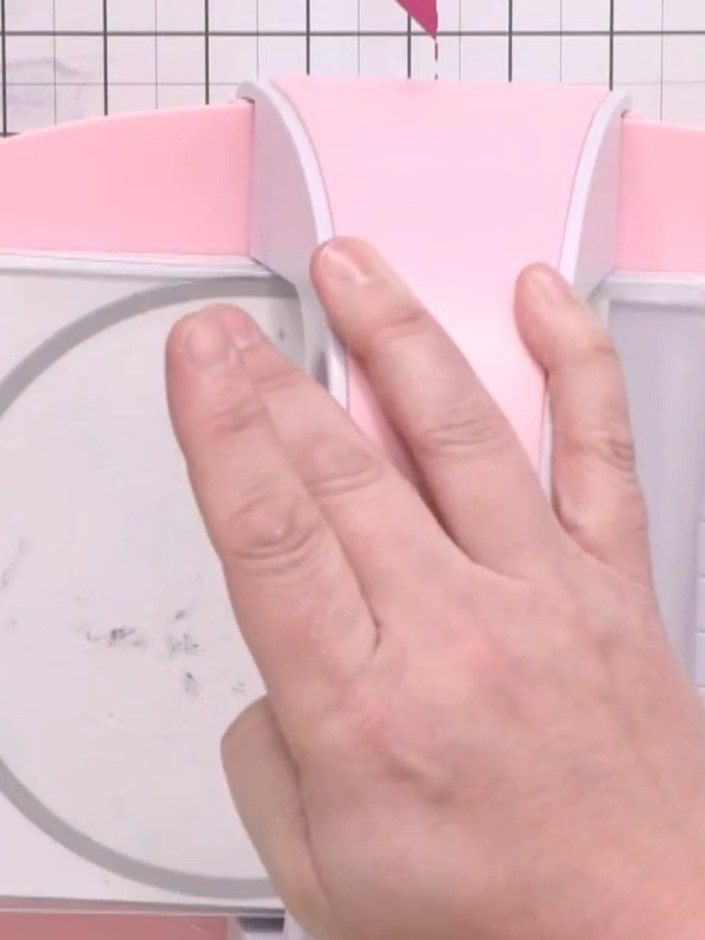
Use a portable die-cutting machine to cut out the circular shape through both layers of the card blank. Position the die centrally on the folded card and run it through the machine to create the bubble card mechanism.
 3
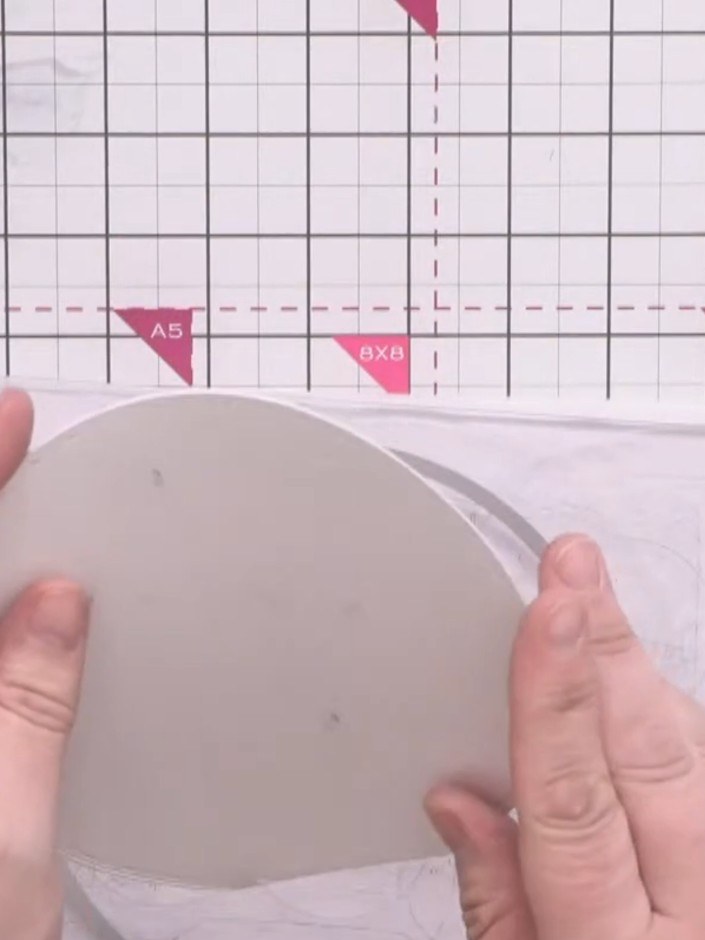
Trim the back edge of the circular card flat to create a stable resting base so the bubble won't rock when standing.
 4
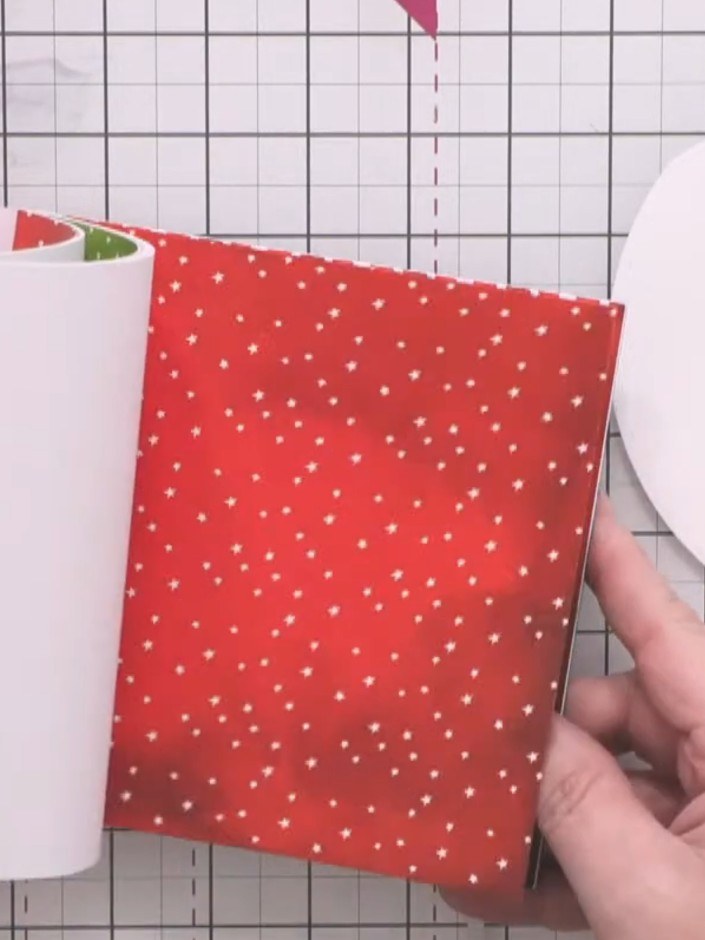
Cut a circular backing piece from festive patterned card (red with gold stars or similar) to match the size of your bubble circle.
 5
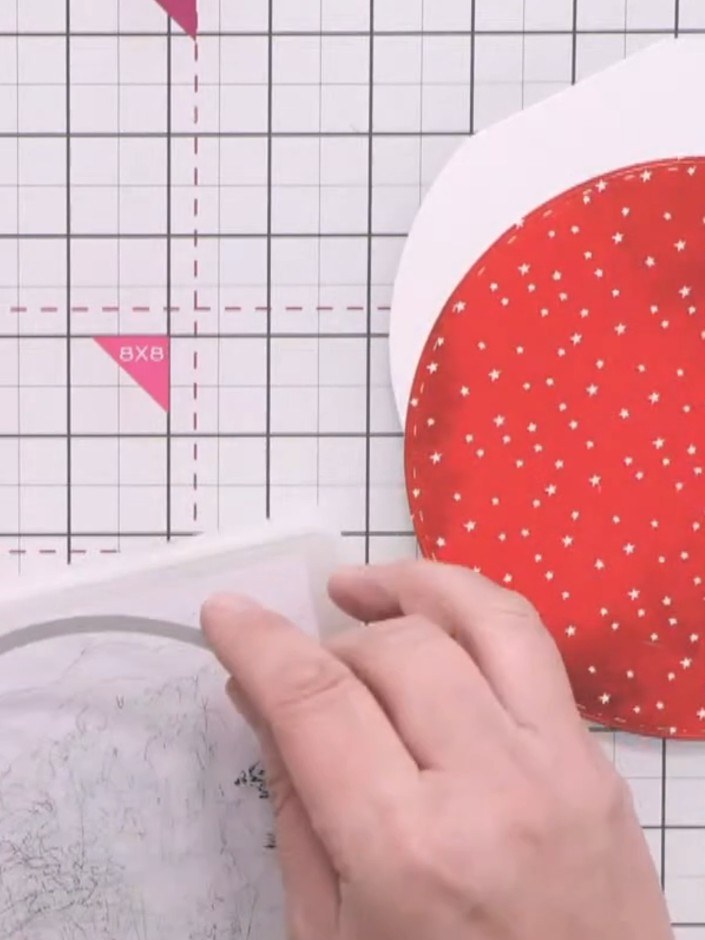
Adhere the red patterned paper circle to the inside of the bubble card base. Leave the top corner unglued as you will need to insert the hoop mechanism there later.
 6
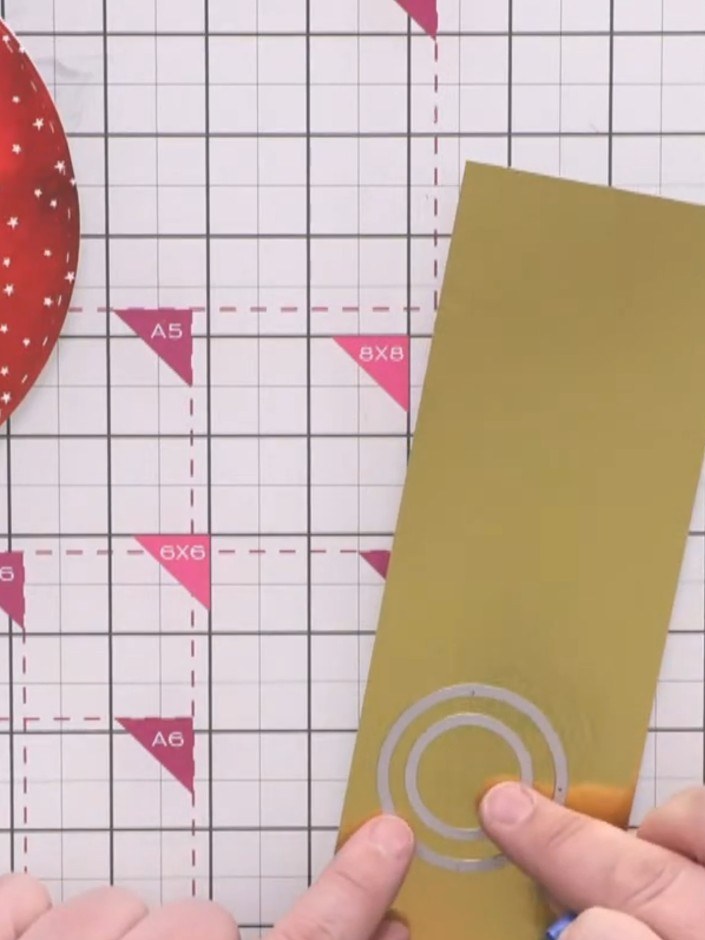
Nest two circular dies (one small and one larger) on gold card to create a donut-shaped hoop. Cut two of these gold hoops for the bauble tops.
 7
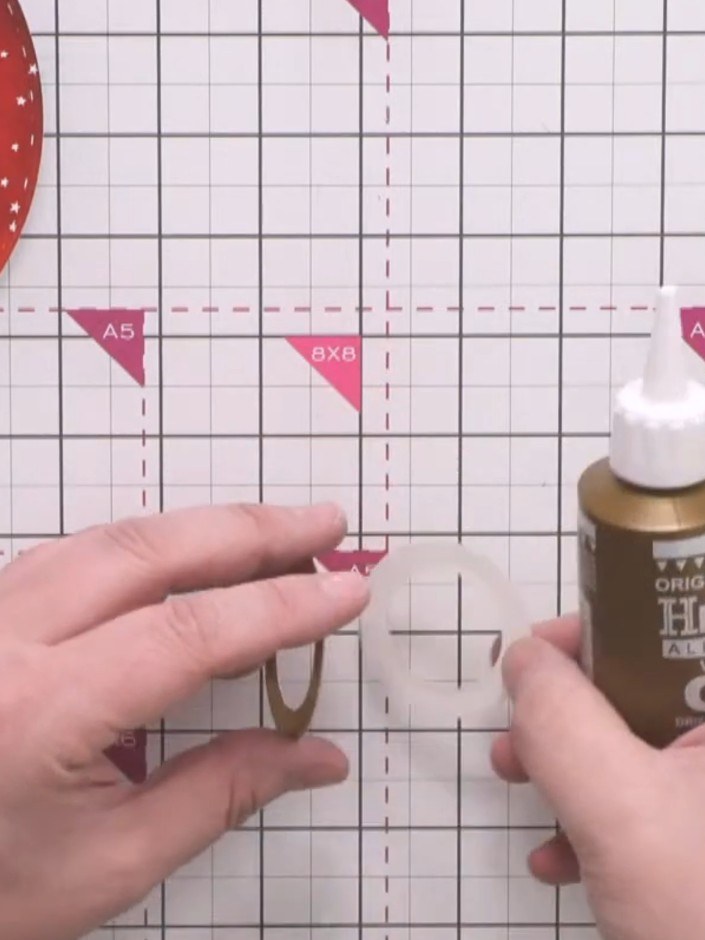
Glue the two gold rings back-to-back to create a finished hoop with no visible joins.
 8
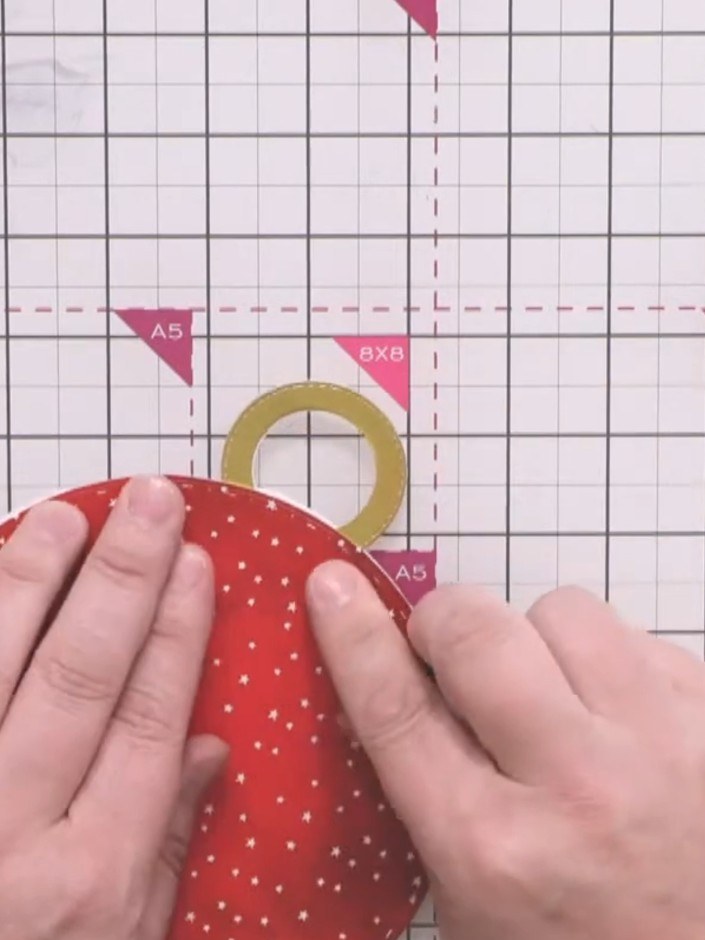
Glue the gold hoop to the top of the red bauble circle to create a hanging loop for the bubble card.
 9
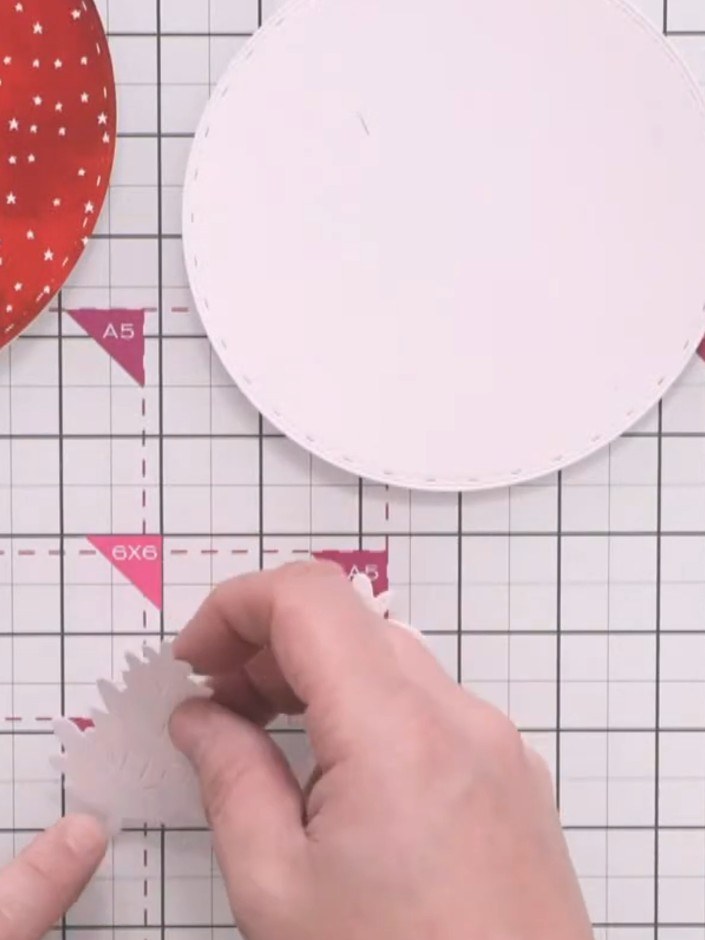
Cut a slightly smaller circle from white card to fit within the red dotted bauble backing, creating a border around the edge for your design.
 10
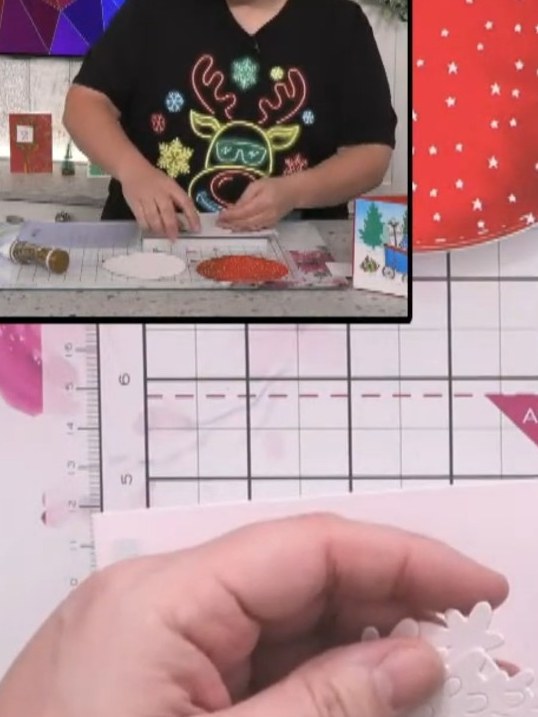
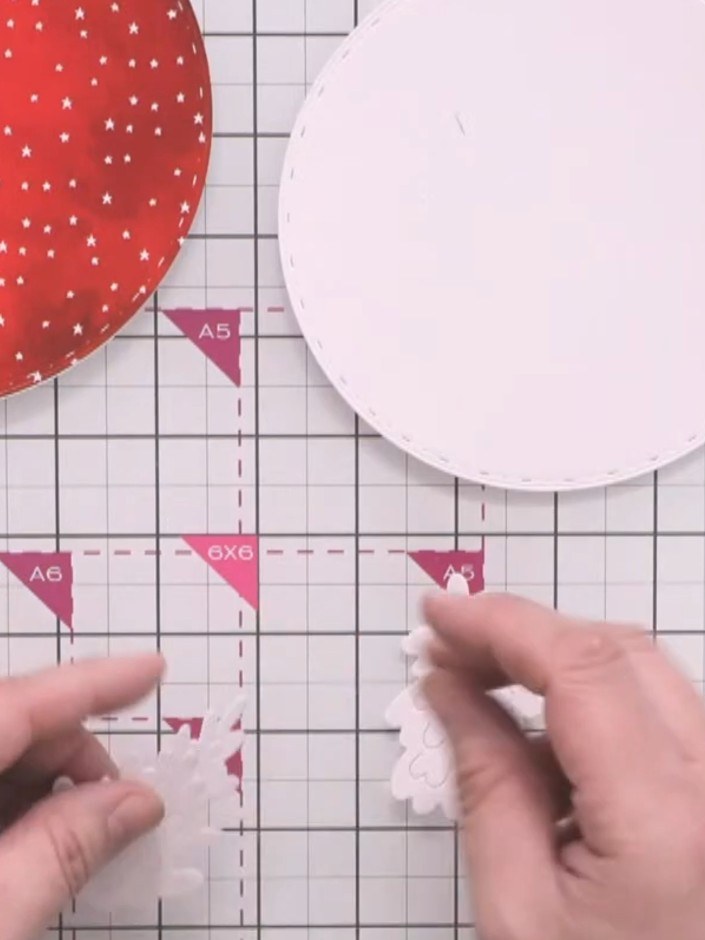
Cut two small tree shapes from white card using the terrific trees die.
 11
Gently tease up the lift-up panels on the tree pieces to add dimension and texture to the trees.
 12
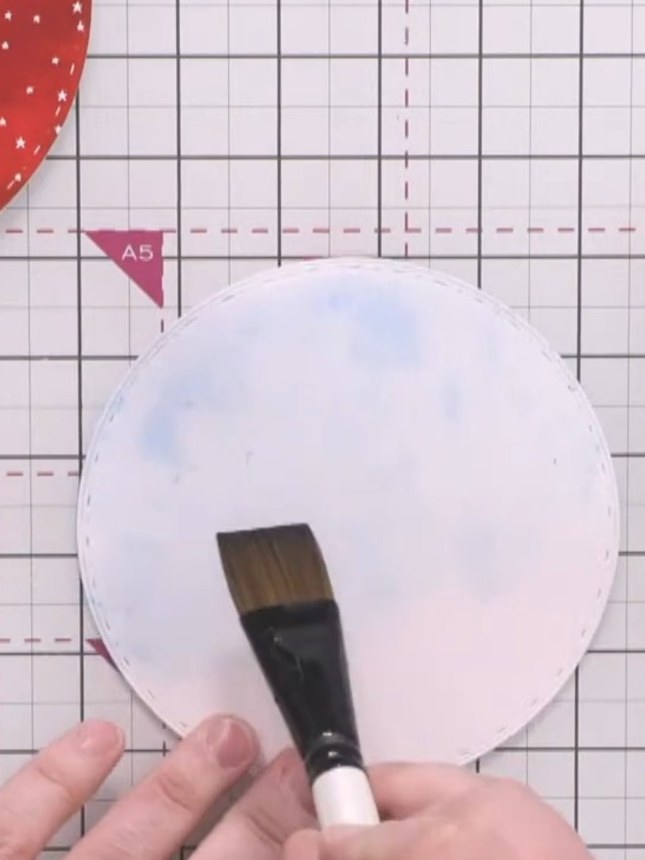
Apply water across the top portion of the white circular background using a brush. Add blue watercolour pigment to create a sky wash effect.
 13
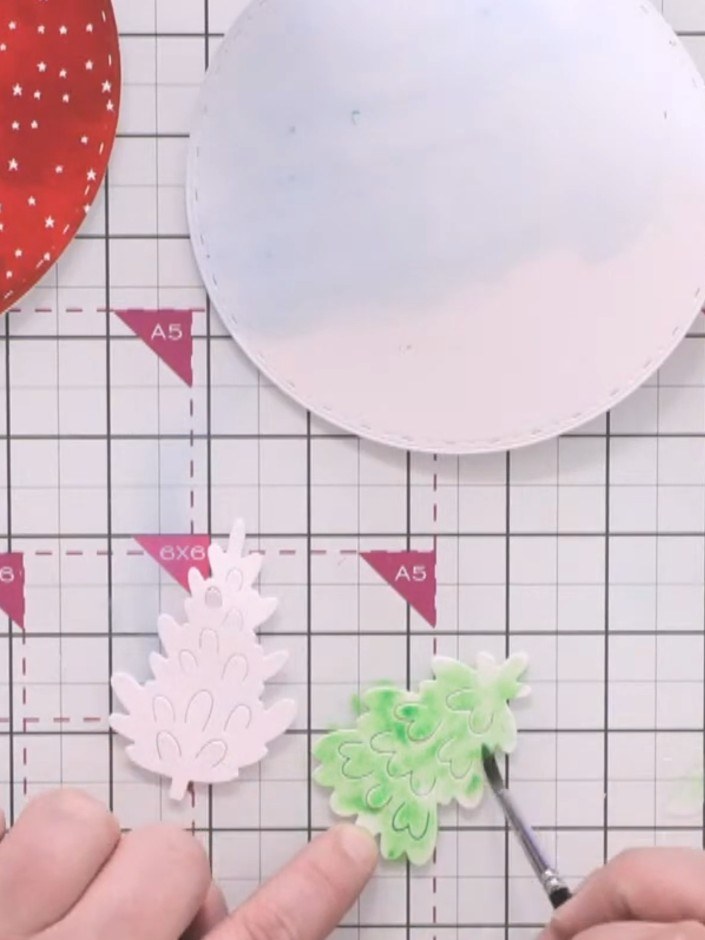
Apply green watercolour washes to the tree pieces using a paintbrush, varying the shades to create depth and dimension. Work on one tree at a time, allowing the colours to blend naturally on the white die-cut pieces.
 14
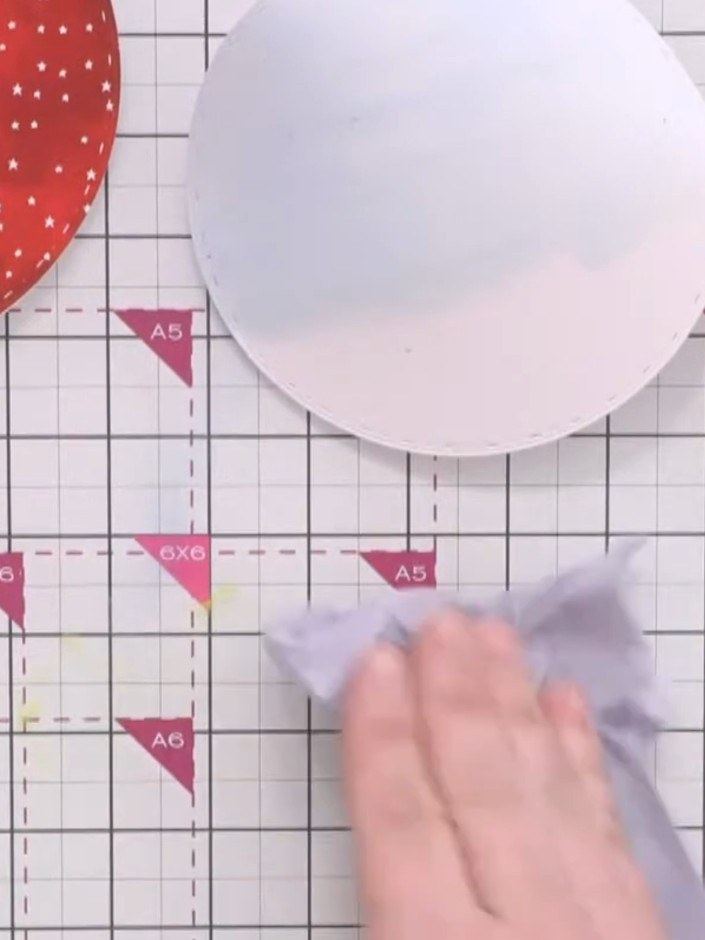
Press the wet watercoloured pieces with paper towel to remove excess water. Dry thoroughly with a heat gun.
 15
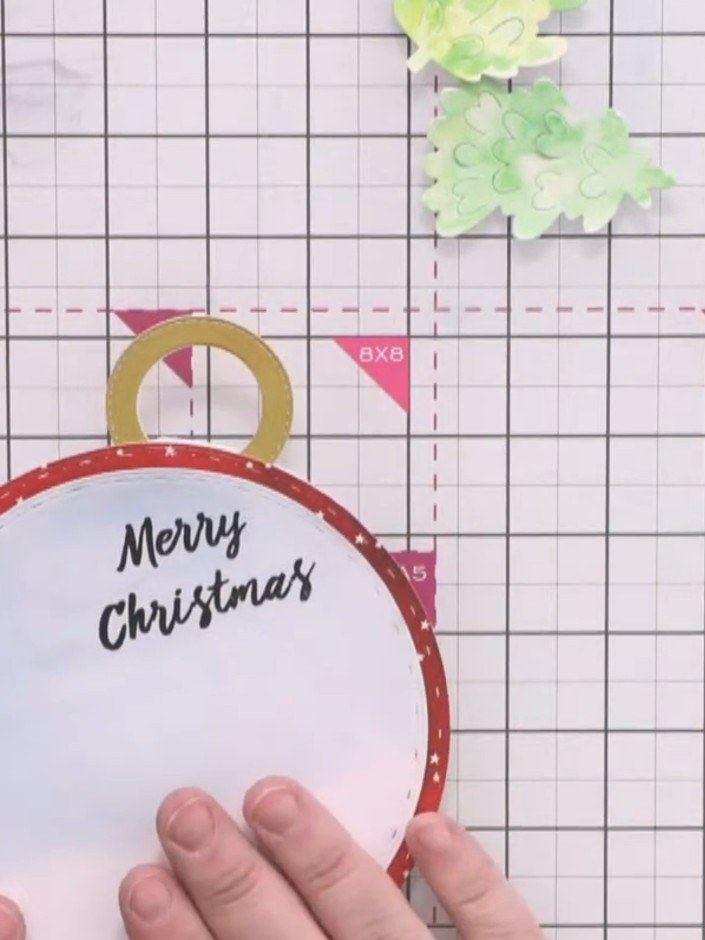
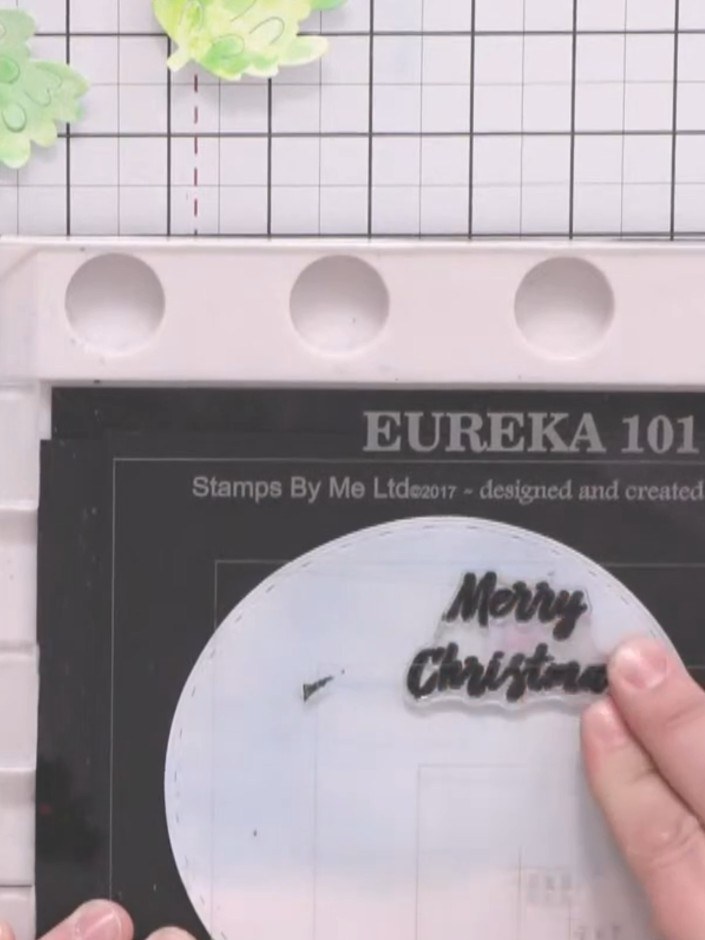
Stamp a 'Merry Christmas' sentiment onto the white circular background using black ink, positioning it in the top corner of the circle.
 16
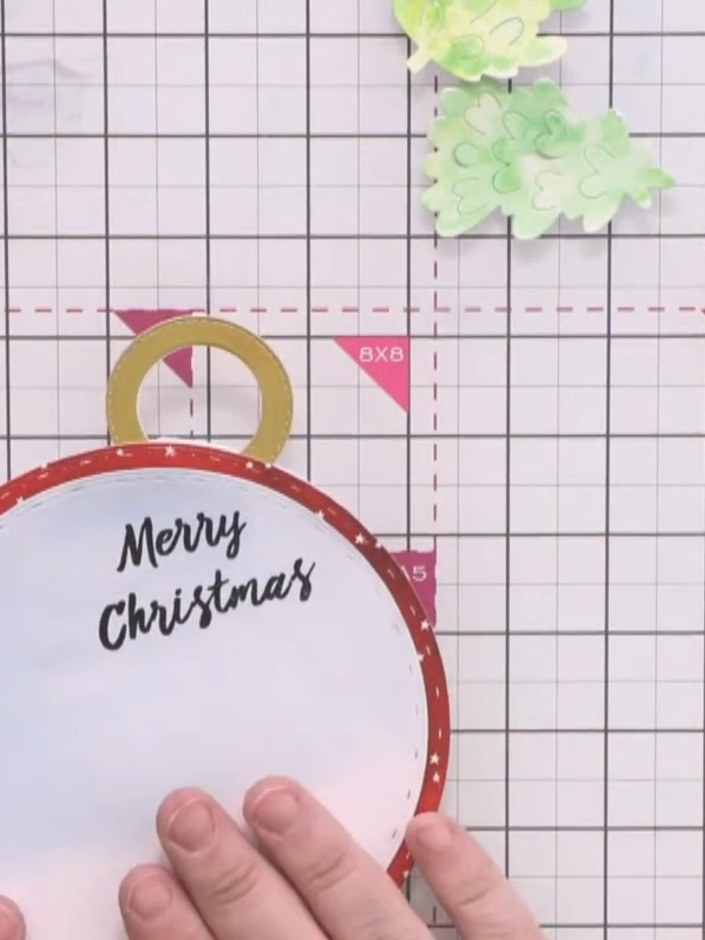
Glue the watercoloured background piece onto the bubble card base, aligning it with the red patterned circle so the 'Merry Christmas' sentiment is centred on the bauble.
Partagez votre création avec la communauté Stamps By Me - et gardez ce tutoriel pour la prochaine fois.
Rédigé à partir de l’émission elle-même. Tous les tutoriels de nos émissions · tutoriels gratuits · en direct sur My Telly · l’ancienne présentation