Offrez à vos amis 10 £ de réduction sur leur première commande !
Parrainez un AMI








 The Thursday DropDemain 18 h 00
 The Friday Final Cutven. 6 nov. 10 h 00
 Community Showcaselun. 9 nov. 10 h 00
Les prix sont mis à jour immédiatement. Chaque langue est notre propre traduction, pas Google.
Une création de notre émission en direct FRIDAY LIVE - Les dernières nouveautés de Toni - Diffusée le 23 octobre 2026 · 23/10/2026
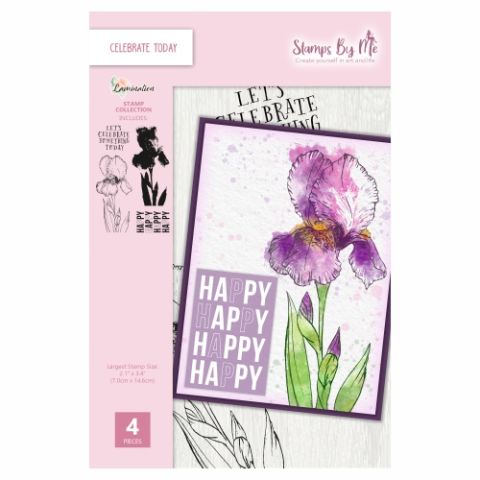
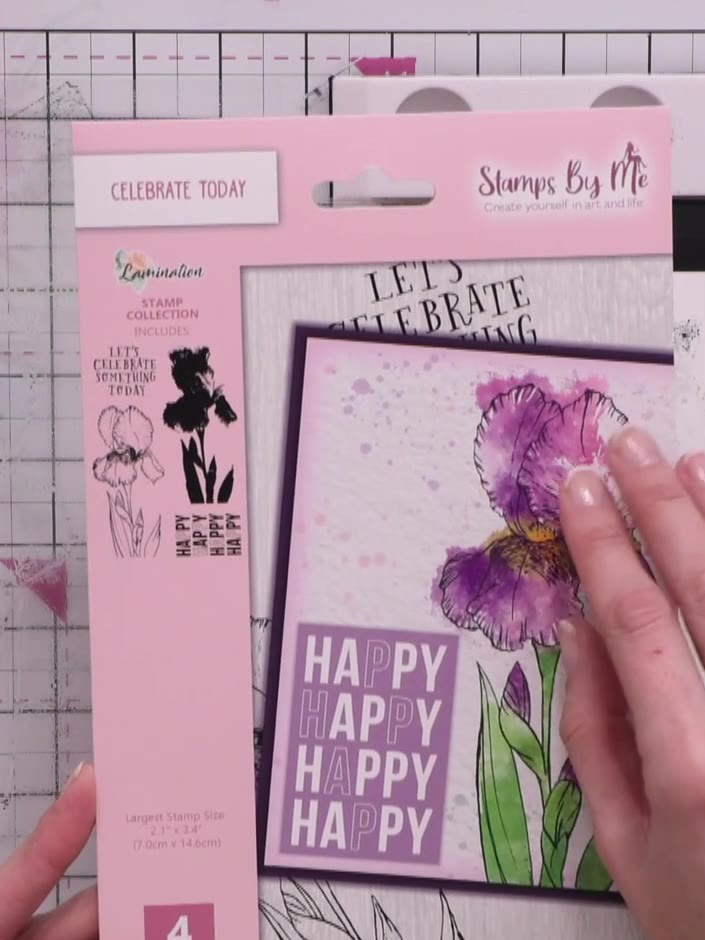
Réalisez une carte monochrome tout en élégance, avec un superbe iris tamponné dans des tons de gris et un texte « HAPPY » bien affirmé en noir. Grâce au papier cartonné aquarelle et à la technique de lamination, vous obtiendrez un joli effet peint, parfait pour les cartes pour homme ou les créations modernes. Cette palette toute simple de gris et de noir offre une finition élégante et contemporaine.
 1
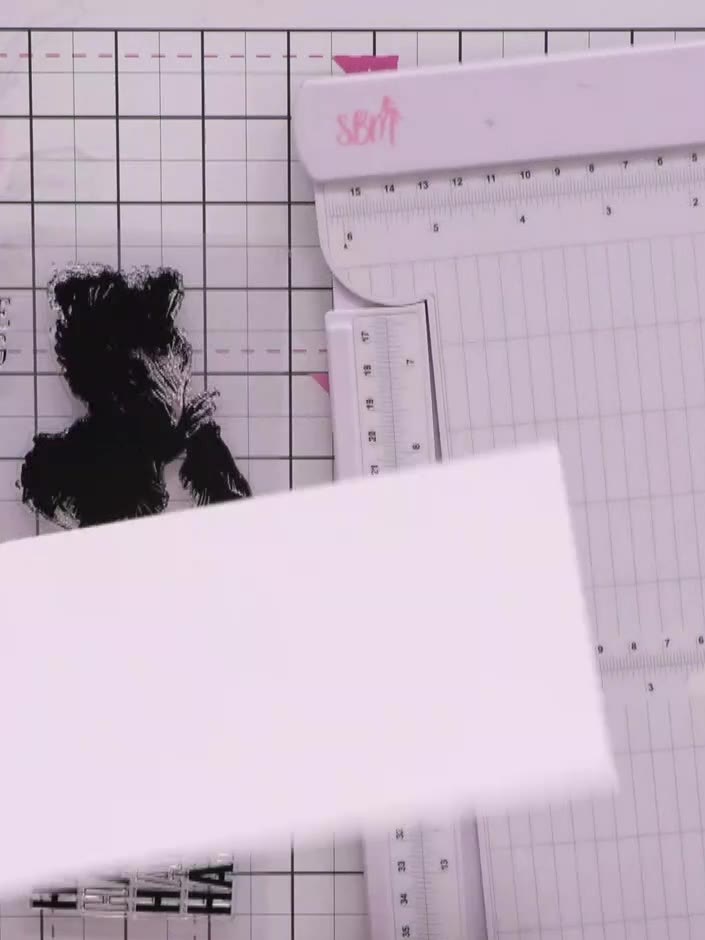
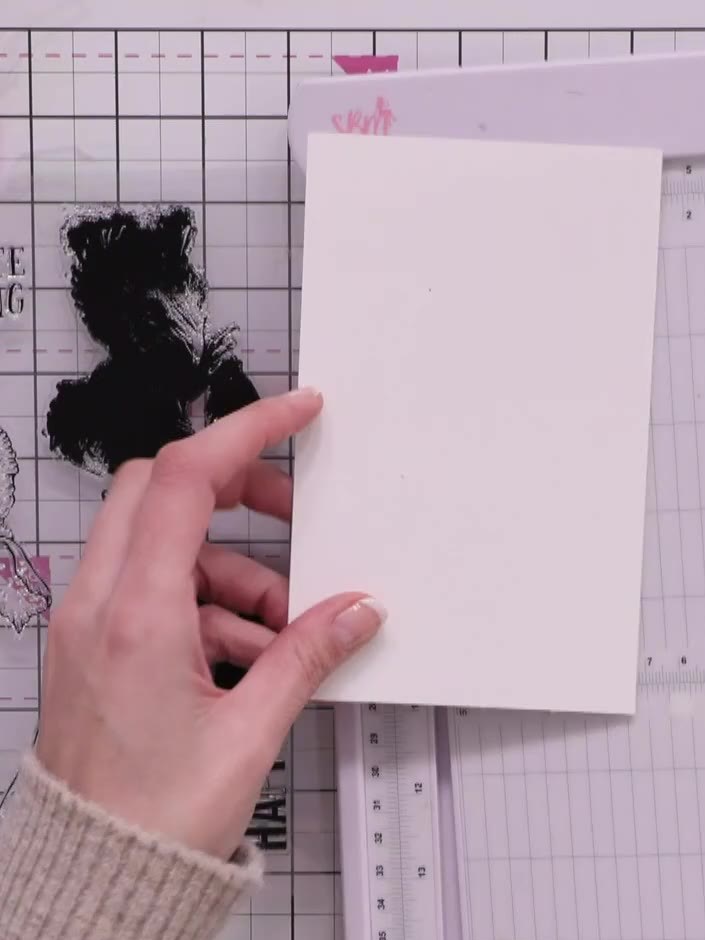
Cut a piece of white watercolour cardstock to size for your card base using a ruler and trimmer.
 2
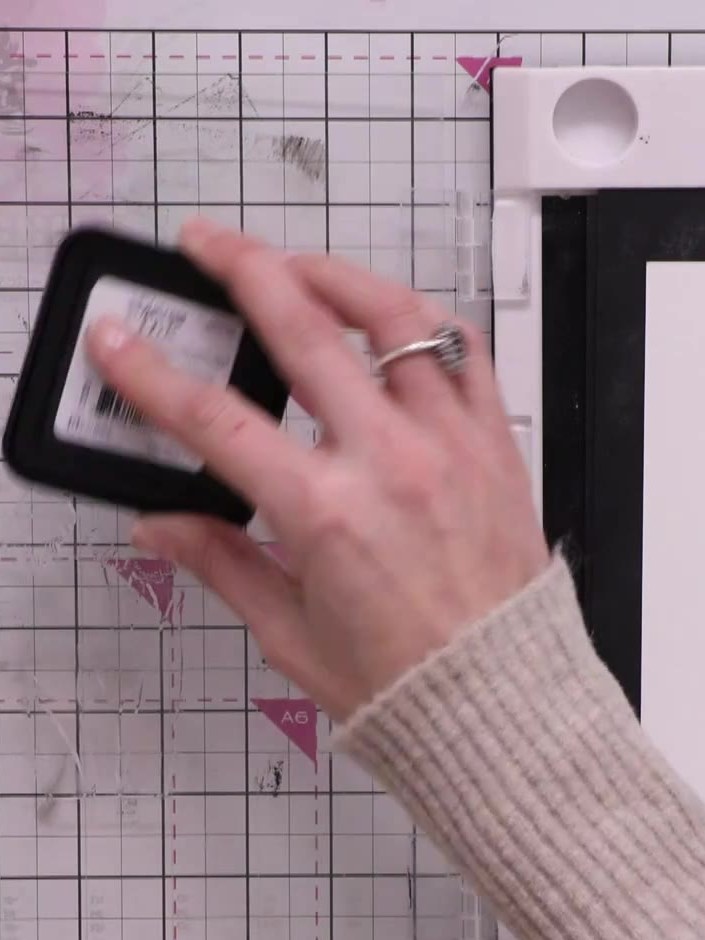
Select the solid portion of your lamination stamp and ink it with a light grey distress ink pad, covering the entire stamp surface evenly.
 3
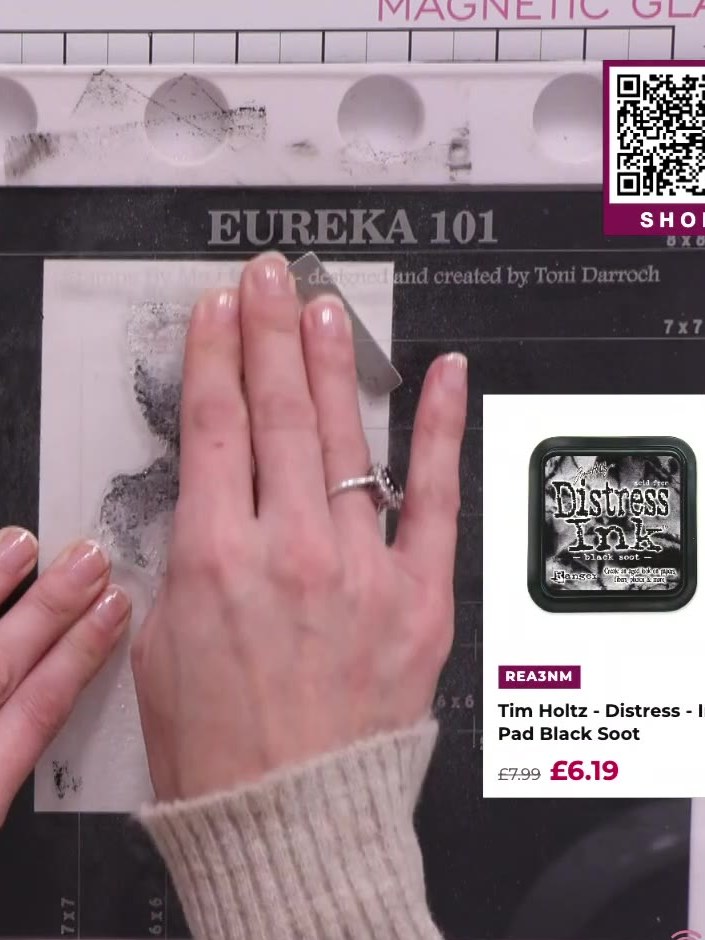
Using the black soot Distress Oxide ink pad, apply ink to select areas of the stamped image, focusing on certain leaf and petal areas to add depth and contrast to the design.
 4
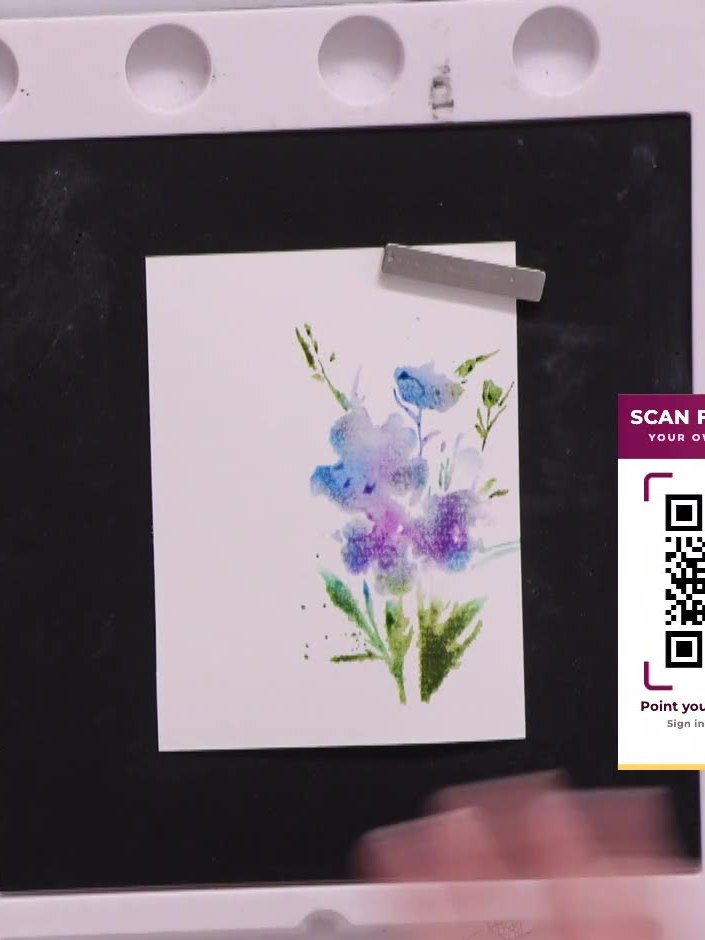
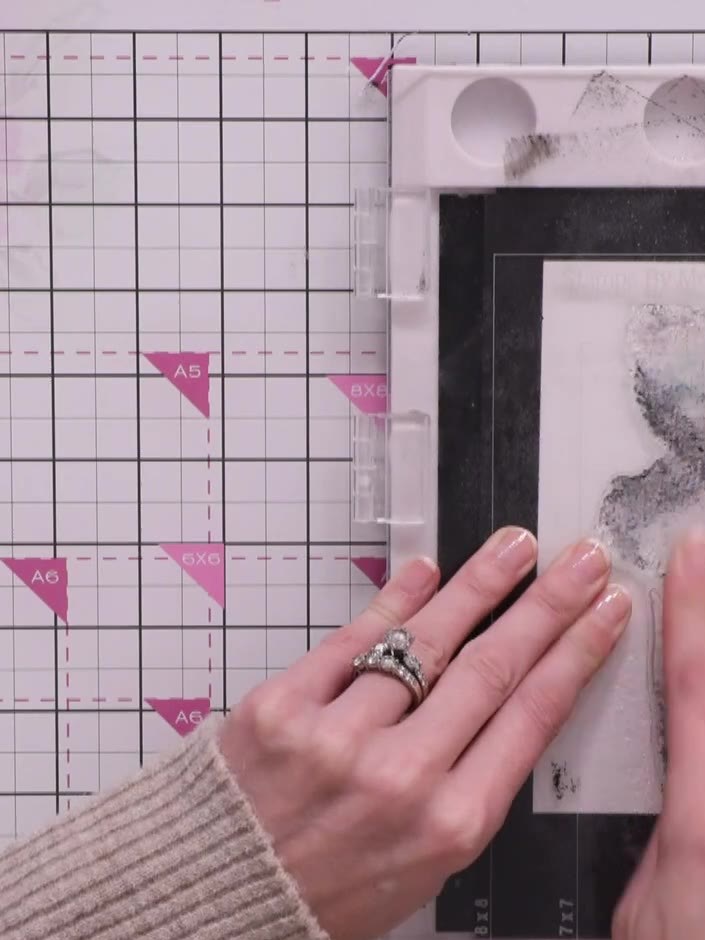
Spray the inked stamp with water to blend the grey and black inks together. Use your fingers to gently work the water across the stamped image, creating a blended effect.
 5
Press the stamp firmly onto the watercolour cardstock, allowing the black ink to blend and create natural variations in tone and texture.
Allow the stamped image to dry completely. Once dry, apply additional light grey ink over the entire floral design using a heat tool or by dabbing gently to add more depth and dimension to the image.
 7
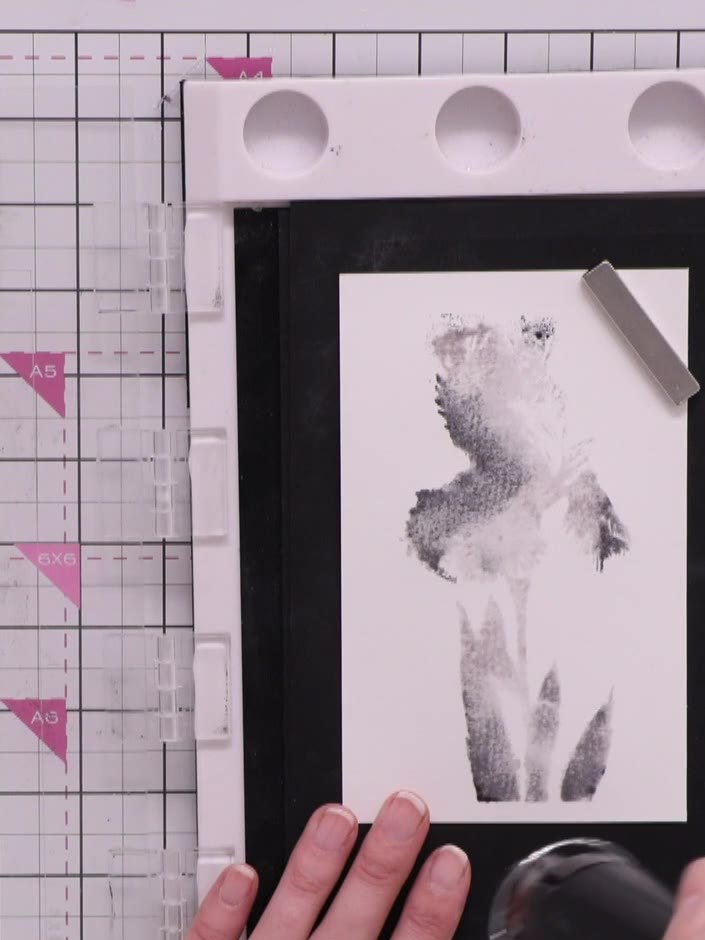
Spray the flower again with water. Press down gently with your finger to blend the additional grey layer into the petals, creating depth and dimension.
 8
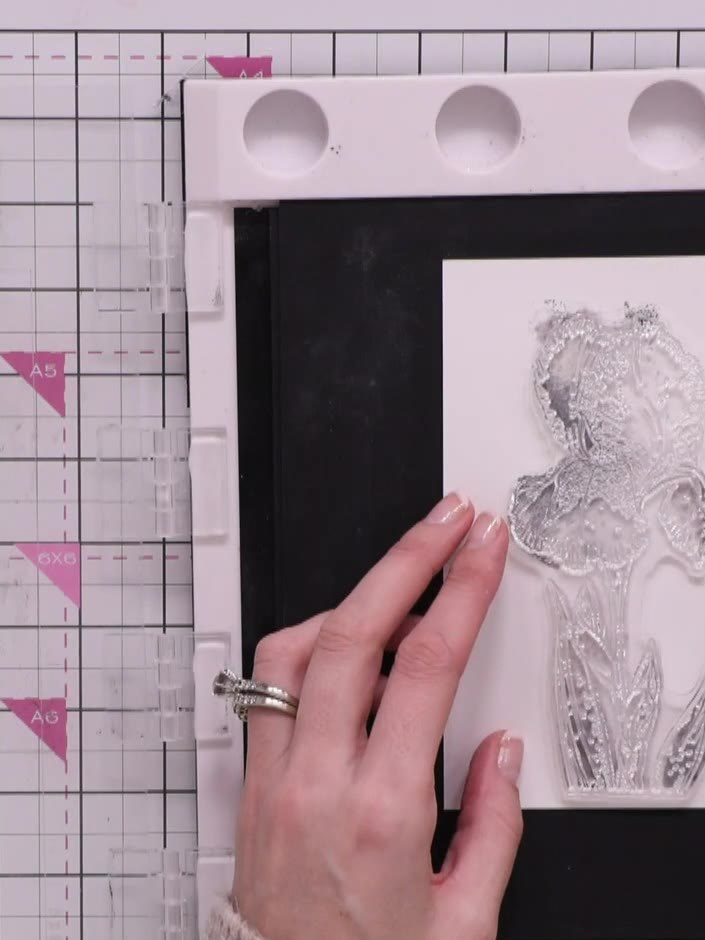
Heat-dry the stamped cardstock using a heat gun with quick on-and-off motions to avoid warping the paper.
 9
Select the detail portion of the stamp and ink it with solid black ink. Position the stamp carefully on the stamped image to add the fine details.
 10
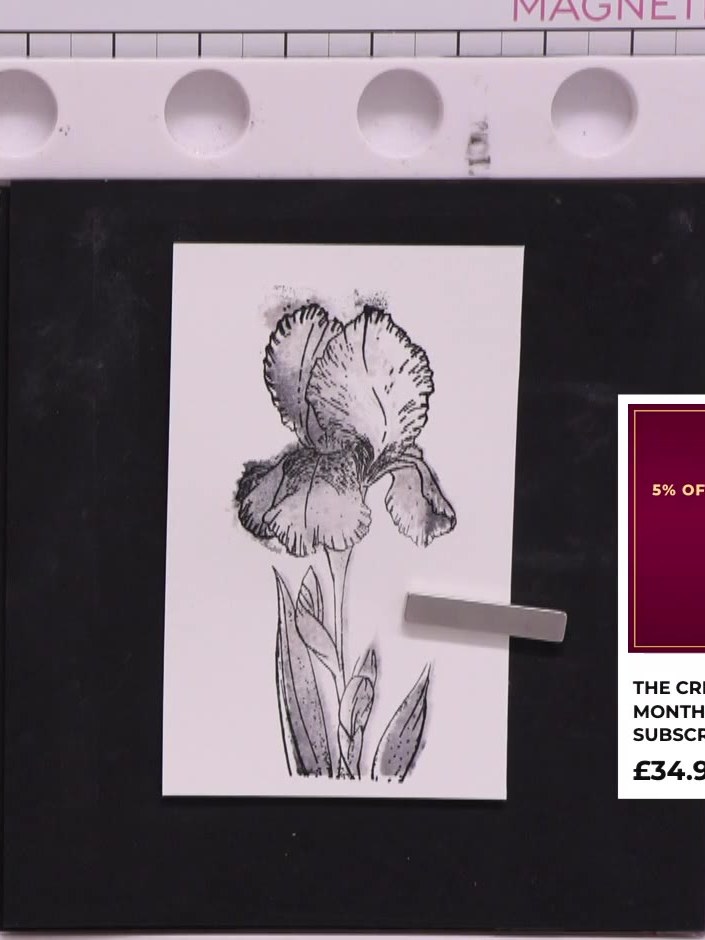
Stamp the iris detail layer on top of the dried grey base layer, allowing a slight offset to create an artistic shadow effect. Ensure the stamped image is positioned centrally on the white card panel.
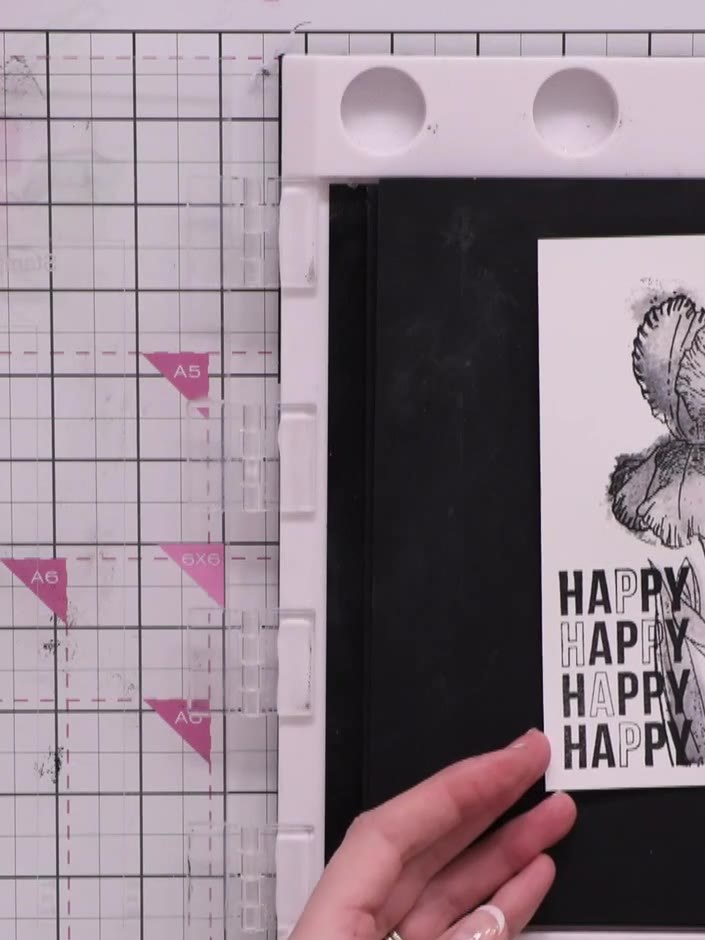 11
Add optional sentiments to your card. Stamp 'Happy' repeatedly down the side in black ink, or emboss in gold for variation. The iris stamp can be paired with different sentiment options from the stamp set.
Partagez votre création avec la communauté Stamps By Me - et gardez ce tutoriel pour la prochaine fois.
Rédigé à partir de l’émission elle-même. Tous les tutoriels de nos émissions · tutoriels gratuits · en direct sur My Telly · l’ancienne présentation