Offrez à vos amis 10 £ de réduction sur leur première commande !
Parrainez un AMI








 The Friday Final Cutven. 6 nov. 10 h 00
 Community Showcaselun. 9 nov. 10 h 00
 Hobbymaker TVlun. 9 nov. 14 h 00
Les prix sont mis à jour immédiatement. Chaque langue est notre propre traduction, pas Google.
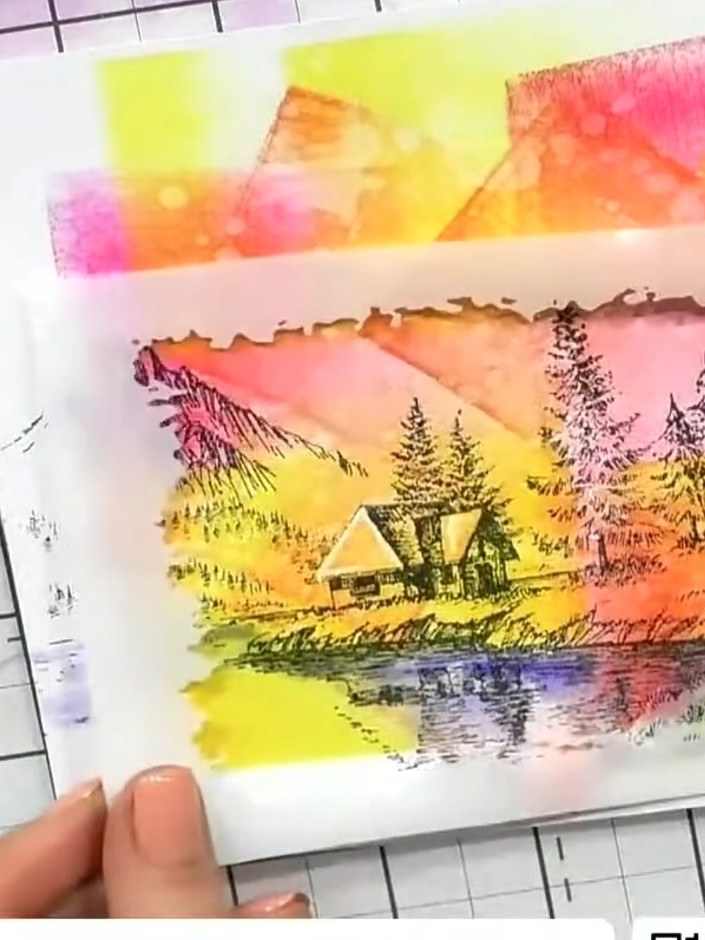
Une création de notre émission en direct Émission Create and Craft du 18 MARS 23 - Retrouvez Toni pour ses dernières nouveautés et plein d'inspiration - émission 3 · 18/03/2023
Réalisez une carte saisissante avec un paysage de chalet, de montagnes, d'arbres et de lac, sublimé par une mise en couleur vibrante façon aquarelle aux teintes de coucher de soleil, rose, orange et jaune. La création associe le tamponnage à des ombres à l'encre noire autour d'une fenêtre pour apporter profondeur et relief en toute subtilité, comme si l'on contemplait cette scène paisible de l'intérieur.
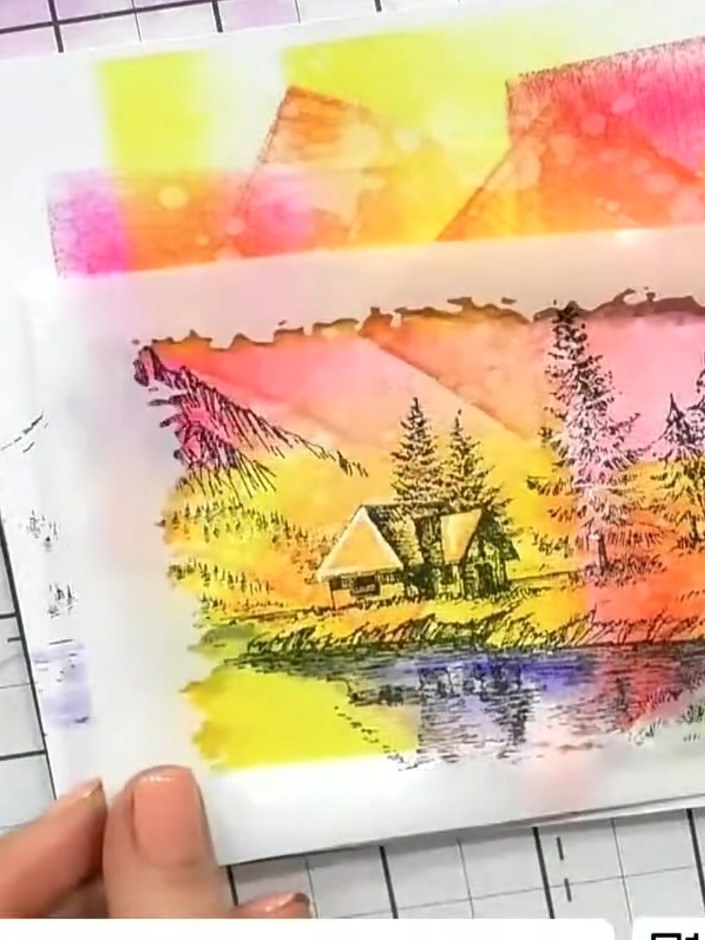 1
Stamp the cabin scene from the Reflection stamp set onto your coloured background card using black ink. Position the stamped image centrally on the card to create the main focal point of your design.
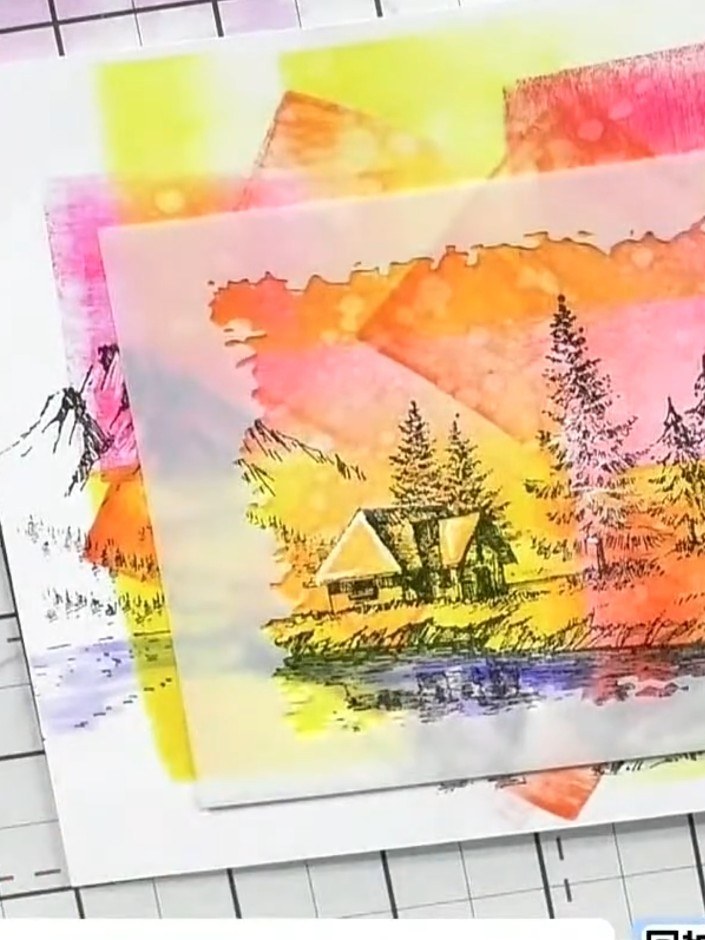 2
Trim the stamped image to your desired size and shape using a trimmer or scissors. Keep the main scenic elements within your chosen dimensions.
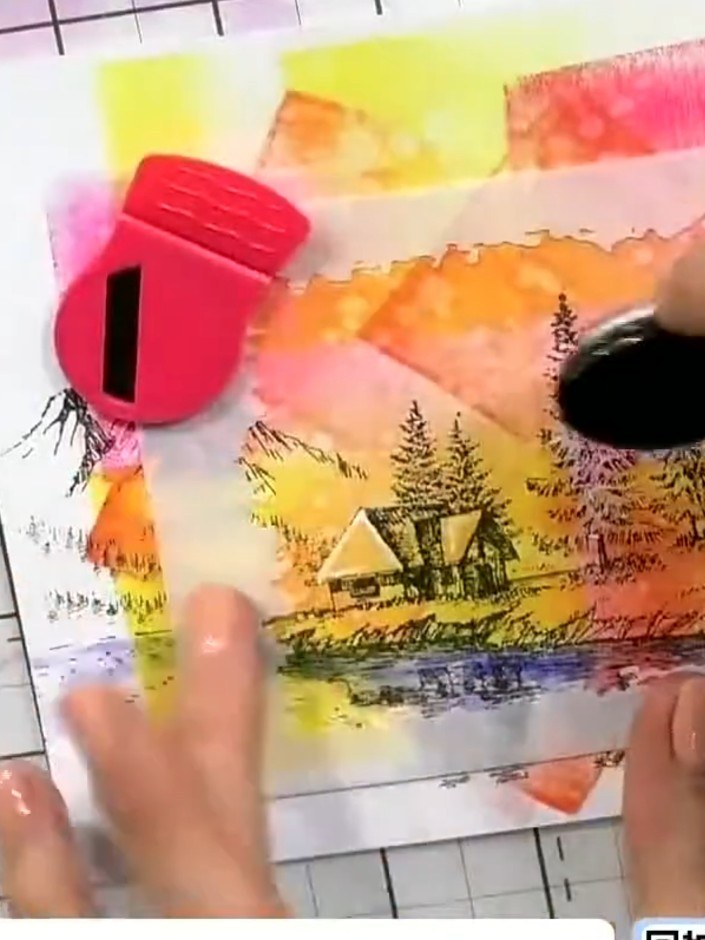 3
Using a black ink pad, apply ink around a specific window area of the stamped image to create a shadow effect. This draws attention to that particular detail and adds depth to the scene.
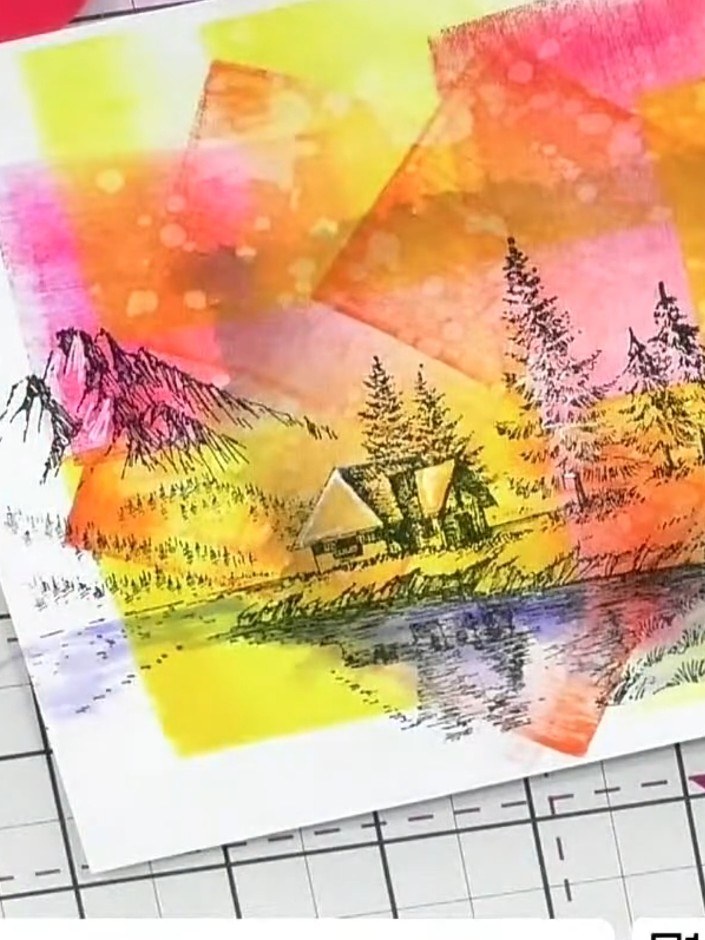 4
Mount the trimmed stamped piece onto a contrasting card blank, positioning it centrally to create a finished card with the colourful mountain scene as the focal point.
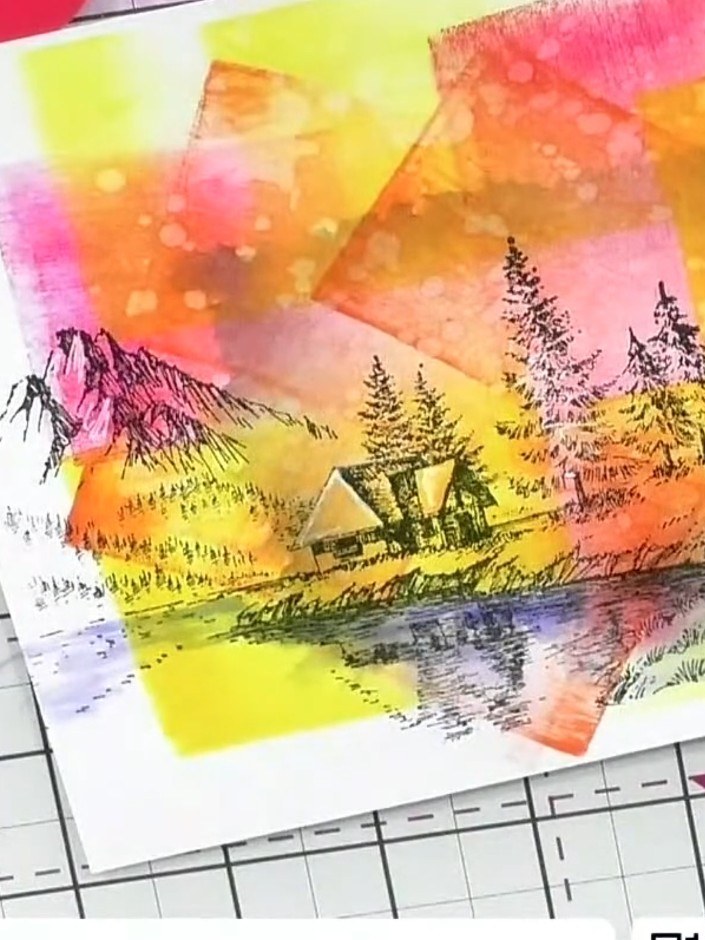 5
Add any additional details to your card such as gel pen highlights or sparkle accents if desired. This completes your window detail card with layered shadows.
Partagez votre création avec la communauté Stamps By Me - et gardez ce tutoriel pour la prochaine fois.
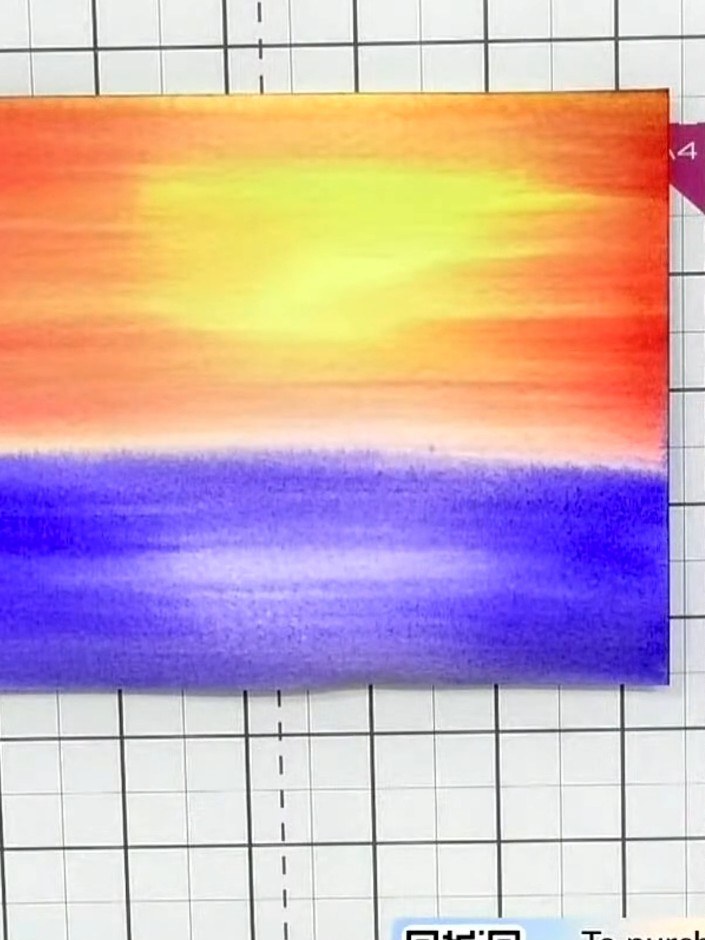 Fond de coucher de soleil à l'aquarelle avec paysage tamponné9 étapes
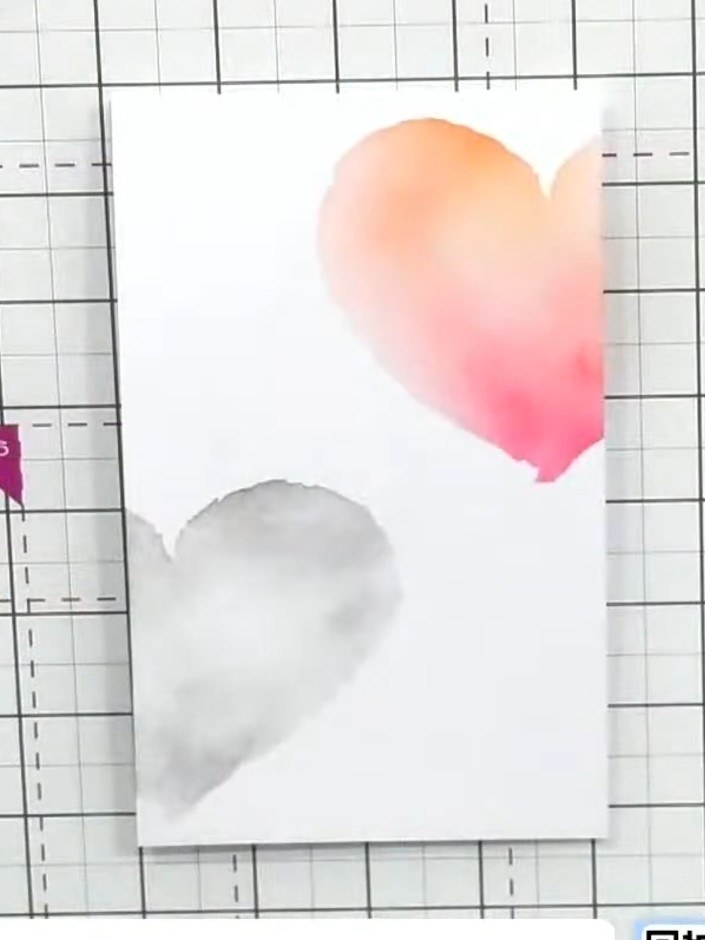 Carte coupée en deux, couleur et monochrome, avec pochoir cœur8 étapes
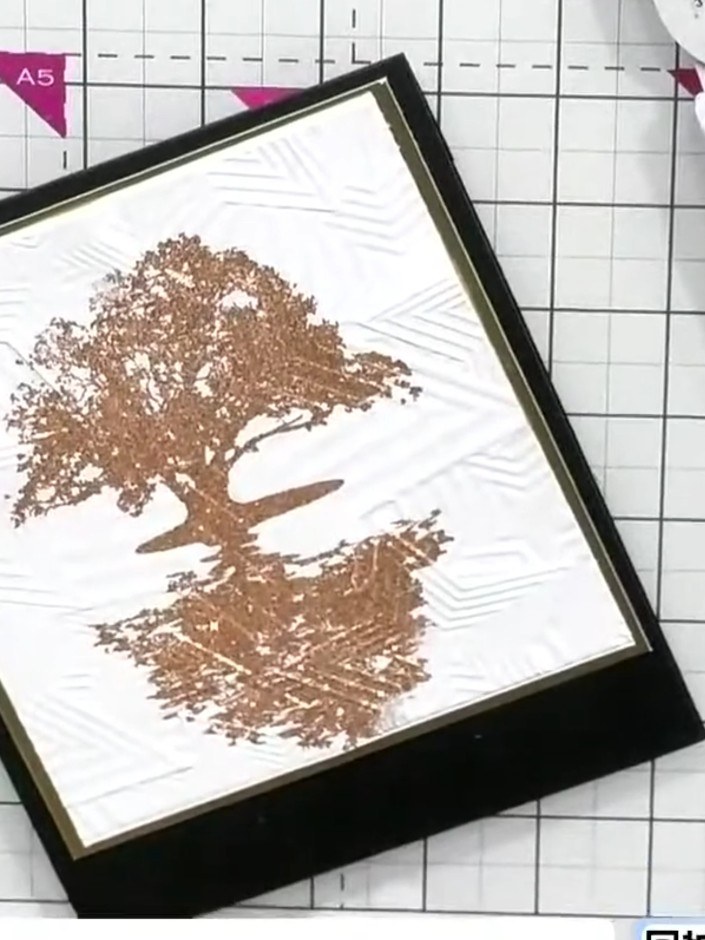 Arbre embossé avec parties en couleur et en monochrome8 étapes
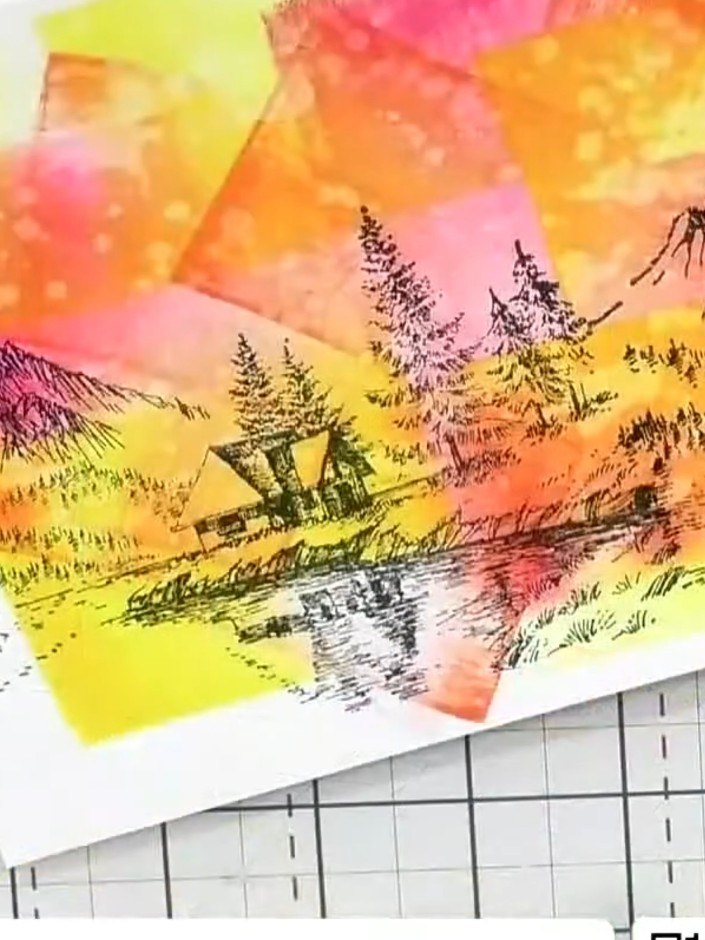 Fond à l'encre effet vieilli et tampon de chalet répété10 étapes
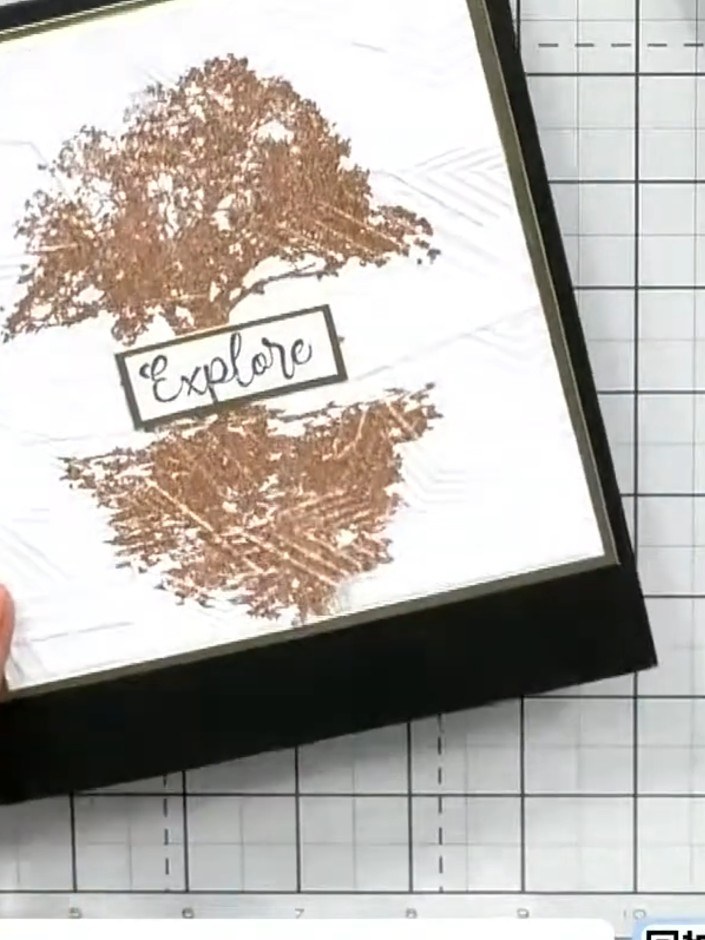 Carte encadrée Reflection avec pochoir et gaufrage6 étapes
Rédigé à partir de l’émission elle-même. Tous les tutoriels de nos émissions · tutoriels gratuits · en direct sur My Telly · l’ancienne présentation