Cochez ce que vous avez - cet appareil s’en souvient.
Étape par étape
touchez une image pour l’agrandir · touchez TERMINÉ au fur et à mesure - cet appareil s’en souvient
Étape 1 sur 7
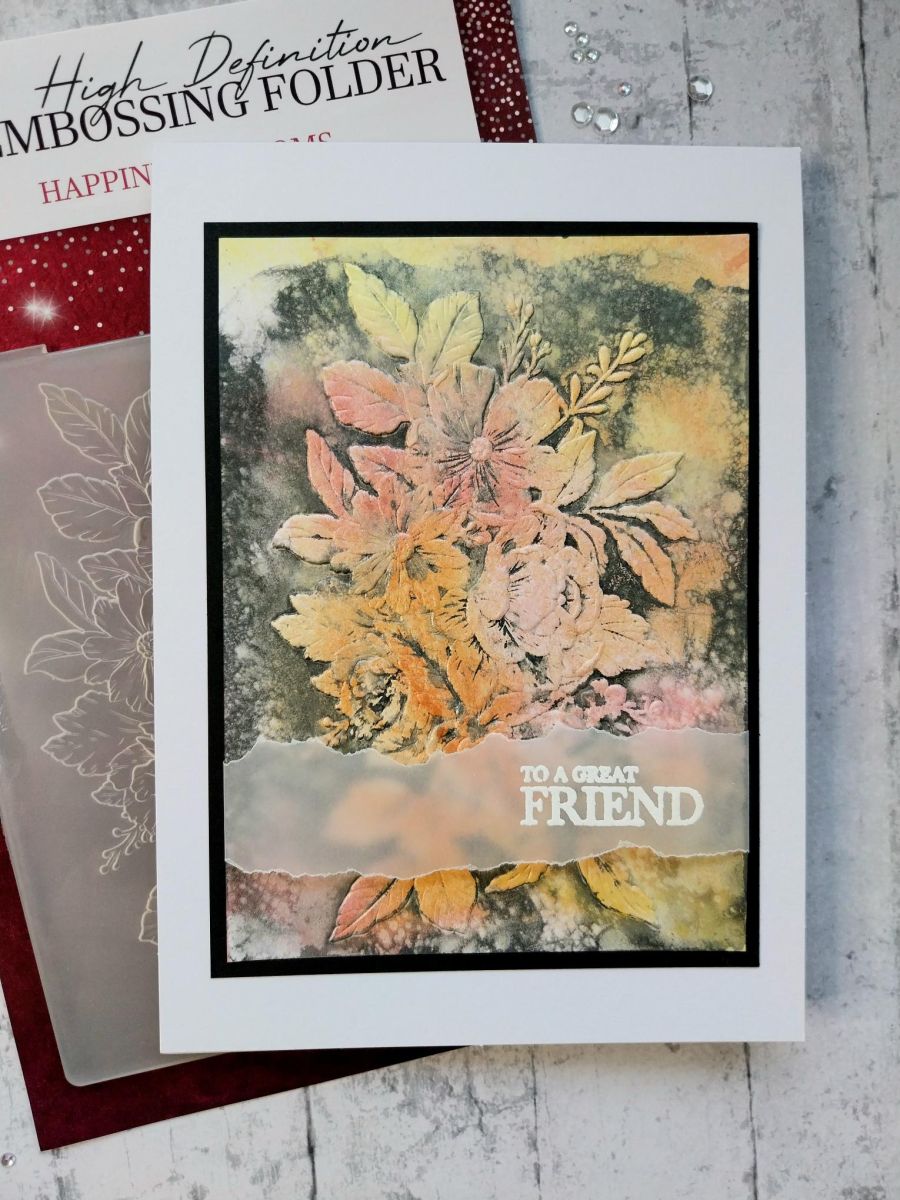
Cut a piece of white card to 4 1/4 x 5 3/4".
Swirl your Shiny Izink sprays to activate the mica then one at a time, spray onto your glass mat. Pick up the ink on the card. Alternatively, spray directly onto the card. The choice is yours.
Étape 2 sur 7
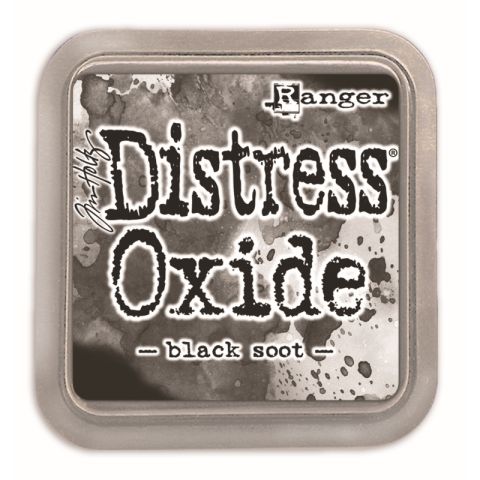
Once the ink is dry, ink up the debossed side of the Happiness Blooms embossing folder, with your Black Soot. Spritz lightly with water. Pop your card inside and run through your machine.
Étape 3 sur 7
You can add more Black Soot to your artwork, if preferred. Just play with the inks until you're happy with the result.
Étape 4 sur 7
Tear a strip of vellum wider than your inked card.
Wipe the vellum with your anti-static bag before stamping your sentiment in the centre, with your sticky embossing ink. Apply the white embossing powder over the stamped image, decanting any excess powder back in the pot. Get your heat tool hot before you heat set the powder to avoid burning the powder and warping the vellum.
Étape 5 sur 7
Lay your embossed vellum across the bottom half of the inky background. Tuck the vellum over the edges of the card and secure on the reverse with your double-sided tape.
Étape 6 sur 7
Mat onto black card cut to 4 1/4 x 5 3/4" and then onto your white card blank.
Étape 7 sur 7
Use your glitters and clear sparkle pens to add extra sparkle if required.
Bravo, c’est fait !
Partagez votre création avec la communauté Stamps By Me - et gardez ce tutoriel pour la prochaine fois.
Demandez à Toni L'assistante créative IA de ToniTAILLE
Bonjour ! Je suis l'assistante créative IA de Toni : je connais les projets des émissions de Toni, nos tutoriels et tout ce qui se trouve dans la boutique. Posez-moi toutes vos questions, par exemple « Quelles matrices de découpe vont avec ce set de tampons ? » ou « De quoi ai-je besoin pour débuter le mélange d'encres ? »
Un assistant IA (et non Toni en personne), qui répond à partir des émissions de Toni et de notre boutique – merci de vérifier la fiche produit avant d'acheter.