Étape 1 sur 6
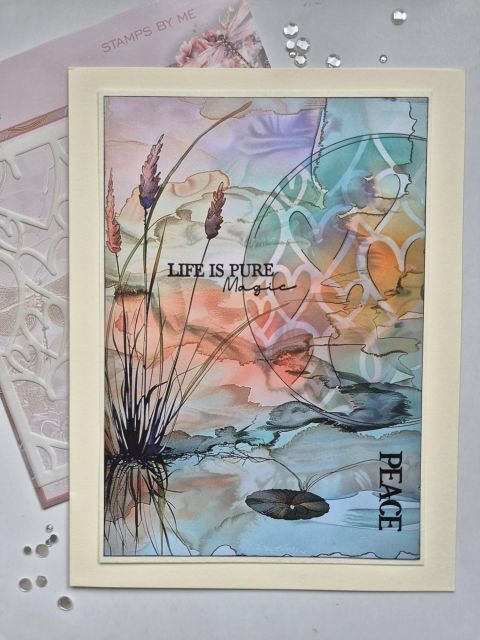
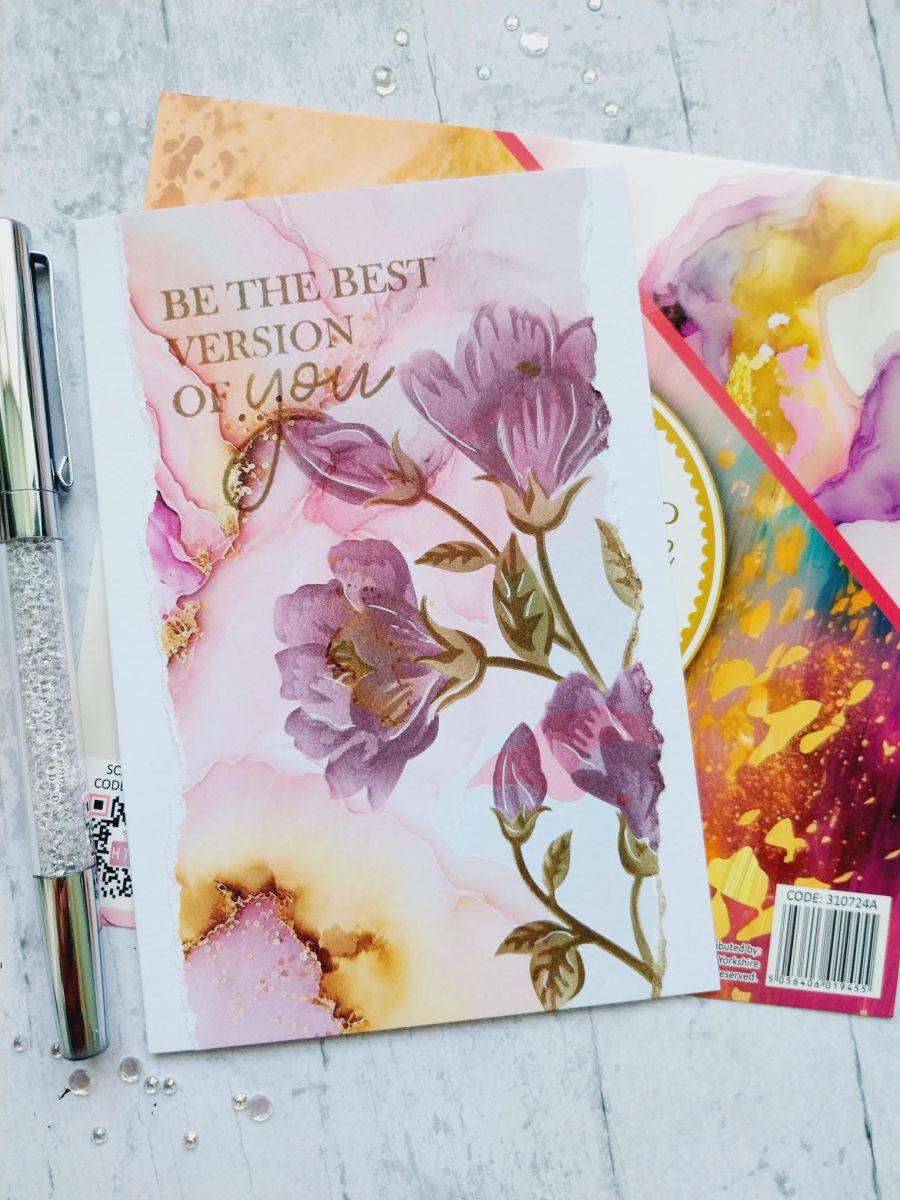
Choose your paper from the Marbled Elegance paper pad and tear down 2 sides to create a panel that will fit on front of your card blank.








 Deal HuntersDemain 14 h 00
 Hidden Gemsmer. 11 nov. 10 h 00
 The Thursday Dropjeu. 12 nov. 18 h 00
Les prix sont mis à jour immédiatement. Chaque langue est notre propre traduction, pas Google.
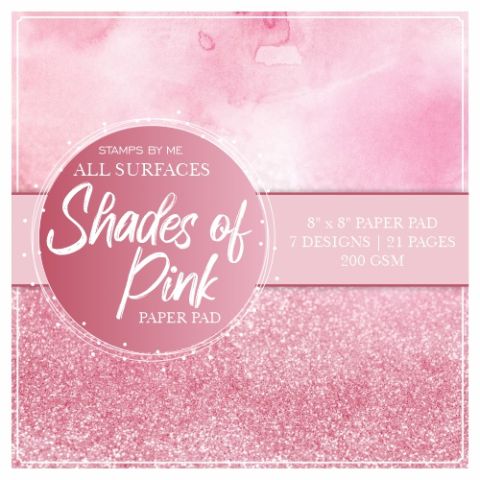 STAMPS BY ME - ALL SURFACES - SHADES OF PINK - 8 x 8 PAPER PAD12,99 £ACHETER✓ AJOUTÉ
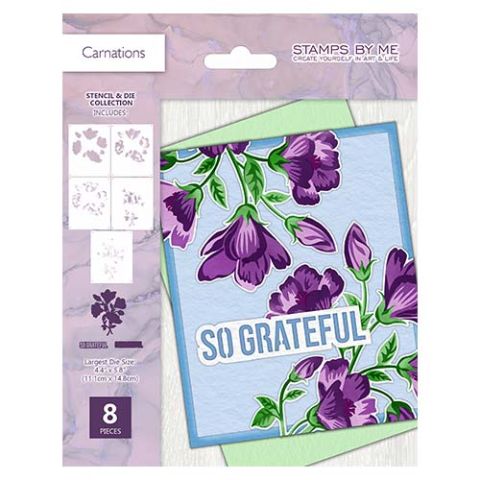 Stencil & Die Set - CarnationsCollection de pochoirs et matrices de découpe Carnations34,99 £ACHETER✓ AJOUTÉ
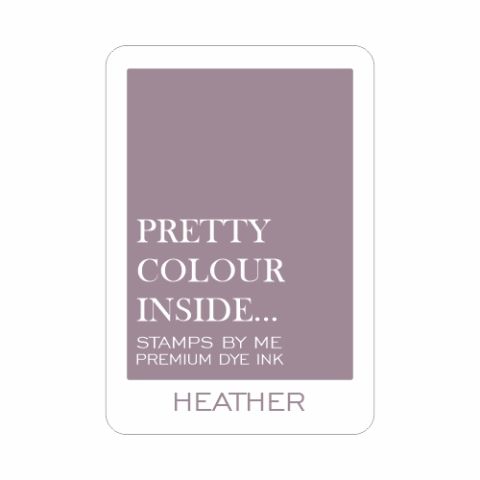 Stamps By Me - Premium Dye Ink Pad - HeatherEncreur à colorant SBM : Heather
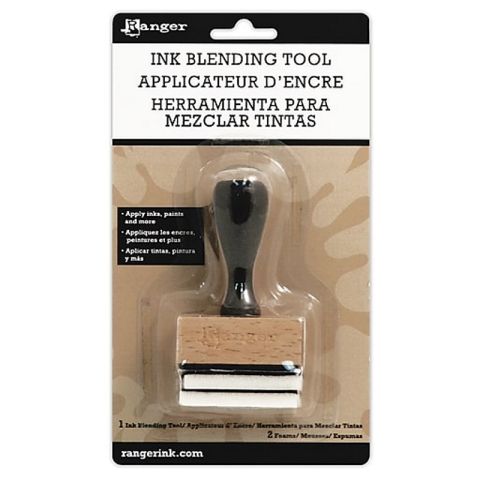 Outil d'estompage rectangulaire (Blending Tool)Outil d'estompage
Choose your paper from the Marbled Elegance paper pad and tear down 2 sides to create a panel that will fit on front of your card blank.
Secure stencil 1 coming onto the right side of the torn paper.
Blend Heather lightly through stencil 1.
Line up stencil 2 and blend with the Heather again.
Line up stencil 3 and apply Heather with more intensity.
Line up stencil 4 and apply Frayed Burlap.
Line up stencil 5 and blend with Walnut Stain.
Once the ink is dry, use a white gel pen to add accents and highlights to your stencilled image.
Stamp your sentiment with the Frayed Burlap.
Tip: Prime the stamp with sticky embossing ink before inking with Distress inks, to get a crisper stamped image.
Adhere your torn panel onto the front of your card blank, to finish.
Partagez votre création avec la communauté Stamps By Me - et gardez ce tutoriel pour la prochaine fois.
Vous préférez l’ancienne présentation ? Ouvrir l’ancienne page.