Étape 1 sur 8
Stamp our lovely lady on to a masking sheet, copy paper, post-it-note and fussy cut to create a "mask".








 Deal Huntersmar. 10 nov. 14 h 00
 Hidden Gemsmer. 11 nov. 10 h 00
 The Thursday Dropjeu. 12 nov. 18 h 00
Les prix sont mis à jour immédiatement. Chaque langue est notre propre traduction, pas Google.
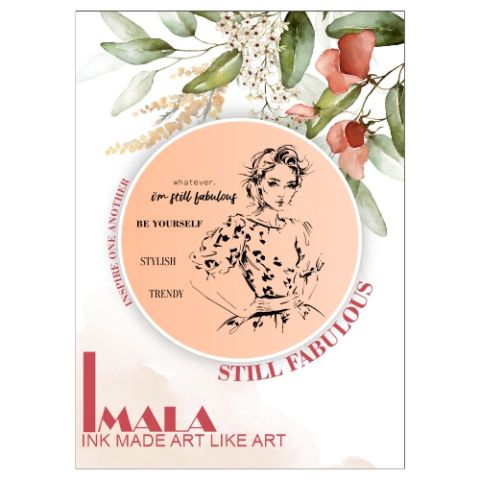 Imala - A5 Stamp - Still FabulousTampon IMALA Still Fabulous A5
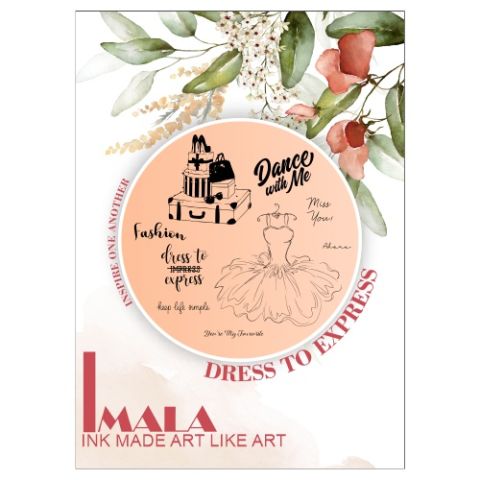 Imala - A5 Stamp - Dress To ExpressTampon IMALA Dress To Express A517,99 £ACHETER✓ AJOUTÉ
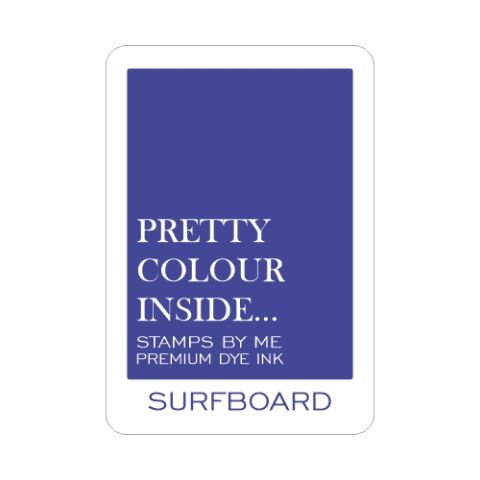 Stamps By Me - Premium Dye Ink Pad - SurfboardEncreur à encre colorante SBM : Surfboard
 Outil d'estompage rectangulaire (Blending Tool)Outil de blending
Stamp our lovely lady on to a masking sheet, copy paper, post-it-note and fussy cut to create a "mask".
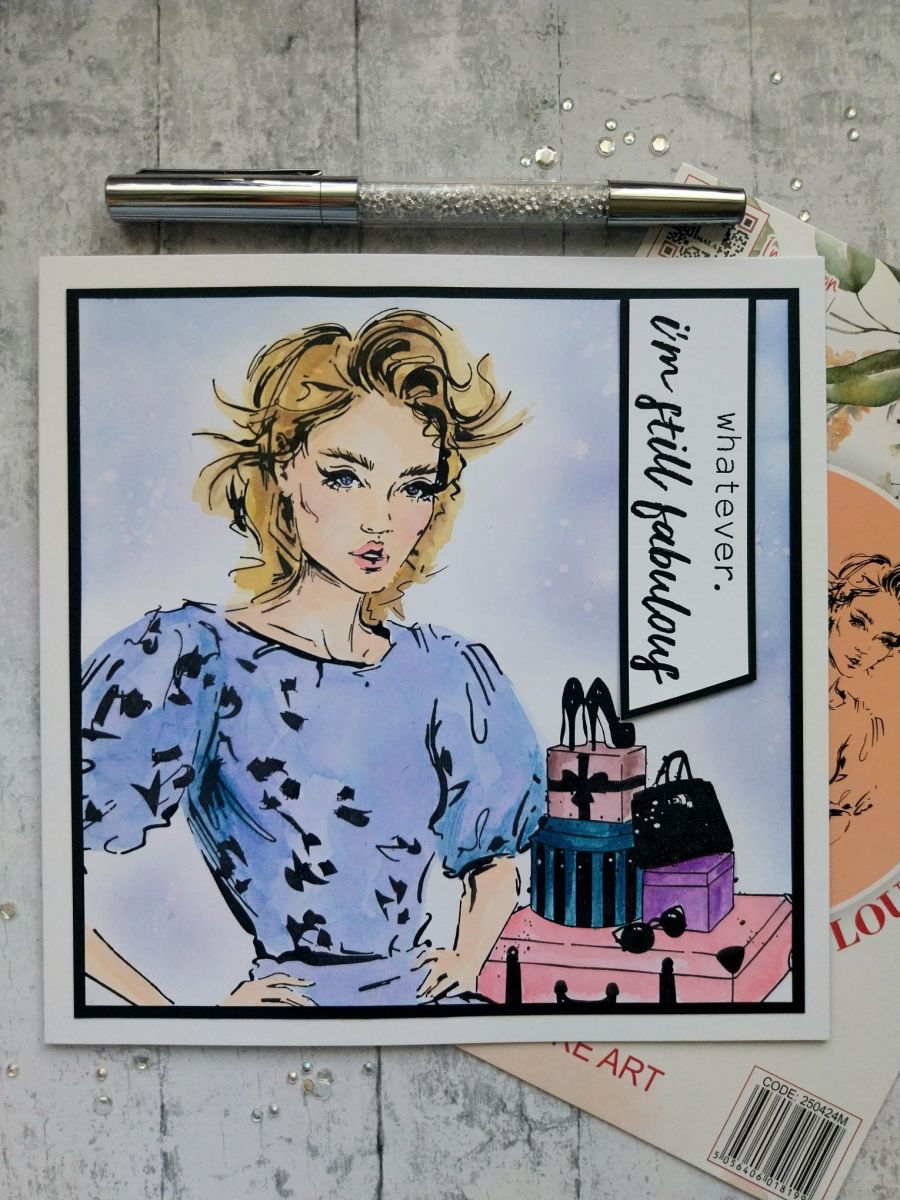
Cut a piece of white card to 6 1/2" square and place landscape on your glass mat.
Using the presents stamp from Dress to Express, as a positional guide, secure your "mask" where you want her to be.
Stamp the presents in Midnight, so they sit to the right of the "mask"
Now remove the mask and stamp your lady in place.
Use your watercolour paints to colour in your stamped images.
Using a blending tool, lightly blend the Surfboard in the background. Splatter drops of water over the inked background, mopping the drops up with a paper towel.
Mat your artwork on to black card trimmed to 6 3/4" square and then on to your card blank.
Stamp the sentiment in Midnight, on to white card and trim to shape. Mat on to black card and trim to shape before adhering down the right side of your finished card.
Partagez votre création avec la communauté Stamps By Me - et gardez ce tutoriel pour la prochaine fois.
Vous préférez l’ancienne présentation ? Ouvrir l’ancienne page.



