Étape 1 sur 7
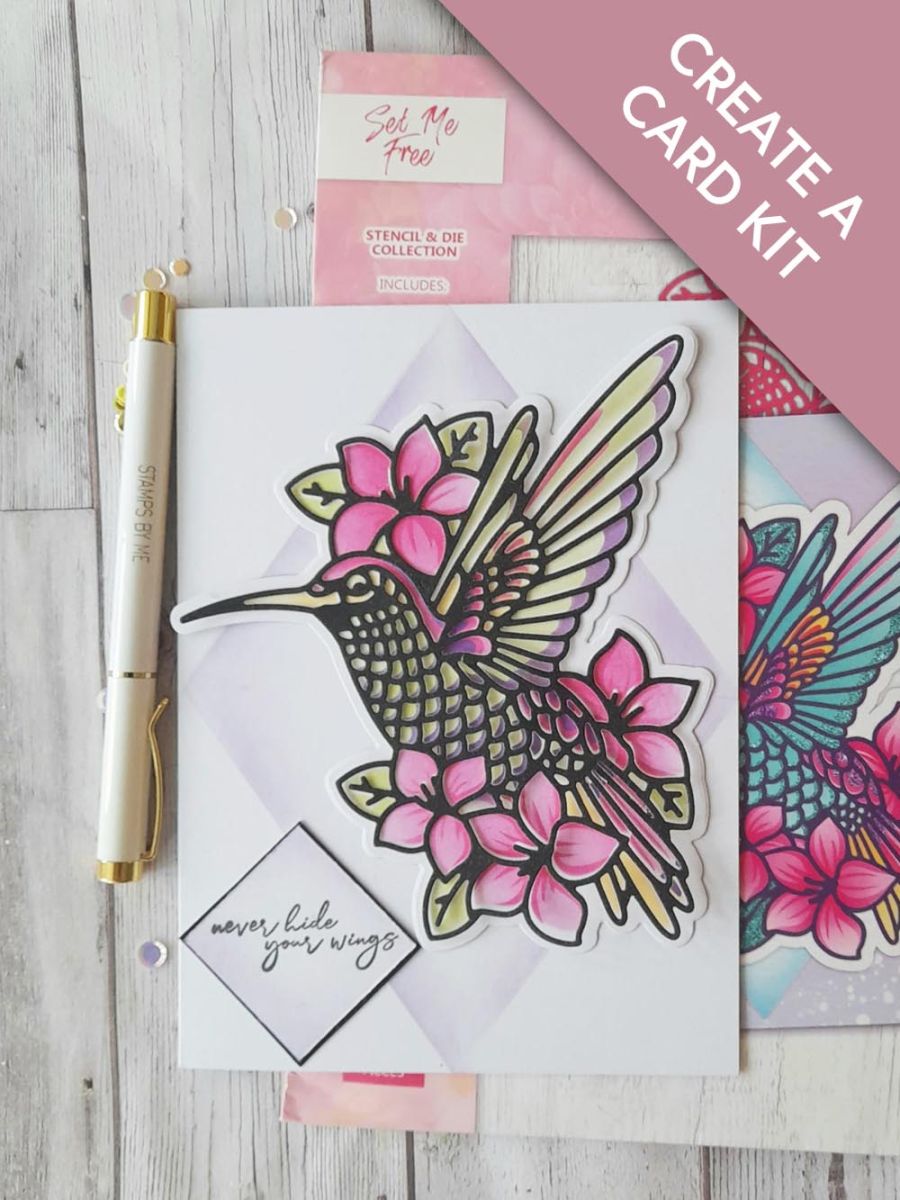
Cut a piece of white cardstock to at least the size of the stencils 5 1/4 x 6 3/4". Place stencil 1 on top, marking the hearts in the corners with a pencil.








 Deal Huntersmar. 10 nov. 14 h 00
 Hidden Gemsmer. 11 nov. 10 h 00
 The Thursday Dropjeu. 12 nov. 18 h 00
Les prix sont mis à jour immédiatement. Chaque langue est notre propre traduction, pas Google.
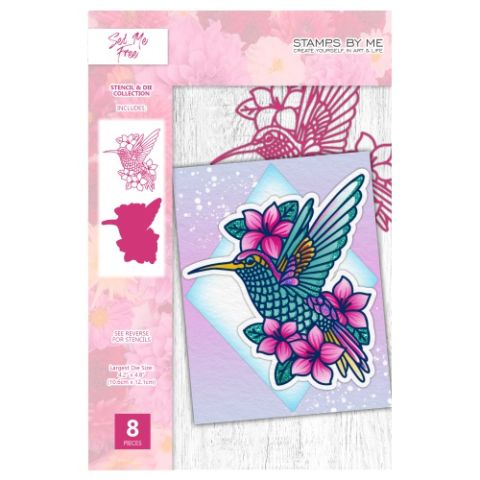 A5 Stencil & Die - Set Me FreeSet Me Free A5 Stencil and Die39,99 £ACHETER✓ AJOUTÉ
 Outil d'estompage rectangulaire (Blending Tool)Outil d'estompage
Cut a piece of white cardstock to at least the size of the stencils 5 1/4 x 6 3/4". Place stencil 1 on top, marking the hearts in the corners with a pencil.
Use a blending brush to ink through each stencil as follows:
Stencil 1 Twisted Citron
Stencil 2 Spiced Marmalade
Stencil 3 Picked Raspberry
Stencil 4 Picked Raspberry using more pressure or ink
Stencil 5 Wilted Violet
Stencil 6 Twisted Citron on leaves and Wilted Violet on feathers and body
Use Outline die to cut out your work in your die cutting machine.
Use detailed die on black cardstock. Glue and stick to top of bird.
Use the edge of one of your stencils and place at 2.5" on the 5" side and 3.5" on the 7". Blend Wilted Violet on each of 4 sides to give a diamond border as shown.
Cut a square of white cardstock 1.5 x 1.5" and stamp the sentiment in the middle as shown. Blend Wilted Violet round the edges. Mat onto slightly larger black cardstock to give a border.
Stick sentiment and bird onto card blank using glue or foam pads.
Partagez votre création avec la communauté Stamps By Me - et gardez ce tutoriel pour la prochaine fois.
Vous préférez l’ancienne présentation ? Ouvrir l’ancienne page.



