Étape 1 sur 8
Trim this decorative paper, from the IMALA Collage pad, to 5 x 7".








 Deal Huntersmar. 10 nov. 14 h 00
 Hidden Gemsmer. 11 nov. 10 h 00
 The Thursday Dropjeu. 12 nov. 18 h 00
Les prix sont mis à jour immédiatement. Chaque langue est notre propre traduction, pas Google.
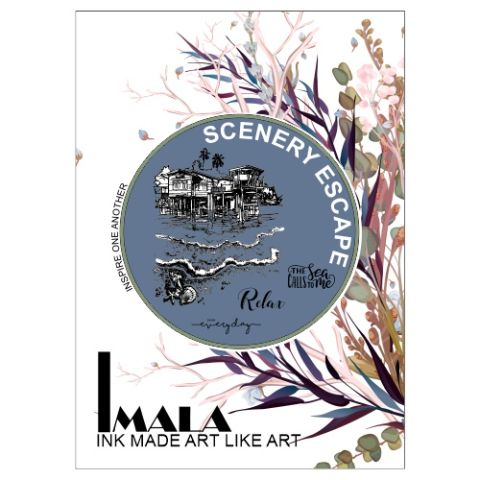 Imala - A5 Stamp - Scenery EscapeTampon A5 IMALA Scenery Escape17,99 £ACHETER✓ AJOUTÉ
Trim this decorative paper, from the IMALA Collage pad, to 5 x 7".
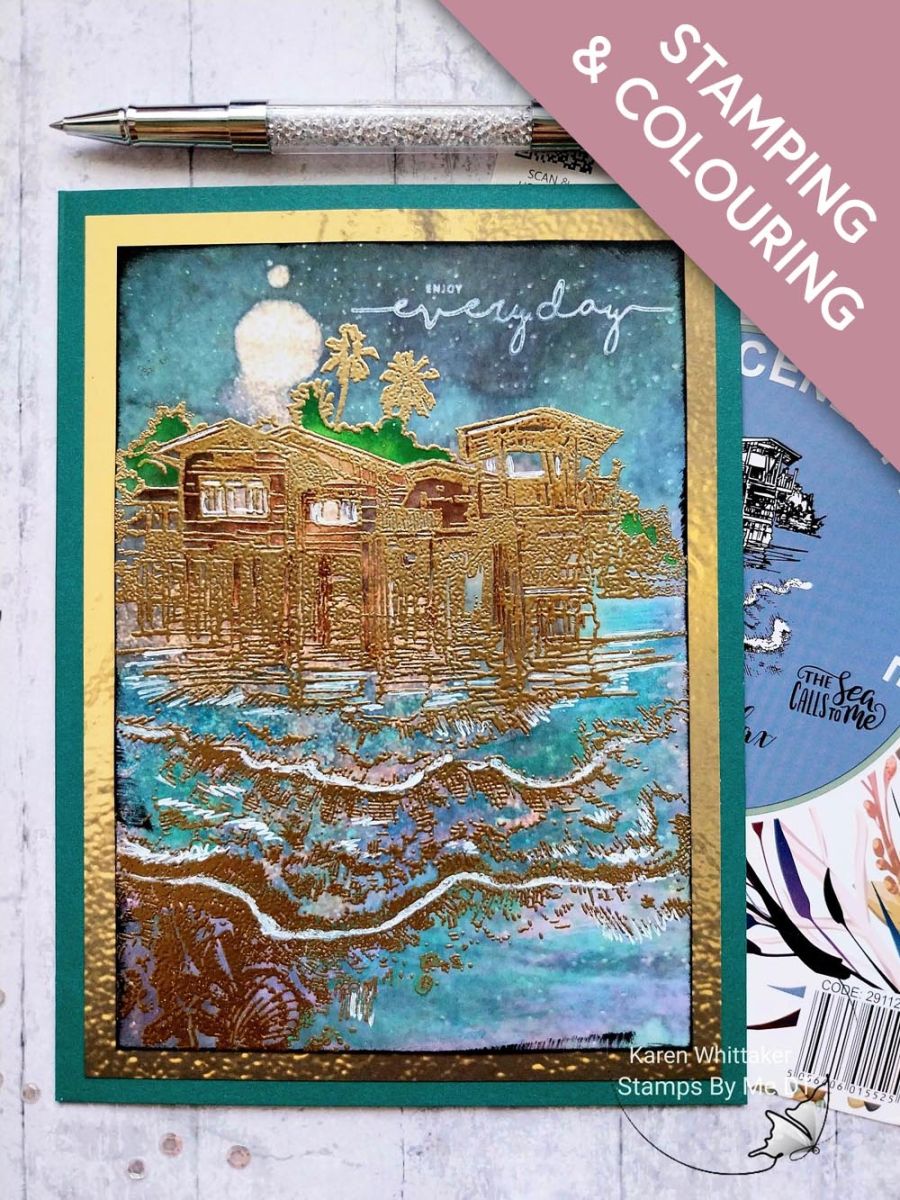
Wipe over the paper with your anti-static bag before stamping your image in the WOW sticky embossing ink. Apply the gold powder over your image, decanting any excess powder back in to the pot. Get your heat tool hot before setting the powder, to minimise warping the paper.
Use your watercolour paints to colour in your embossed image, emphasing the trees, the pink in the waves, buildings etc.
Use your white gel pen to define the crest of the waves and highlights within the embossed image, as required.
Apply Midnight ink around the outer edges of your artwork, to draw the eye in.
Stamp your sentiment with the Cotton pigment ink, ensuring you blast it dry with your heat tool, as it's slow drying and will smudge!!
Trim this textured decorative paper, from Sunshine In My Pocket paper pack, to 7 1/2 x 5 1/2".
Mat your artwork on to the decorative paper and then on to your teal card blank.
Partagez votre création avec la communauté Stamps By Me - et gardez ce tutoriel pour la prochaine fois.
Vous préférez l’ancienne présentation ? Ouvrir l’ancienne page.



