Étape 1 sur 8
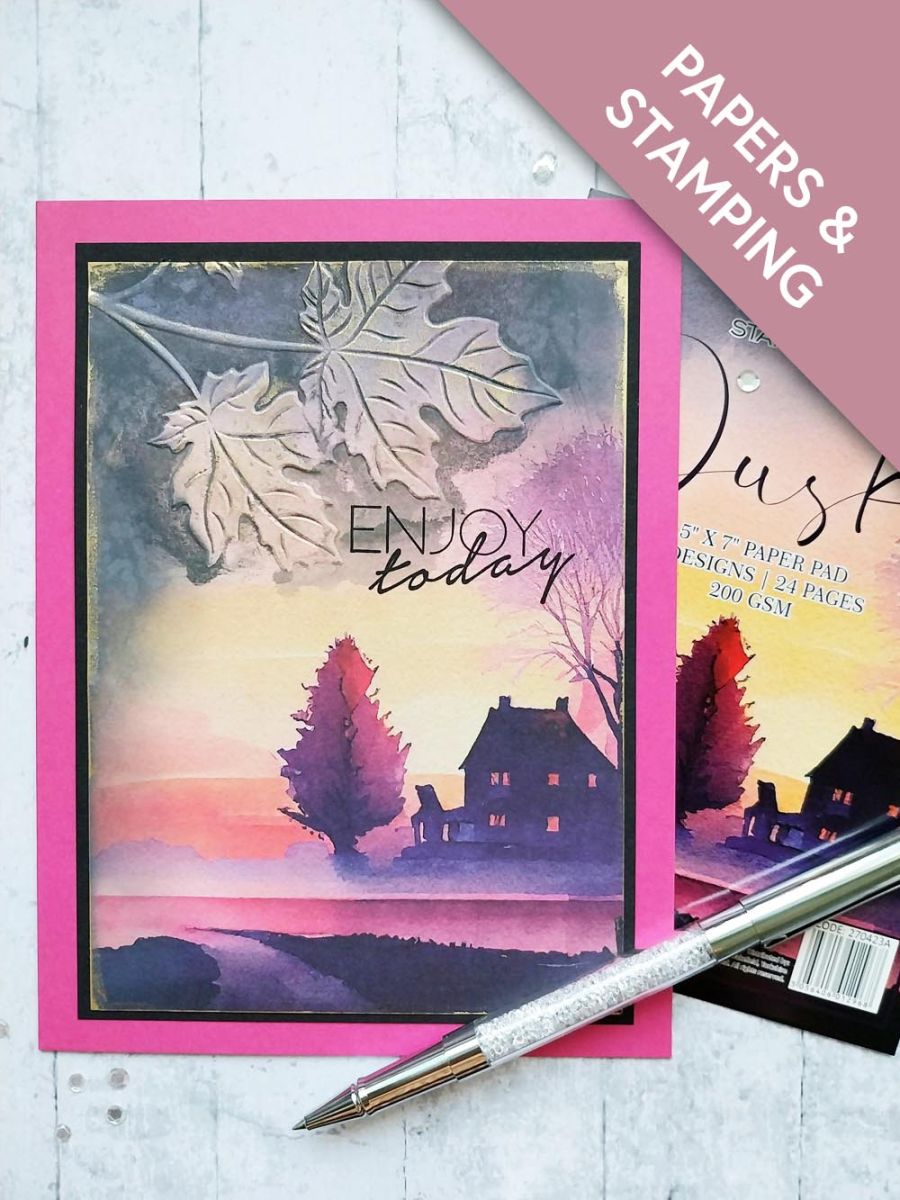
Choose your design from the Dusk paper pack.








 Deal Huntersmar. 10 nov. 14 h 00
 Hidden Gemsmer. 11 nov. 10 h 00
 The Thursday Dropjeu. 12 nov. 18 h 00
Les prix sont mis à jour immédiatement. Chaque langue est notre propre traduction, pas Google.
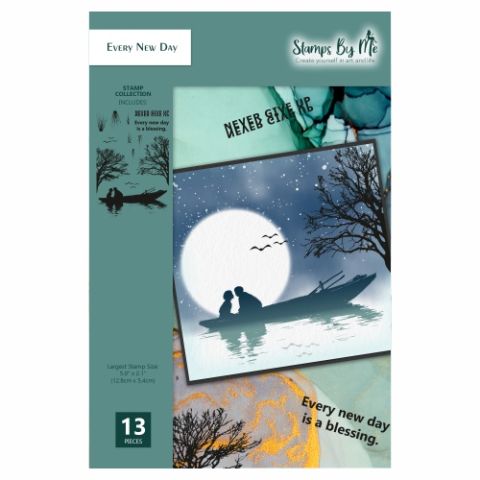 Tv - A5 Reflection Stamp - Every New Day18,99 £ACHETER✓ AJOUTÉ
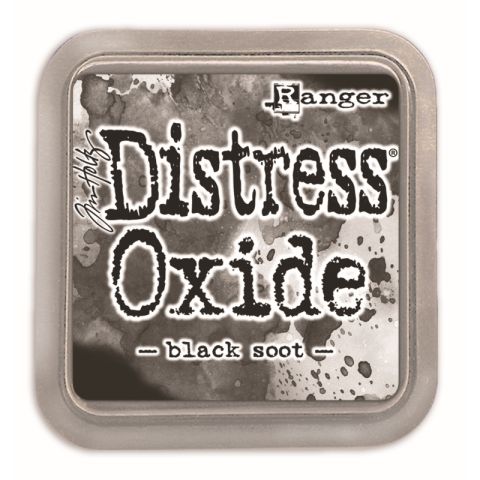 Tim Holtz - Distress - Encreur Oxide Black SootEncreur Distress Ink/Oxide : Black Soot
Choose your design from the Dusk paper pack.
Wipe the Black Soot ink pad over the debossed side of the Autumn embossing folder and spritz lightly with water.
Place the printed paper inside the inked folder so the leaves are coming on to the top left corner. Run it through your embossing machine.
Blend the Black Soot around the top left corner of the paper. Use your paint brush to add ink under the outer edges of the embossed image, making it "pop" from the paper.
Randomly apply the Gold gilding wax on the raised, embossed areas of the design. Buff with a soft cloth to enhance the shine.
Tip: When applying gilding wax, use the pad of your middle/ring finger and start off lightly. You can always add more wax but you cannot remove it!!
Add the gilding wax around the edges of your paper and again, buff with a soft cloth.
Stamp your sentiment with Midnight, where required.
Finally mat your artwork on to black card cut to 5 1/2 x 7 1/2" and then on to the front of your Fushia card blank.
Partagez votre création avec la communauté Stamps By Me - et gardez ce tutoriel pour la prochaine fois.
Vous préférez l’ancienne présentation ? Ouvrir l’ancienne page.



