Étape 1 sur 3
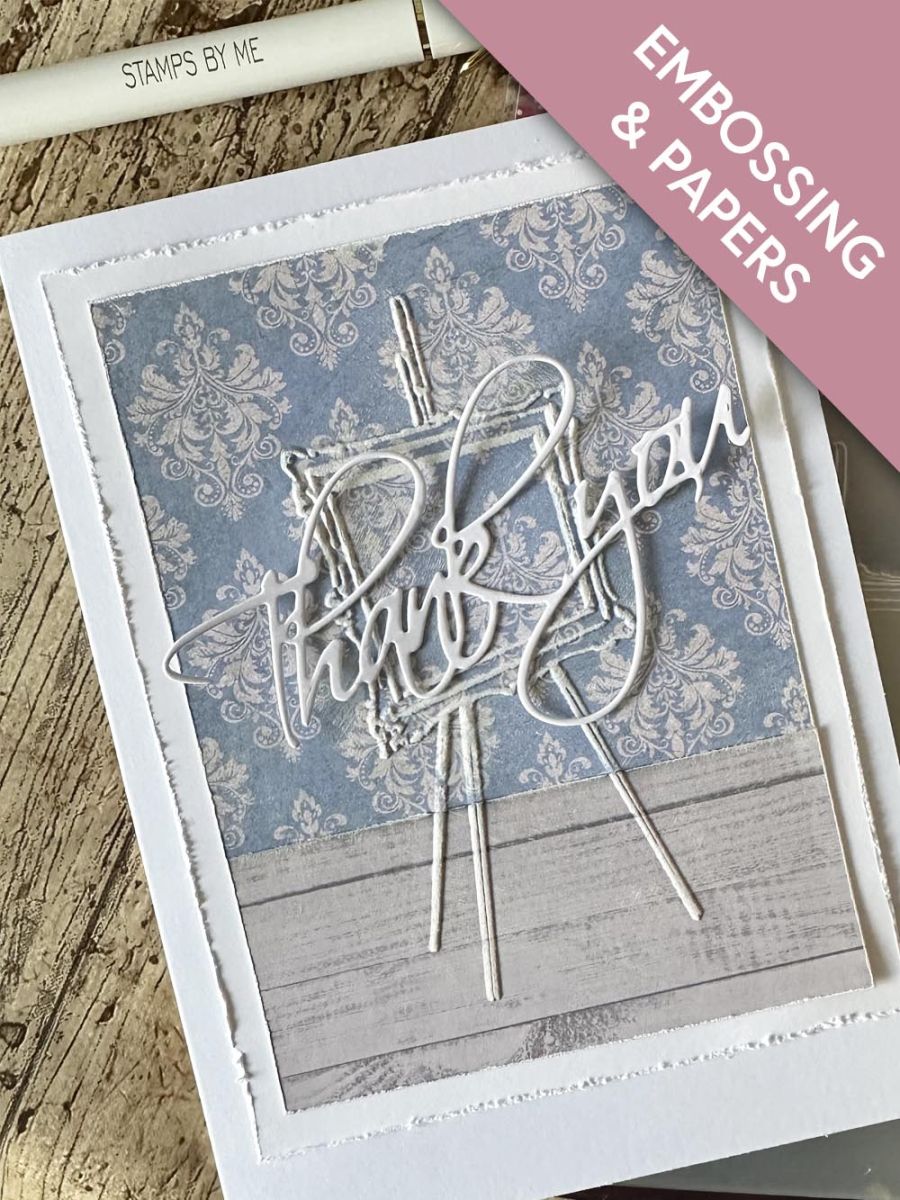
Trim two pieces of patterned cardstock from your Time To Grow paper pads. The wallpaper piece to 5 ½ x 4 and the woodgrain effect to 2 ¾ x 4. Glue together as shown.








 Deal Huntersmar. 10 nov. 14 h 00
 Hidden Gemsmer. 11 nov. 10 h 00
 The Thursday Dropjeu. 12 nov. 18 h 00
Les prix sont mis à jour immédiatement. Chaque langue est notre propre traduction, pas Google.
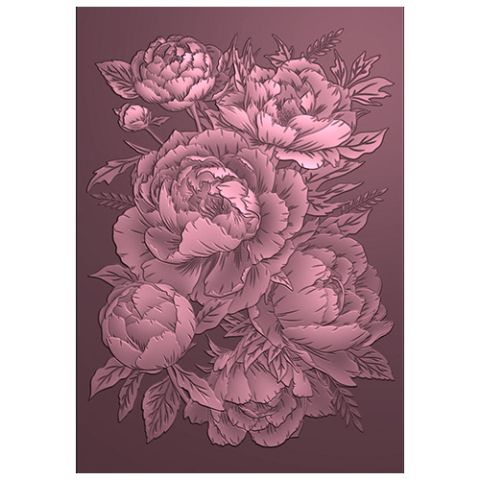 Signature Watercolour High Definition 3d Embossing Folder - Pretty Peony12,99 £ACHETER✓ AJOUTÉ
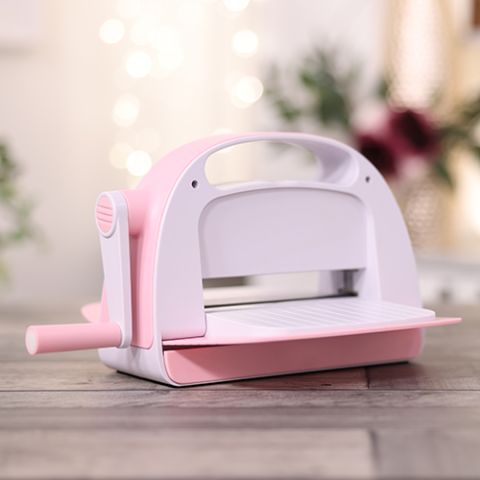 Stamps By Me 6 Inch Die Cutting & Embossing MachineMachine de découpe et de gaufrage129,99 £ACHETER✓ AJOUTÉ
 Gesso blanc 4 ozGesso blanc
Trim two pieces of patterned cardstock from your Time To Grow paper pads. The wallpaper piece to 5 ½ x 4 and the woodgrain effect to 2 ¾ x 4. Glue together as shown.
Run your patterned paper through your embossing folder.
Dry brush the raised areas of your embossed card, the overlap and edges with white Gesso.
Trim a piece of 6 x 4 ½ white card stock and distress using the edge of a pair of scissors. Construct your card by gluing the layers together.
Die cut your sentiment in white cardstock applying glue to the centre and attaching to card (I like to keep the edges of the sentiment loose for added dimension).
Partagez votre création avec la communauté Stamps By Me - et gardez ce tutoriel pour la prochaine fois.
Vous préférez l’ancienne présentation ? Ouvrir l’ancienne page.



