Étape 1 sur 9
Trim a piece of white card to 7 1/2 x 3 1/2".
Spritz the Izink dye sprays on to your glass mat and smoosh the card in to the ink. allow the ink to dry or blast it with your heat tool, if you're impatient like me!!








 Deal Huntersmar. 10 nov. 14 h 00
 Hidden Gemsmer. 11 nov. 10 h 00
 The Thursday Dropjeu. 12 nov. 18 h 00
Les prix sont mis à jour immédiatement. Chaque langue est notre propre traduction, pas Google.
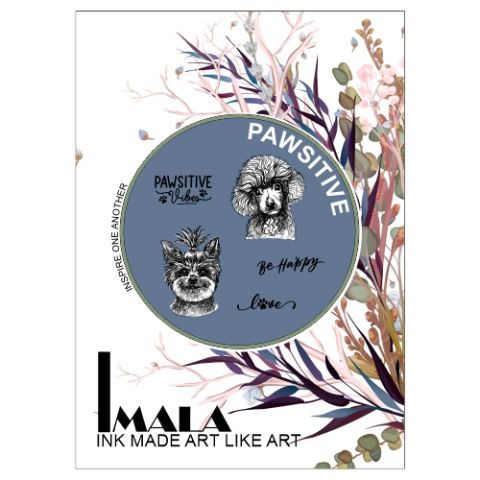 Imala - A5 Stamp - PawsitiveTampon A5 Imala Pawsitive17,99 £ACHETER✓ AJOUTÉ
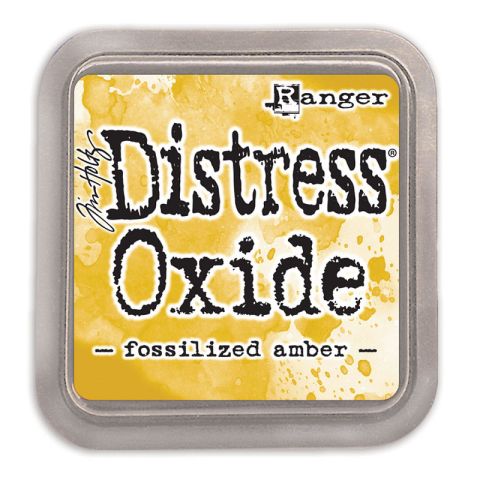 Tim Holtz - Distress - Encreur Oxide Fossilized AmberDistress Oxide : Fossilized Amber
 Outil d'estompage rectangulaire (Blending Tool)Outil de blending
Trim a piece of white card to 7 1/2 x 3 1/2".
Spritz the Izink dye sprays on to your glass mat and smoosh the card in to the ink. allow the ink to dry or blast it with your heat tool, if you're impatient like me!!
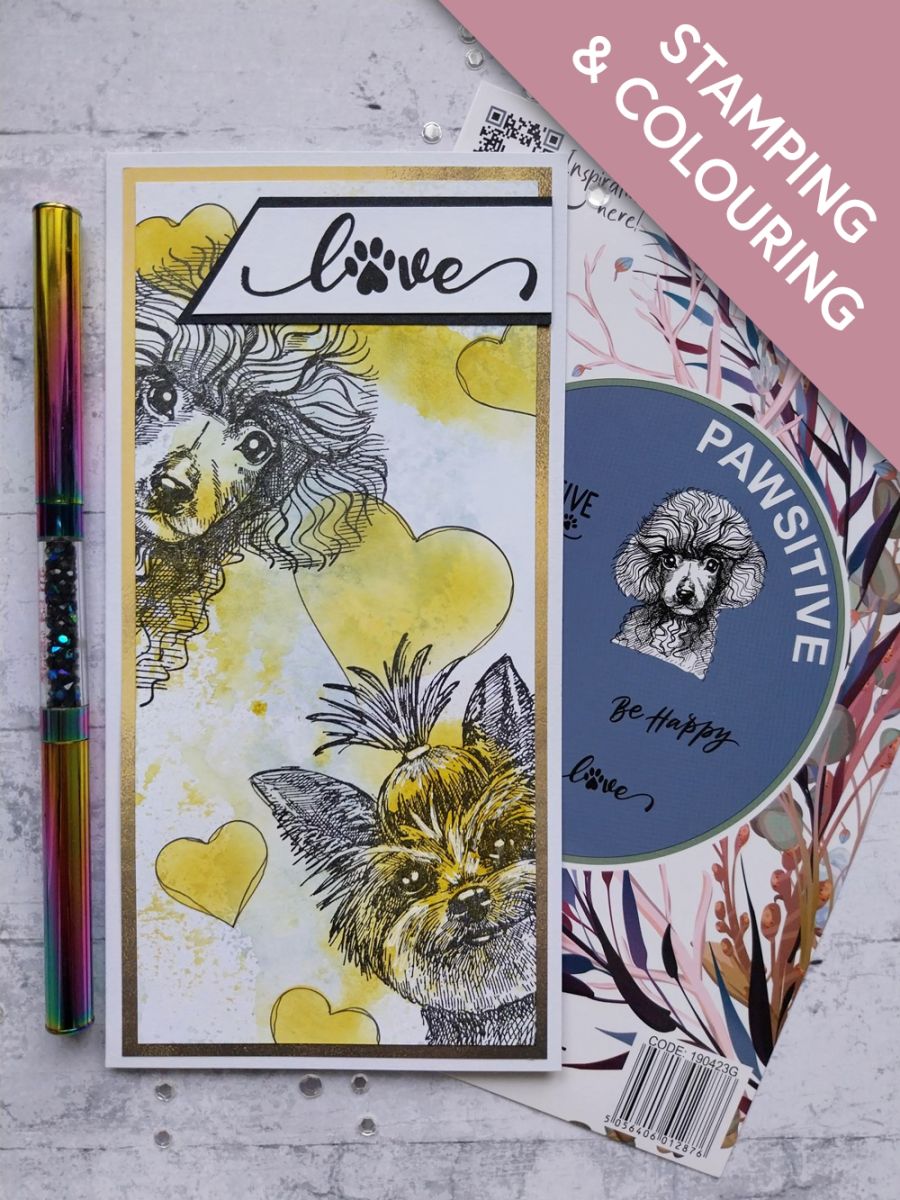
Stamp these gorgeous doggies, peeking on to the inked card, in the Midnight ink.
Using your blending brush and several of the smaller Imala heart stencils, randomly blend the Fossilized Amber through the heart apertures.
Go in with a fine line black pen and draw around your hearts, either using the heart stencils or you can go freehand, for a more distressed look.
Use your Imala white gel pen to add accents and highlights to your artwork.
Stamp the sentiment in Midnight on to a piece of white card. Trim to shape then mat on to black card and trim appropriately.
Trim this paper from the Sunshine In My Pocket paper pack, to 7 3/4 x 3 3/4".
Adhere your artwork on to the texture paper and then on to the front of your DL card blank.
Adhere the sentiment to the top right of your card, to finish.
Partagez votre création avec la communauté Stamps By Me - et gardez ce tutoriel pour la prochaine fois.
Vous préférez l’ancienne présentation ? Ouvrir l’ancienne page.



