Étape 1 sur 10
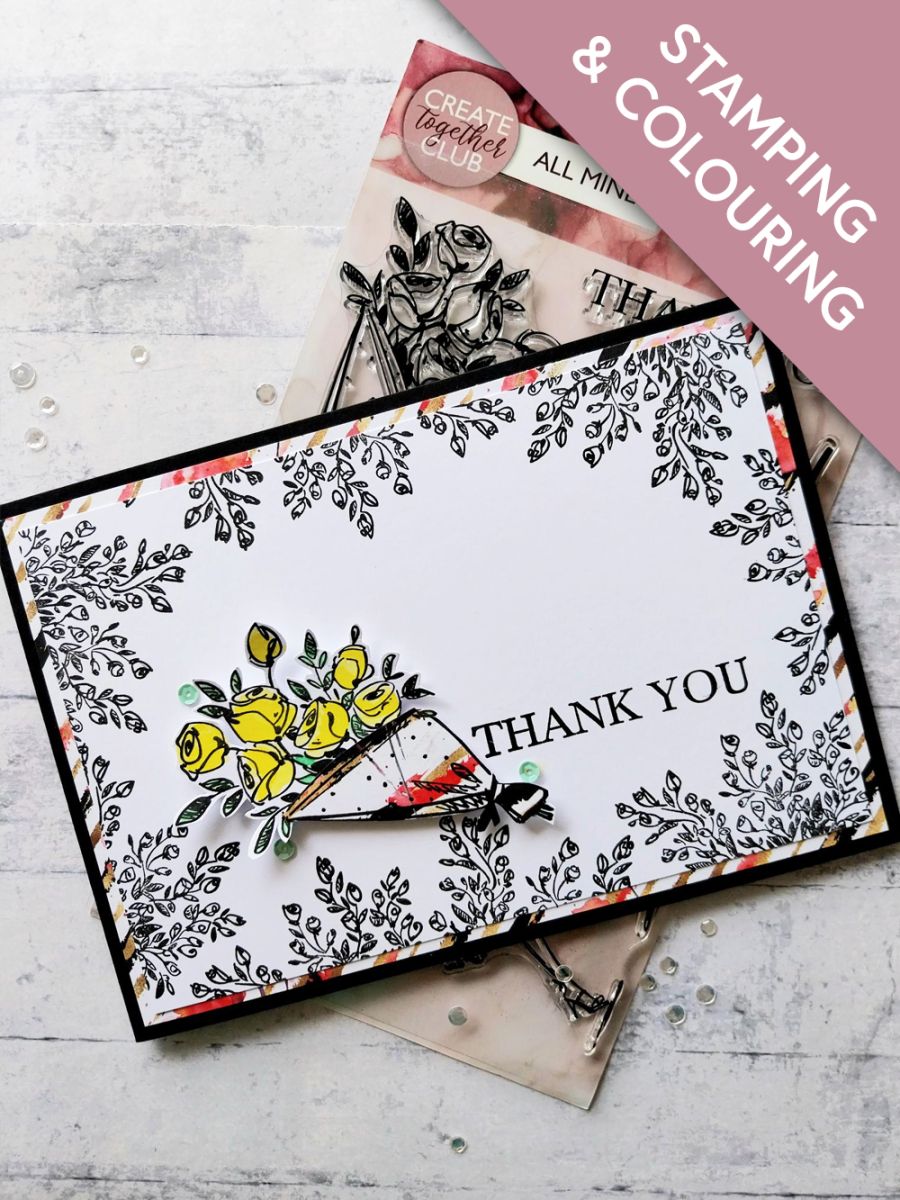
Inking up the foliage bouquet with the Midnight hybrid ink, stamp multi-times to create a border around a landscape piece of white card, trimmed to 7 3/4 x 5 1/4".








 Deal HuntersDemain 14 h 00
 Hidden Gemsmer. 11 nov. 10 h 00
 The Thursday Dropjeu. 12 nov. 18 h 00
Les prix sont mis à jour immédiatement. Chaque langue est notre propre traduction, pas Google.
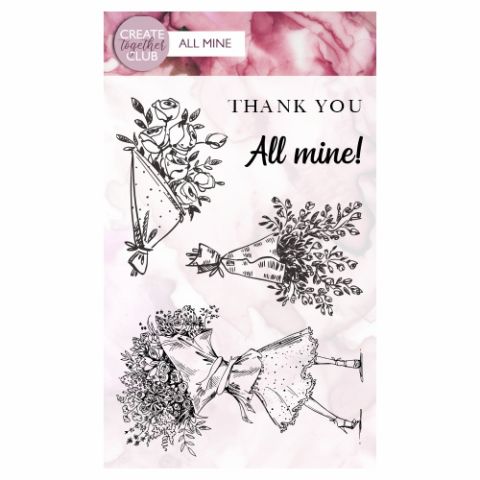 A5 Stamp - All Mine - CtcTampon A5 Create Together Club All Mine18,99 £ACHETER✓ AJOUTÉ
Inking up the foliage bouquet with the Midnight hybrid ink, stamp multi-times to create a border around a landscape piece of white card, trimmed to 7 3/4 x 5 1/4".
Trim this decorative sheet, from the Bloom & Wild paper pack, to 8 x 5 1/2". Pop the leftover paper to one side, for a later stage.
Adhere your stamped background on to the decorative paper.
Adhere this to your black, landscape card blank and set to one side.
Ink up the other rose bouquet with Midnight and stamp twice. Firstly, on to a piece of white card and then on to a piece of the decorative paper you had left over from earlier.
Paint the flowers using your Sherbet and Hedgerow inks, a little water and a paint brush. Fussy cut your painted bouquet and then fussy cut just the bouquet paper bag, from the decorative paper, as seen here.
Glue the paper bag on to your coloured 3D element.
Using your 3D element as a positional guide, stamp the sentiment, in Midnight, so it will sit to the right of your bouquet.
Use foam pads to adhere your bouquet to your card.
To finish, add a few sequins on, around and tucked just under your floral bouquet.
Partagez votre création avec la communauté Stamps By Me - et gardez ce tutoriel pour la prochaine fois.
Vous préférez l’ancienne présentation ? Ouvrir l’ancienne page.