Étape 1 sur 11
Choose a floral mount from the Floral Art Painted Mounts pack. Ideally you will need a pale, decorative design that you can colour on to, with your alcohol pens.








 Deal Huntersmar. 10 nov. 14 h 00
 Hidden Gemsmer. 11 nov. 10 h 00
 The Thursday Dropjeu. 12 nov. 18 h 00
Les prix sont mis à jour immédiatement. Chaque langue est notre propre traduction, pas Google.
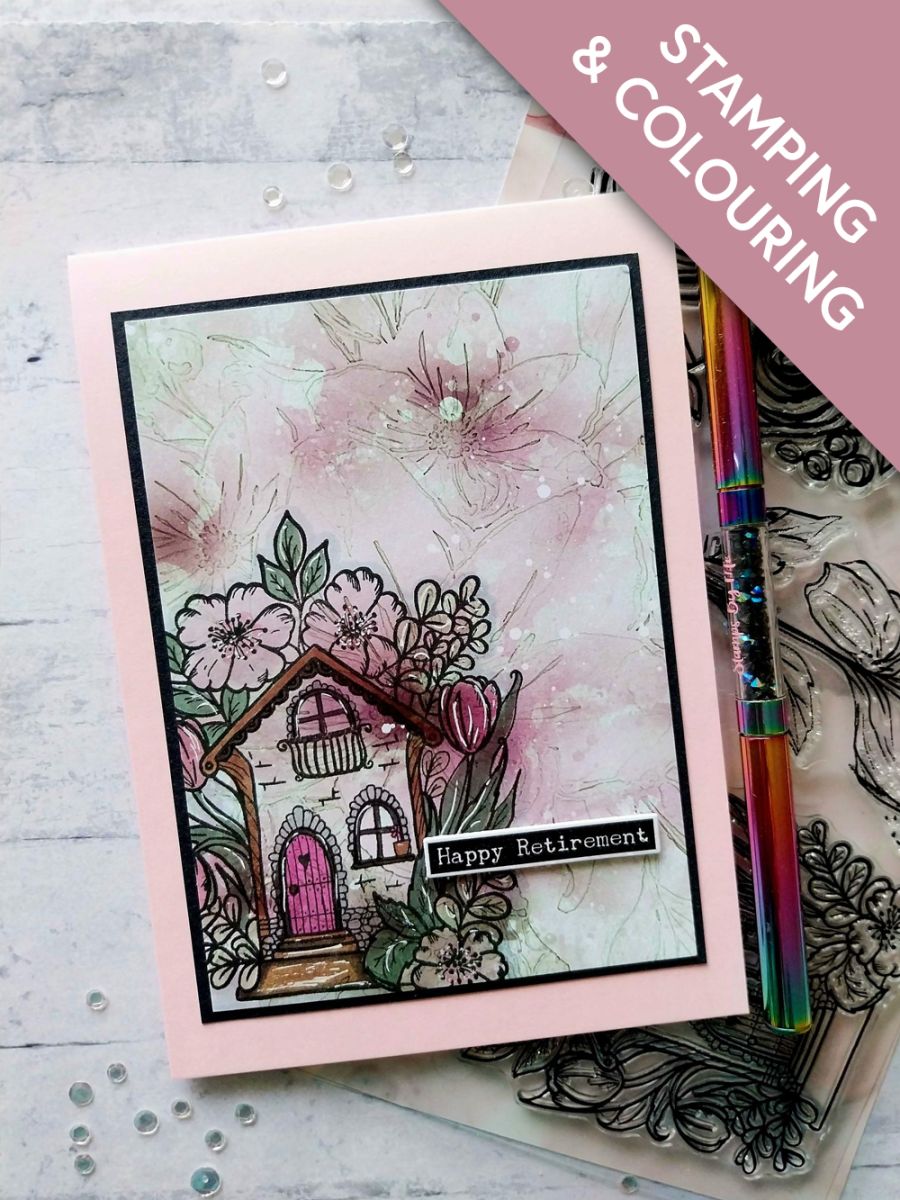
Choose a floral mount from the Floral Art Painted Mounts pack. Ideally you will need a pale, decorative design that you can colour on to, with your alcohol pens.
Stamp this beautiful house in the Midnight hybrid ink, just off the left edge of your painted mount.
Once the ink is dry, colour in with your alcohol pens.
Tip: Place a sheet of copy paper underneath, to protect your work surface from the ink that bleeds through the card.
Use your white gel pen to add accents and highlights to your artwork.
Mat your artwork on to a piece of black card cut slightly bigger than the mount.
Adhere to the front of your pink card blank.
Using the dies as a guide, cut off ONE drop from the typewriter washi roll. Lift up the backing sheet along one end of the tape and adhere across the top of an A4 sheet of white card. Slowly peel away the backing, as you use your hand to smooth the washi tape down on to the card. Once the backing has been fully removed, you can burnish the washi to ensure there are no air bubbles or creases.
Line up ONE of the dies with the word tabs and run through your machine.
Pop out the die cut tabs, before lining up the second die and running that through your machine.
Pop out all the tabs, remove the required sentiment and pop the remaining tabs in a tub for future projects.
Adhere your sentiment tab, with foam pads, to complete your card.
Partagez votre création avec la communauté Stamps By Me - et gardez ce tutoriel pour la prochaine fois.
Vous préférez l’ancienne présentation ? Ouvrir l’ancienne page.



