Cochez ce que vous avez - cet appareil s’en souvient.
Étape par étape
touchez une image pour l’agrandir · touchez TERMINÉ au fur et à mesure - cet appareil s’en souvient
Étape 1 sur 12
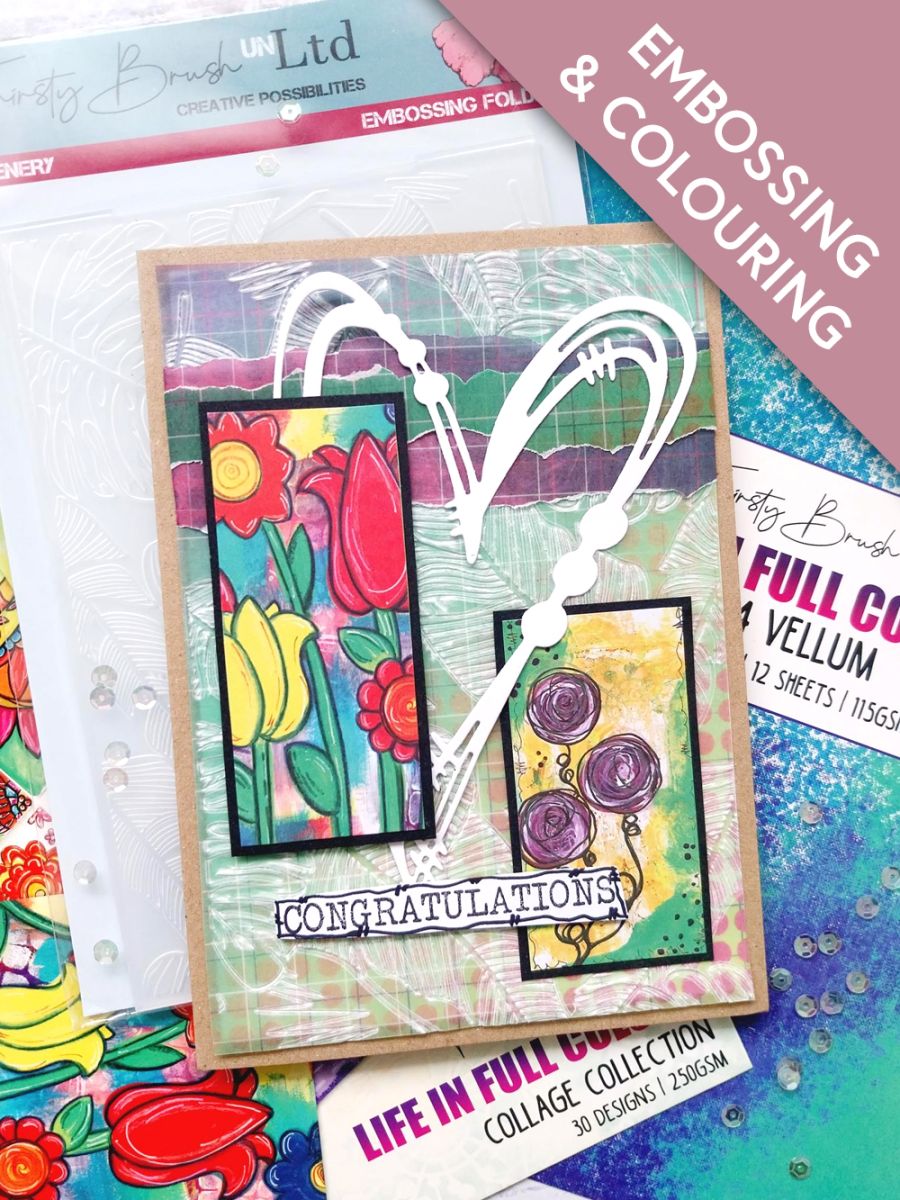
Remove this beautiful checked vellum, from the Life In Full Colour Vellum Pack and trim to about 7 x 5", incorporating the amber, yellow and green hues. Set the remaining vellum to one side, for a later step.
Place the vellum inside the Greenery embossing folder and run it through your embossing machine.
Étape 2 sur 12
Now trim your embossed vellum to 6 1/2 x 4 1/2".
Étape 3 sur 12
From the leftover vellum, tear 2 panels from the pink and blue hues, one wider than the other.
Étape 4 sur 12
Place the widest torn vellum panel across the top third of the embossed vellum. Tuck the edges over and secure on the reverse with your adhesive tape/tape runner. Place the other vellum strip on top, again securing on the reverse.
Étape 5 sur 12
Adhere this to your kraft card blank and pop to one side.
Étape 6 sur 12
Remove this topper and banner sheet, from the Life In Full Colour A4 paper pack and cut out these 2 rectangular, floral toppers.
Étape 7 sur 12
Adhere each topper to black cardstock and trim to create a "mat". Pop to one side.
Étape 8 sur 12
Die cut this gorgeous heart, from the Mixed Up Heart Die Set, in white cardstock.
TIP: If you want a more dimensional 3D element, then die cut 3 or 4 and adhere together.
Étape 9 sur 12
Adhere the smallest floral panel flat, in the bottom right corner of your card, before adhering your 3D heart on top, as seen here.
Étape 10 sur 12
Now adhere the other floral panel, raised with foam pads, down the left side of the card, on top of the heart.
Étape 11 sur 12
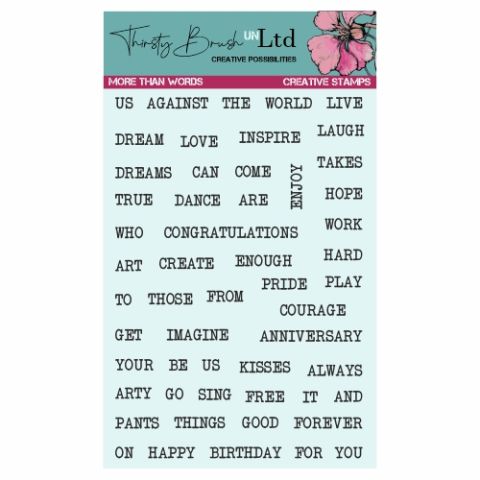
Stamp "Félicitations" from the More Than Words Stamp Set, in Midnight,on to a piece of white card. Trim and use a black pen to draw a decorative, wiggly frame.
Étape 12 sur 12
Adhere across the bottom of your artwork, with foam pads, to complete your project.
Bravo, c’est fait !
Partagez votre création avec la communauté Stamps By Me - et gardez ce tutoriel pour la prochaine fois.
Demandez à Toni L'assistante créative IA de ToniTAILLE
Bonjour ! Je suis l'assistante créative IA de Toni : je connais les projets des émissions de Toni, nos tutoriels et tout ce qui se trouve dans la boutique. Posez-moi toutes vos questions, par exemple « Quelles matrices de découpe vont avec ce set de tampons ? » ou « De quoi ai-je besoin pour débuter le mélange d'encres ? »
Un assistant IA (et non Toni en personne), qui répond à partir des émissions de Toni et de notre boutique – merci de vérifier la fiche produit avant d'acheter.