Étape 1 sur 12
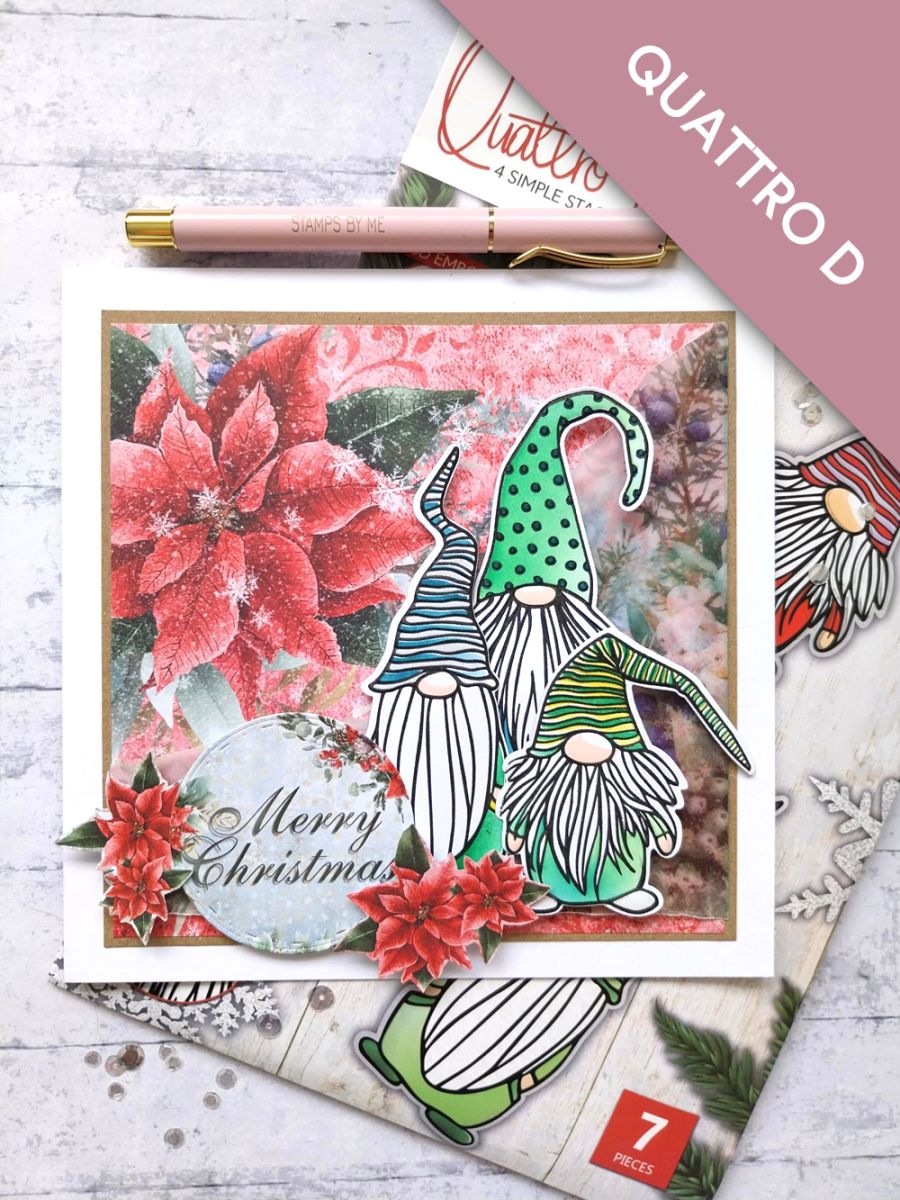
Remove this beautiful paper from the 12 x 12" paper pack and trim to 6" square, so the large Poinsettia is in the top left corner.








 Deal Huntersmar. 10 nov. 14 h 00
 Hidden Gemsmer. 11 nov. 10 h 00
 The Thursday Dropjeu. 12 nov. 18 h 00
Les prix sont mis à jour immédiatement. Chaque langue est notre propre traduction, pas Google.
 Outil d'estompage rectangulaire (Blending Tool)Outil d'estompage (blending tool)
Remove this beautiful paper from the 12 x 12" paper pack and trim to 6" square, so the large Poinsettia is in the top left corner.
Take this gorgeous vellum sheet from the vellum pack and tear around this printed, corner floral image.
Place the torn vellum across the bottom of the patterned paper, tuck any excess vellum over the edges of the paper and secure on the reverse.
Adhere to the 6 1/4" square kraft card.
Adhere on to your 7 x 7" white card blank and set to one side.
Place stencil 1, from the Quattro D collection, on to white card and use your inks to blend through as required. Line up stencil 2, using the hearts as a guide if needed and blend with the inks, swapping the colour combinations. Repeat with stencil 3. I used the Tattered Rose for the "skin" and the Lost Shadow for the shoes, but the combination of colours is up to you!
Stamp over your stencilled images with the coordinating stamp, using the Midnight ink.
Line up each of the coordinating dies, securing with low tack tape and run through your embossing machine.
TIP: Whilst you can die cut all 3 at the same time, I prefer to die cut the 2 outer ones in 1 pass and the middle one on it's own.
Use the coordinating embossing folder to emboss each Gnome. Again, you can emboss all of them at the same time, securing them with low tack tape but I personally find it quicker and safer, to emboss each one separately.
Use a combination of wet glue and foam pads to adhere your Gnomes in the bottom, right corner your card.
Use a circle die to die cut one of the circle sentiments from the Embellishment pack. Fussy cut a selection of Poinsettias from the same pack, then adhere to the left of your Gnomes with a combination of wet glue and foam pads.
To finish, use the Stickles to add a touch of sparkle to the centres of all the floral images and 3D elements and around the edge of your circle sentiment.
Partagez votre création avec la communauté Stamps By Me - et gardez ce tutoriel pour la prochaine fois.
Vous préférez l’ancienne présentation ? Ouvrir l’ancienne page.



