Étape 1 sur 11
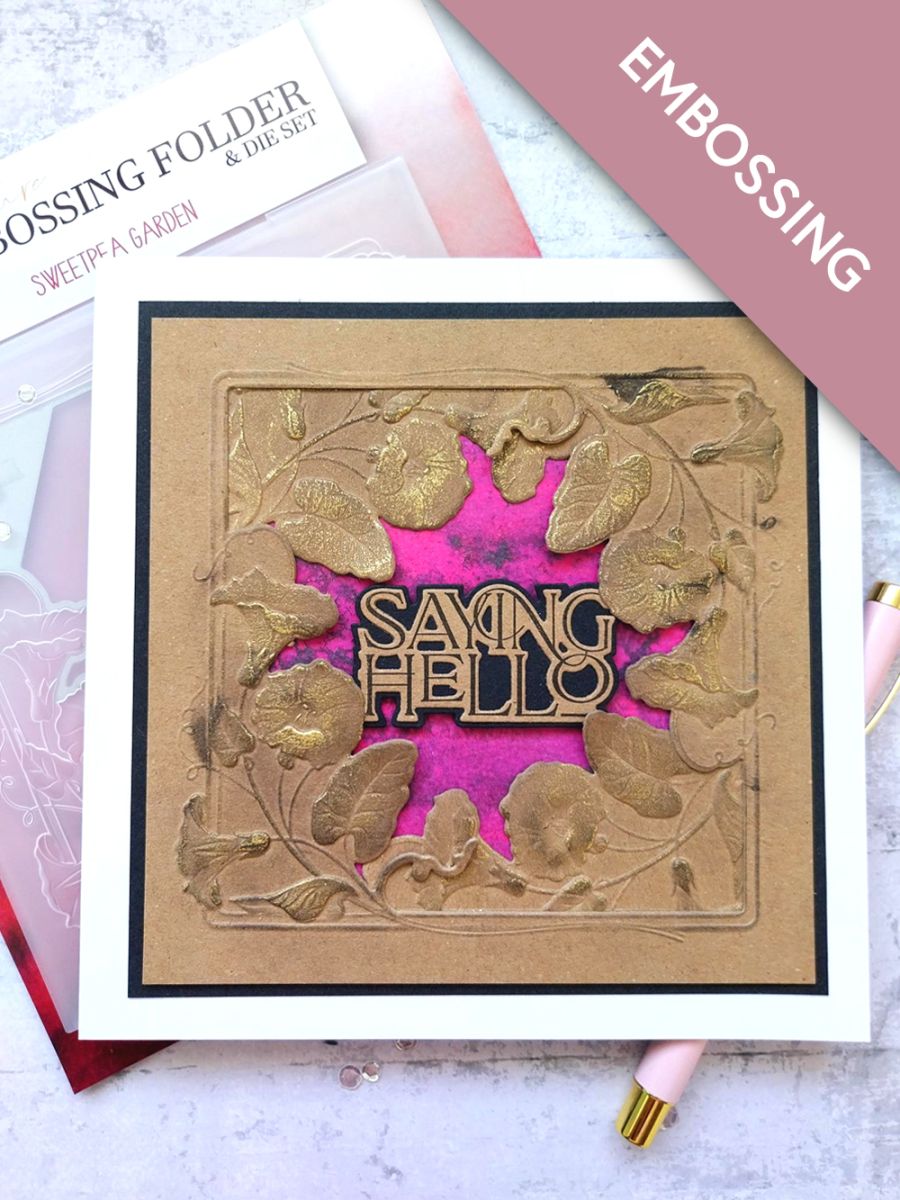
Use the Sweetpea Garden to emboss and die cut from the TWO kraft card squares.








 Deal Huntersmar. 10 nov. 14 h 00
 Hidden Gemsmer. 11 nov. 10 h 00
 The Thursday Dropjeu. 12 nov. 18 h 00
Les prix sont mis à jour immédiatement. Chaque langue est notre propre traduction, pas Google.
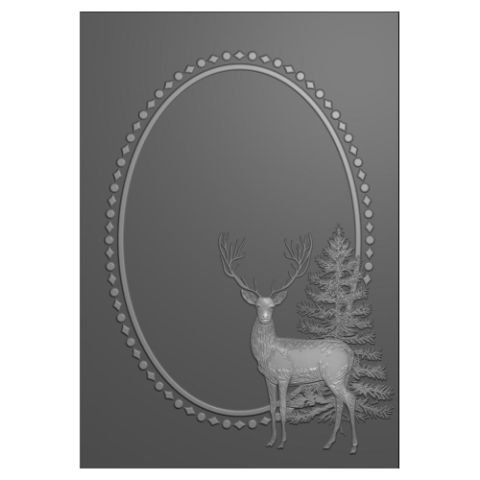 Stamps By Me - 3d Embossing Folder And Die - Making Spirits Bright12,99 £ACHETER✓ AJOUTÉ
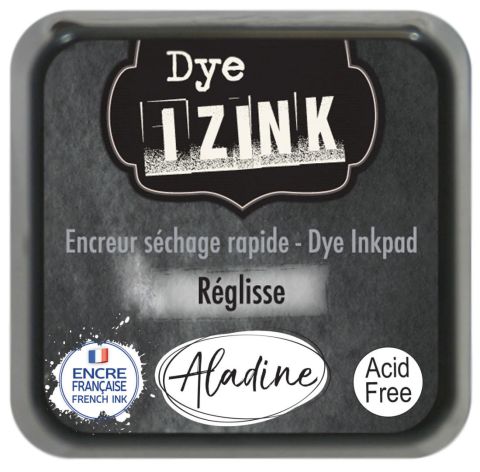 ENCREUR IZINK À BASE DE COLORANT 5 X 5CM - REGLISSE 050821iEncreur à encre dye Izink : Reglisse3,99 £ACHETER✓ AJOUTÉ
Use the Sweetpea Garden to emboss and die cut from the TWO kraft card squares.
Gently wipe your Izink Reglisse ink pad over the raised, embossed areas on both the frames.
Once the ink is dry, apply the Gold gilding wax over random areas of your embossed frames. Buff with a soft cloth to enhance the shine.
Rotate one of the frames before adhering them together, thus creating a circular Sweetpea frame.
Remove this sheet from the vellum pack and trim to 5 1/2" square.
Adhere the vellum panel behind the embossed frames.
Adhere the 5 1/2" square white card behind the vellum panel, as this will help to "lift" the vibrancy of the pink!!
Adhere this on to the black card, cut to 6" square and then on to the front of your 7" square white card blank and pop to one side.
Stamp "Saying Hello", in Midnight, on to a piece of kraft card. Place the coordinating die over your sentiment. Place the layering die on to a piece of black card and run both through your die cutting machine.
Adhere the detailed die cut on top of the layering die cut.
Adhere in the centre of your embossed frame, to finish.
Partagez votre création avec la communauté Stamps By Me - et gardez ce tutoriel pour la prochaine fois.
Vous préférez l’ancienne présentation ? Ouvrir l’ancienne page.



