Cochez ce que vous avez - cet appareil s’en souvient.
Étape par étape
touchez une image pour l’agrandir · touchez TERMINÉ au fur et à mesure - cet appareil s’en souvient
Étape 1 sur 8
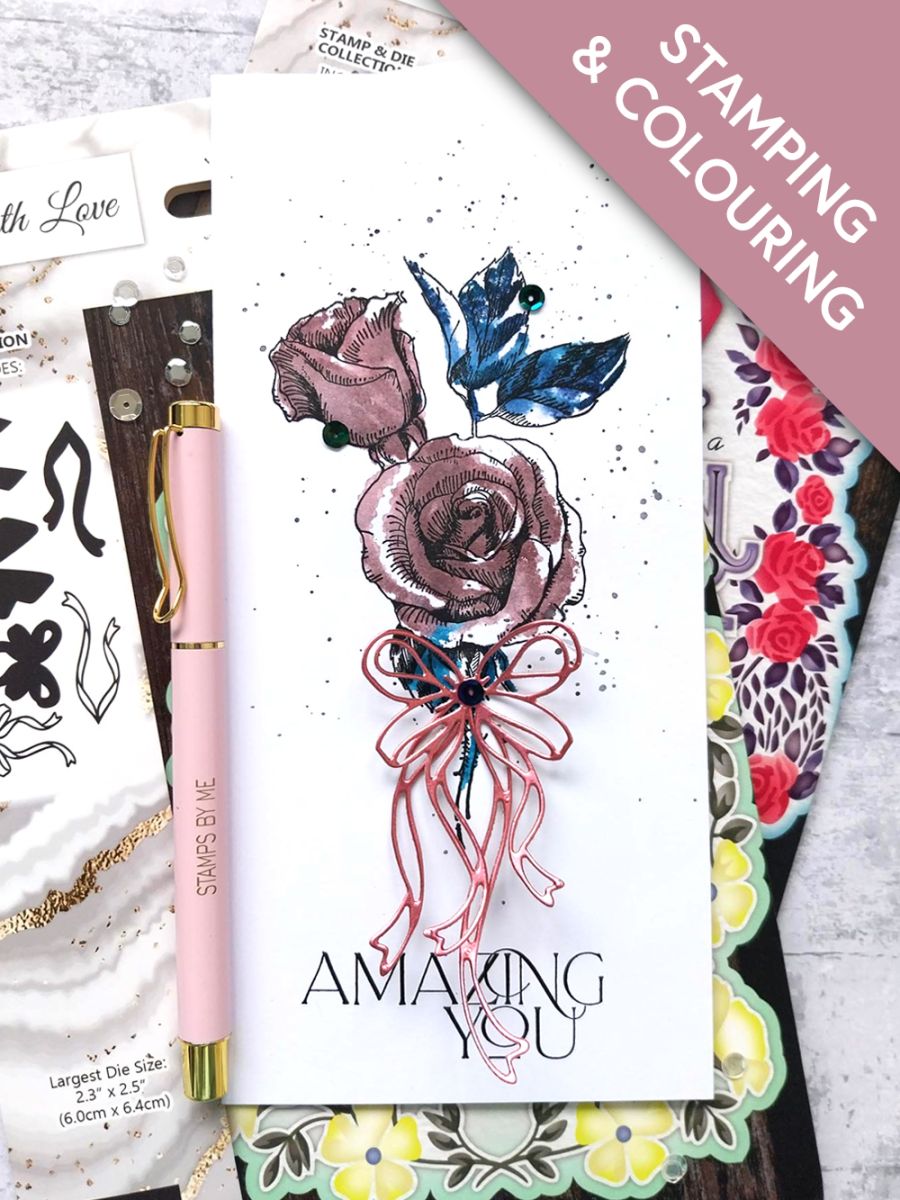
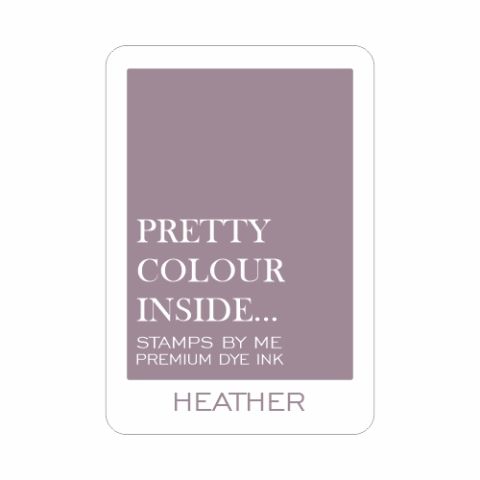
Take the solid stamp from the Live Your Story Lamination Collection and ink the floral elements with Heather and the foliage with Tiffany. Spritz the inked stamp with water and stamp directly on to the front of your white, DL card blank. Allow the ink to dry or give it a quick blast with a heat tool, being careful not to "warp" the front of your card blank!
Étape 2 sur 8
Use the Midnight hybrid to ink up the detailed, coordinating stamp. Line up and stamp over your coloured image.
Étape 3 sur 8
Apply a little of the Heather and Tiffany on to your glass mat. Spritz each with water and one at a time, splatter them over your artwork.
Étape 4 sur 8
Take these 2 dies, from Tied With Love and cut them out from the Blush mirri card.
Étape 5 sur 8
Pop a little glue in the centre, of the back of the bow and adhere the extra bow "legs" in place.
Étape 6 sur 8
Ink the "Amazing You" sentiment stamp, from the Saying Hello Collection, with Midnight and stamp centrally, at the bottom of your card.
Étape 7 sur 8
Adhere your die cut bow just under the Rose head, allowing the bow legs to move freely.
Étape 8 sur 8
To finish, add a few sequins as required.
Bravo, c’est fait !
Partagez votre création avec la communauté Stamps By Me - et gardez ce tutoriel pour la prochaine fois.
Demandez à Toni L'assistante créative IA de ToniTAILLE
Bonjour ! Je suis l'assistante créative IA de Toni : je connais les projets des émissions de Toni, nos tutoriels et tout ce qui se trouve dans la boutique. Posez-moi toutes vos questions, par exemple « Quelles matrices de découpe vont avec ce set de tampons ? » ou « De quoi ai-je besoin pour débuter le mélange d'encres ? »
Un assistant IA (et non Toni en personne), qui répond à partir des émissions de Toni et de notre boutique – merci de vérifier la fiche produit avant d'acheter.