Étape 1 sur 9
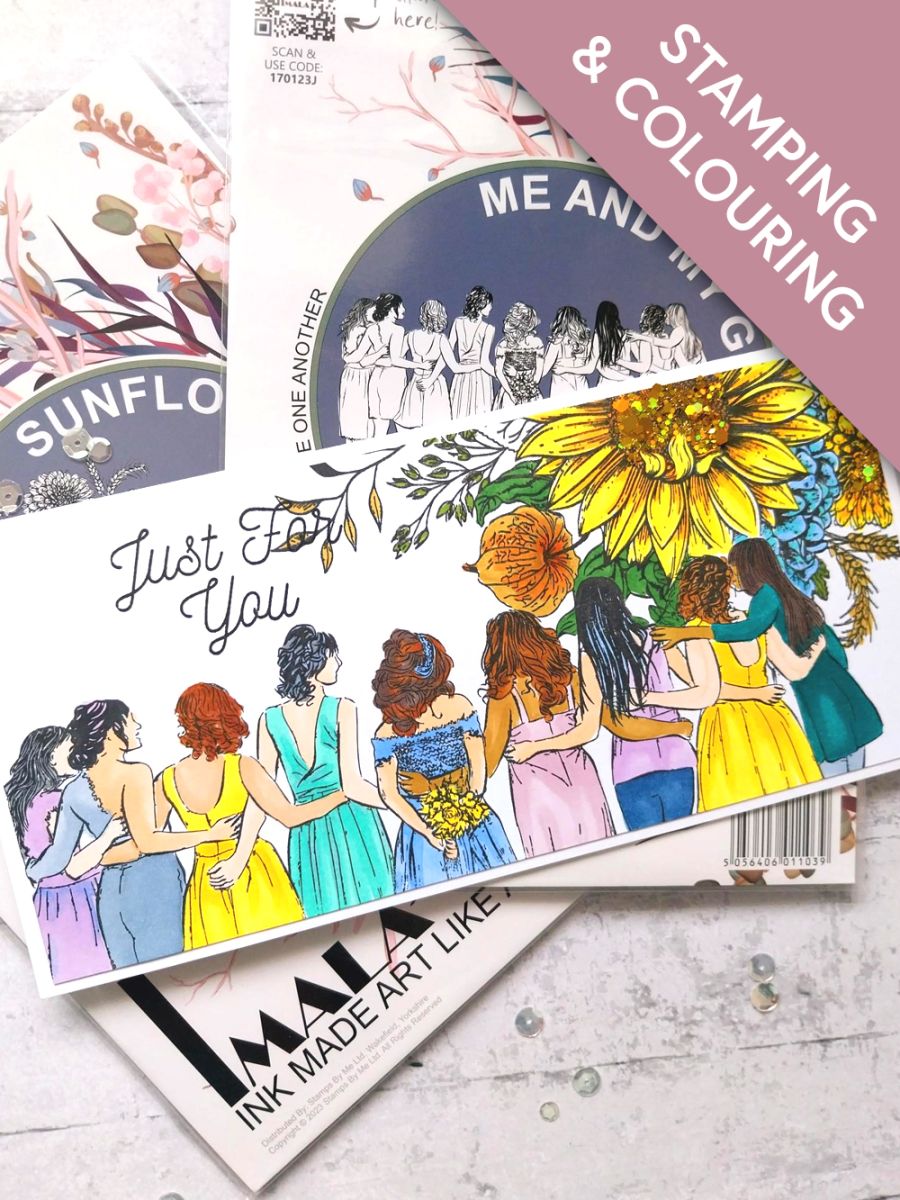
Ink up Imala Me And My Girls with the Midnight and stamp on to a masking sheet or copy paper. Fussy cut to create a "mask".








 Deal Huntersmar. 10 nov. 14 h 00
 Hidden Gemsmer. 11 nov. 10 h 00
 The Thursday Dropjeu. 12 nov. 18 h 00
Les prix sont mis à jour immédiatement. Chaque langue est notre propre traduction, pas Google.
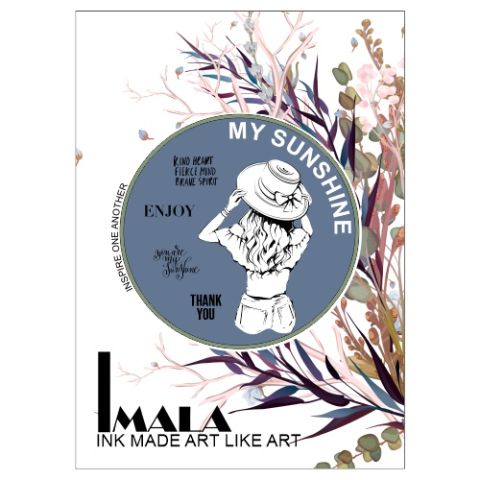 Imala - A5 Stamp - My Sunshine17,99 £ACHETER✓ AJOUTÉ
Ink up Imala Me And My Girls with the Midnight and stamp on to a masking sheet or copy paper. Fussy cut to create a "mask".
Reink the girls and stamp along the bottom of the white card, cut to 8 x 3 3/4" and placed in landscape view, as seen here.
Place your "mask" over the top of your stamped image, securing it in place with a magnet or low tack tape.
Ink up the gorgeous Imala Sunflower with Midnight and stamp coming down from the top right corner, ensuring you stamp some of the image over your mask. This will create the illusion of the Sunflower being in front of our ladies.
Carefully remove the mask and let your image dry completely or give it a quick blast with your heat tool.
Colour in the images with your alcohol pens, placing a sheet of copy paper underneath, to prevent your work surface from being damaged by the ink that bleeds through the card.
Ink the "Just You" sentiment stamp, from the Imala Sunflower collection, with Midnight and stamp to the top left of your artwork.
Adhere your artwork on to the front of your DL, landscape card blank.
To finish, add one of the Feras Gold glitters to the centres of the flowers.
Partagez votre création avec la communauté Stamps By Me - et gardez ce tutoriel pour la prochaine fois.
Vous préférez l’ancienne présentation ? Ouvrir l’ancienne page.



